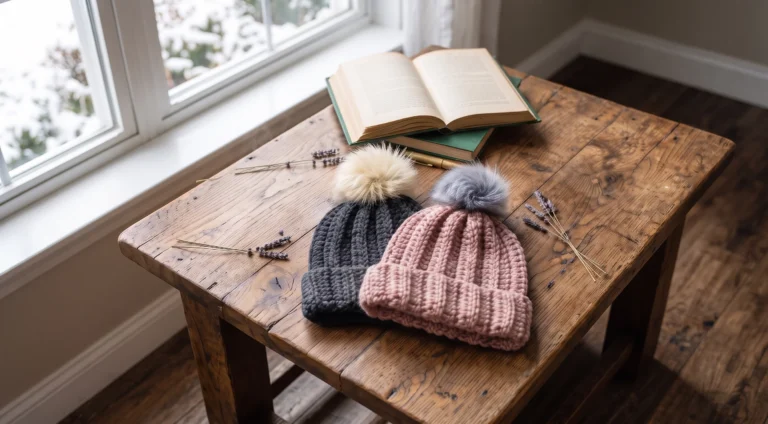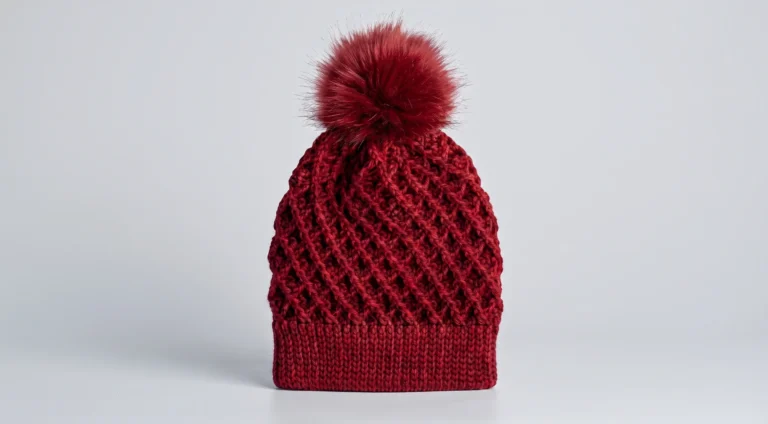
Crochet Ribbed Beanie Pattern Free Knit Look Hat Baby to Adult
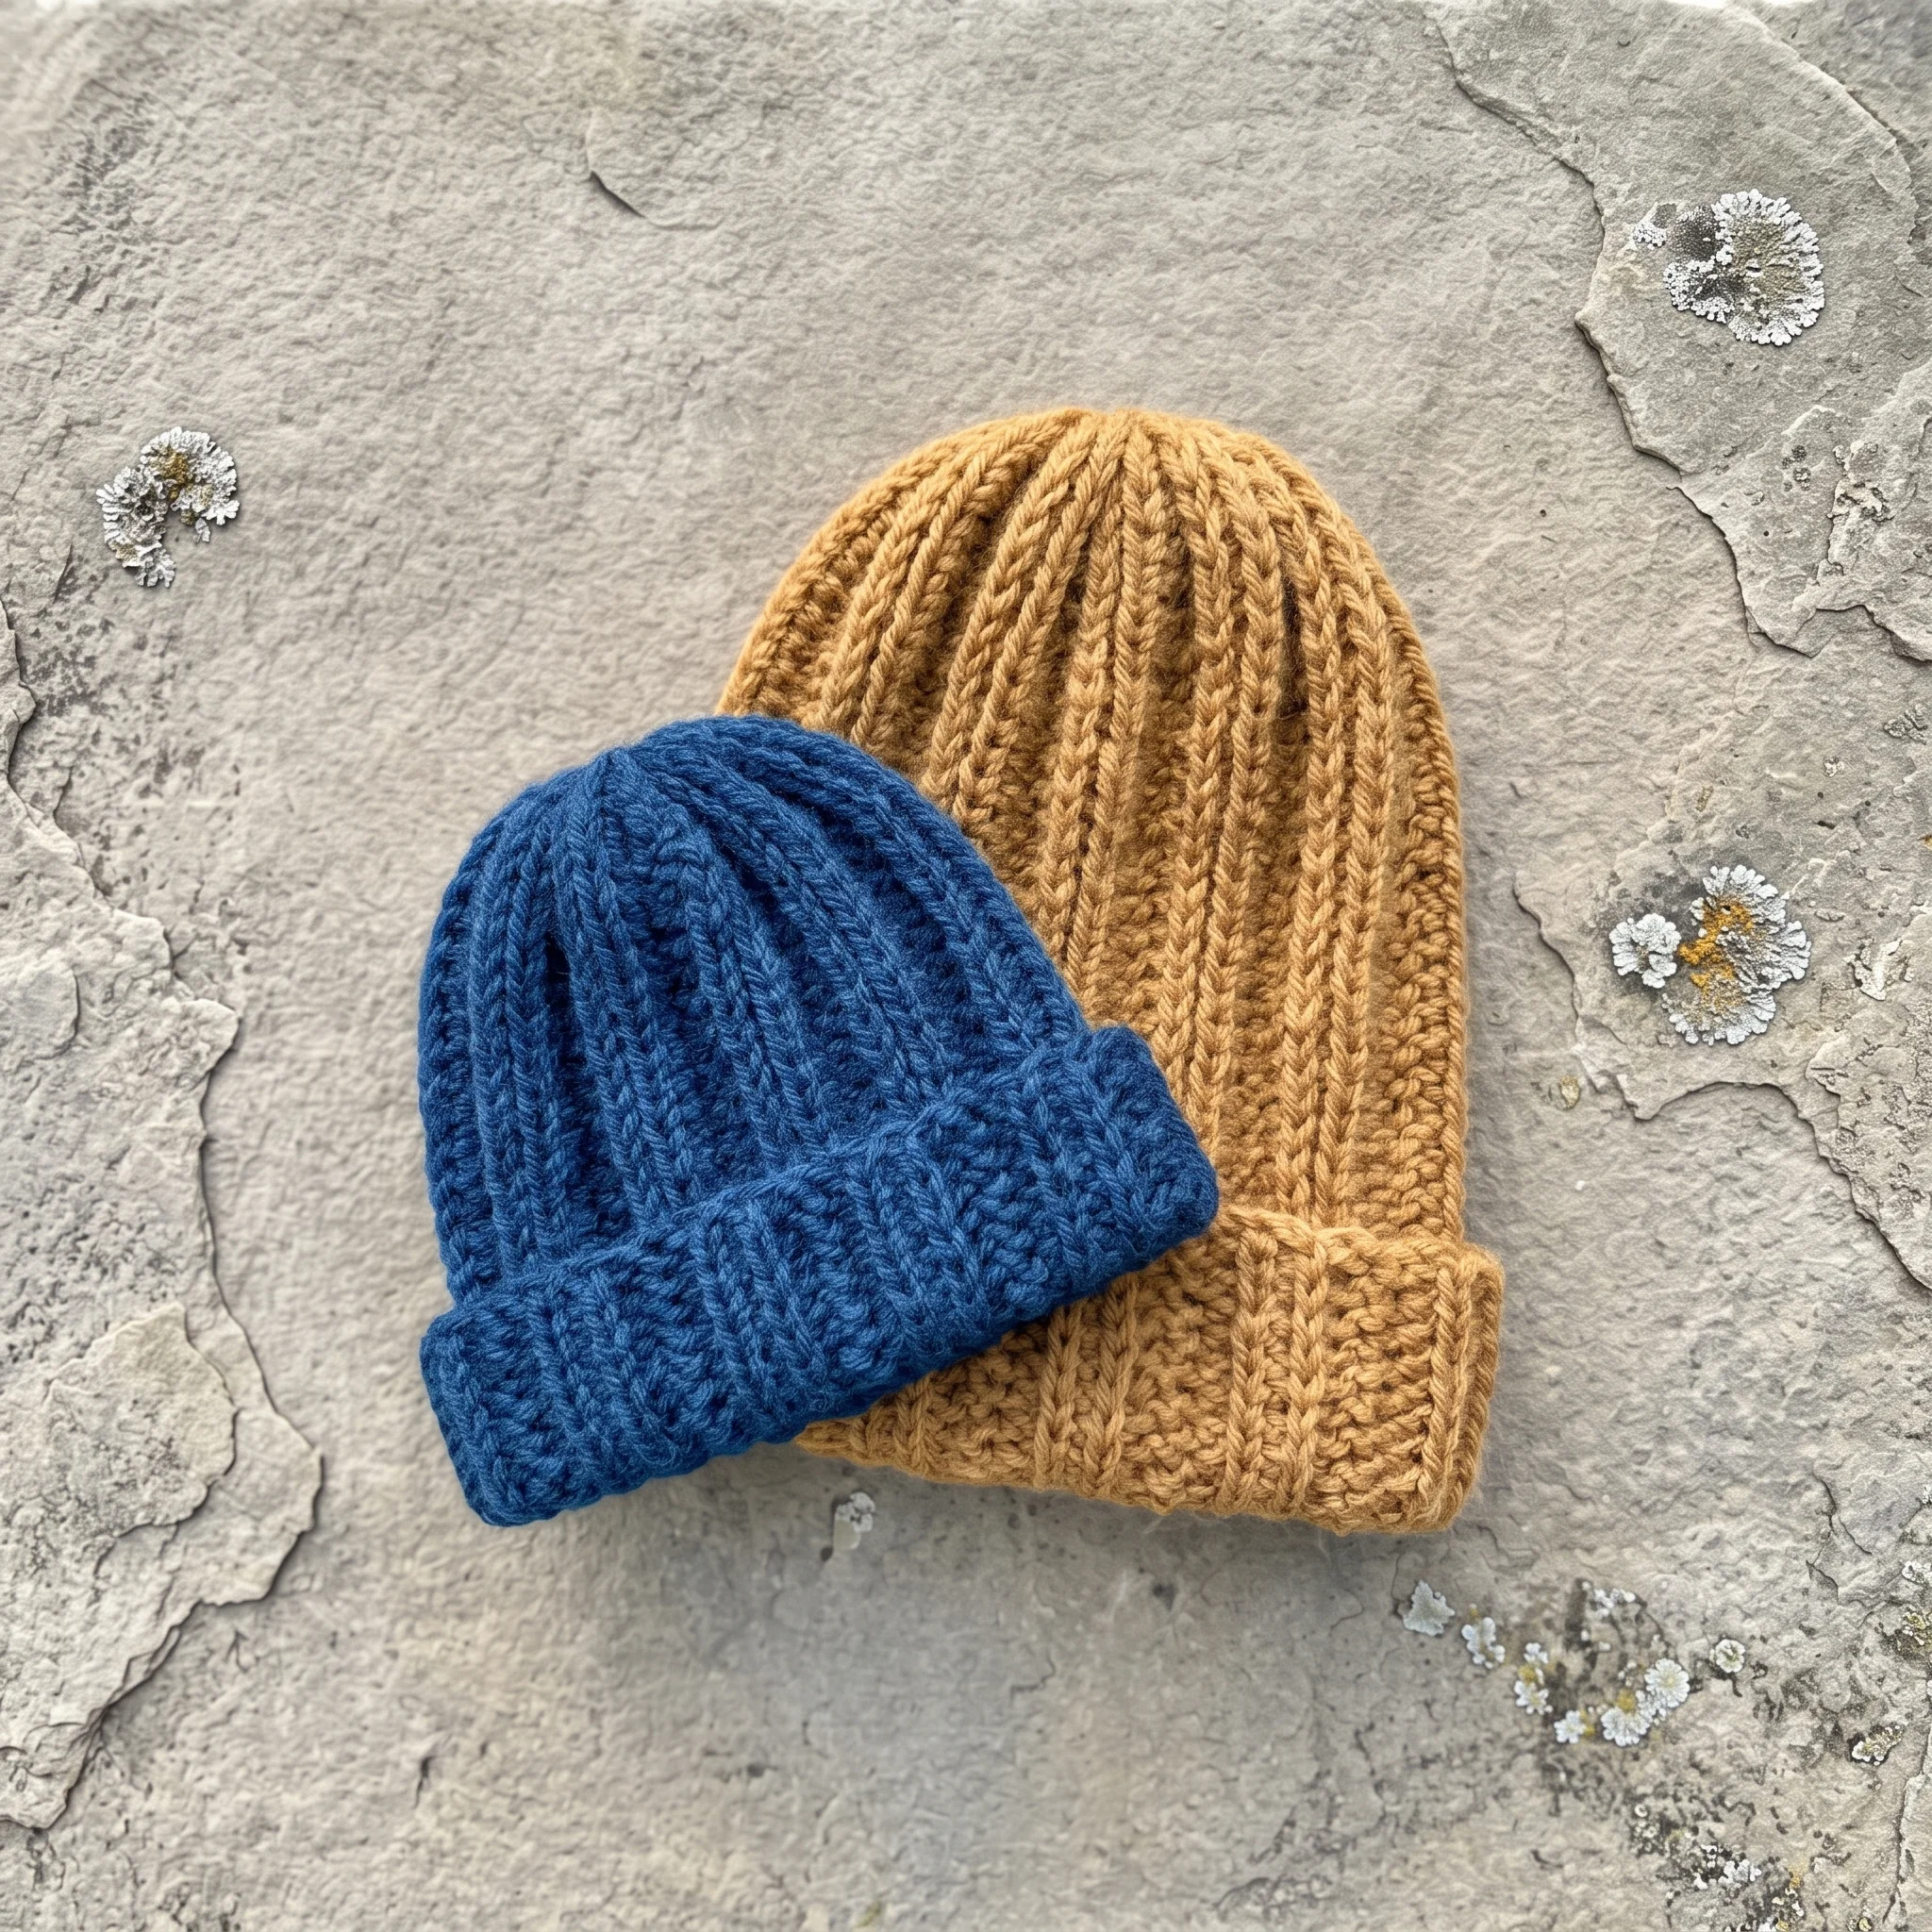
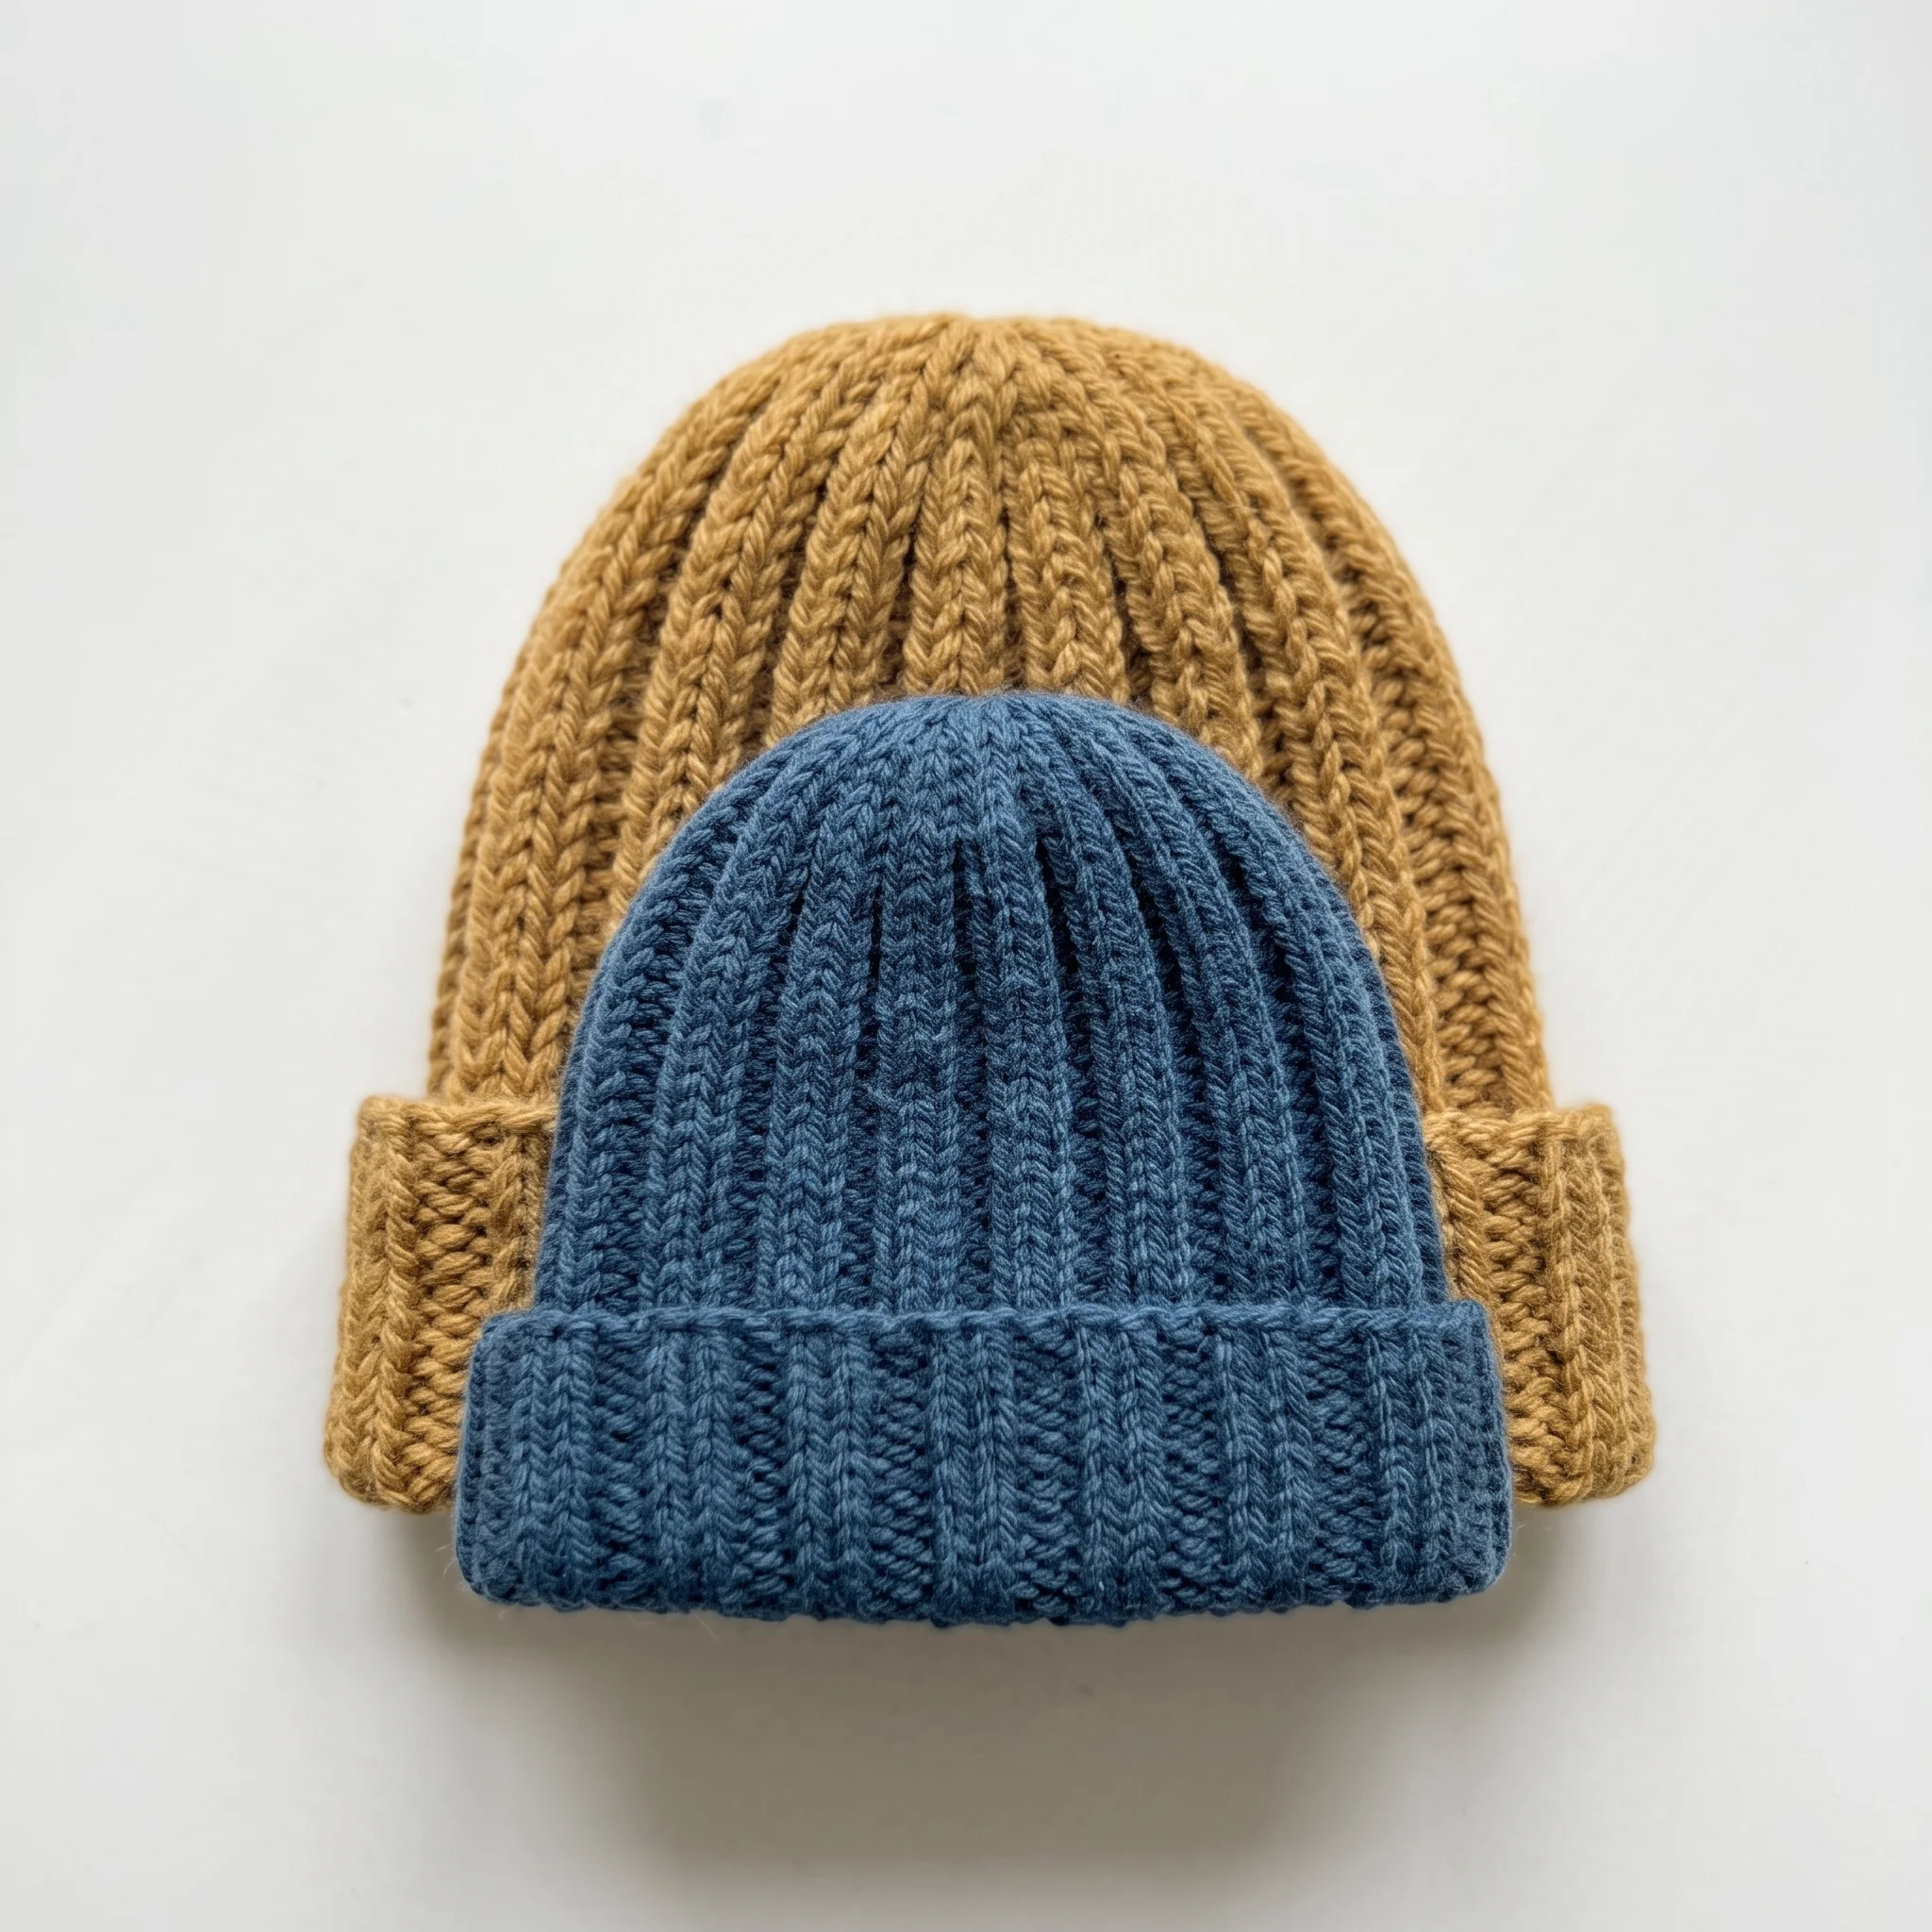
It looks knitted. It’s crocheted. And nobody will be able to tell. Our free crochet ribbed beanie pattern uses a simple loop trick to create deep, stretchy ribs that look just like a hand knit hat. It’s worked flat as one easy rectangle, then seamed and gathered, and it comes in four sizes from baby to adult, so the whole family can match this winter.
Why You’ll Love This Ribbed Beanie
There’s something about a ribbed beanie that never goes out of style. It’s the classic winter hat: simple, snug and effortlessly cool. The trouble is, crochet ribbing often looks flatter than knitting. This pattern solves that.
By working into the third loop of each half double crochet, a little strand most crocheters don’t even notice, you push the top loops forward into a raised ridge. Alternate that with back loop rows, and you get bold, springy ribs with real depth and stretch. The result is a hat that hugs the head comfortably and looks beautifully hand knit.
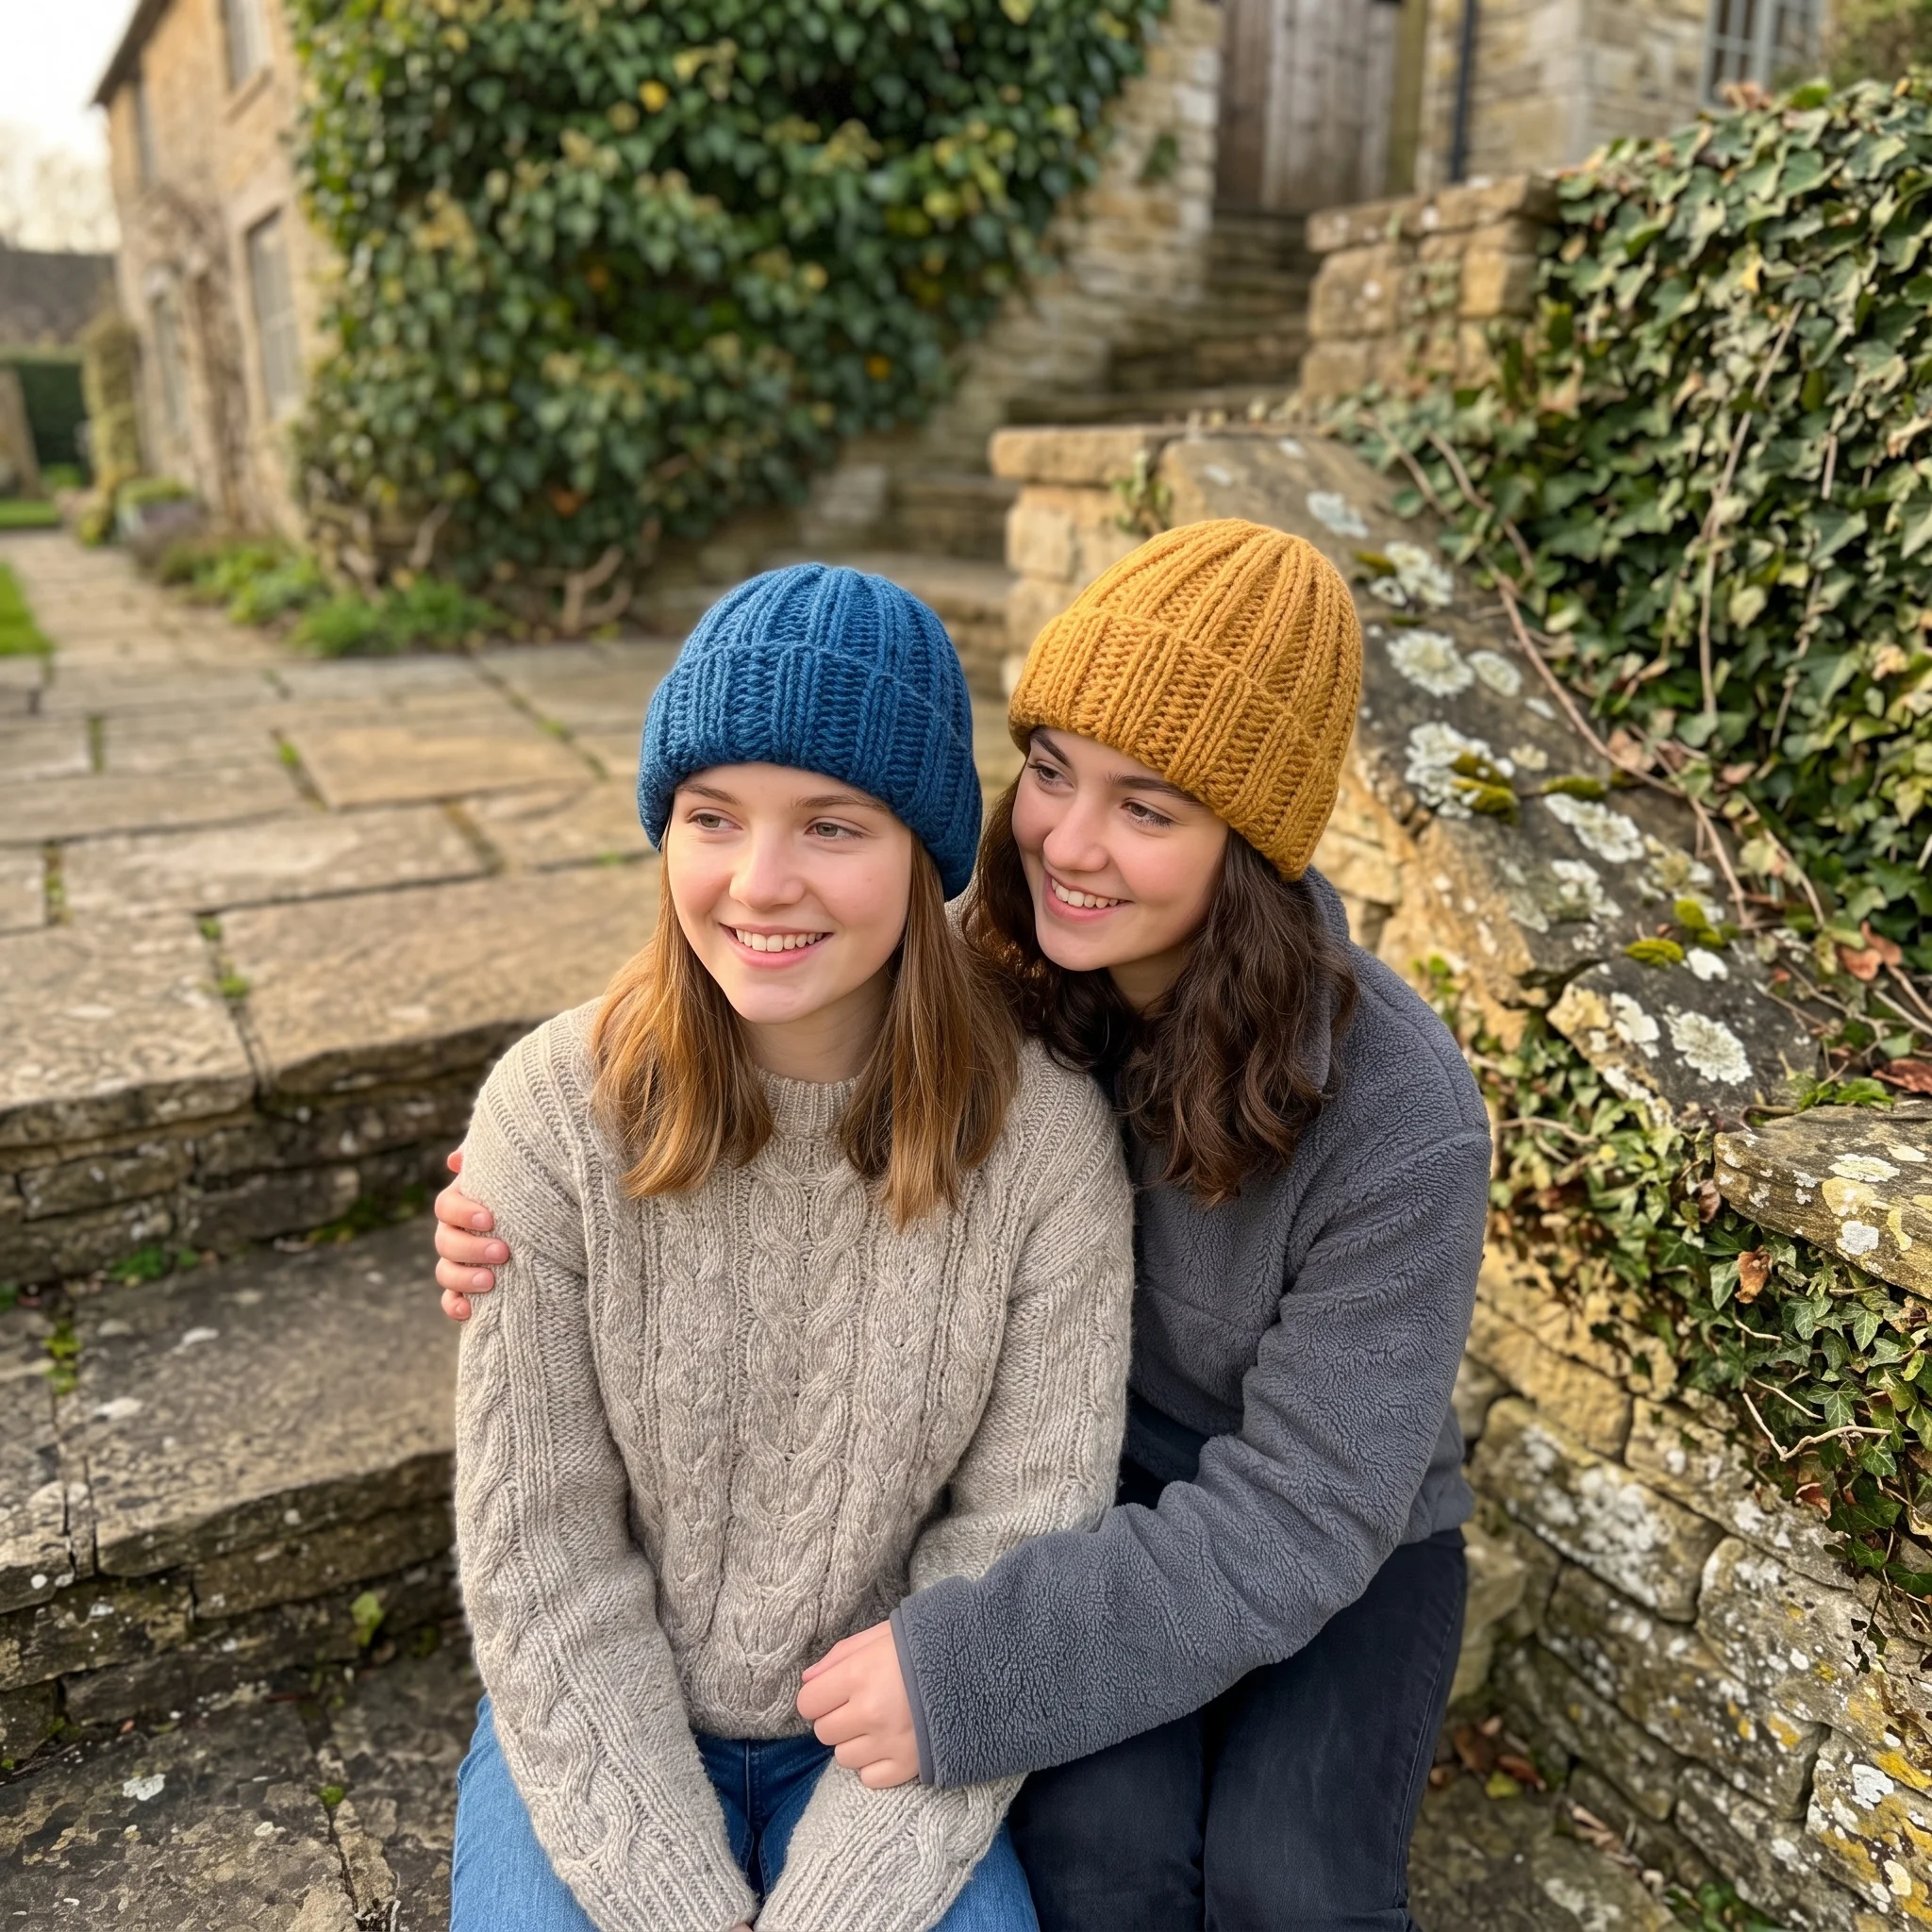
And with four sizes in one pattern, you can make one for every head in the house. Matching family hats make the cosiest winter photos and the most heartwarming gifts.
What’s Inside the Free Ribbed Beanie Pattern
Your PDF download makes it easy to get a perfect fit:
- Four sizes, Baby, Toddler, Child and Adult, with head measurements for each
- Yarn amounts for every size, so you buy exactly what you need
- A clear explanation of the third loop and how to find it
- Row instructions with stitch counts for each size
- A simple row chart showing how many rows each size needs
- Step by step seaming and gathering instructions
- Tips for making the hat longer, shorter or slouchier
- US crochet terms throughout
Materials for Your Ribbed Beanie
| Material | Details |
|---|---|
| Yarn | Worsted weight (Category 4) |
| Yarn amount | Baby 100yd · Toddler 130yd · Child 175yd · Adult 205yd |
| Crochet hook | 6mm (US J/10) |
| Gauge | 7 hdc × 6 rows = 2in in the ribbed pattern |
| Notions | Tapestry needle, scissors |
| Skill level | Easy |
| Crochet terms | US |
A smooth worsted yarn shows off the ribs best. Wool blends give a warm, springy hat with great stretch, while soft acrylics are easy to wash and perfect for children. Solid or lightly heathered colours let the texture shine.
Find Your Right Size
This beanie is designed with a little negative ease, which means it’s slightly smaller than your head so it stretches to a snug, comfortable fit.
| Size | Head circumference |
|---|---|
| Baby | 14 to 16in (35.5 to 40.5cm) |
| Toddler | 16 to 18in (40.5 to 45.5cm) |
| Child | 18 to 20in (45.5 to 51cm) |
| Adult | 21 to 23in (53.5 to 58.5cm) |
To measure, wrap a soft tape measure around the head just above the ears and across the forehead. If someone falls between two sizes, choose the smaller one, since the ribbing stretches comfortably for a snug fit.
The Third Loop Trick for Knit Look Ribs
This is the secret behind the whole hat. A half double crochet has an extra horizontal strand sitting just behind its back loop. Tip the stitch slightly towards you, and you’ll see it. That’s the third loop.
When you work into that strand, the two top loops roll forward and sit on the surface as a raised ridge. The pattern alternates two rows in the third loop with two rows in the back loop, and that rhythm creates deep, even ribs with lots of stretch. It’s a small change in where you put your hook, but it transforms the fabric completely.
Once you’ve spotted the third loop a few times, you’ll find it instantly. Many crocheters say it’s the technique that changed how they make hats.
Why Ribbing Makes the Best Beanie
There’s a practical reason ribbed hats are a winter classic. Ribbing stretches widthwise, then springs back, so the hat grips gently without squeezing. That means one hat fits a range of heads comfortably, stays put on windy days and doesn’t slide down over the eyes.
It’s especially helpful for children’s hats, since little heads grow fast. A ribbed beanie made in the next size up can often fit for an extra season or two. And because the texture is deep and squishy, it traps warm air, keeping ears and foreheads cosy on the coldest mornings.
How the Rectangle Becomes a Hat
Like many of the easiest crochet hats, this beanie is worked flat. You chain a short foundation, then work rows back and forth, building a rectangle. The length of your chain becomes the height of the hat, and the number of rows becomes the circumference.
When you reach the row count for your size, you fold the rectangle so the first and last rows meet, then slip stitch them together into a tube. Finally, you weave your yarn tail around the top edge, pull it tight to gather the crown, and secure it. Turn it right side out, and the ribs run neatly from brim to crown.
Matching Hats for the Whole Family
This is where this pattern truly shines. Because the same simple instructions work for every size, it’s easy to make a set: a tiny one for the baby, one for each child and one for each grown up. Use the same colour for a coordinated look, or give everyone their own shade.
Matching beanies make wonderful Christmas gifts, cosy family photo props and thoughtful baby shower presents paired with an adult hat for a new parent. Looking for a beginner version in bulky yarn? Try our Crochet Beanie Pattern, or challenge yourself with our Crochet Cable Hat Pattern.
Adjust the Fit to Suit You
This pattern is wonderfully flexible. To make the hat taller or shorter, simply change the length of your starting chain, adding chains for more height or removing them for a shorter fit. To change the circumference, work more or fewer rows.
Love a slouchy beanie? Add extra chains for height and a few extra rows for room, and the hat will drape softly at the back. Prefer a fold up brim? Add height so you can turn up a cosy cuff that keeps ears extra warm.
Is This Beanie Right for You?
The pattern is rated Easy. If you can chain and work a half double crochet, you can make this hat. The only new idea is the third loop, and the pattern explains exactly where to find it.
Because it’s worked flat in rows, there are no rounds to track and no increases to count, which makes it a lovely first hat. And if you’re more experienced, you’ll love how quickly it works up, perfect for gifts, markets and charity hat drives.
Make It Your Own
Add a pom pom to the top for a playful finish. Fluffy faux fur pom poms look especially stylish on an adult hat, while yarn pom poms in a contrasting colour are fun for children.
Stripes are easy too. Since the rows become vertical ribs, changing colour every few rows creates bold vertical stripes around the hat. Try two rows of a bright colour against a neutral background for a sporty look.
When Something Doesn’t Look Quite Right
If your ribs look flat, check that you’re working into the third loop on the right rows, not the back loop. The ribs only pop when the two rhythms alternate correctly.
If the hat is too tight, add a few rows. If it’s too loose, remove some. And if the seam looks bulky, slip stitch the edges together a little more loosely, matching each stitch carefully so the ribs line up.
Caring for Your Beanie
Check your yarn label for washing instructions. Most acrylic and wool blend hats are happiest hand washed in cool water with a gentle detergent. Press out the water without wringing, then lay the hat flat to dry, easing the ribs back into shape. Avoid hanging it, since wet yarn can stretch.
Keep Learning
Want to master the techniques in this hat? These guides are a great next step: Why Crochet Gets Wider or Curls, Front Post and Back Post Crochet Explained and How Much to Charge for Crochet Items.
A Few Tips Before You Start
- Measure the head before choosing a size.
- Find the third loop on a small swatch first.
- Use stitch markers to track the four row rhythm.
- Count your rows carefully for your size.
- Leave a long tail for seaming and gathering.
Frequently Asked Questions
Pick up your hook and let’s bring your next crochet project to life!