Textured Crochet Blanket Pattern Free Ribbed Throw With Tassels
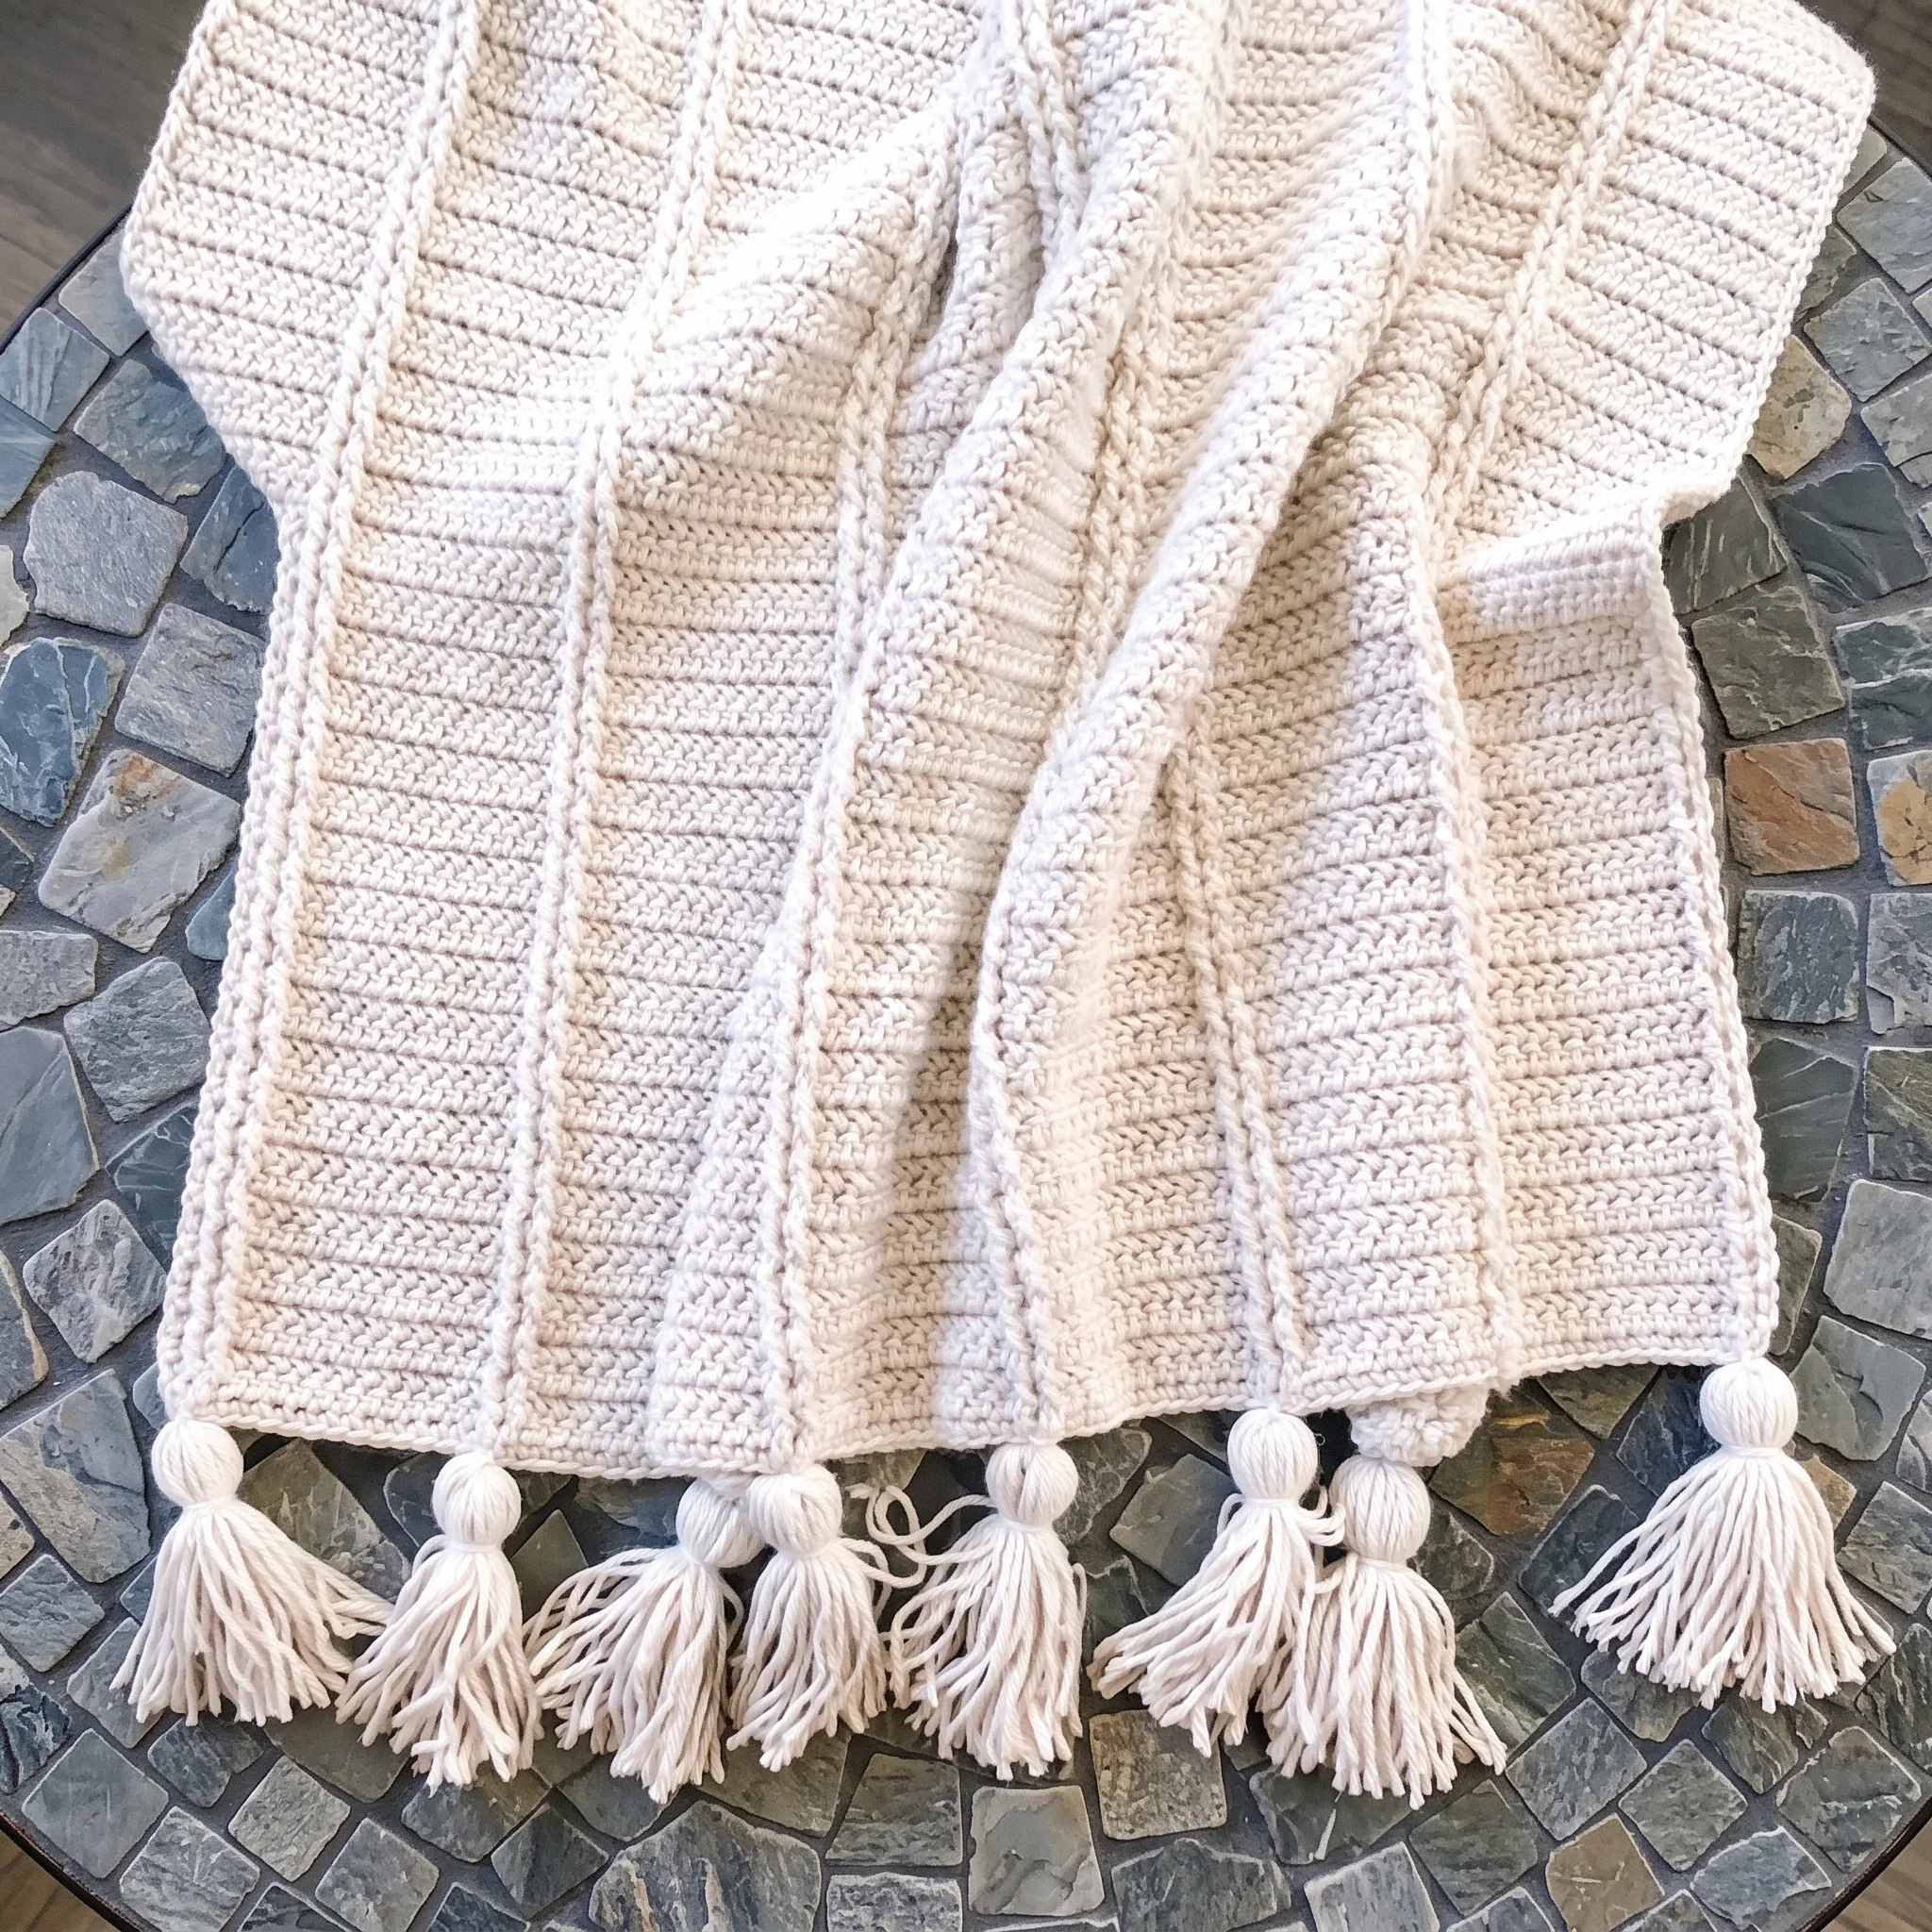
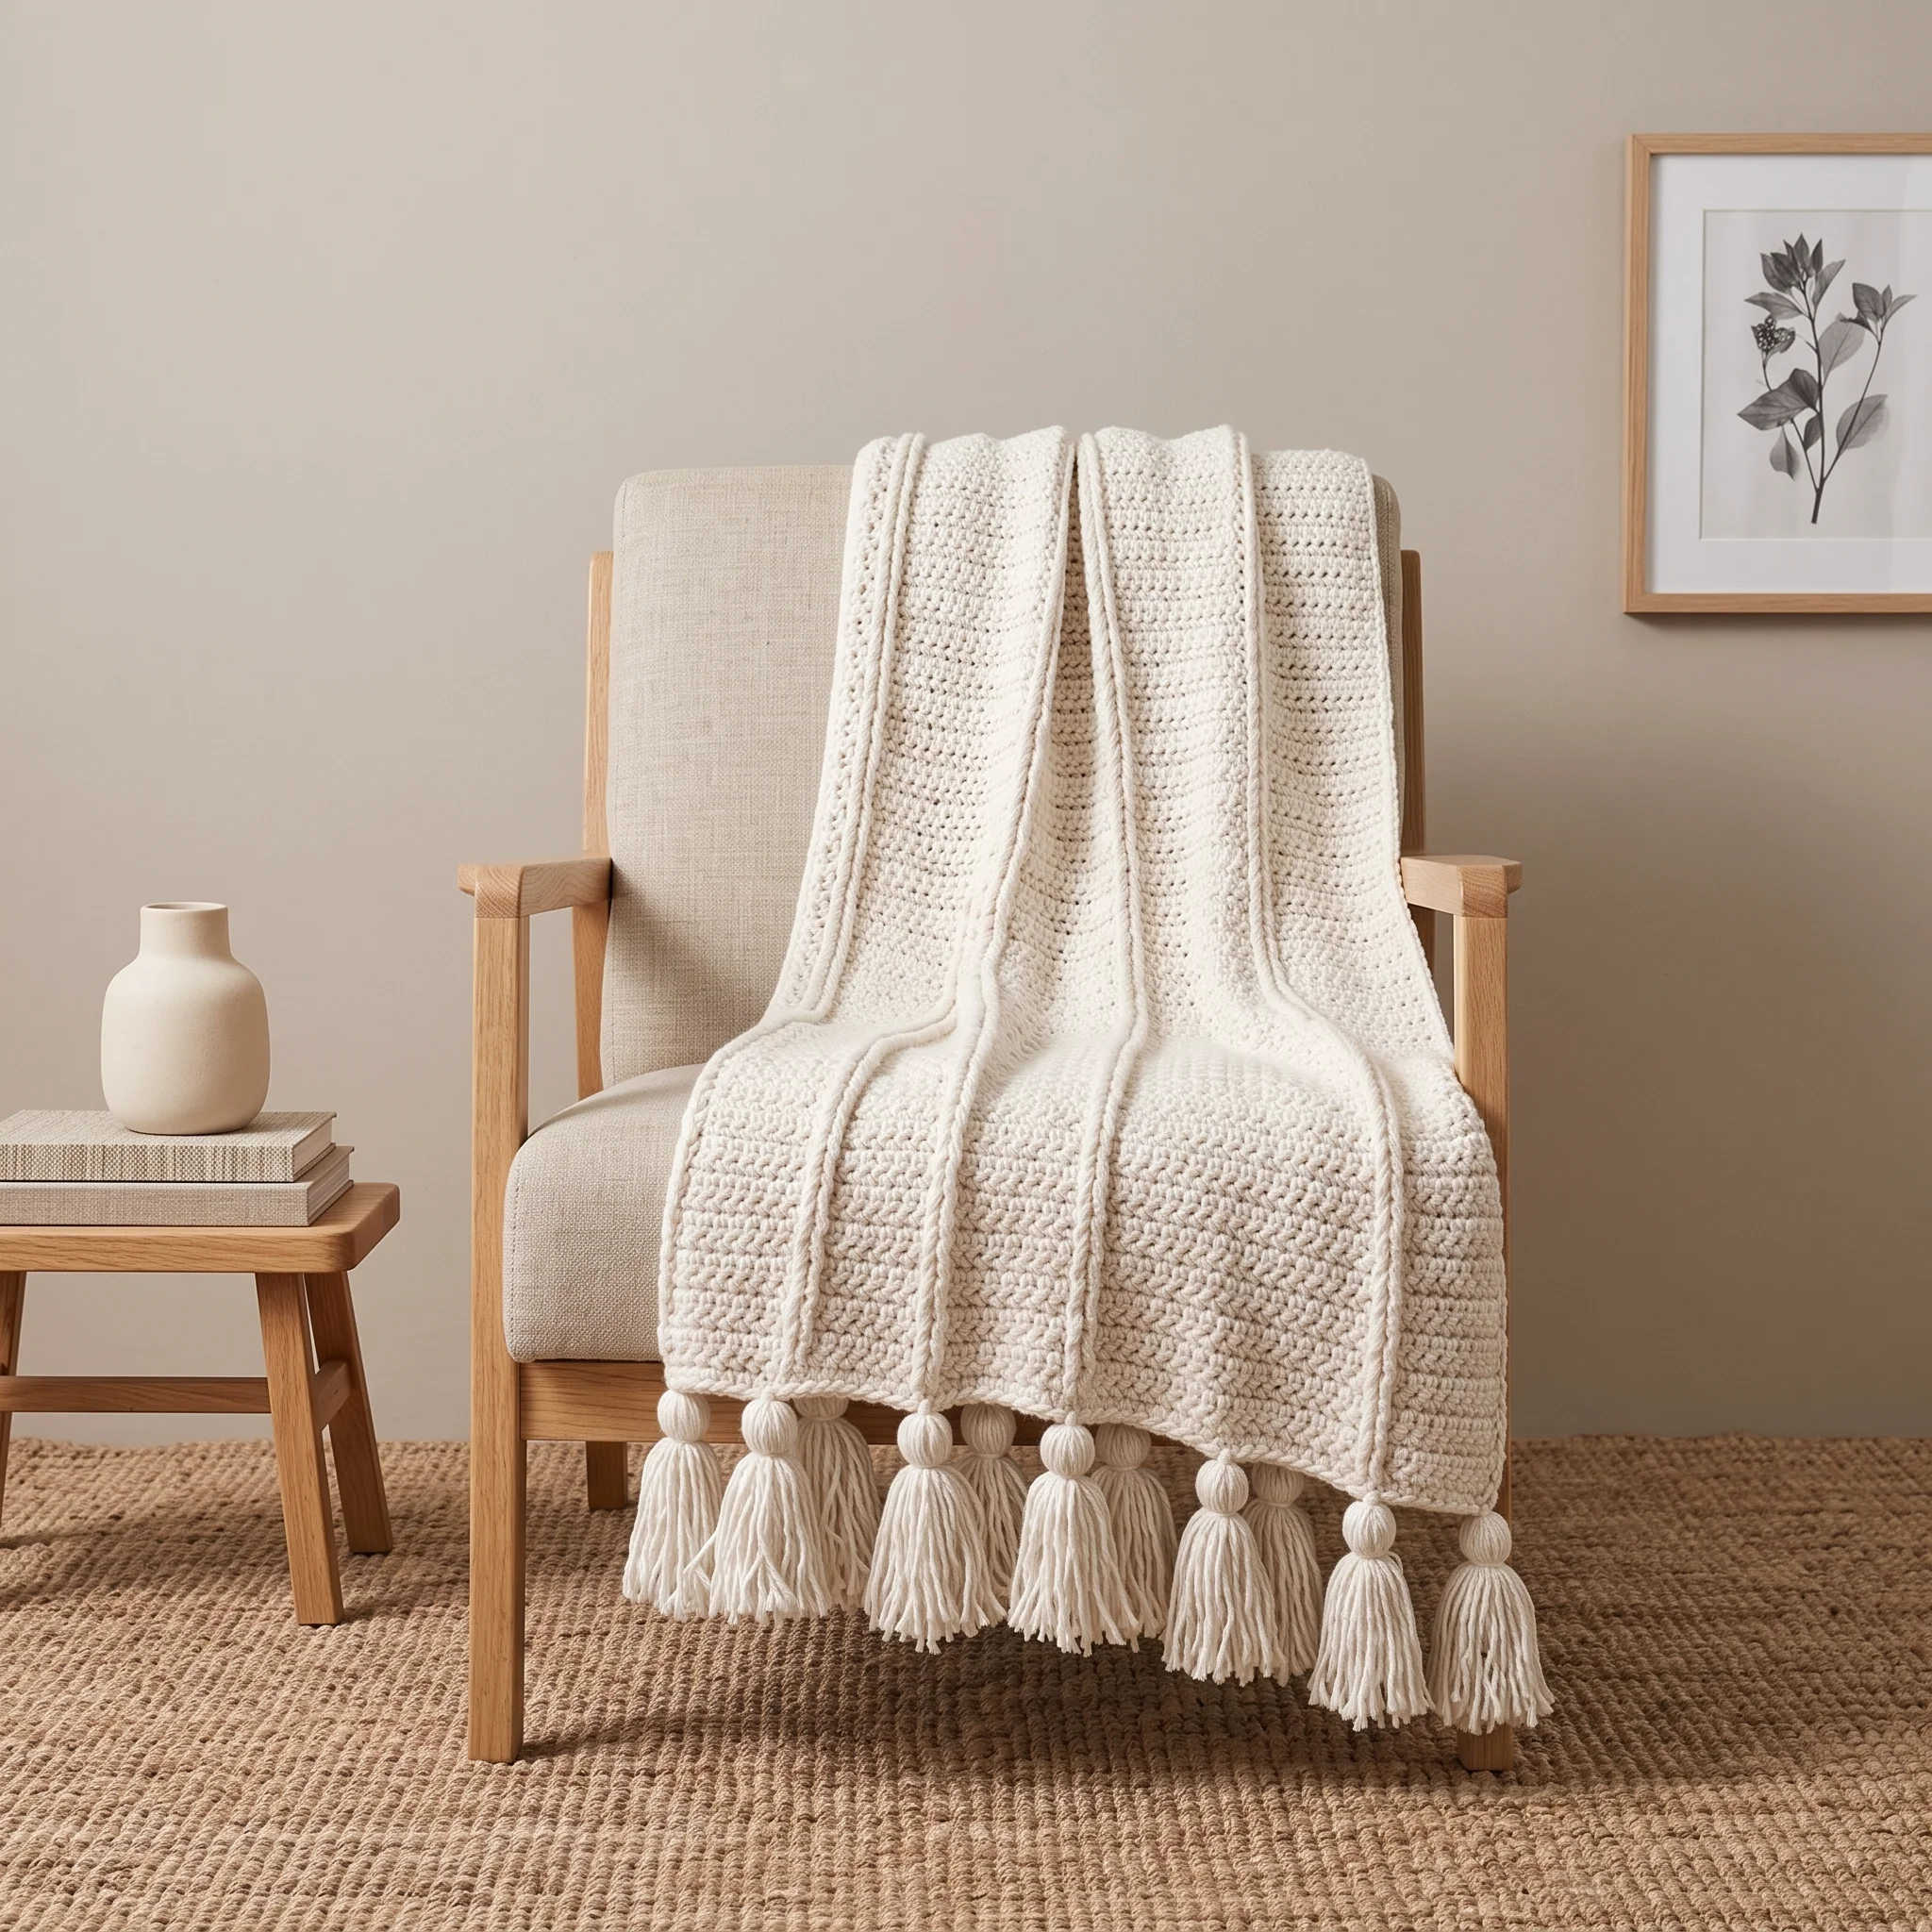
Run your hand across it and you’ll understand. Our free textured crochet blanket pattern creates bold raised ribs that you can feel as much as see, set against a smooth, woven looking background. Self striping yarn adds soft bands of colour without a single colour change, and 24 hand tied tassels finish it with a cosy, bohemian flair. The best part? The whole 43 × 60 inch throw comes from one easy two row repeat.
Why You’ll Love This Textured Crochet Blanket
Texture is what turns a good blanket into a beautiful one. Flat stitches look lovely, but raised stitches catch the light, create shadows and invite you to touch. This blanket is built around that idea, with columns of raised ribs running the length of the throw.
What makes it special is how the ribs are made. Front post and back post stitches alternate direction every row, so each rib looks crisp and defined. Between them, a herringbone half double crochet background adds a subtle, slanted texture that looks almost woven. Together, they create a rich, layered fabric that feels squishy and substantial.
And thanks to self striping yarn, the colour does the work for you. Soft bands of shade appear as you crochet, with no ends to weave in from colour changes. It’s a blanket that looks complex but feels wonderfully calm to make.
What’s Inside the Free Textured Blanket Pattern
Your PDF download makes every step clear:
- A one line overview of the whole blanket before you start
- Step by step guides to herringbone half double crochet, front post and back post double crochet
- Row instructions with stitch counts at the end of every row
- A width chart for five different blanket sizes
- Simple instructions for a single crochet border
- A guide to making and attaching 24 tassels
- A quick cheat sheet to keep beside you as you work
- US crochet terms throughout
Materials for Your Textured Blanket
| Material | Details |
|---|---|
| Yarn | Weight 4 (worsted), self striping, approx. 2,761yd |
| Crochet hook | 6mm (US J/10), for blanket and border |
| Gauge | 14 sts × 6 rows = 4 × 4in (10 × 10cm) |
| Notions | Tapestry needle, scissors |
| Finished size | 43 × 60in (109 × 152cm), excluding tassels |
| Skill level | Easy |
| Crochet terms | US |
Self striping yarn gives this blanket its soft, gradual colour bands. Earthy tones feel calm and natural, while brighter gradients make a cheerful statement. You can also use a solid colour for a classic look that puts the ribs centre stage. Our Yarn Calculator can help you plan how much yarn you’ll need for your chosen size.
The Stitches Behind the Texture
This blanket uses three stitches you may not have tried before, and all three are explained step by step in the pattern.
Herringbone half double crochet is a small twist on the regular half double crochet. You pull one loop through another partway through the stitch, which gives each stitch a gentle slant. Row after row, those slants create a fabric that looks softly woven.
Front post double crochet is worked around the stem of the stitch below from the front, so it pops forward. Back post double crochet is worked around the stem from the back, so it sits back. The two use identical steps. The only difference is the direction your hook goes around the post, and that’s what creates the raised ribs.
Why Self Striping Yarn Works So Well Here
Self striping yarn changes colour on its own as you crochet, so the bands of colour appear naturally across the blanket. On a wide throw like this, each colour section usually stretches across a row or two, creating gentle stripes that flow down the length of the blanket.
Because the yarn handles the colour, there’s no cutting, rejoining or weaving in ends at every change. That keeps the project calm and portable, and it means the finished blanket has fewer ends to tidy at the end. The raised ribs then run straight through the colour bands, giving you two layers of interest in one simple pattern.
One Simple Two Row Repeat
The layout is beautifully simple: pairs of raised stitches sit between wide panels of 12 herringbone stitches, all the way across. Once you’ve worked the opening rows, the entire blanket is just two rows repeated. One row works the raised stitches in one direction, the next row works them the other way, and the background stitches fill in between.
Stitch counts are given at the end of every row, so you can check your progress as you go and catch any slips early. After a few repeats, your hands will know the rhythm, and the blanket becomes a relaxing, meditative project. Simply keep repeating until it measures 60 inches long.
A Throw That Brings Warmth to Any Room
A textured blanket adds instant warmth and character to a space. Drape it over the arm of a sofa, fold it at the foot of a bed or toss it over a reading chair. The tassels add a playful, boho touch, while the raised ribs make it feel thoughtfully handmade.
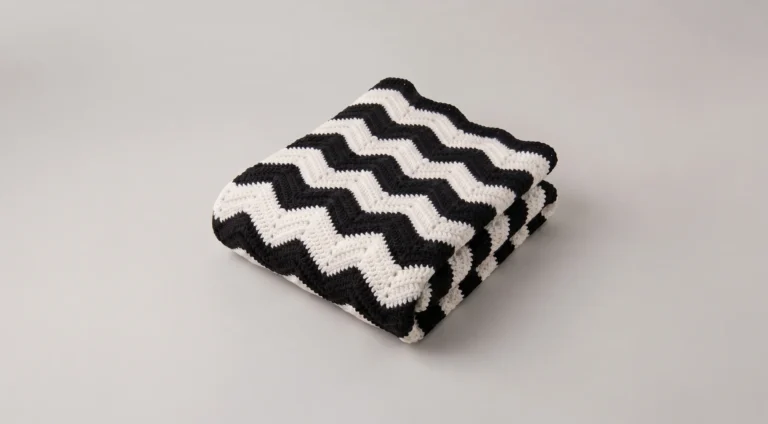
It also makes a beautiful gift for a new home, a wedding or a special birthday. Love textured blankets? Try our Chevron Crochet Blanket Pattern for a bold zigzag, or explore our Crochet Blanket Patterns Free collection.
Make It Any Size
This pattern includes a handy chart so you can make the blanket in five widths, from a cosy 30 inch lap throw to a generous 60 inch bed blanket. Simply choose the foundation chain for the width you want.
Length is even easier. Keep repeating the two row pattern until your blanket is as long as you’d like. That flexibility makes this pattern perfect for baby blankets, lap throws, sofa blankets and full bed covers. Just remember that a larger blanket will need more yarn.
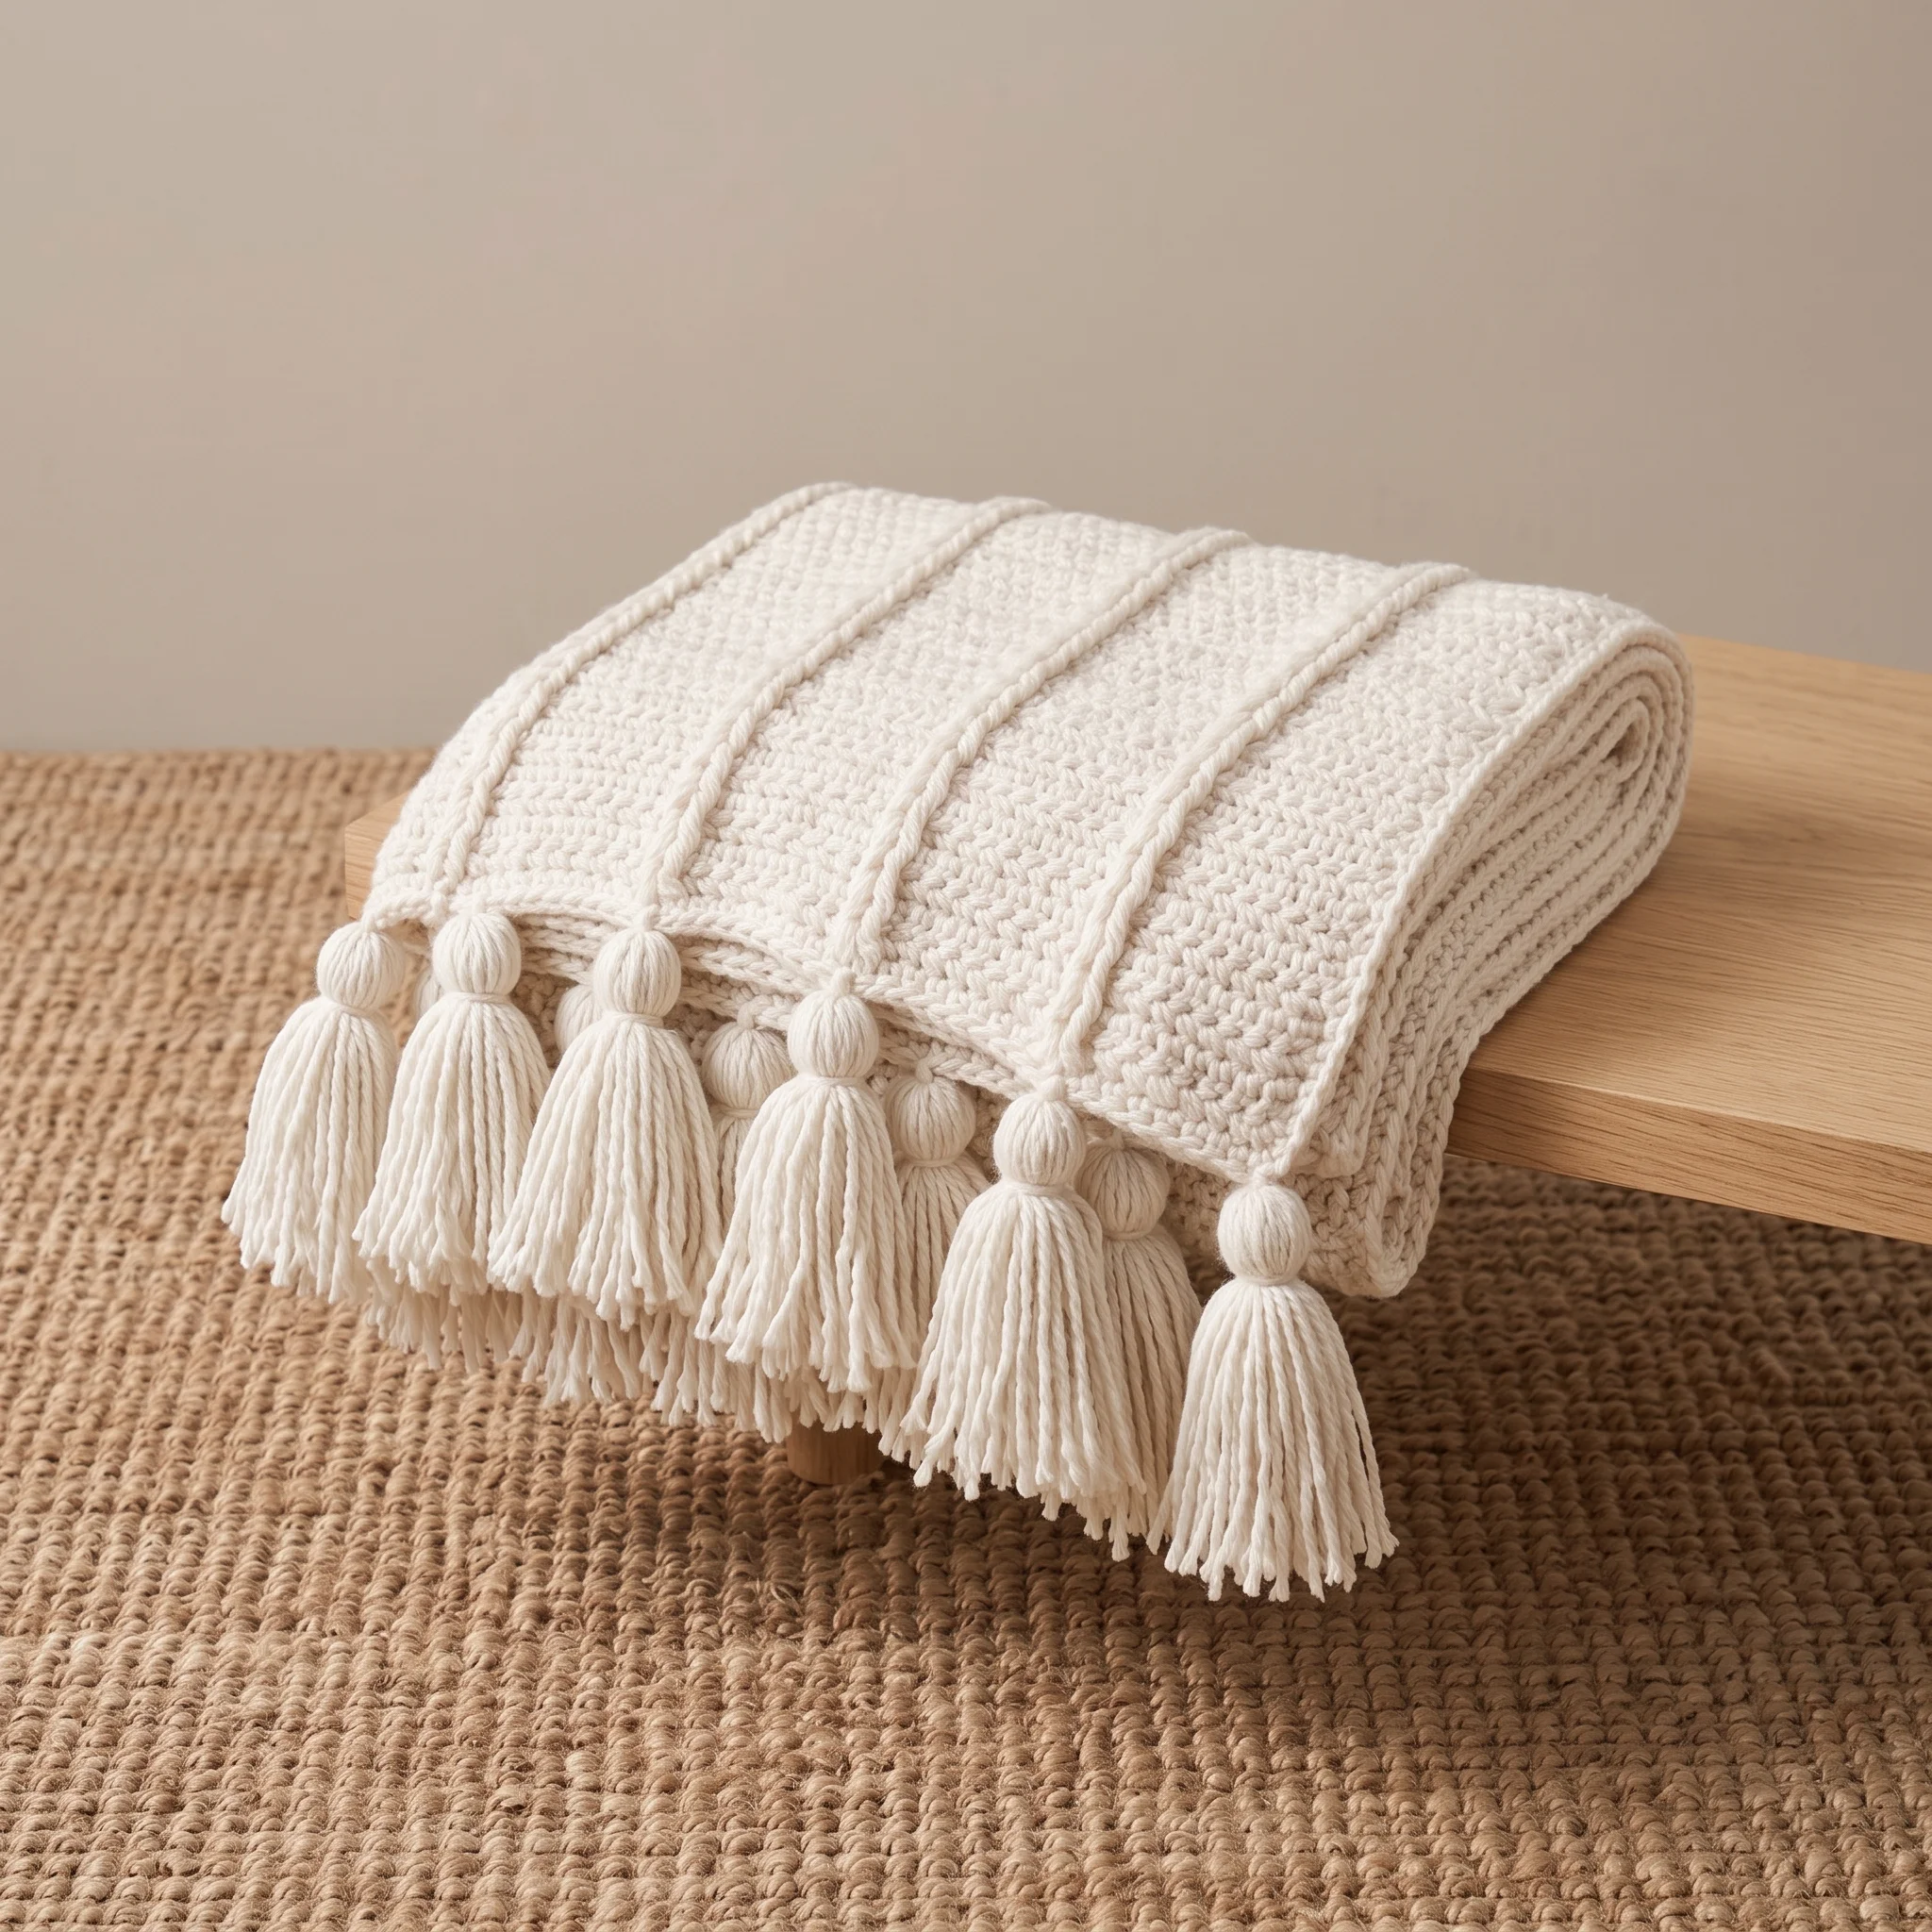
The Finishing Tassels
Tassels give this blanket its joyful, finished look. You’ll make 24 of them by wrapping yarn 30 times around a 4 inch piece of card, tying the top, then tying a neck about an inch below to form a neat tassel head. Trim the ends evenly, then tie them onto the corners of the blanket and at each raised rib section along the ends, so every rib finishes with its own tassel.
Making tassels is a lovely, relaxing final step. You can match them to the blanket or choose a contrasting colour for extra impact. If you prefer a cleaner look, simply skip the tassels and finish with the border alone.
Is This Blanket Right for You?
The pattern is rated Easy. If you’re comfortable with double crochet, you’ll pick up the three special stitches quickly, since each one is explained clearly with step by step instructions.
It’s a lovely next step if you’ve made a simple blanket and want to try texture. The repeat is short and memorable, and the stitch counts at the end of each row make it easy to stay on track.
Make It Your Own
Swap the self striping yarn for a solid colour, and the raised ribs become the star. Cream or oatmeal gives a timeless, cable knit inspired look. You could also stripe the blanket yourself, changing colours every few rows for a bolder pattern.
For a more polished edge, work two or three border rounds instead of one. And for a cosy winter version, use a slightly heavier yarn with a larger hook for an extra plush throw.
When Something Doesn’t Look Quite Right
If your ribs aren’t raised, check that you’re working around the post of the stitch below, not into the top loops. If the ribs look uneven, make sure you’re alternating front post and back post correctly on each row.
If your blanket is getting wider or narrower, count your stitches against the counts given at the end of each row. And if the edges curl, a gentle blocking session once the blanket is finished will help everything lie flat.
Caring for Your Blanket
Check your yarn label first. Many worsted acrylics and blends can be machine washed on a gentle, cool cycle. Lay the blanket flat to dry, easing the tassels straight while they’re damp. A quick trim of any uneven tassel ends keeps it looking fresh for years.
Keep Learning
Want to master the stitches in this blanket? These guides pair perfectly with this pattern: Front Post and Back Post Crochet Explained, How Much Yarn You Need for a Crochet Blanket and How to Block Crochet.
A Few Tips Before You Start
- Practise the three special stitches on a small swatch first.
- Check your stitch count at the end of every row.
- Keep the cheat sheet beside you as you work.
- Measure as you go until the blanket reaches 60in.
- Make tassels in batches for a quick finish.
Frequently Asked Questions
Pick up your hook and let’s bring your next crochet project to life!