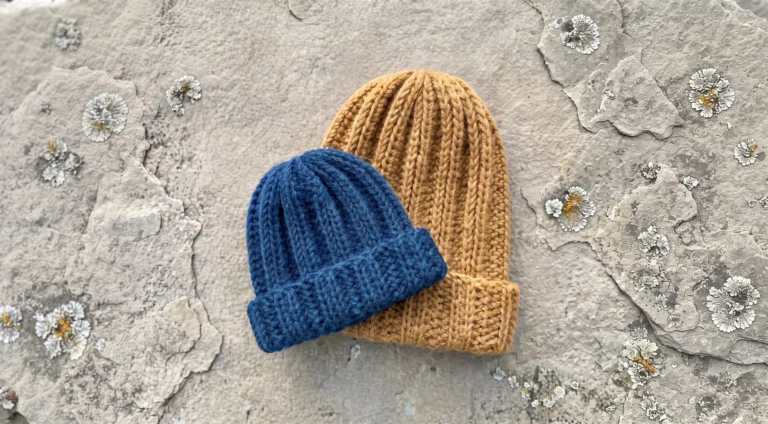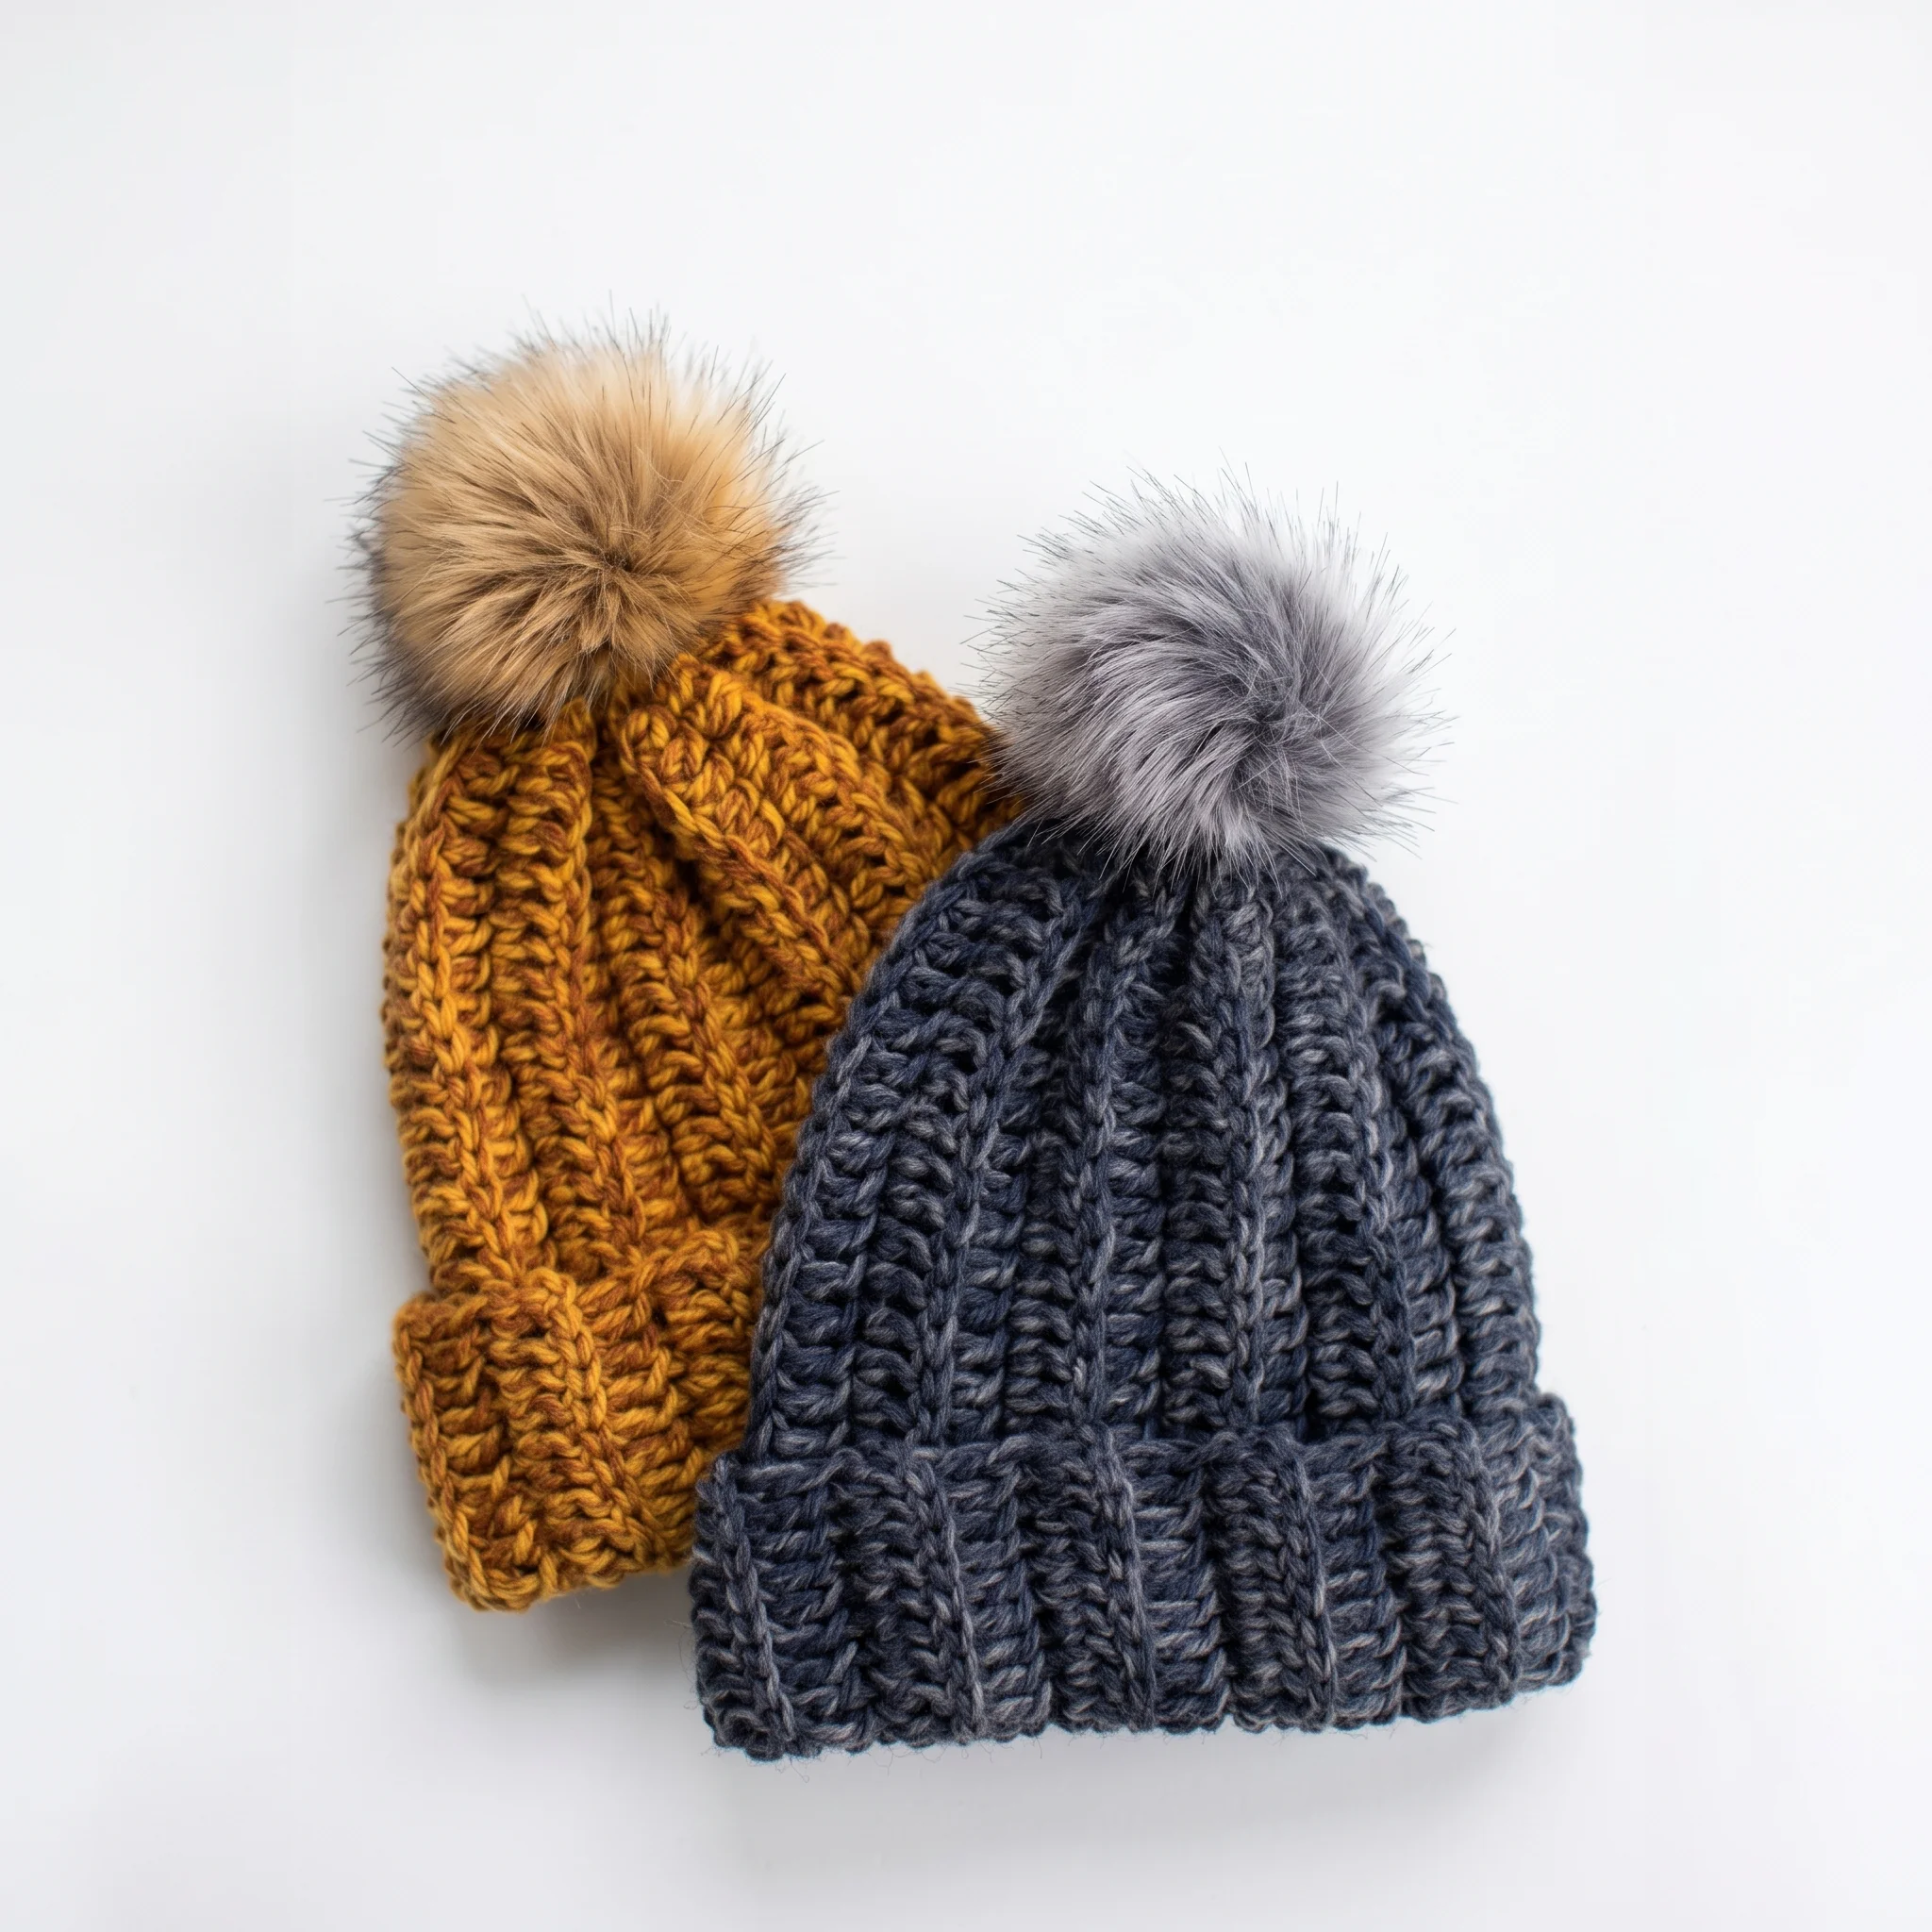
Crochet Beanie Pattern Free Easy Ribbed Beanie for Beginners
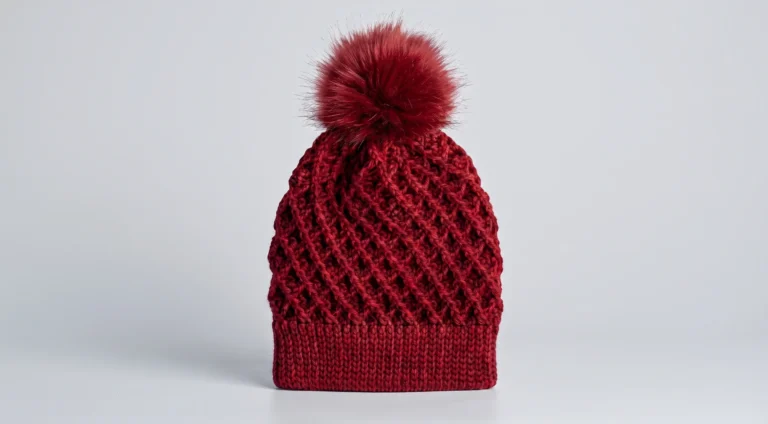
If you can crochet a rectangle, you can make this hat. Our free crochet beanie pattern turns one simple rectangle of double crochet into a stretchy, ribbed beanie with a classic look. There are no rounds to track and no tricky shaping, just easy rows, a simple seam and a cozy hat you’ll want to wear all winter.
Why You’ll Love This Crochet Beanie
This is the hat that makes new crocheters feel unstoppable. Many beanie patterns start in the round, with increases to count and a crown to shape. This one skips all of that. You simply work back and forth in rows, then fold and seam the rectangle into a tube.
The magic happens when you turn it sideways. The rows you crocheted become vertical ribs running from brim to crown, giving you that classic, stretchy ribbed look that suits everyone. Working through the back loops creates the ridges, so the texture builds itself as you go.
And with bulky yarn and a big hook, it grows quickly. You could start it after dinner and be wearing it the next day. That quick progress is exactly what keeps new crocheters motivated, and it’s why so many people make their second one straight away.
What’s Inside the Free Crochet Beanie Pattern
Your PDF download makes your first hat feel easy:
- Three adult sizes with a clear size and fit chart
- An explanation of how the rectangle turns into a ribbed hat
- Simple row instructions with stitch counts
- Rectangle measurements so you can check your size before seaming
- A step by step guide to a neat, almost invisible seam
- Instructions for gathering the top closed
- Tips for adding a pom pom or making a slouchy version
Materials for Your Beanie
| Material | Details |
|---|---|
| Yarn | Bulky weight (Category 5) |
| Crochet hook | 8mm (US L/11), or size needed for gauge |
| Gauge | 10 sts = 4in, and just over 4 rows = 4in |
| Notions | Tapestry needle, stitch markers or safety pins, scissors |
| Skill level | Beginner |
| Crochet terms | US |
Bulky yarn makes the ribs bold and the hat quick to finish. Soft acrylic, wool blends and chunky cotton all work well. Choose a color that goes with your favorite coat, or make a few in different shades to mix and match. Heathered and tweedy yarns look especially lovely, adding depth to the ribs without any extra work.
Find Your Size
This beanie is designed with a little negative ease, which means it’s slightly smaller than your head so it stretches to a snug, comfortable fit.
| Size | Head circumference | Unstretched hat | Rectangle size |
|---|---|---|---|
| Adult Small | 20 to 22in | 18in | 18 × 14.5in |
| Adult Medium | 22 to 23in | 20in | 20 × 14.5in |
| Adult Large | 24 to 25in | 22in | 22 × 14.5in |
Not sure of your size? Wrap a soft tape measure around your head just above your ears and across your forehead. If you fall between two sizes, choose the smaller one for a snug fit.
How the Rectangle Becomes a Hat
Here’s the clever part. You start with a chain and work rows of double crochet, all into the back loops after the first row. Every size uses the same starting chain. The only difference is how many rows you work, since the number of rows becomes the hat’s circumference.
Once your rectangle reaches the right measurement, you fold it so the long edges meet, forming a tube. A neat seam joins them, then you weave your yarn around the top edge and pull it closed. Turn it right side out, and you have a beanie with lovely vertical ribs.
A Neat Seam and a Gathered Crown
The pattern shows you how to sew a tidy seam by working through matching stitches on each edge, alternating between the top and bottom of the stitches. Pulled gently, it sits almost flat and blends into the ribs.
Then, using the same yarn tail, you whip stitch around the top edge, about one stitch through each row end. Pull the yarn, and the top gathers closed into a neat crown. If a small opening remains, a few extra stitches close it completely.
Is This Beanie Right for You?
If you’re just starting out, this is one of the best first projects you can choose. You only need two stitches, the chain and the double crochet, plus working into the back loop, which the pattern explains clearly. There’s no counting increases and no working in circles.
If you’ve been crocheting for a while, you’ll still love it as a quick, satisfying make. It’s perfect for using up a lovely skein of bulky yarn, making last minute gifts, or filling a basket of hats for a winter market. Many crocheters find it becomes their go to pattern whenever they need a cozy gift fast.
The Perfect First Wearable Project
There’s nothing quite like wearing something you’ve made yourself. This beanie is the ideal first wearable, simple enough to finish with confidence and stylish enough to wear proudly every day.
It’s also a wonderful gift. Make matching hats for the whole family, or a stack for a winter charity drive. Once you’ve made one, try our Chunky Crochet Beanie Pattern or Crochet Cable Hat Pattern for your next cozy make.

Adding a Pom Pom
A pom pom adds instant charm. Keep your yarn tail attached after closing the top, then use it to sew your pom pom on securely. You can make one from matching yarn, choose a contrasting color, or add a fluffy faux fur pom pom for a stylish finish.
Make It Your Own
Love a relaxed, slouchy hat? Simply add 7 to 12 extra chains to the starting chain to make the hat taller. Prefer a fitted look? Fold up the brim for a cozy cuff that keeps your ears extra warm.
Stripes are easy too. Since the rows become vertical ribs, changing color every few rows creates bold vertical stripes around the hat. Just remember to finish with an even number of rows so the seam lines up neatly.
When Something Doesn’t Look Quite Right
If your hat feels too tight or too loose, check your gauge. A bigger hook makes a larger hat, and a smaller hook makes a snugger one. You can also add or remove a couple of rows, keeping the total an even number.
If the seam looks bulky, pull it a little more gently and work through the matching stitches carefully. And if the top won’t close fully, simply add a few extra stitches across the small opening. It’s an easy fix that no one will ever notice.
Caring for Your Beanie
Check your yarn label first, since care depends on the fiber. Most acrylic and wool blend beanies are happiest hand washed in cool water with a gentle detergent. Press out the water without wringing, then lay the hat flat to dry, gently easing the ribs back into shape.
Avoid hanging it to dry, as the weight of the water can stretch it. Stored folded in a drawer rather than on a hook, your beanie will keep its snug, springy fit for many winters to come.
Keep Learning
Building your skills? These guides pair beautifully with this pattern: Why Crochet Gets Wider or Curls, How to Change Colors in Crochet and How Much to Charge for Crochet Items.
A Few Tips Before You Start
- Check your gauge so your hat fits just right.
- Work into the back loops from Row 2 for the ribbed texture.
- Measure your rectangle before seaming.
- Keep the long yarn tail for seaming and closing the top.
- Finish with an even number of rows.
Frequently Asked Questions
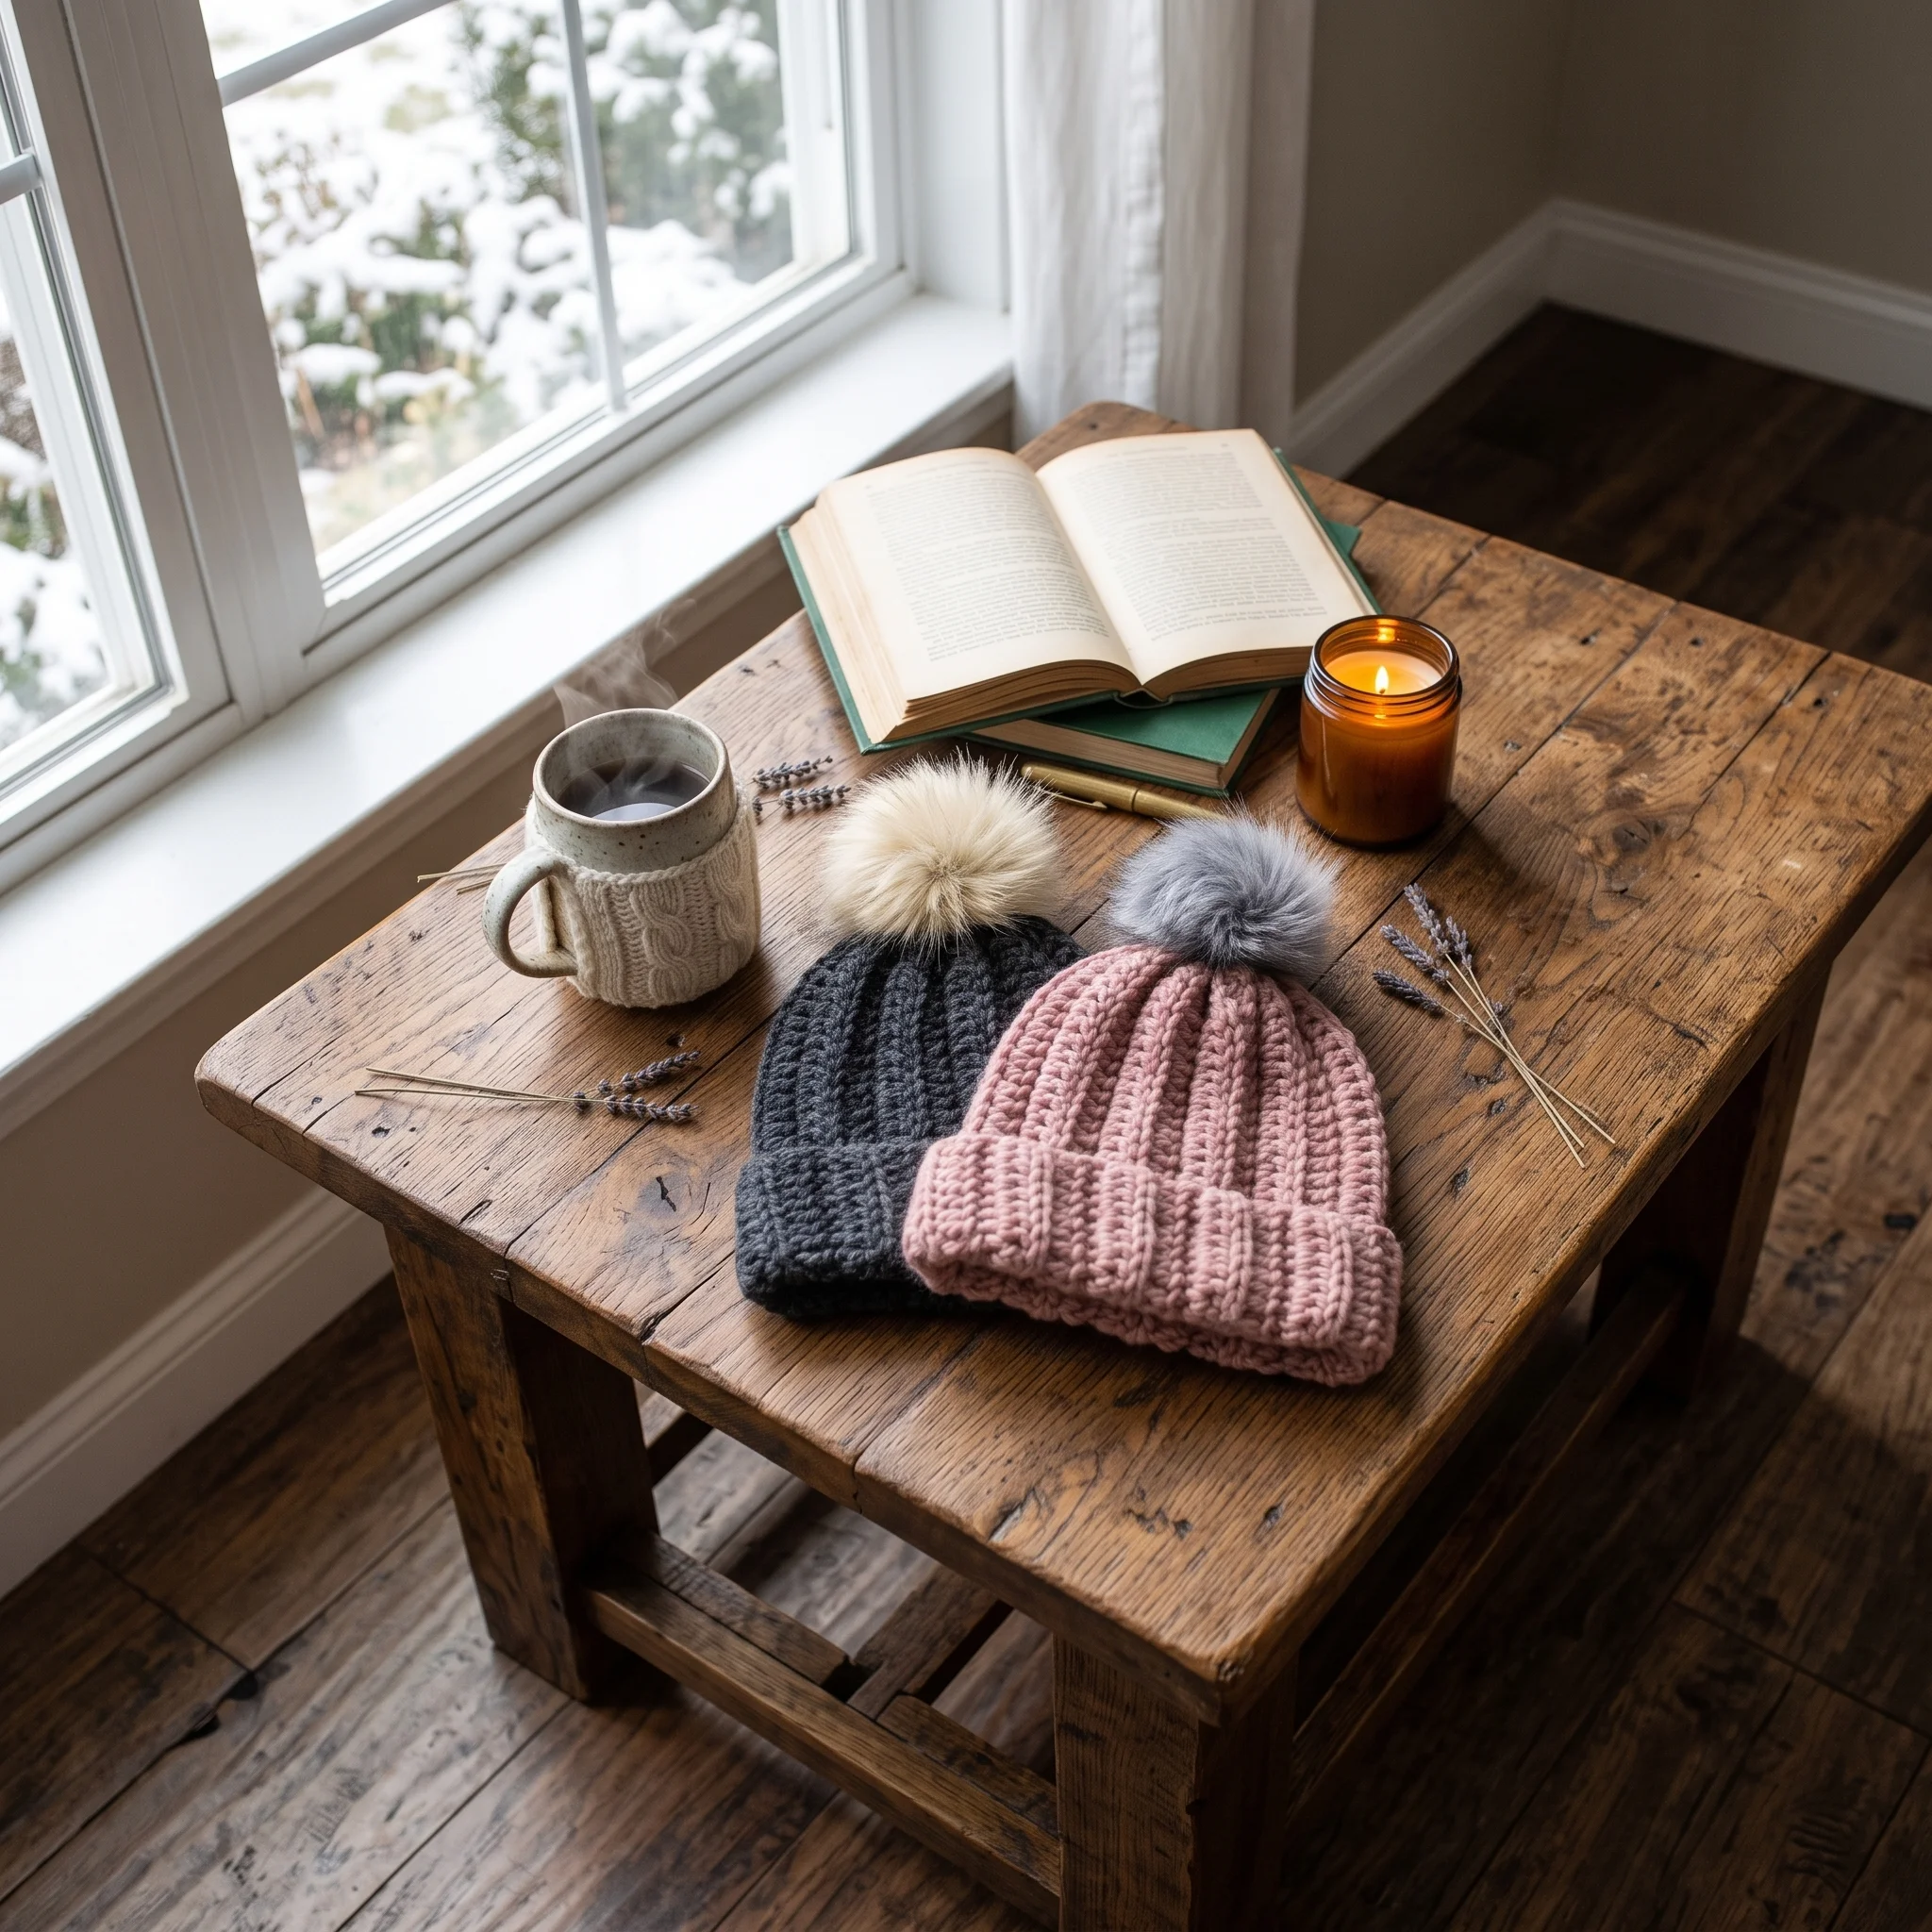
Pick up your hook and let’s bring your next crochet project to life!