How to Change Colors in Crochet Without the Jog or Messy Edges
A stray loop of the old color or a stripe that steps out of line can spoil a beautiful project. Here’s how to change colors in crochet cleanly in rows, rounds and spirals, without the jog.
How Do You Change Colors in Crochet Neatly
To change colors in crochet neatly, work the last stitch in the old color until the final yarn over, then pull the new color through to finish that stitch. The new color is then ready on your hook, and the next stitch starts cleanly in the new shade.
In rows, make the change on the last stitch of the row before the new color begins. Your turning chain then sits in the new color, and the stripe edge stays crisp.
In joined rounds, change on the final step of the last stitch, then join with the new color.
In continuous spiral rounds, you’ll always get a small step, called a jog, where the colors meet. You can’t remove it completely, but you can make it almost invisible by switching on the final yarn over, then working a slip stitch or a shorter stitch to ease the step.
To carry a color across a short distance, work over the unused strand so it’s hidden inside your stitches. This is the basis of tapestry crochet.
Weave in ends securely in at least two directions, or crochet over the tails as you go to save time later. To join a new ball of the same color without a knot, try the Russian join, which hides the join inside the yarn itself.
Below you’ll find step by step methods for rows, rounds and spirals, how to fix the jog, how to carry yarn, and tips for stripes, color blocks and picture blankets.
You’ve chosen the perfect colors for your project. The stripes look beautiful in your head. Then you make your first color change, and something isn’t quite right. There’s a little loop of the old color peeking out. Or a stripe that should be straight looks like a staircase. Or, after an hour of stitching, you’re facing what feels like a hundred yarn ends.
Learning how to change colors in crochet is one of the most useful skills you can master, and one of the most frustrating at first. Crocheters often say their stripes don’t line up, that every round in a hat has an ugly step, or that their colorwork looks messy at the edges.
The good news is that a few small techniques solve almost every problem. Once you know where to make the change and how to handle the yarn, your color changes become clean, crisp and almost invisible.
This guide walks you through every method, from simple stripes in rows to jogless rounds and tapestry crochet, in clear, easy steps.
Why Color Changes Look Messy
When people ask how to change colors in crochet without a mess, the problem usually comes from one of four causes.
Changing at the wrong moment: If you finish a stitch completely in the old color and then start the new color, the top loop of the last stitch shows in the old color. That creates a small dot or bump where the stripe should be clean.
The spiral jog: In continuous rounds, each round is slightly higher than the last. When you change colors, the end of one round sits next to the start of the next, which creates a visible step.
Loose ends: Yarn tails that aren’t secured can pull loose, leaving gaps or holes near the change.
Uneven tension: Pulling the new color too tightly or leaving it too loose changes the size of the first few stitches, which makes the stripe edge look wobbly.
Understanding these causes makes the fixes easy to remember.
The Basic Color Change Method
This one technique is the foundation of nearly every neat color change.
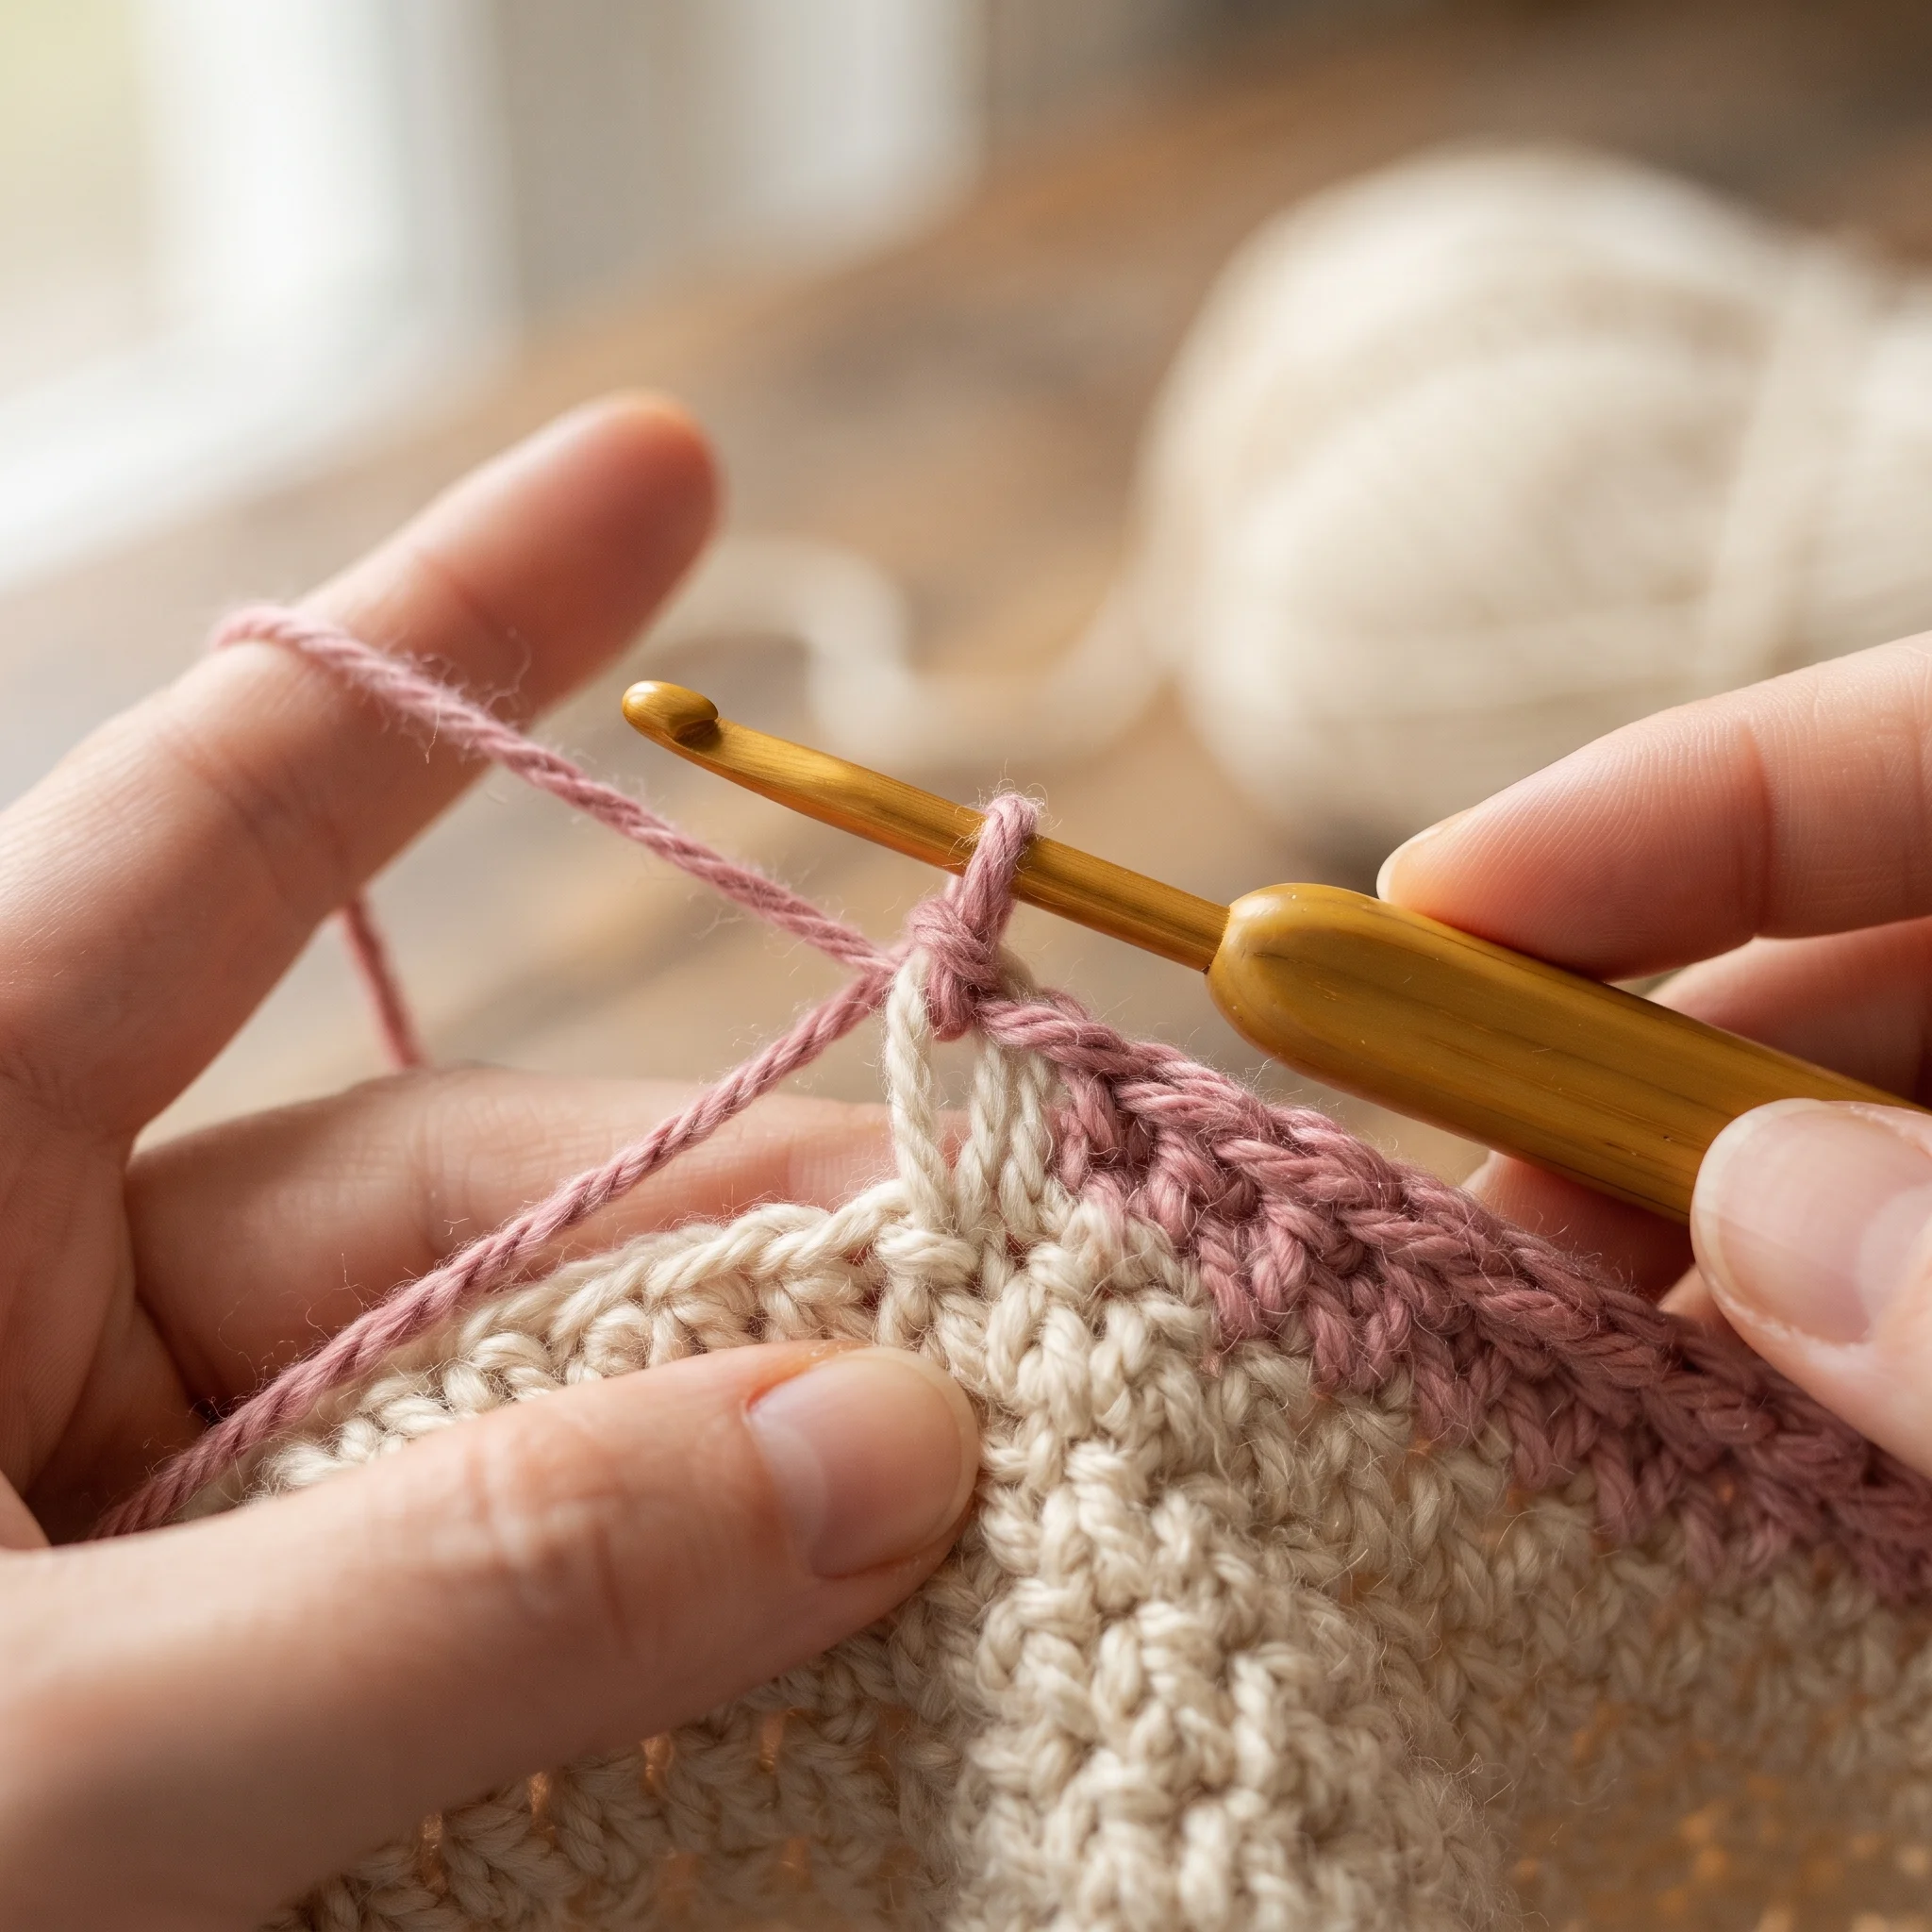
Step 1. Work the stitch before the color change as normal, but stop before the final yarn over. For single crochet, you’ll have two loops on your hook. For double crochet, you’ll have two loops left after the first pull through.
Step 2. Drop the old color and pick up the new color.
Step 3. Yarn over with the new color and pull it through the remaining loops to finish the stitch.
Step 4. Continue with the new color.
That’s it. This is the heart of how to change colors in crochet neatly. The top of the last stitch is now in the new color, so the next row or stitch begins with a clean line and no stray bump of the old shade.
Leave tails of about 6 inches on both colors, so you can weave them in securely later. Give each tail a gentle tug after a few stitches to snug up the first new stitch.
Changing Colors in Different Stitches
The basic method works for every stitch, but the moment you switch is slightly different depending on how tall the stitch is. Here’s how to change colors in crochet for the most common stitches.
Single crochet: Insert your hook, pull up a loop so you have two loops on the hook, then yarn over with the new color and pull through both loops.
Half double crochet: Yarn over, insert your hook, pull up a loop so you have three loops on the hook, then yarn over with the new color and pull through all three.
Double crochet: Yarn over, insert your hook, pull up a loop, yarn over and pull through two loops. You now have two loops left. Yarn over with the new color and pull through the last two.
Treble crochet: Work the stitch as usual until two loops remain, then finish it with the new color.
Slip stitch: Insert your hook, then pull the new color through both the stitch and the loop on your hook.
The rule is always the same: the new color completes the old stitch. Once you’ve done it a few times with each stitch, it becomes completely automatic.
How to Change Colors in Crochet Rows
Stripes worked in rows are the easiest place to practise.
Change on the last stitch: Work across the row until you reach the very last stitch. Work it in the old color until the final yarn over, then pull through with the new color.
Turn and chain in the new color: Your turning chain is now in the new color, so the edge of the stripe stays clean.
Cut or carry the old color: If the old color won’t be used again for many rows, cut it, leaving a tail. If you’ll use it again in two or four rows, you can carry it up the side of the work instead of cutting.
Carrying up the side: Simply let the unused color hang at the edge. When you need it again, pick it up and use it. To keep the carried strand neat, twist it once around the working yarn at the start of each row. This saves weaving in lots of ends on striped blankets.
Our chevron crochet blanket pattern uses exactly this method for its crisp two color zigzag stripes.
How to Change Colors in Joined Rounds
Many hats, granny squares and baskets are worked in joined rounds, where each round ends with a slip stitch into the first stitch.
Method one: change before the join: Work the last stitch of the round, stopping before the final yarn over. Pull the new color through to finish it, then make the joining slip stitch with the new color. The next round begins cleanly in the new shade
Method two: change on the join: Finish the last stitch in the old color. Insert your hook into the first stitch, then pull the new color through to make the joining slip stitch. This works well when a pattern asks you to join a new color in a specific spot.
For granny squares: many crocheters fasten off the old color and join the new color in a corner space. Starting each round in a different corner helps hide the joins.
Our granny square blanket pattern and sunflower granny square bag pattern both use color changes at the start of each round, which makes them great practice.
Changing Colors in Granny Squares
Granny squares are one of the most popular ways to play with color, and a few habits keep them neat.
Join in a corner: Start each new color in a corner space rather than along a side. The join hides more easily among the corner stitches.
Rotate your joins: Start each round in a different corner. If every round begins in the same corner, the joins stack up and create a visible line.
Crochet over your tails: As you work the first cluster of a new color, lay the tails along the top of the round and work over them. You’ll have far fewer ends to weave in.
Try a standing stitch: Instead of joining with a slip stitch and chaining up, you can start the new color with a standing double crochet, made by holding a slip knot on your hook and working the stitch directly into the space. It creates an almost invisible start.
Plan colors before you start: Lay your yarns side by side and decide the order for each round. Writing it down saves confusion when you’re making dozens of squares.
How to Change Colors in Spiral Rounds
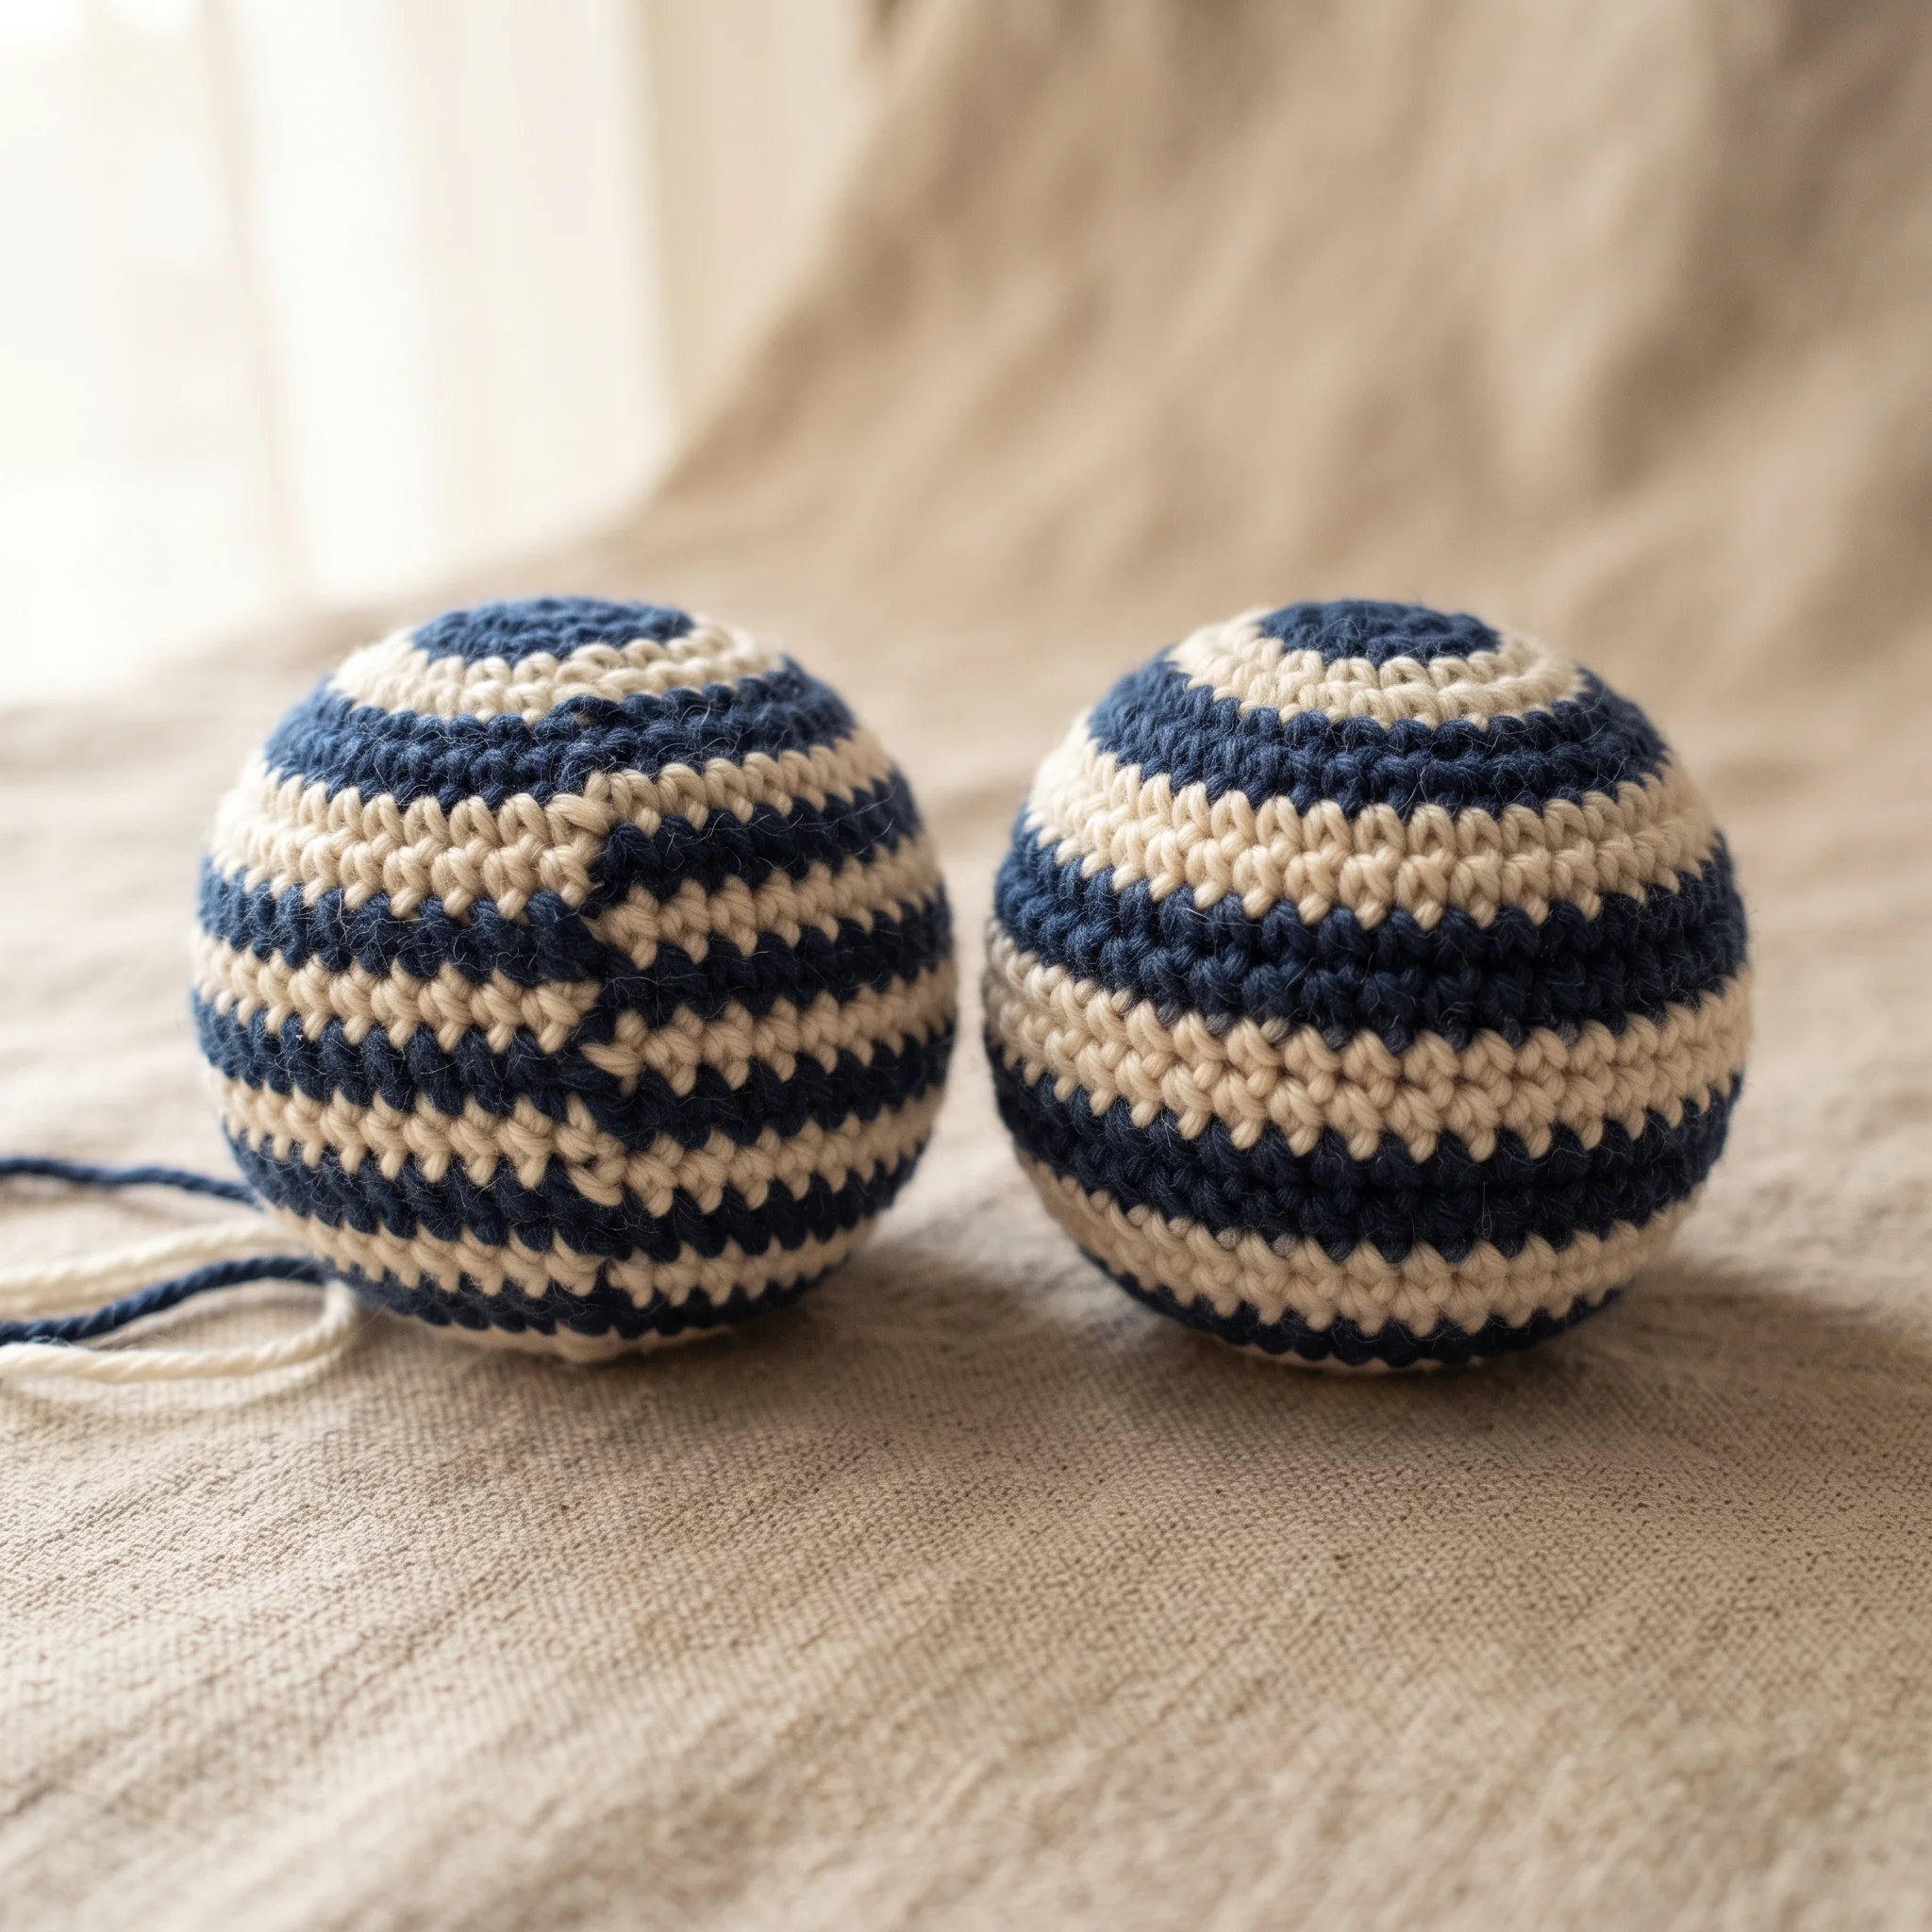
Amigurumi and many hats are worked in continuous spiral rounds, with no joining slip stitch. That’s where the famous jog appears.
Why it happens: In a spiral, each round climbs slightly as it goes, like a staircase. When you change colors, the last stitch of the old color sits next to the first stitch of the new color, but one round higher. That height difference shows as a step.
The basic method still applies: Change colors on the final yarn over of the last stitch of the round. Then use one of the jog fixes in the next section.
Place the jog thoughtfully: Since the jog can’t disappear completely, put it at the back of the amigurumi or hat, where it won’t be noticed. Our crochet Christmas bauble pattern recommends placing the color change on the back of the bauble, away from the buckle.
How to Fix the Jog
There’s no perfect way to make a spiral completely jogless, but these techniques make the step much less noticeable.
Slip stitch fix: After changing colors, work the first stitch of the new round as a slip stitch, then continue in your normal stitch. The shorter slip stitch eases the climb and softens the step.
Short stitch fix: In taller stitches, work the first stitch of the new color round as a half double crochet or single crochet instead of a double crochet, which smooths the transition.
Pull the tail fix: When you finish, use the yarn tail of the old color to pull the last stitch slightly down and across, then weave it in on the inside. This lowers the step.
Switch to joined rounds for stripes: If a design has lots of stripes, work it in joined rounds instead of a spiral. Joined rounds line up neatly and avoid most of the jog.
Turn your work: Some crocheters turn at the end of each joined round, working back and forth. This keeps seams straight and reduces the drift of the join.
Changing Colors Mid Row
Some designs change colors in the middle of a row, for blocks of color, letters or motifs.
Use the same method: Work the stitch before the change until the final yarn over, then finish it with the new color.
Drop the old color to the wrong side: Leave the old color hanging at the back of your work, so you can pick it up later or cut it if it’s not needed again.
Use bobbins for big color blocks: For large areas of color, wind small amounts of each color onto bobbins or clips. This is called intarsia. Each color area has its own bobbin, which stops the yarn from tangling.
Keep tension even: Don’t pull the new color tight. Let it sit relaxed, just like your normal stitches, so the color block doesn’t pucker.
Joining a New Color Without a Knot
Many crocheters tie a knot when joining a new color, but knots can work loose, create lumps and show through on the front. These knot free methods give a cleaner finish.
The standard join: The method in this guide, pulling the new color through to finish the last stitch, needs no knot at all. Just leave tails and weave them in later.
The Russian join: This joins two yarns end to end by threading each tail back into itself with a needle, so the join is hidden inside the yarn. It’s ideal when you’re adding a new ball of the same color in the middle of a row, since there are no ends to weave in.
The magic knot: Some crocheters use a small sliding knot that tightens into a tiny, secure join. It’s quick, but the knot can sometimes show on the front, so it’s best for busy or textured stitches.
Spit splicing: For pure wool or other feltable animal fibers, the two ends can be felted together with a little moisture and friction. It doesn’t work on acrylic or cotton.
For most color changes, the standard method is all you need. The other joins are handy for adding a new ball or for projects where you want as few ends as possible.
Carrying Yarn and Tapestry Crochet
Carrying yarn means taking an unused color along with you, hidden inside your stitches, until you need it again.
How to carry yarn: Lay the unused color along the top of the row you’re working into. As you make each stitch, work over the carried strand, so it’s enclosed inside the stitch. When you need that color again, simply pick it up and use it.
Tapestry crochet uses this technique to create detailed patterns, often in single crochet. Two or more colors travel along every row, and you switch between them as the design requires. The result is a dense, sturdy fabric with crisp patterns.
Our candy cane uses this technique: Our crochet candy cane pattern carries the unused color inside each round, which creates its spiralling stripes with no loose ends to weave in at every change.
Tips for carrying yarn
- Keep the carried strand relaxed, or it will pull the fabric and cause puckering.
- Carried yarn may peek through taller stitches, so tapestry crochet works best in single crochet.
- Carrying adds thickness, which is great for bags and baskets but can make garments stiffer.
- Untwist your yarns every few rows, since switching colors twists the strands together.
Changing Colors in Corner to Corner and Graphghans
Corner to corner (C2C) blankets and graphghans use lots of color changes to create pictures.
C2C color changes happen at the end of each small tile. Change to the new color on the final yarn over of the last stitch of the tile, then work the next tile in the new color.
Use bobbins: Wind each color onto a bobbin or yarn clip, and work each color section from its own bobbin. This avoids carrying long strands across the back.
Expect lots of ends: Picture blankets can have hundreds of ends. Weave them in as you go, a few rows at a time, rather than leaving them all to the end.
Plan your yarn: Picture blankets need careful yarn planning, since each color is used in different amounts. Our crochet yarn calculator includes a stitch count mode designed for graphghans and C2C blankets.
Choosing Colors That Work Together
Clean technique matters, but so does choosing colors that look good side by side.
Start with contrast: Colors that are very different in lightness, such as cream and navy, create bold, crisp stripes. Colors that are similar in lightness blend softly together.
Try the photo test: Take a black and white photo of your yarns side by side. If they look almost the same in grey, they’ll blend. If they look clearly different, they’ll stand out.
Use a neutral anchor: Pairing bright colors with a neutral like cream, grey or oatmeal keeps a design calm and balanced.
Limit your palette: Three to five colors usually look more polished than ten.
Think about the purpose: Soft pastels suit baby blankets, warm earthy tones feel cosy in a living room, and bright primaries are playful for children’s toys.
If you’re unsure, start with two colors. Our two color chevron throw shows how striking a simple palette can be.
Stripes That Line Up Perfectly
Beautiful stripes are about planning as well as technique.
Count your rows: Decide how many rows each stripe will be and keep a simple record, such as a row counter or a notebook tally.
Even numbers for carrying: Stripes with an even number of rows let you carry the yarn up the same side, since you’ll always finish on the same edge.
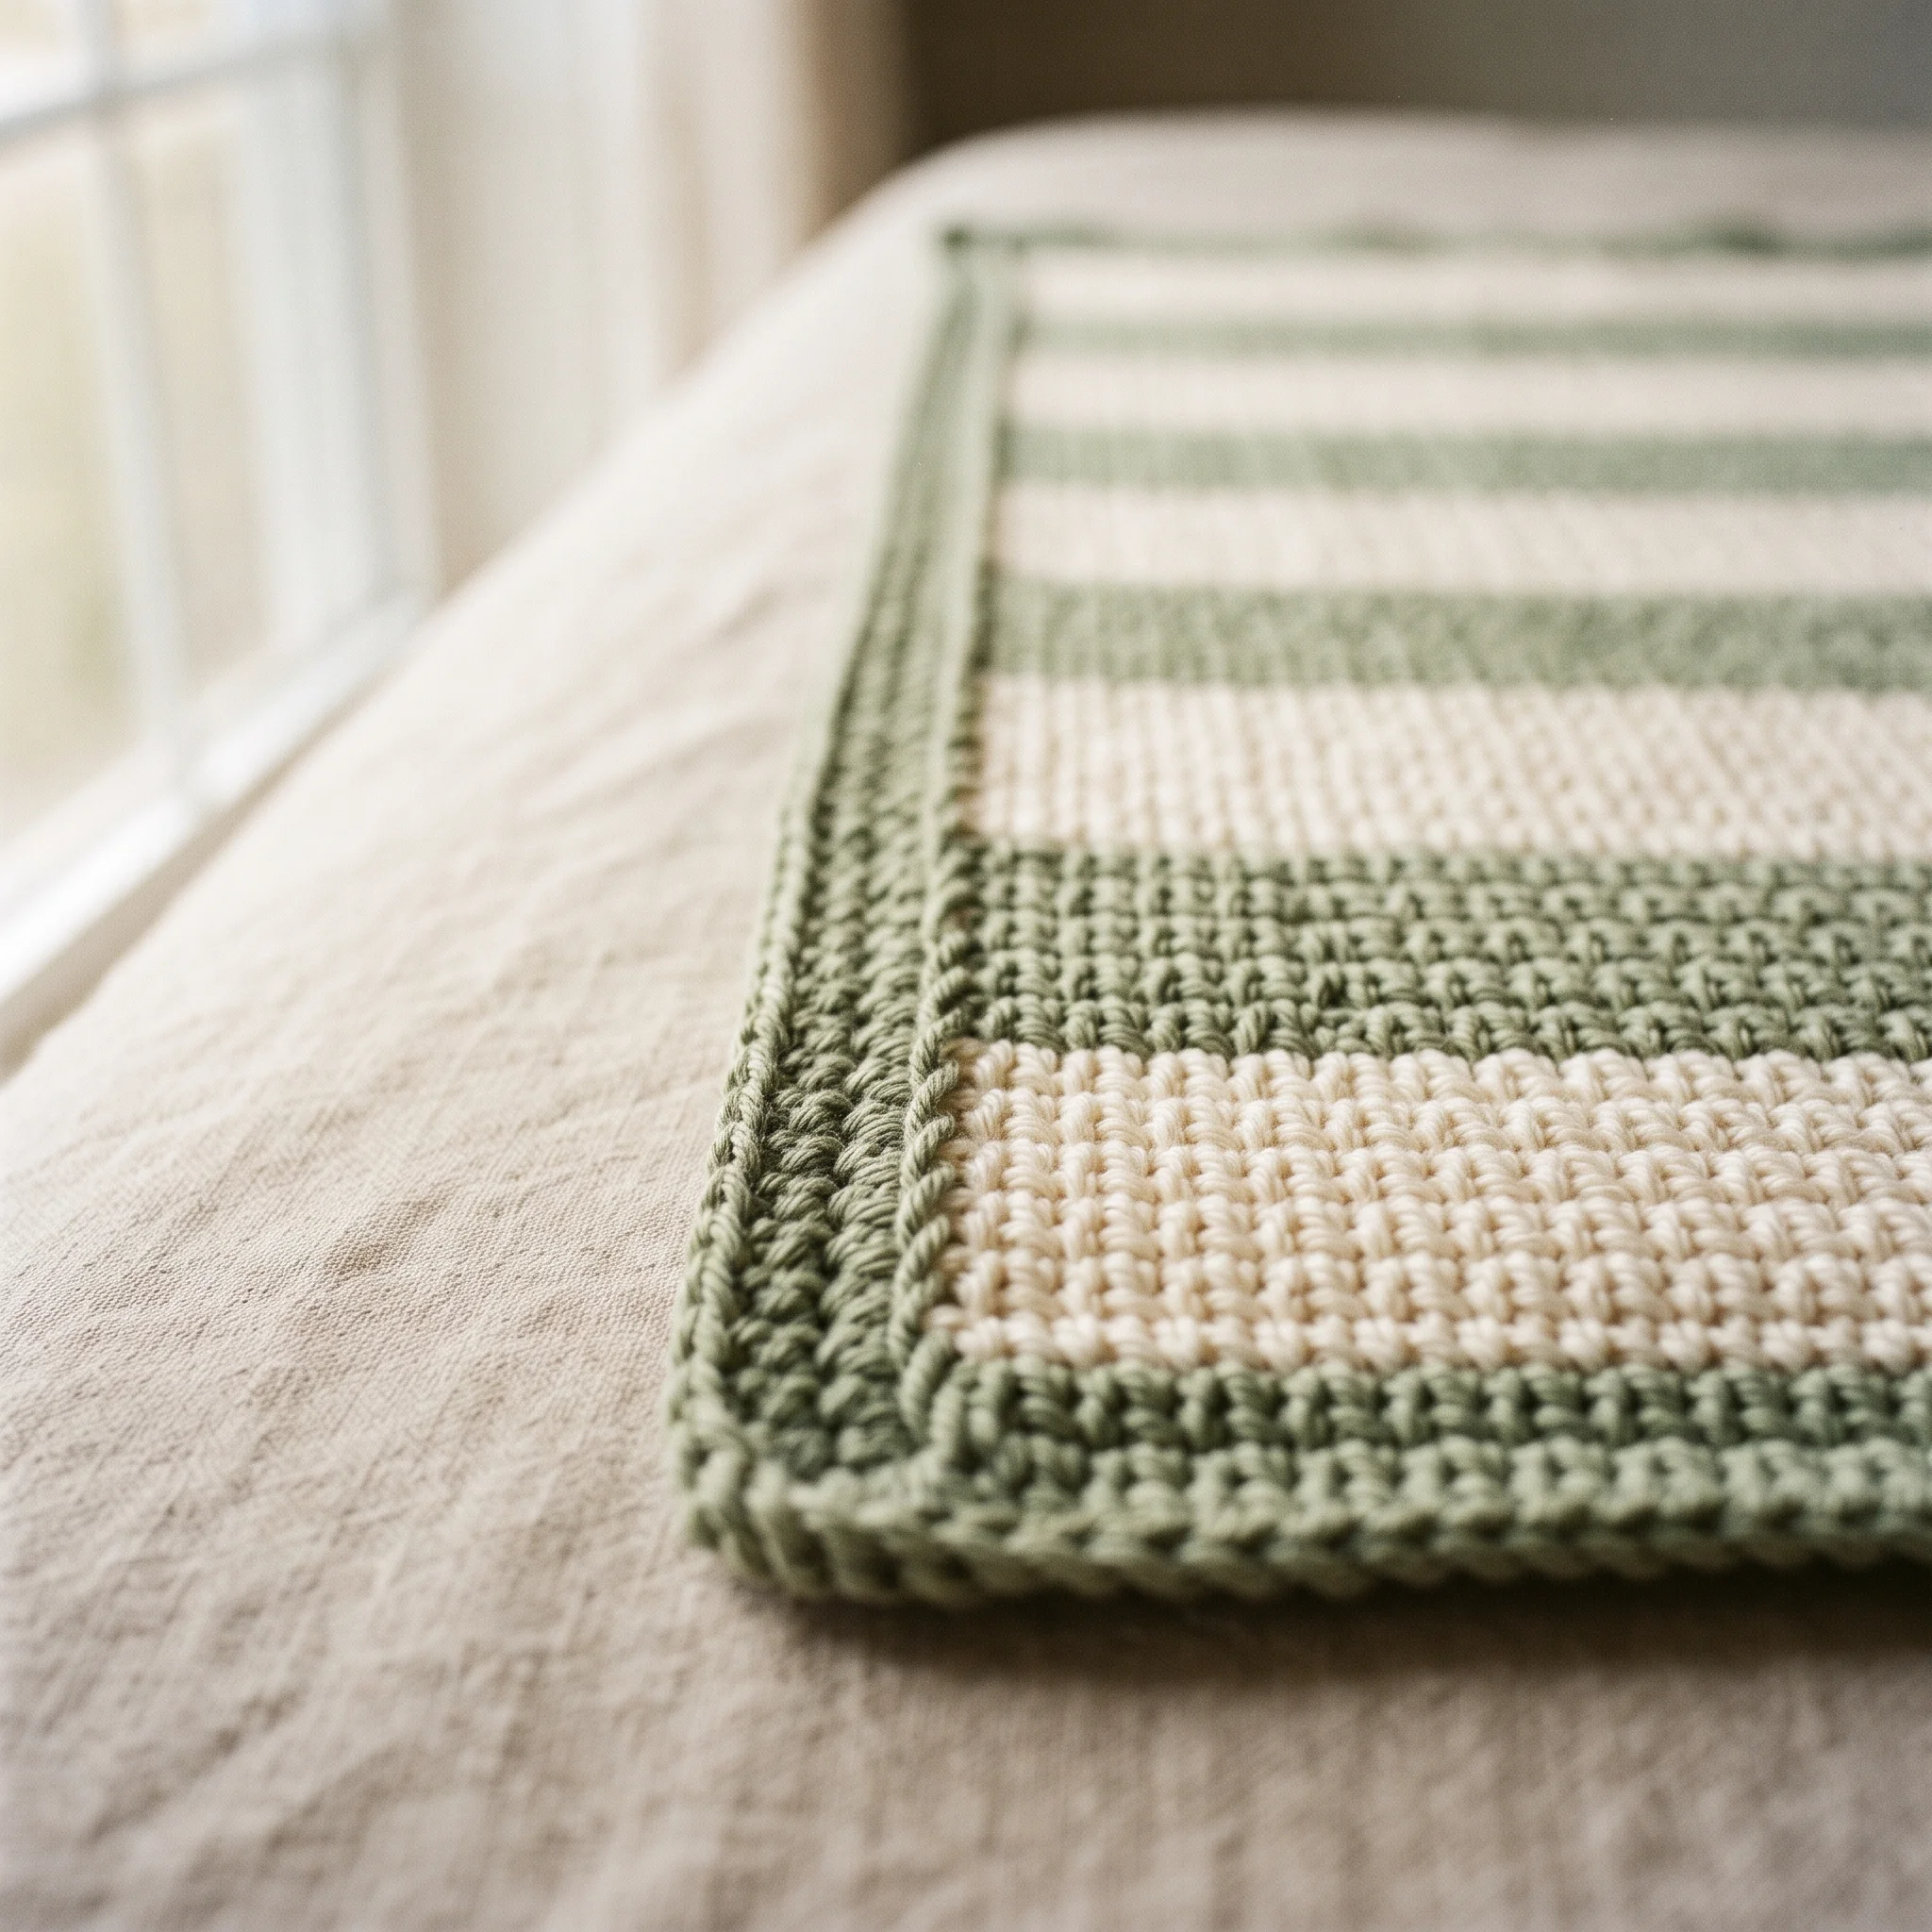
Keep the edge neat: Twist carried strands once at the start of each row, and keep them relaxed so the edge doesn’t pull in.
Plan your colors: Wide and narrow stripes create rhythm. Our chevron throw, for example, uses wider bands of one color and narrower bands of another for a balanced look.
Check the stripe sequence: Before you start, write out your full color sequence, especially for gradients or repeating patterns. It’s easy to lose track halfway through a blanket.
Planning a striped blanket? Our guide on how much yarn you need for a crochet blanket explains how to split your total yarn between colors..
Dealing With All Those Yarn Ends
Yarn ends are the least favorite part of colorwork for most crocheters. These tricks make them much easier.
Crochet over your tails: After a color change, lay both tails along the top of the next row and work over them for six to eight stitches. They’re hidden inside the stitches, so there’s less to weave in later.
Weave in as you go: Spend two minutes weaving in ends every few rows instead of facing them all at once at the end.
Weave in two directions: Thread the tail through a few stitches in one direction, then back through a few stitches in another. This locks it in place so it won’t pull loose.
Weave into matching colors: Hide each tail in stitches of the same color, so it doesn’t show through on the front.
Use a blunt yarn needle: A tapestry or yarn needle slides between stitches without splitting the yarn.
Carry instead of cutting: Where possible, carry yarn up the side for short stripes, so you have fewer ends in the first place.
A Simple Practice Exercise
The fastest way to learn how to change colors in crochet is to practise on a small swatch before starting a real project. This ten minute exercise covers the main methods.
- Chain 16 in your first color and work three rows of single crochet.
- On the last stitch of row three, change to your second color using the final yarn over method. Work two rows.
- Change back to the first color on the last stitch, carrying the second color up the side instead of cutting it. Work two rows.
- In the next row, change colors in the middle of the row, working eight stitches in each color.
- Finally, crochet over your yarn tails for a few stitches, then weave in any remaining ends.
Lay your swatch flat and look closely. Are the stripe edges crisp? Is the carried yarn neat? Are the mid row changes clean? Once your swatch looks tidy, you’re ready for any striped project.
Tips for Left Handed Crocheters
Left handed crocheters use exactly the same methods. The only difference is the direction you work, so stripes and carried strands sit on the opposite edge.
When a pattern says to carry yarn up the right side, simply carry it up the left. When following photos or videos, it can help to view them in a mirror or flip the image, so the steps match the direction of your work.
Common Color Change Mistakes
Changing after the stitch is finished: Always change on the final yarn over, or a bump of the old color will show.
Leaving tails too short: Short tails are hard to weave in and can come loose. Leave about 6 inches.
Pulling carried yarn tight: Tight carried strands make the fabric pucker and edges curl.
Losing count of stripe rows: Keep a simple record so your stripes stay even.
Putting the jog at the front: On spiral projects, keep color changes at the back.
Forgetting to untwist yarns: Multiple colors twist together as you work. Untwist them every few rows.
Tight new color tension: Hold the new color with the same relaxed tension as the old one, so the first stitches match.
Color Changes in Different Projects
Each type of project has its own color change habits.
Blankets: Stripes and color blocks are classic. Carry colors up the side for narrow stripes and cut them for wide ones. Plan your yarn carefully, since blankets use a lot.
Hats: Work stripes in joined rounds for clean lines, and place the join at the back of the head. Our crochet ribbed beanie pattern is worked flat, which makes vertical stripes easy: just change colors every few rows.
Amigurumi: Color changes create clothing, faces and markings. Keep the jog at the back and change colors on the final yarn over.
Bags: Tapestry crochet works beautifully for bags, since carrying yarn creates a dense, sturdy fabric.
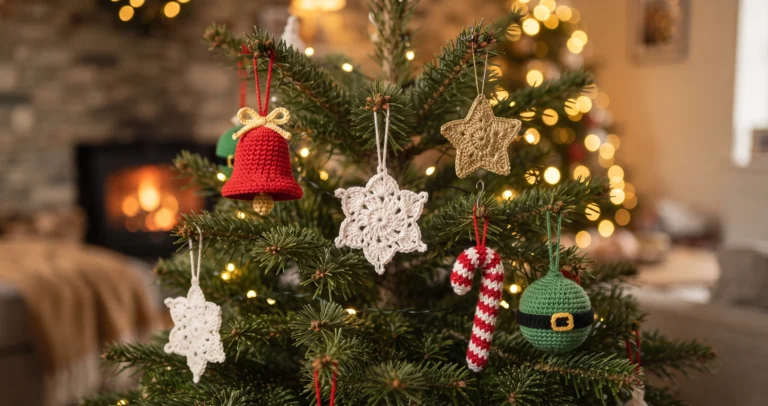
Ornaments: Small color changes, like the black belt on our bauble or the stripes on our candy cane, add festive detail. Keep tails short and secure, since ornaments are handled often.
Practise on something small: A small striped coaster or the candy cane is a perfect way to practise before tackling a big blanket.
Quick Answers to Related Color Questions
These are questions crocheters often ask next, with short answers and links to our guides.
Edges That Get Messy or Slanted
Color changes at the ends of rows can make edges look uneven, especially if a stitch is added or missed at the change. Our guide on why crochet gets wider or curls explains how to keep edges straight.
Color Changes in Amigurumi
In amigurumi, color changes create clothing, belts and markings. Change on the final yarn over and place the jog at the back. Our crochet bear pattern and crochet tiger pattern both use color changes for their details.
Changing Colors With Post Stitches
Color changes work the same way with post stitches. Finish the last stitch of the old color with the new color, then continue your post stitch pattern. Our guide on front post and back post crochet stitches covers post stitches in detail.
Blocking Striped Projects
Blocking evens out small differences in tension between colors and helps stripes lie flat. Our guide on how to block crochet explains how.
Color Changing Yarn
Self striping and color changing yarns change color on their own, so you get stripes without any color changes at all. Our textured crochet blanket pattern and granny square blanket pattern both use color changing yarn.
Choosing Yarn for Colorwork
Smooth yarns in the same weight and fiber make the neatest color changes, because every stitch sits at the same height. Mixing a fuzzy yarn with a smooth one, or cotton with acrylic, can make stripes look uneven, since each fiber behaves a little differently once washed. If you’re combining brands, crochet a small swatch first to check that the colors and thicknesses work well together.
Frequently Asked Questions
Make Every Color Change Clean
Knowing how to change colors in crochet becomes simple once you remember one rule: switch on the final yarn over. From there, it’s just a matter of choosing the right method for rows, rounds or spirals, keeping your tension relaxed and dealing with ends as you go.
With a little practice, your stripes will line up, your jogs will disappear into the back and your colorwork will look clean and professional.
Ready to practise? Try our crochet candy cane pattern for a quick, festive introduction to stripes, or our chevron crochet blanket pattern for a bigger project.
Practise Neat Stripes With A Quick Project