Crochet Christmas Bauble Pattern Free Evergreen Ornament
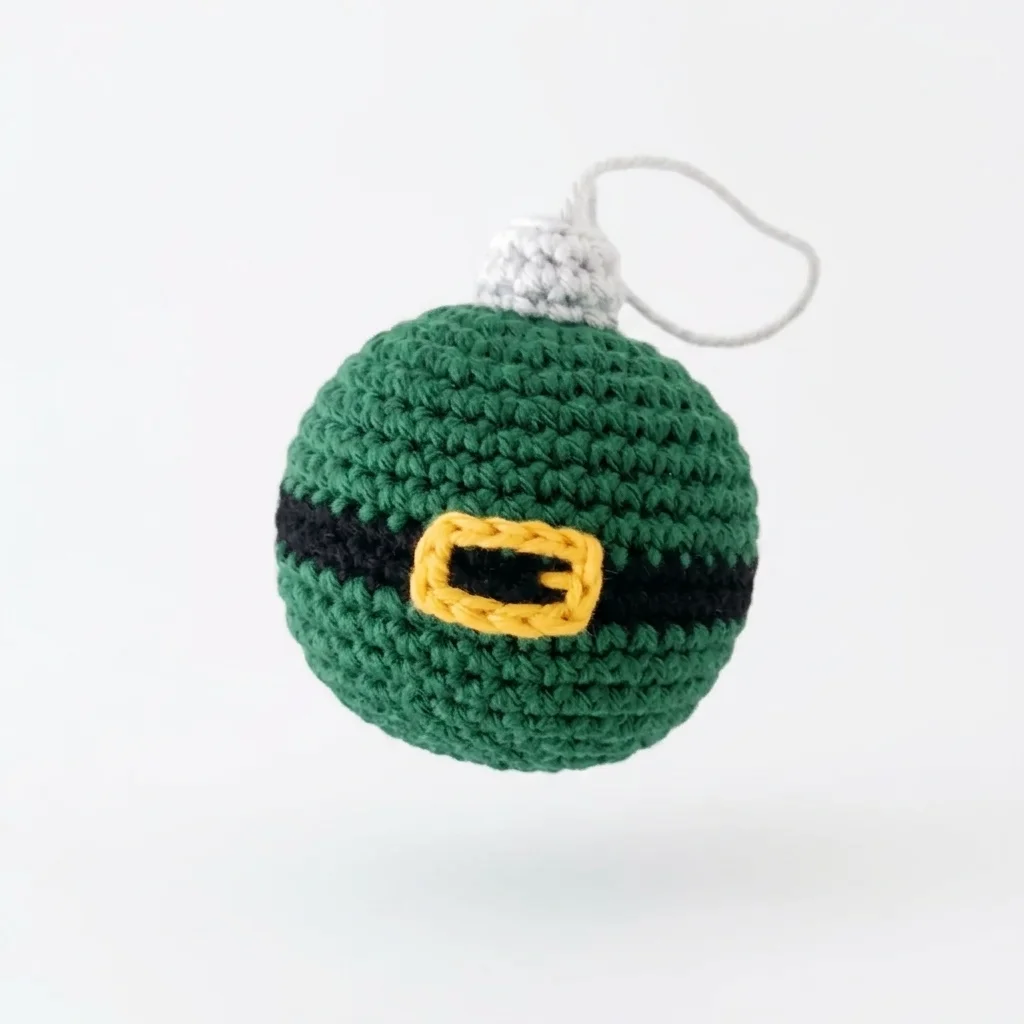
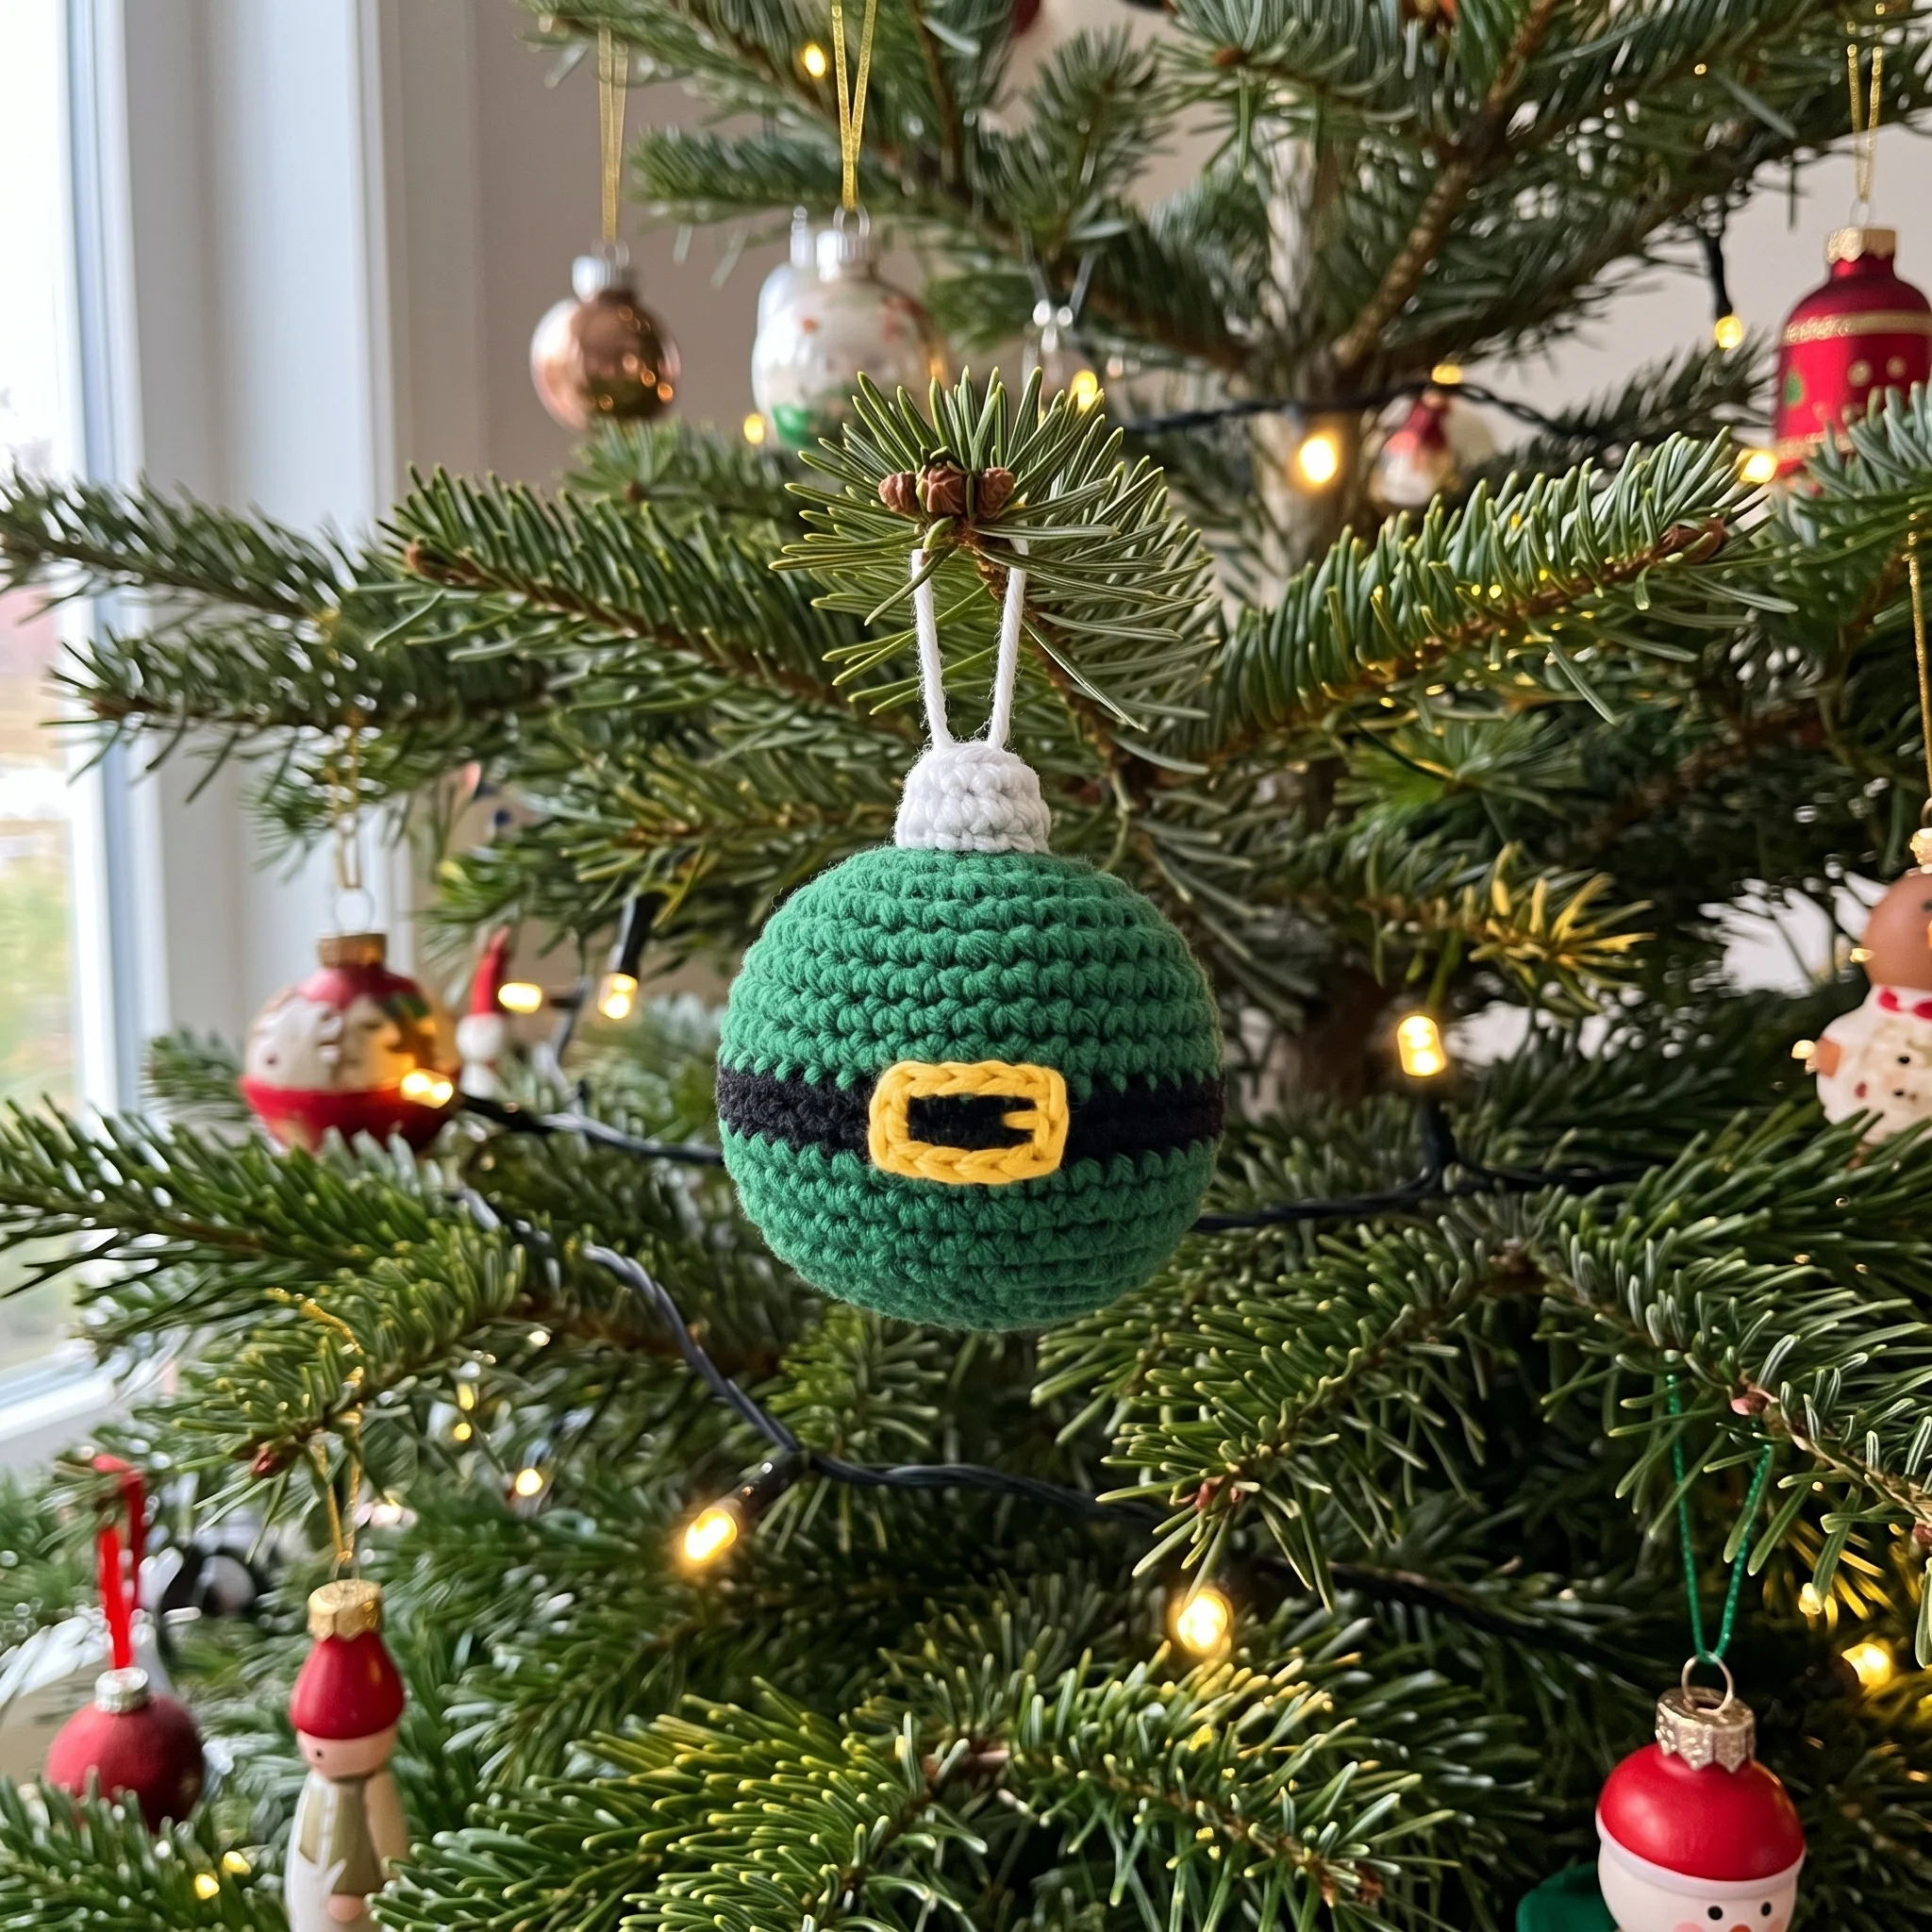
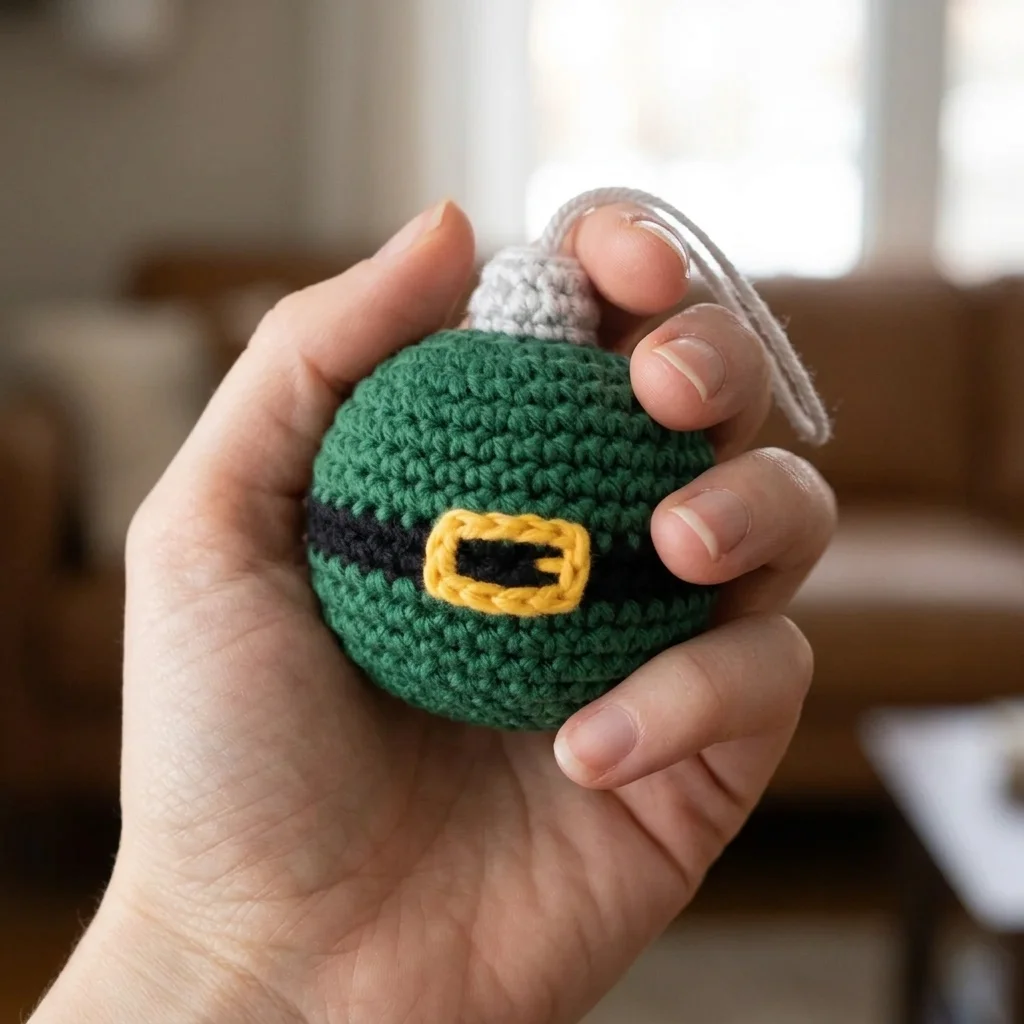
Glass baubles break. This one just bounces. Our free crochet Christmas bauble pattern makes a soft, round 2 inch ornament dressed in evergreen, with a black belt, a little gold buckle and a grey cap that looks just like the real thing. It’s an easy amigurumi project with plenty of charm in every detail.
Why You’ll Love This Crochet Christmas Bauble
If you’ve ever made a crochet ball, you already know the basics, and this bauble takes that simple shape somewhere much more festive. A black belt wraps around the middle, a gold buckle sits proudly on the front, and a little grey cap on top gives it that classic glass ornament look.
The best part is that every detail is built in as you go. The belt is crocheted right into the rounds and the buckle is stitched straight onto the surface, so there’s nothing to cut out or glue on.
It’s soft, unbreakable and full of personality, which makes it just as lovely on a family tree as it is tucked into a gift.
What’s Inside the Free Crochet Christmas Bauble Pattern
Your PDF download walks you through each stage:
- A one line overview of the whole bauble, so you can see the full journey before you begin
- Round by round tables with stitch counts for shaping the sphere
- Clear guidance for the colour change and the surface stitched buckle
- Stuffing checkpoints and a neat closing method
- Instructions for the cap and hanging loop
- Helpful tips at each key step, in US crochet terms
Materials for Your Bauble
| Material | Details |
|---|---|
| Yarn | DK weight: green (bauble), black (belt), yellow/gold (buckle), light grey (cap) |
| Crochet hook | 2.5mm (US C/2) |
| Stuffing | Polyester fiberfill |
| Notions | Stitch marker, yarn needle, scissors |
| Hanging | Yarn or twine |
| Finished size | Approx. 2 × 2in (5 × 5cm), excluding cap |
| Skill level | Easy |
| Crochet terms | US |
Only small amounts of each colour are needed, so this is a wonderful way to use up leftover DK yarn from other projects.
How Your Bauble Takes Shape
The bauble follows the trusted amigurumi sphere: grow, stay steady, then close. The first seven rounds increase to form the top half, a stretch of even rounds builds the widest part of the ball, and then gentle decreases bring it back to a close at the bottom.
Those decreases use the invisible decrease, which leaves a beautifully smooth surface. On a small, round ornament where every stitch is on show, that little choice makes your finished bauble look polished and professional.
Adding the Belt and Gold Buckle
The belt is simply two rounds worked in black right in the middle of the bauble. You switch colours at the end of one round and switch back two rounds later, and that’s it.
For the neatest line, bring in the new colour on the final pull through of the last stitch before the change. Because the rounds spiral, there will be a tiny step where the colours meet, so plan for it to sit at the back, away from the buckle.
The buckle is the fun part. Using surface slip stitches, you “draw” with gold yarn directly on top of the belt, creating a little rectangle about 4 stitches wide and 2 rounds tall. Add one extra stitch on the side if you’d like a tiny prong. It’s a small touch, but it’s the one everyone notices.
Make a Whole Set for Your Tree
One bauble is sweet. A whole set is stunning. Keep the black belt and gold buckle and simply change the main colour. Red gives a cheerful Santa inspired look, white feels snowy and calm, and deep blue or burgundy brings a touch of elegance.
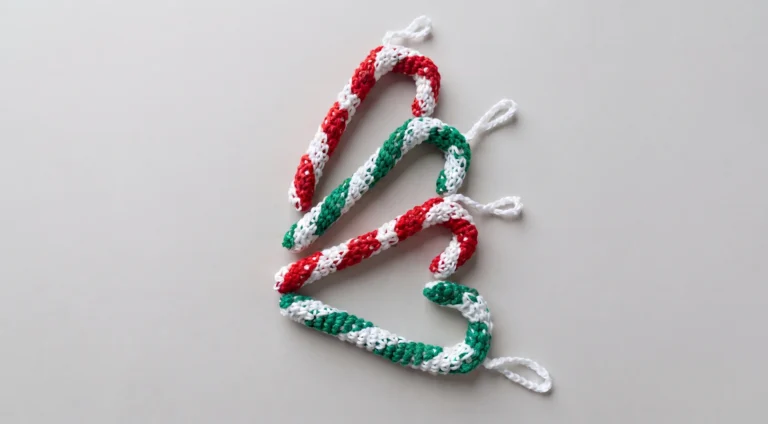
Because each one uses so little yarn, a set of six is easy to make over a few cosy evenings. Hang them alongside our Crochet Bell Ornament Pattern and Crochet Candy Cane Pattern and your tree will be beautifully, completely handmade.
A Clever Little Trick for the Cap
Early in the pattern, Round 3 is worked in the back loops only. It might seem like a small detail at the time, but it quietly leaves a neat ring of 12 unused loops near the top of the bauble.
Later, you crochet the grey cap directly into those loops. That means no sewing, no guessing where the centre is, and a cap that sits perfectly straight and stays put. It’s one of those thoughtful details that makes finishing a real pleasure.
Stuffing and Closing Your Bauble
Start adding stuffing after Round 18, while the opening is still roomy enough to work with. Keep adding small amounts as you finish the last few rounds, easing the filling into the curves so your bauble stays lovely and round.
Aim for firm but not tight. Once you’re down to the final 6 stitches, weave your tail through the front loops, pull it snug to close, and tuck the end inside.
The Finishing Touch on Top
The cap is quick and satisfying. Join grey yarn to those saved loops, work a few short rounds, add a pinch of stuffing so it stands up neatly, and draw it closed. Then attach a loop of yarn or twine to the centre, large enough to slip easily over a branch.
Step back and take a look. It really does look like a little glass ornament, only softer and much harder to break.
If you’re making baubles as gifts, this is a lovely moment to add a personal touch. A tiny paper tag with the year or a name tied to the loop turns each one into a keepsake that comes out of the decoration box year after year.
Make It Your Own
Beyond colour, you can play with size. Because this is a classic amigurumi sphere, any yarn weight works. Worsted weight with a 3.5mm hook gives you a bauble roughly 3in (7.5cm) across, perfect for a bigger tree or a wreath. Fingering weight with a 2mm hook makes a tiny version, ideal for a tabletop tree or as a charm on a gift tag.
Whatever weight you choose, go for a hook a little smaller than the yarn label suggests. Tight stitches keep the stuffing hidden and give you that smooth, rounded finish.
More Ways to Enjoy Your Baubles
The tree is just the beginning. Tie a bauble onto a present instead of a bow, wire a few onto a wreath, or string them along twine for a soft, handmade garland. Piled into a glass bowl, they make an easy festive centrepiece, and with a little name tag attached, each one becomes a charming place setting for Christmas dinner.
When Something Doesn’t Look Quite Right
If your bauble looks a little lumpy, the stuffing has probably gathered in one spot. Use a chopstick to move it into the gaps, or roll the bauble firmly between your palms to even it out.
If it looks more like an egg than a ball, a quick recount of the even rounds in the middle usually finds the answer, since an extra round makes it taller and a missing one flattens it. And if you can see a faint line where the decreases sit, simply turn that side towards the tree.
Keep Learning
Building your skills? These guides pair beautifully with this pattern: Christmas Crochet Patterns and Ideas, How to Change Colours in Crochet and How to Stiffen Crochet.
A Few Tips Before You Start
- Pop a stitch marker in the first stitch of each round.
- Count stitches after every increase and decrease round.
- Decide where your buckle will sit before you change colours.
- Stuff little and often from Round 18.
- Give the hanging loop a gentle tug before it goes on the tree.
Frequently Asked Questions
Pick up your hook and let’s bring your next crochet project to life!