Crochet Bell Ornament Pattern Free Christmas Jingle Bell
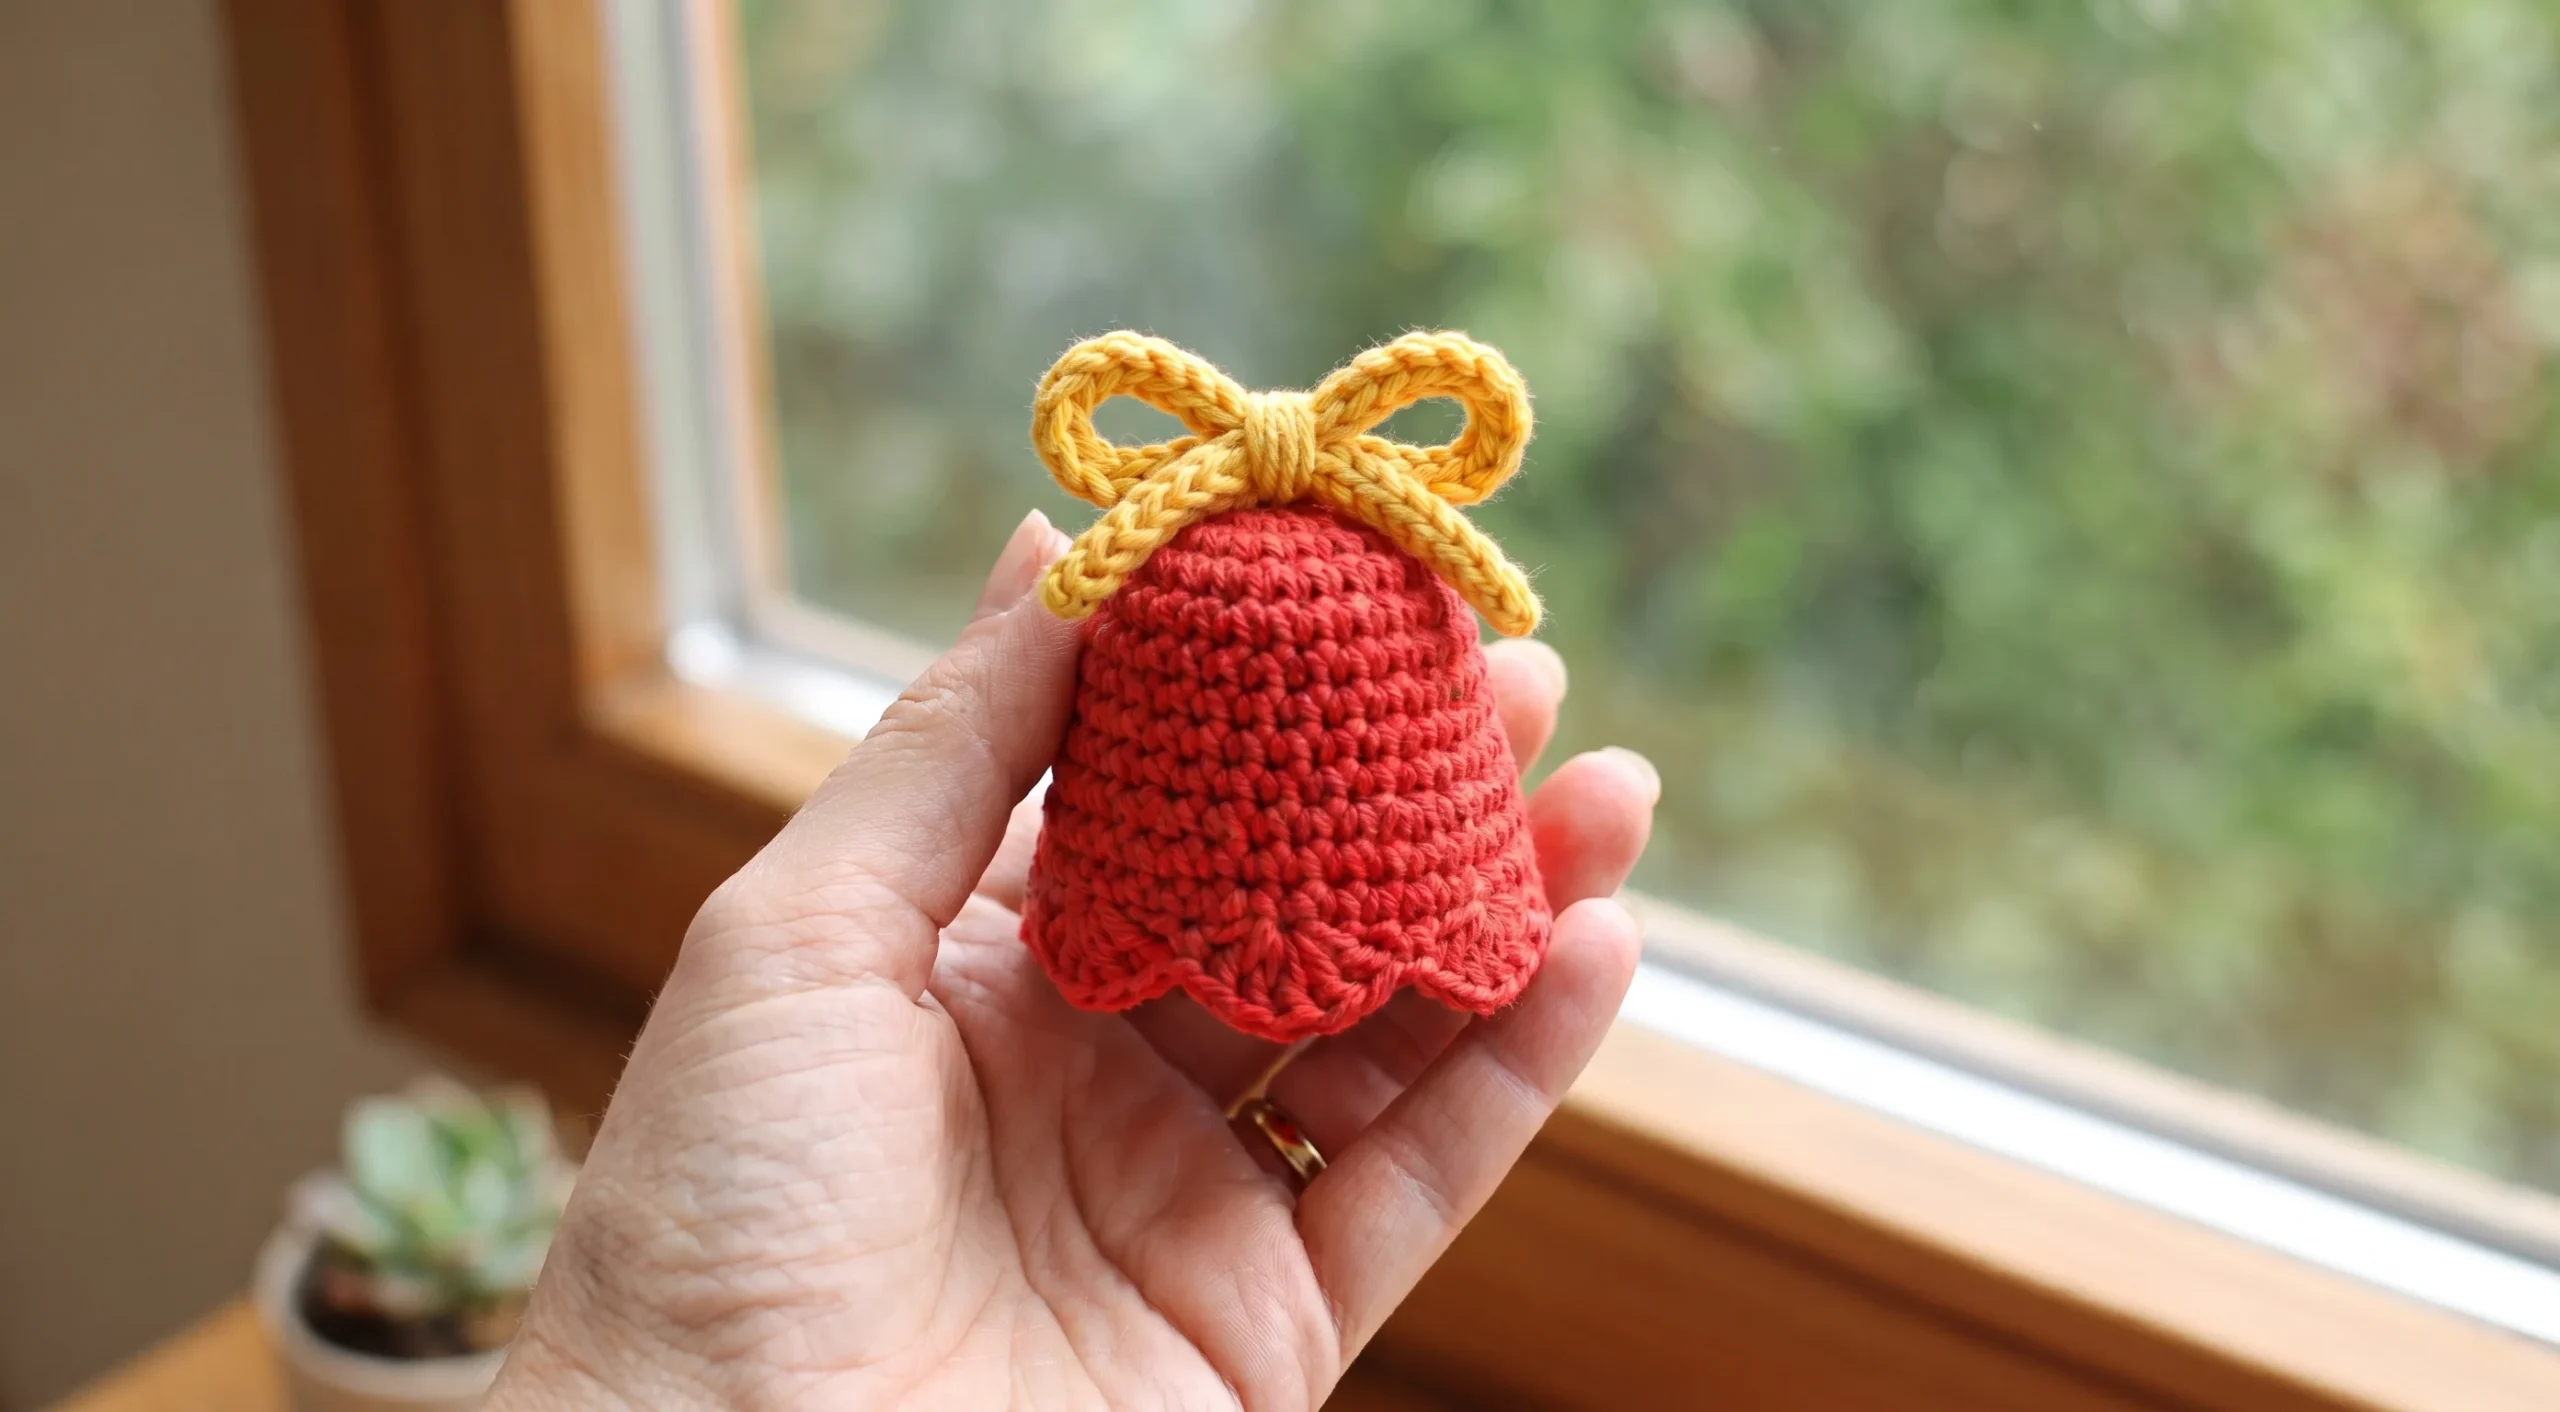
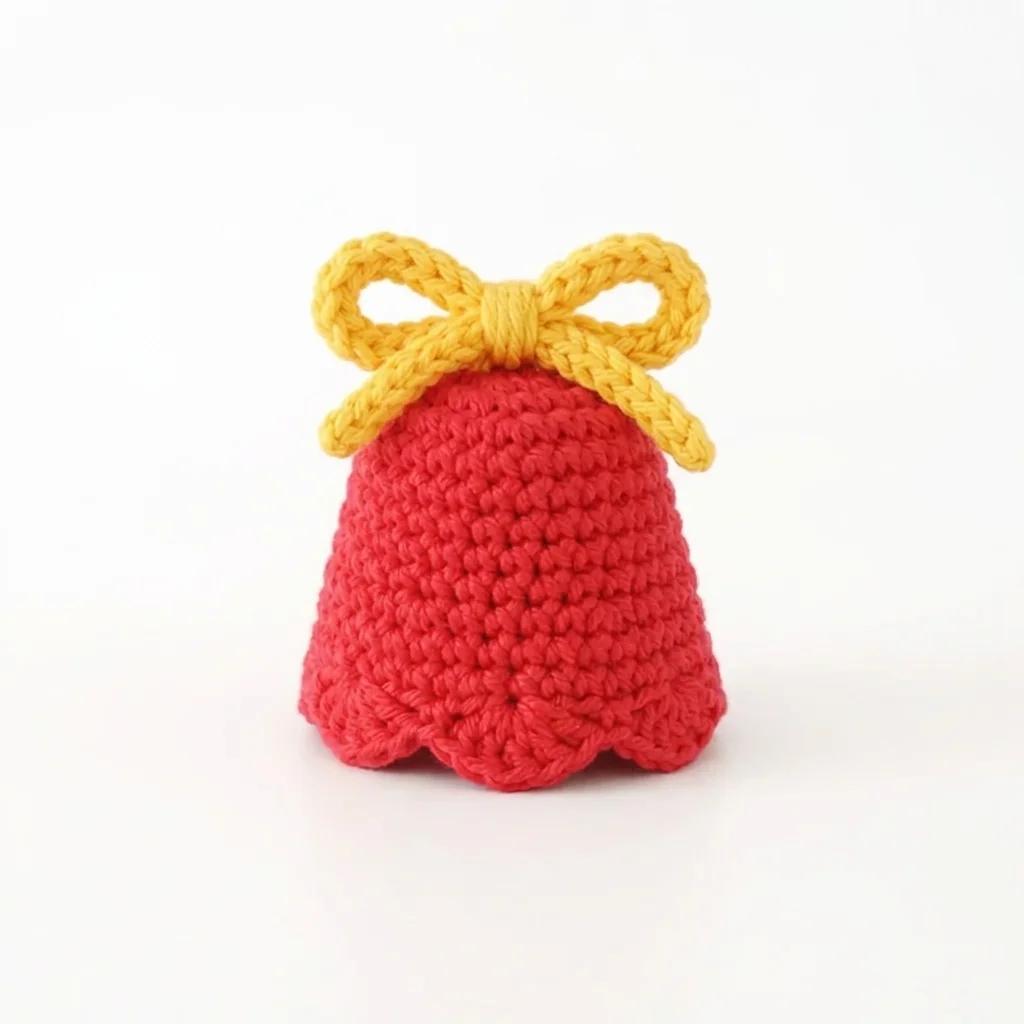
Some ornaments just hang there. This one rings. Our free crochet bell ornament pattern makes a sweet 2.5 inch Christmas bell with a scalloped edge, a tiny bow and a hidden jingle bell that chimes every time a branch moves. It works up in one cosy evening from a little leftover DK yarn.
Why You’ll Love This Crochet Bell Ornament
There’s something about a bell that feels like Christmas before anything else does. This one captures that feeling in a shape you can hold in your palm.
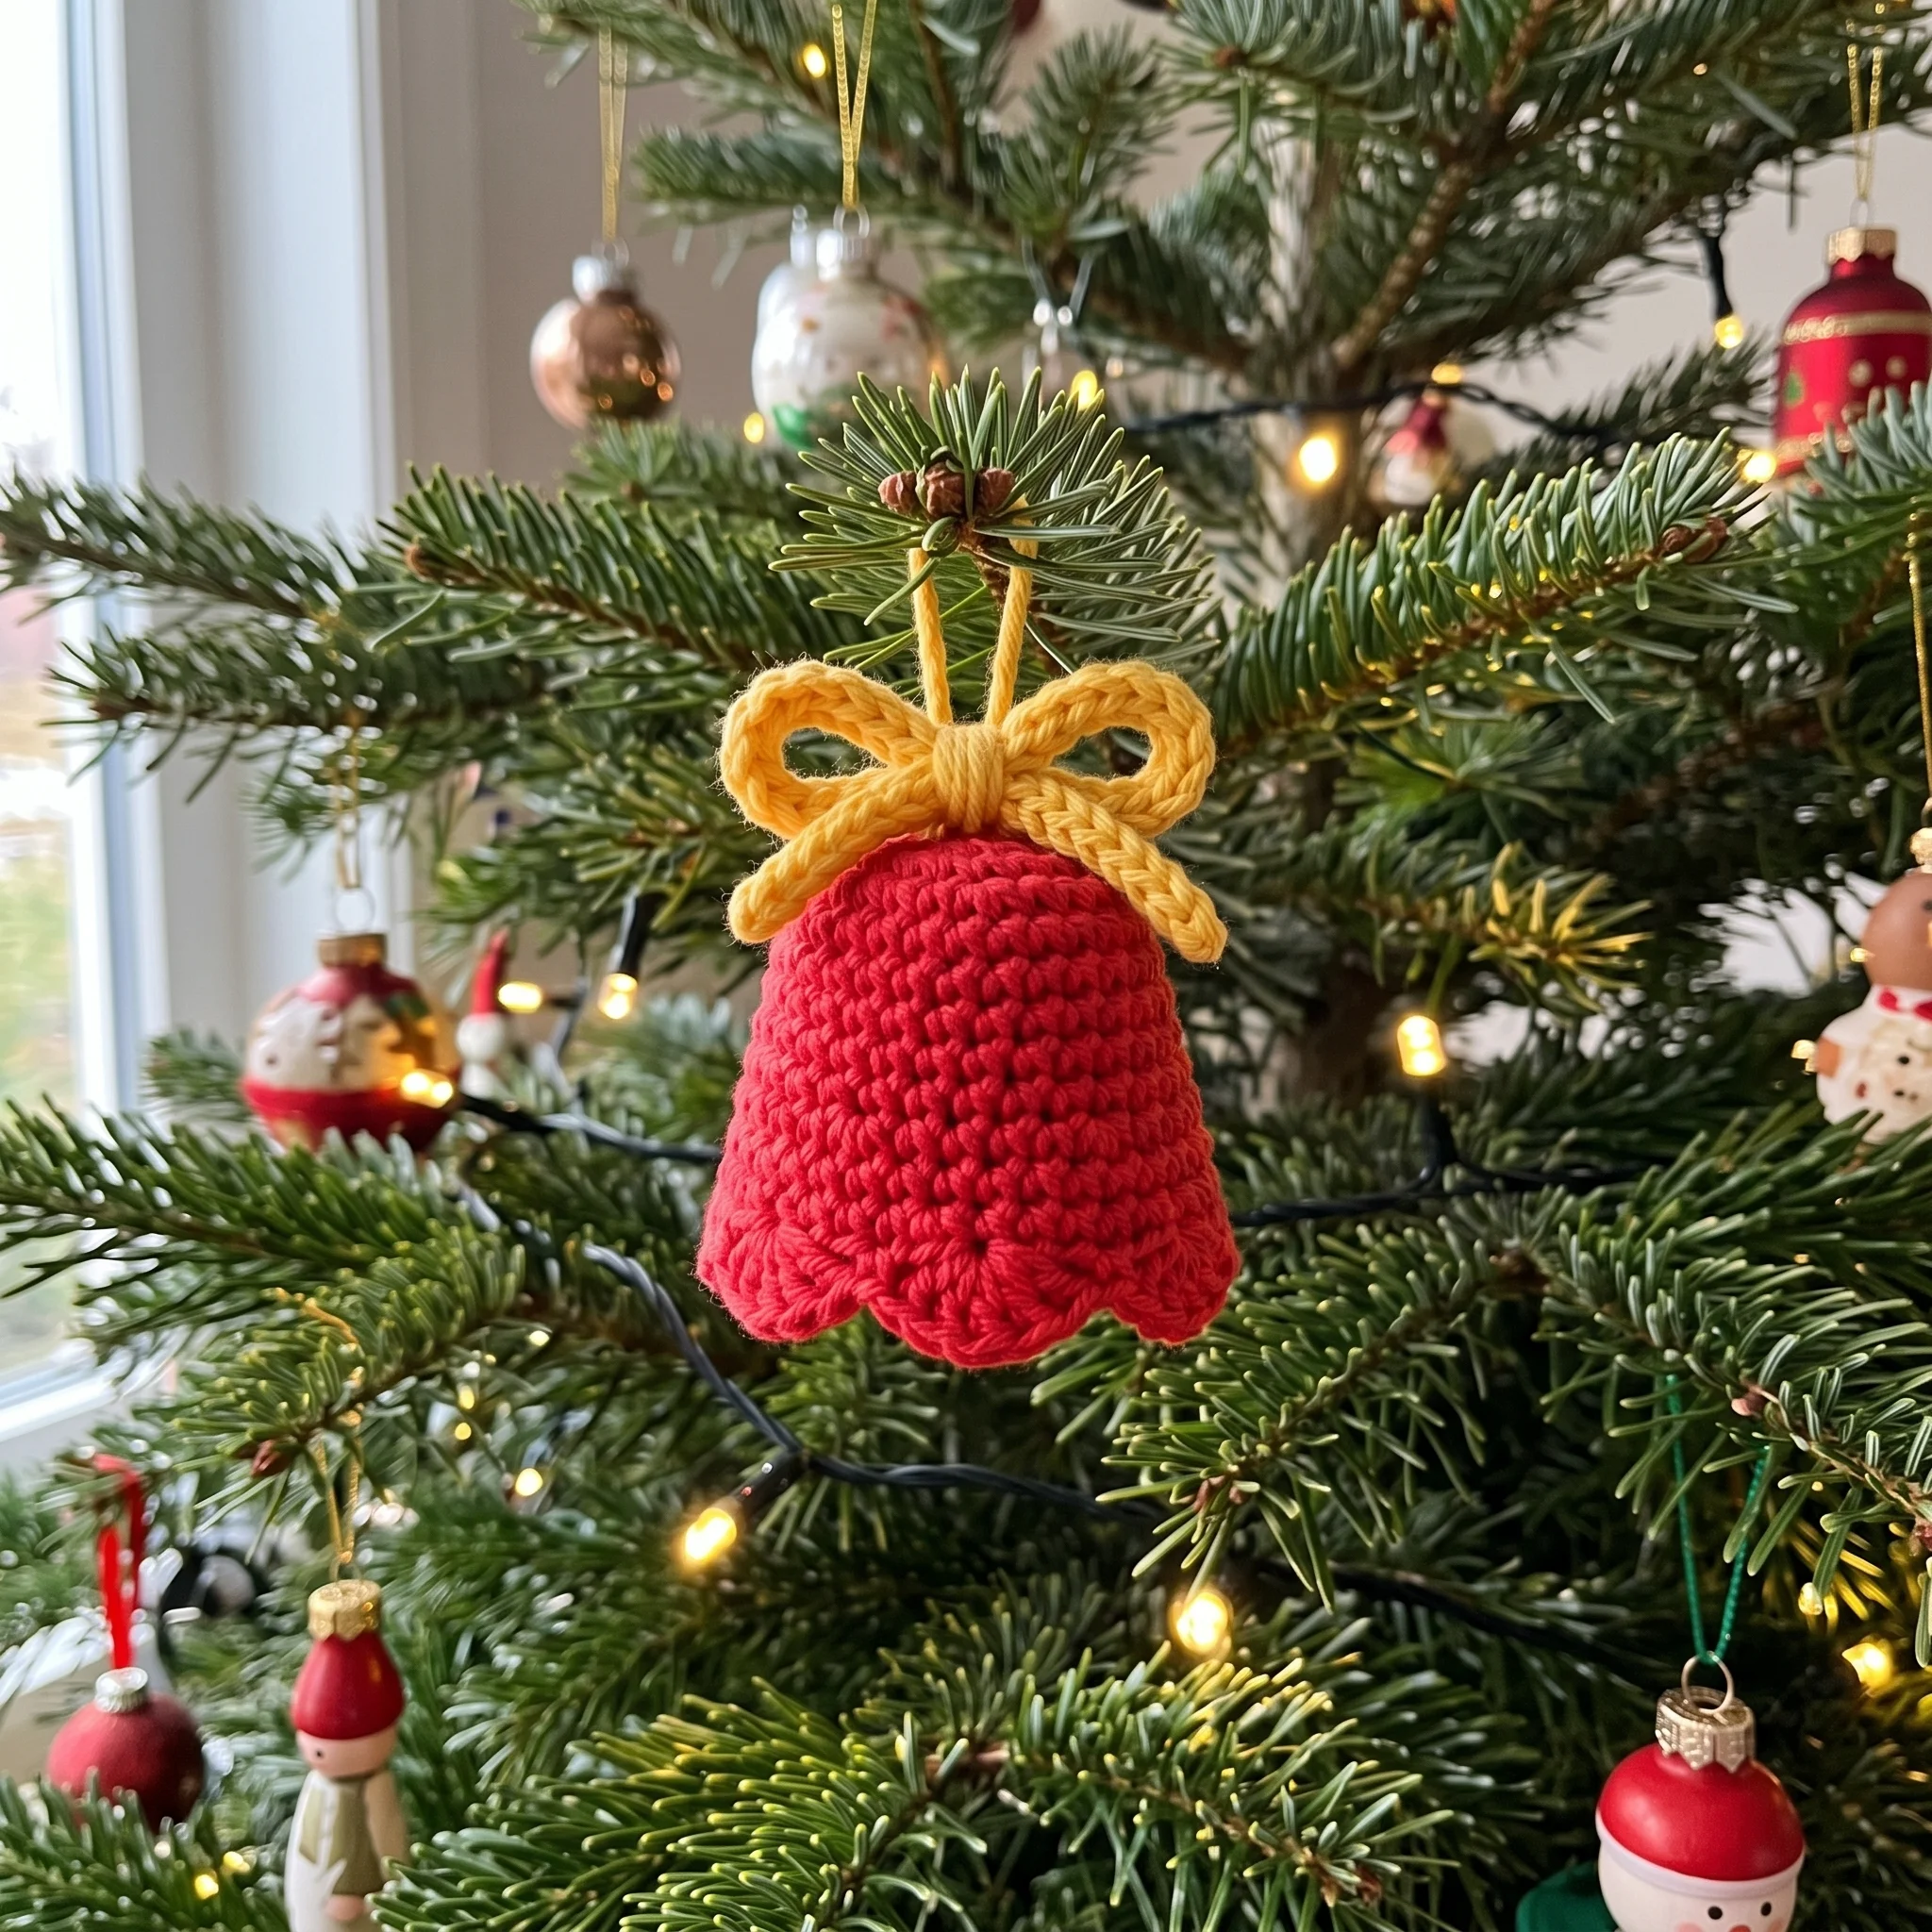
Instead of a flat cut out or a stuffed lump, you get a true open bell that flares gently at the bottom and finishes in seven rounded scallops, just like the brass bells on an old sleigh. Tuck a jingle bell inside and it gives a soft, cheerful ring whenever someone brushes past the tree. A little bow on top finishes it with a bit of charm.
It’s also kind to your stash. Each bell needs only a small amount of yarn, so the odds and ends left from bigger projects finally get their moment.
What’s Inside the Free Crochet Bell Ornament Pattern
When you download the PDF, you get everything laid out so you can relax and enjoy the making:
- Round by round tables with the stitch count for every round, so you always know you’re on track
- A clear guide to the scalloped edge, the part that gives this bell its personality
- Step by step instructions for adding the jingle bell securely
- Bow shaping and finishing steps, including a sturdy hanging loop
- Helpful tips at the moments they matter most
- US crochet terms throughout
Materials for Your Christmas Bell Ornament
| Material | Details |
|---|---|
| Yarn | DK weight: red (bell), yellow (bow) |
| Crochet hook | 2.5mm (US C/2) |
| Jingle bell | 1.8cm, optional |
| Notions | Stitch marker, yarn needle, scissors |
| Hanging | Yarn or twine, 6 to 8in (15 to 20cm) |
| Finished size | Approx. 2.5in (6.5cm) tall, including bow |
| Skill level | Easy |
| Crochet terms | US |
You’ll notice the hook is a touch smaller than DK yarn usually calls for. That’s on purpose. The firmer fabric lets your bell keep its lovely flared shape rather than softening over time.
How Your Bell Comes Together
You’ll start at the very top with a magic ring and work downward in continuous rounds, so there are no seams to sew and no joins to hide. The first rounds grow steadily to form the rounded crown. Then a few even rounds create the narrow waist that makes it look like a bell rather than a cup, before a final set of increases opens it into a gentle flare.
It’s a calm, rhythmic make. Once the crown is formed, the middle rounds are simply single crochet around, which makes this a lovely project to work on while chatting or watching a Christmas film. A stitch marker in the first stitch of each round keeps everything easy to track.
The Scalloped Edge That Makes It Ring True
The last round is where your bell really comes alive. A simple repeat of one single crochet, two skipped stitches and a group of five double crochets turns the plain edge into seven soft shells.
Those skipped stitches give each shell room to fan out beautifully, and the repeat fits the round perfectly, so the scallops land evenly all the way around. It’s a small round, but it’s the one that makes people pick the ornament up for a closer look.
Add a Real Jingle Bell
If you love the idea of an ornament that actually rings, this part is for you. The trick is simply to leave a slightly longer starting tail, about 4in (10cm), when you make your magic ring. Later, that tail threads through a small jingle bell and ties it neatly inside, right at the centre of the crown.
A 1.8cm jingle bell hangs freely inside without peeking out below the scallops, so all anyone sees is the bell, and all they hear is the jingle.
Because a jingle bell is a small part, keep this one as a decoration for older children and grown ups, out of reach of little ones and pets. If you’d rather skip it, the bell is just as pretty without the sound.
The Little Bow on Top
The bow is one of those details that looks fiddly but turns out to be pure fun. It starts as a single chain worked back with slip stitches, which gives you a slim, slightly firm cord that holds its loops nicely. Fold the ends into the middle, wrap the centre a few times, and you have a tidy bow ready to sew on.
Yellow gives a warm golden glow against red, but this is a great place to play. A white or silver bow feels frosty and elegant, while green brings a traditional touch.
A Little Bell With a Big Christmas Welcome
Picture it on your tree, catching the lights and ringing softly as the children run past to check their presents. That’s the moment this little bell was designed for.
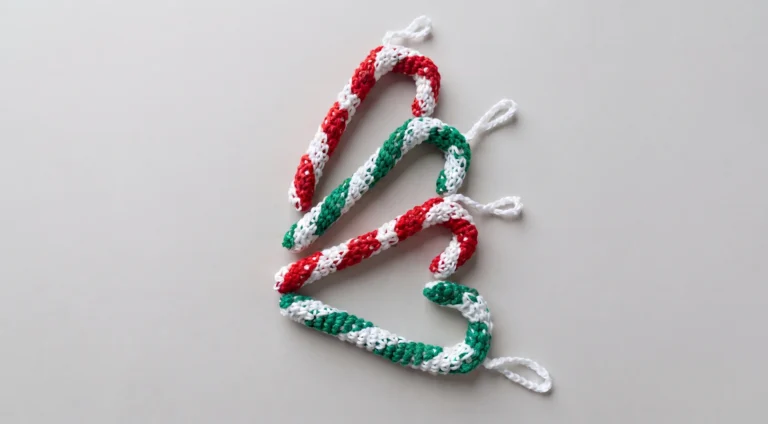
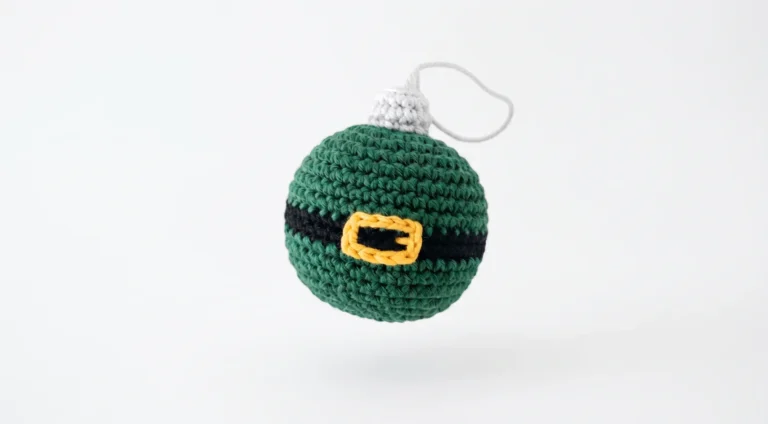
It also makes a heartfelt gift. Tie one to a present for a teacher, a neighbour or a grandparent, add a tag with the year, and it becomes a keepsake that comes out every December. Pair it with our Crochet Candy Cane Pattern and Crochet Christmas Bauble Pattern for a matching handmade set.
Make It Your Own
The pattern gives you the shape. The personality is up to you.
Colour is the easiest place to start. Classic red and gold always feels festive, white with silver suits a Scandinavian style tree, and green with red leans rustic and cosy. Cotton yarn gives the scallops crisp, defined edges, while acrylic makes a softer, fuller bell.
Size is just as flexible. Because the stitch counts stay the same, switching to worsted weight yarn with a 3.5mm to 4mm hook gives you a larger bell with the same shape and the same seven scallops. That’s perfect for a front door or the centre of a wreath. Make one in each size and group them together for a display that really draws the eye.
Giving Your Bell Shape That Lasts
Since the bell is open rather than stuffed, firm and even stitches do most of the work. If you’d like a crisper finish, especially for gifts, a light mist of fabric stiffener or spray starch helps a lot.
Simply shape the damp bell over a rolled paper cone or a small upturned egg cup and let it dry. The flare sets beautifully and the scallops stay neat for years of Christmases to come.
When Something Doesn’t Look Quite Right
It happens to all of us, and the fix is usually simple.
If your bell feels soft or floppy, your tension may be a little relaxed. A slightly smaller hook or a touch of stiffener brings it right back. If the flare looks lopsided, a quick recount of the last few increase rounds usually finds the missing stitch. And if the scallops bunch together or look stretched, the edge is almost always reflecting a small miscount in the round before it, so checking that you have 42 stitches before the scallop round saves a lot of frogging.
Keep Learning
Building your skills? These guides pair beautifully with this pattern: How to Use Fabric Stiffener on Crochet, Christmas Crochet Patterns and Ideas and How to Change Colours in Crochet.
A Few Tips Before You Start
- Leave the longer starting tail even if you’re not sure about the jingle bell yet. You can always trim it, but you can’t add it back.
- Count your stitches at the end of each increase round.
- Keep your tension snug and steady so the flare holds on its own.
- Make a few bells at once. Batch making is faster, and a little bowl of them makes a lovely gift.
- Test the hanging loop with a gentle tug before it goes on the tree.
Frequently Asked Questions
Pick up your hook and let’s bring your next crochet project to life!