Crochet Candy Cane Pattern Free Striped Christmas Ornament
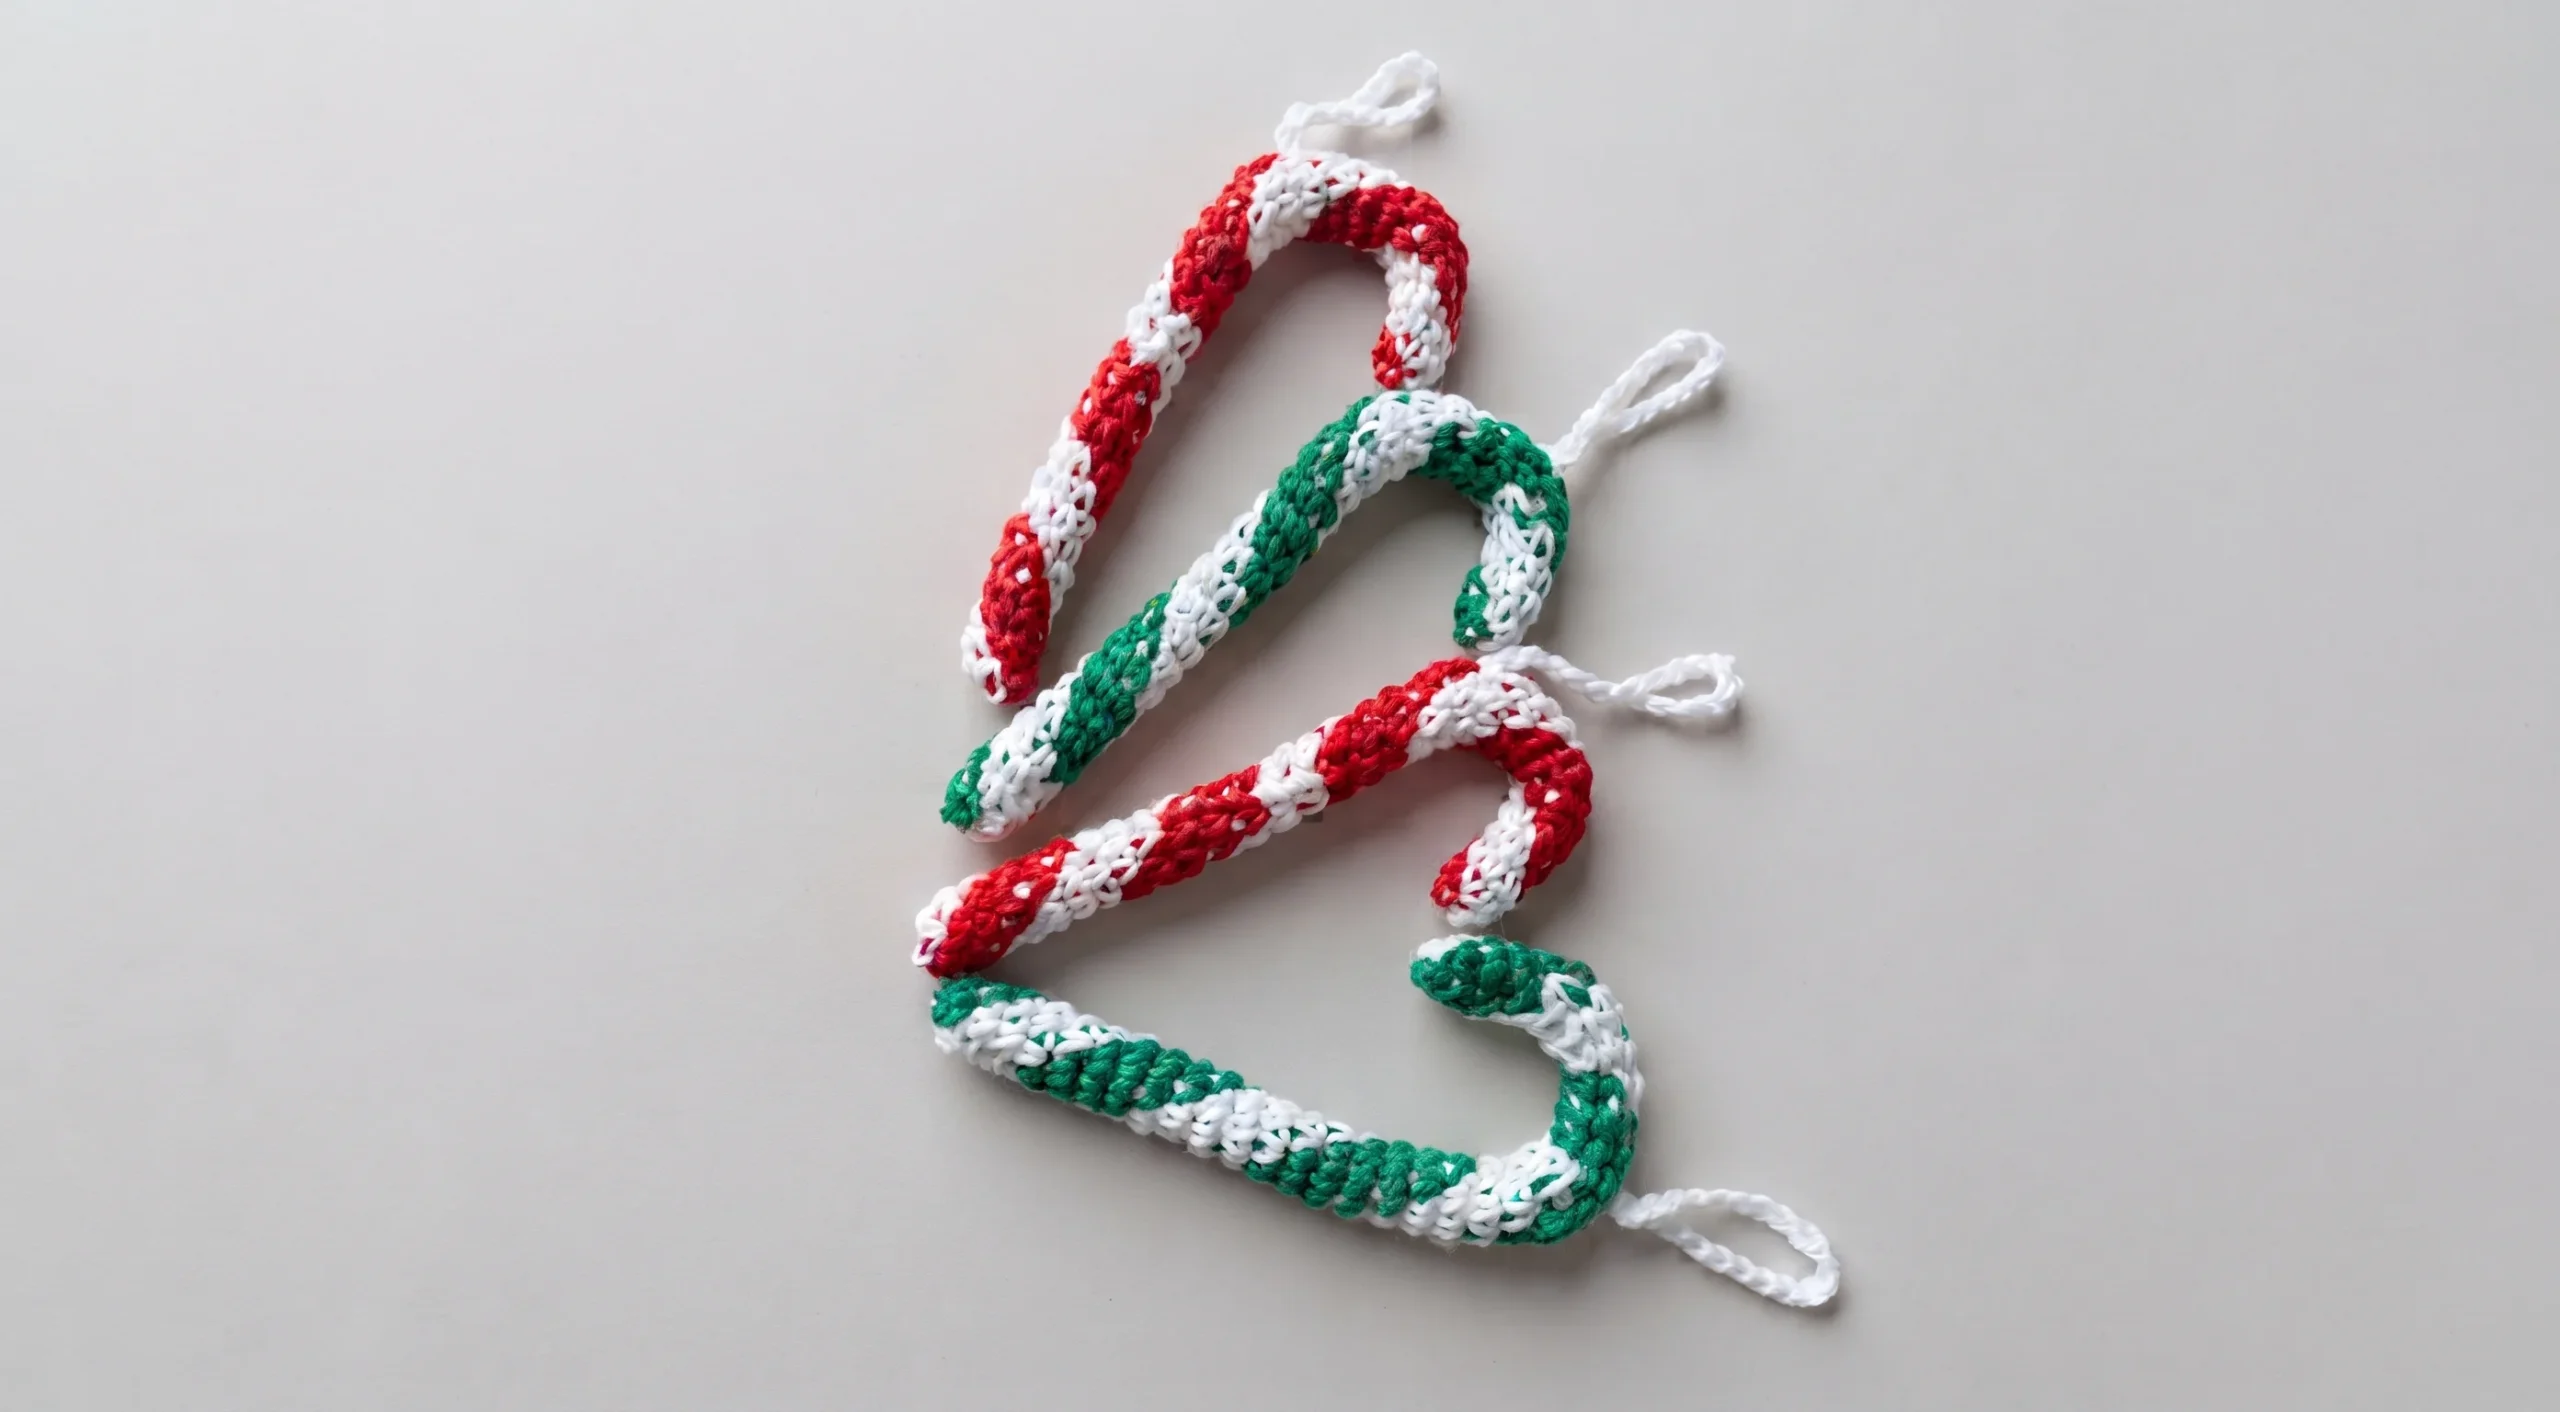
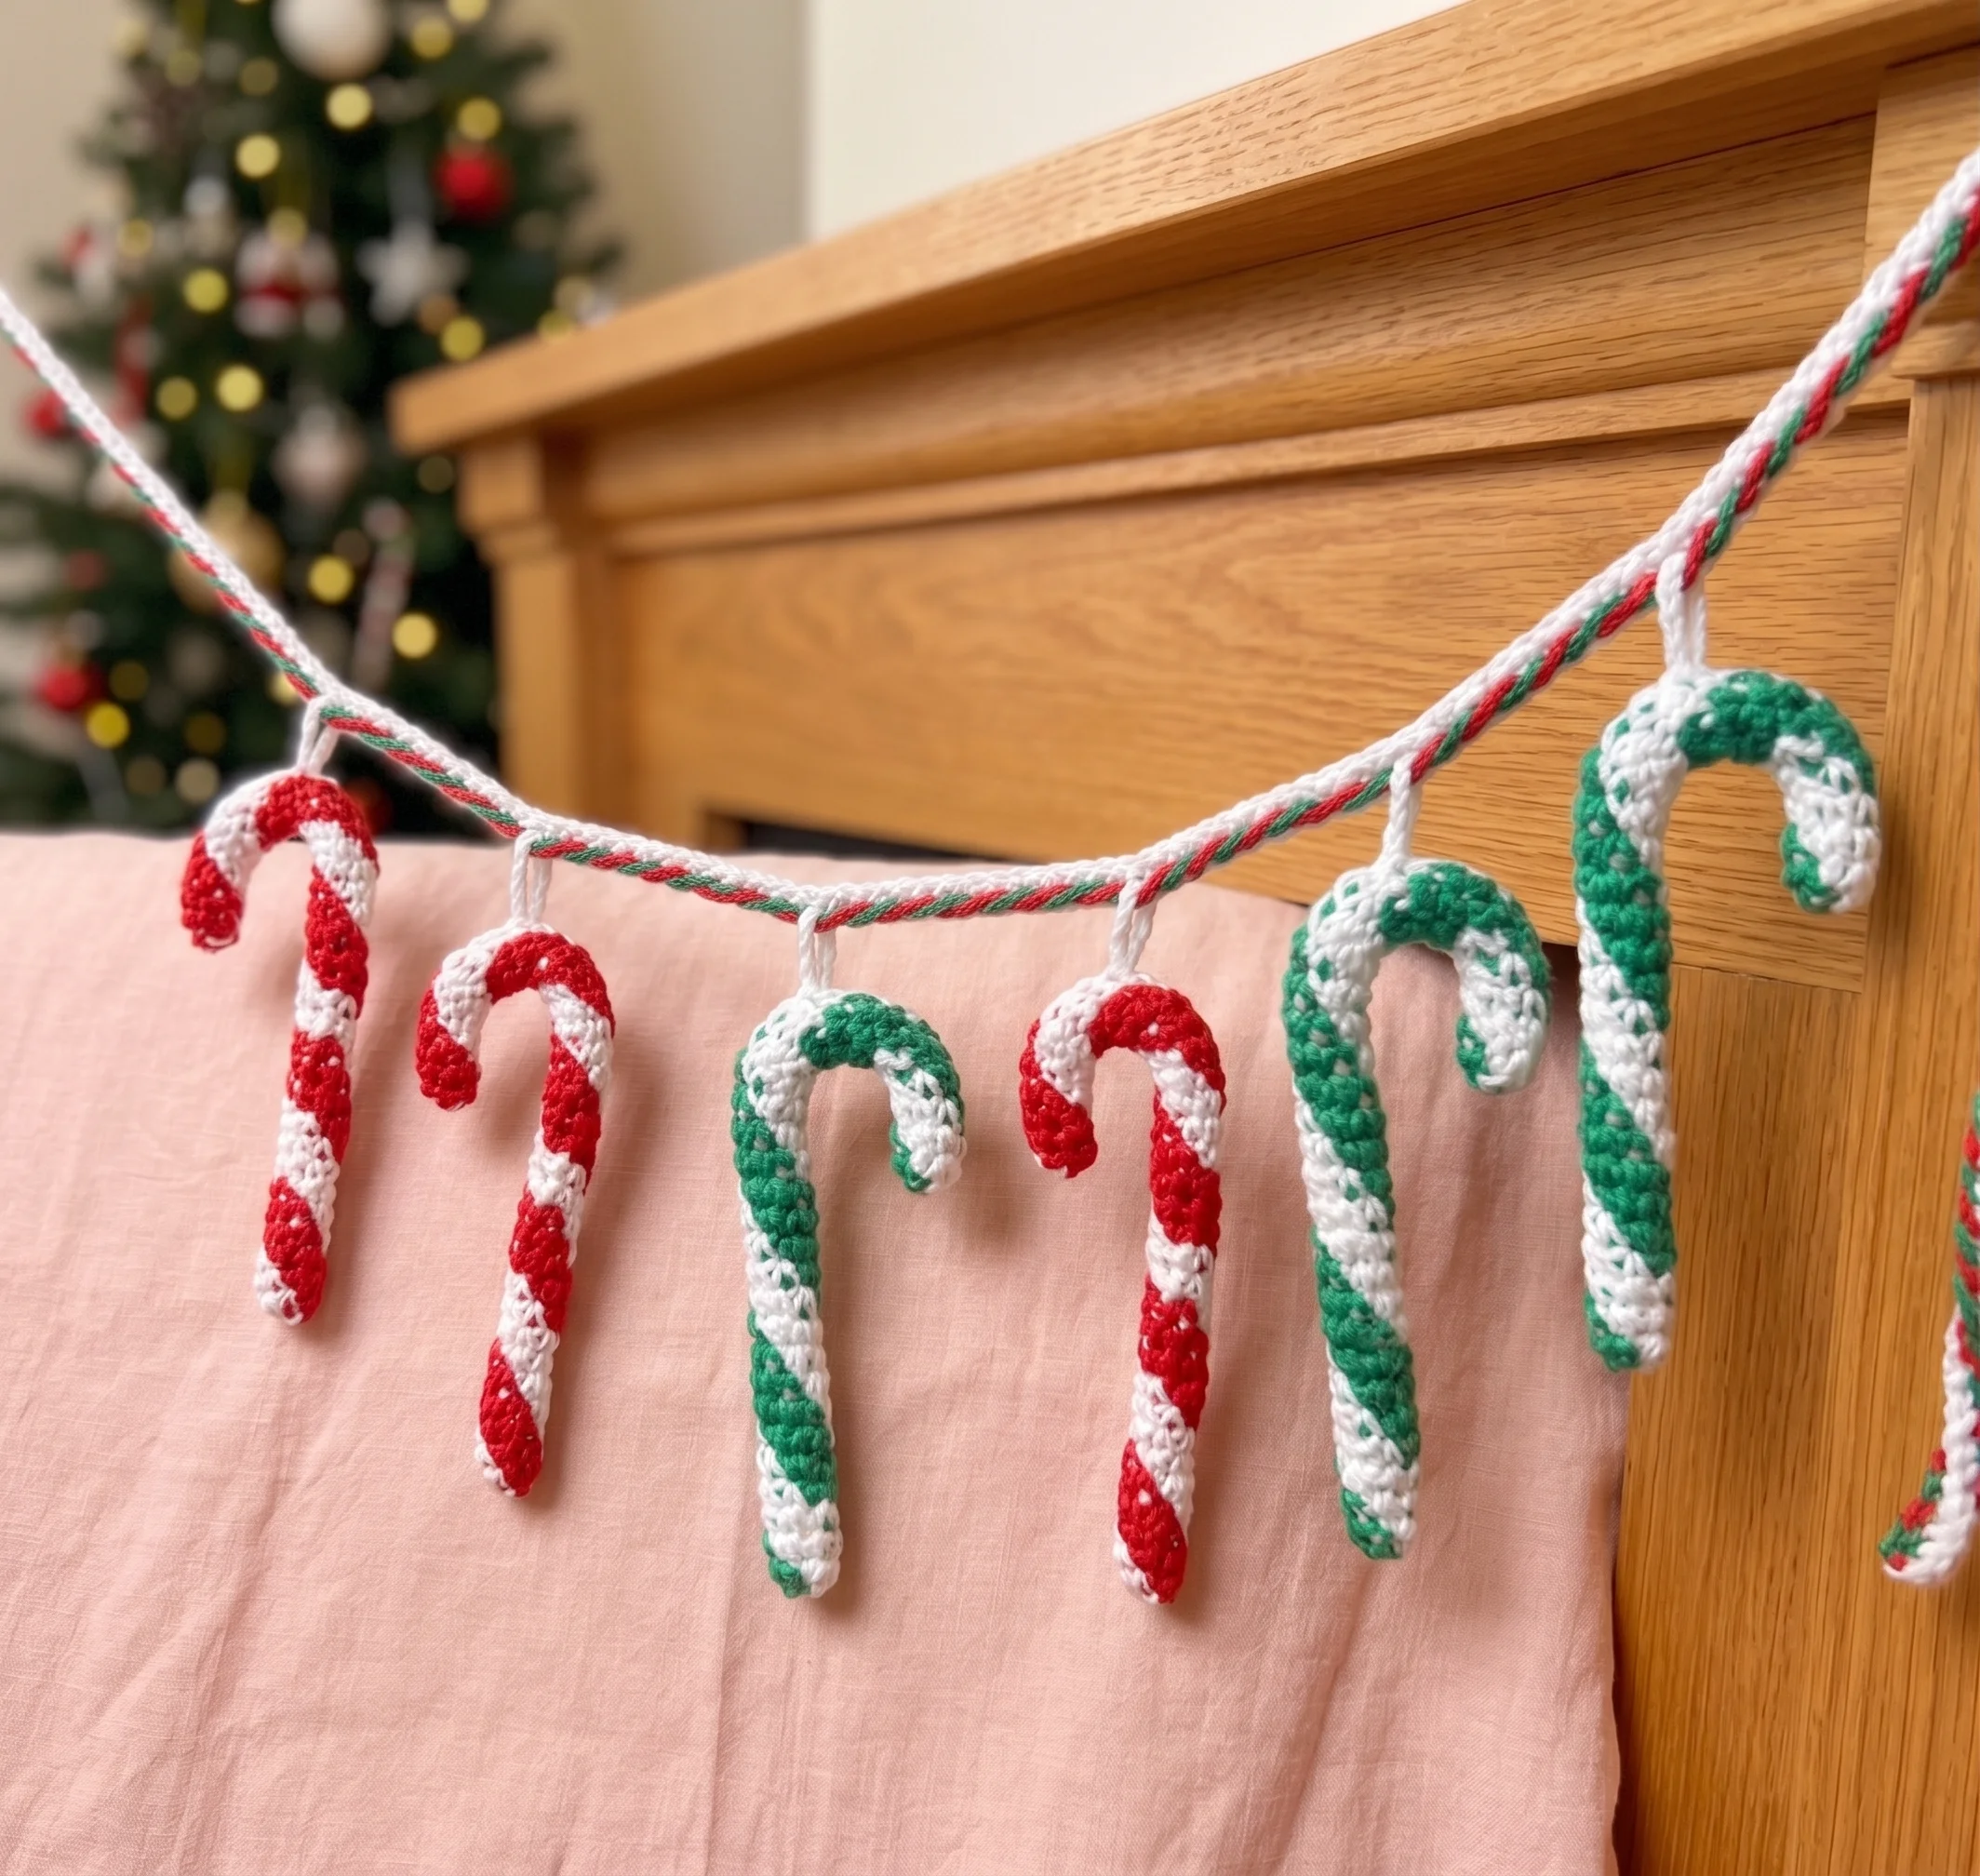
Nothing says Christmas quite like a candy cane, and this one never melts. Our free crochet candy cane pattern makes a plump, 3.8 inch stuffed ornament with classic diagonal stripes that appear almost by themselves. Every round uses just six stitches, so it’s the kind of project you can pick up and put down all through the festive season.
Why You’ll Love This Crochet Candy Cane
There’s a special kind of satisfaction in watching stripes appear in your hands. With this candy cane, the stripes aren’t wrapped on afterwards or embroidered on top. They grow right out of the stitches, spiralling around the cane exactly like the real sweet.
It’s a true little amigurumi too, firmly stuffed with a proper curve at the top, so it hooks over a branch just the way a candy cane should. Make it in traditional red and white, or try green and white for a fresh, modern twist on the tree.
And because it’s small and quick, it’s the perfect “just one more” project. Before you know it, you’ll have a whole bowl of them.
It also travels well. A small ball of each colour, your hook and a pinch of stuffing fit easily into a pouch, so you can keep stitching during school pickups, family visits and those quiet moments between holiday plans. Few projects feel this festive while asking so little of your time.
What’s Inside the Free Crochet Candy Cane Pattern
Your PDF download includes everything you need to make it with confidence:
- Clear instructions for every round, with the colour split written out stitch by stitch
- A handy reference table that matches each later round to the one it repeats, so you never lose your place
- Stuffing checkpoints that tell you exactly when to add filling to shape the curve
- Finishing and hanging loop instructions
- Helpful tips right where you’ll need them
- US crochet terms throughout
Materials for Your Candy Cane
| Material | Details |
|---|---|
| Yarn | Colour A: white cotton · Colour B: red (tomato) or green (malachite) |
| Crochet hook | 2.5mm (US C/2) |
| Stuffing | Polyester fiberfill |
| Notions | Darning needle, scissors |
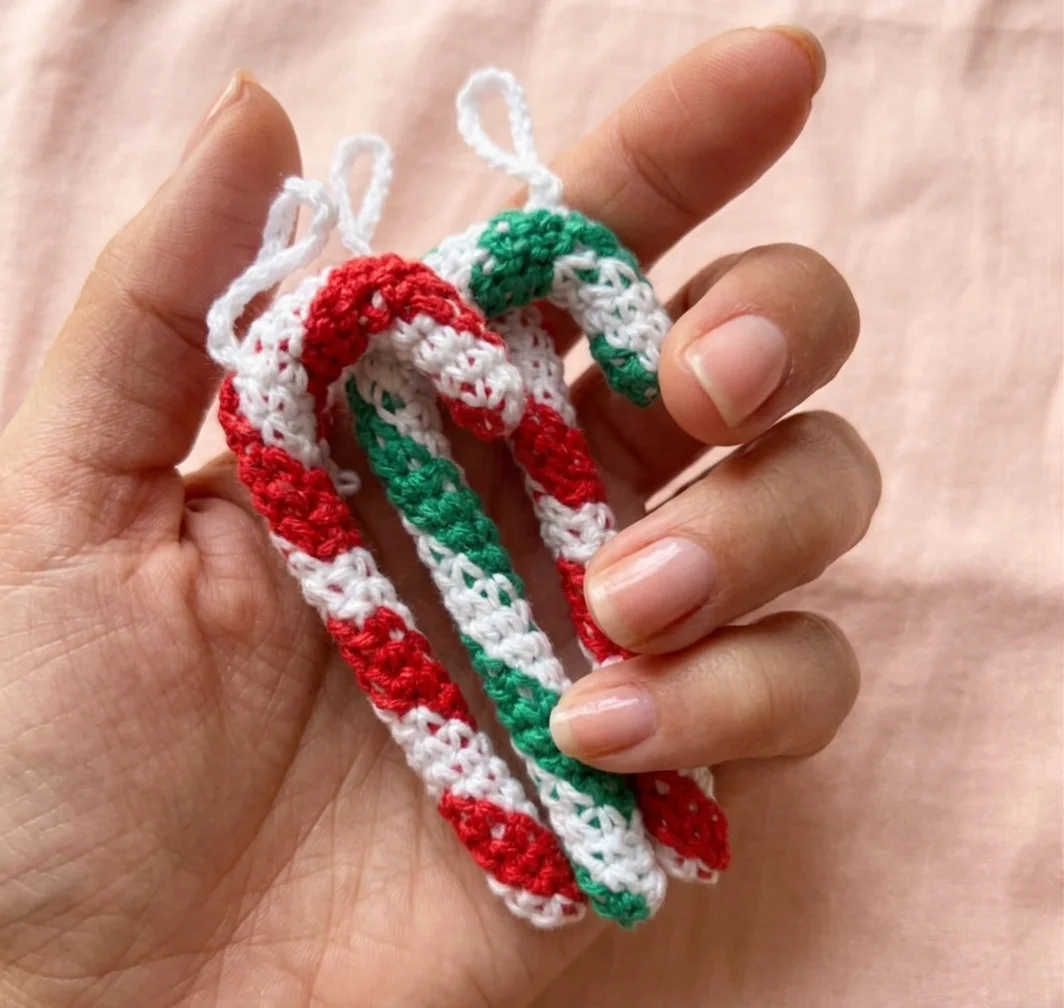
| Finished size | Approx. 3.8in (9.5cm) tall |
| Skill level | Easy |
| Crochet terms | US |
Cotton really shines here. It keeps the line between red and white sharp and clean, so your stripes look crisp from across the room.
How the Stripes Appear With Just Six Stitches
This is the clever bit, and it’s simpler than it looks. Each round shares its six stitches between your two colours, perhaps three white and three red. On the next round, that split moves along by one stitch. Round after round, the colours slowly travel around the tube, and the diagonal stripe of a candy cane appears all on its own.
You simply carry the colour you’re not using inside your stitches as you go. No cutting, no pile of yarn ends to weave in, and a tidy inside. Keep both strands relaxed and even, and your cane stays smooth and round.
The Secret Behind That Perfect Curve
A candy cane isn’t a candy cane without its hook, and this pattern builds that curve in two gentle ways.
In a few rounds, taller double crochet stitches sit together on one side while the other side stays in shorter single crochet. That small difference in height encourages the tube to lean, and the curve begins to form. Then stuffing sets it in place, with a little added after Round 6 and a little more after Round 9 to hold the bend. By the time you move on to the straight part of the cane, the shape is already there.
An Easy Rhythm Once You Get Going
After the first nine rounds create the curved top, the pattern settles into a relaxing eight round cycle. From there, you simply repeat that cycle in order until your candy cane reaches about 3.8in, which is around Round 31.
The PDF includes a reference table so you can tick off rounds as you go. It’s the kind of repetition that becomes almost meditative, perfect for evenings by the tree.
More Ways to Enjoy Your Candy Canes
Your candy canes don’t have to stay on the tree. Tie one onto a wrapped gift instead of a bow and the decoration becomes part of the present. Hang one from a door handle or tuck a few into a wreath, or pile them into a glass bowl for an instant festive centrepiece.
They’re also a lovely little thank you for teachers, neighbours and friends. Pair them with our Crochet Bell Ornament Pattern and Crochet Christmas Bauble Pattern for a handmade set that feels truly special.
A Small Detail That Keeps Your Stripes Neat
Each round in this pattern is joined with a slip stitch and starts with a chain 1. That chain simply lifts your hook to the right height and doesn’t count as a stitch, so your first single crochet goes into the same stitch as your join.
It’s worth keeping an eye on, because working into the chain by accident adds a seventh stitch, and the stripes start to wander. A quick count to six at the end of each round keeps everything lined up beautifully.
Stuffing Your Candy Cane Just Right
A little goes a long way. Add stuffing in small pinches and ease it down with the end of a pencil or a chopstick, topping up every few rounds as the cane grows.
The double crochet sections are a touch more open than the rest, so gentle stuffing keeps the filling hidden. If a wisp ever peeks through, just nudge it back inside, and a couple of tiny stitches with matching thread will close any gap.
Finishing Touches and Hanging Loop
When your candy cane reaches its full height, weave your yarn tail through the last stitches, pull it snug to close the end, and tuck the tail inside.
For hanging, a simple chain loop in white is all you need. Sew it to the back near the top of the curve, between Rounds 10 and 11, and your candy cane will sit perfectly balanced on a branch.
Make It Your Own
Love the shape but want something different? Change the colours to match your style. Red and white is timeless, green and white feels fresh, and a red, green and white mix makes a cheerful set.
You can play with size too. Keep repeating the eight round cycle for a longer cane, or switch to worsted weight cotton with a 3.5mm hook for a chunkier version. The six stitch structure stays the same, so the stripes and curve form just as before. Bigger candy canes look wonderful tucked into a wreath or peeking out of a stocking.
When Something Doesn’t Look Quite Right
A little twist is completely natural, since the stripes spiral and the tube gently follows them. If your cane twists more than you’d like or the curve leans the wrong way, a quick check usually solves it.
First, count your stitches. An extra one shifts the double crochet groups so the curve no longer builds on the same side. Then check the stuffing. If one side feels fuller, move a little filling across with a chopstick, and roll the cane gently between your palms to help it settle straight.
Keep Learning
Building your skills? These guides pair beautifully with this pattern: How to Change Colours in Crochet, How to Stiffen Crochet and Christmas Crochet Patterns and Ideas.
A Few Tips Before You Start
- Pop a stitch marker in the first stitch of each round.
- Count to six at the end of every round.
- Keep your carried yarn relaxed so the cane stays smooth.
- Stuff little and often rather than all at once.
- Tick off rounds on the reference table as you go.
Frequently Asked Questions
Pick up your hook and let’s bring your next crochet project to life!