Crochet Bear Pattern Free Mini Amigurumi Teddy Bear Keychain
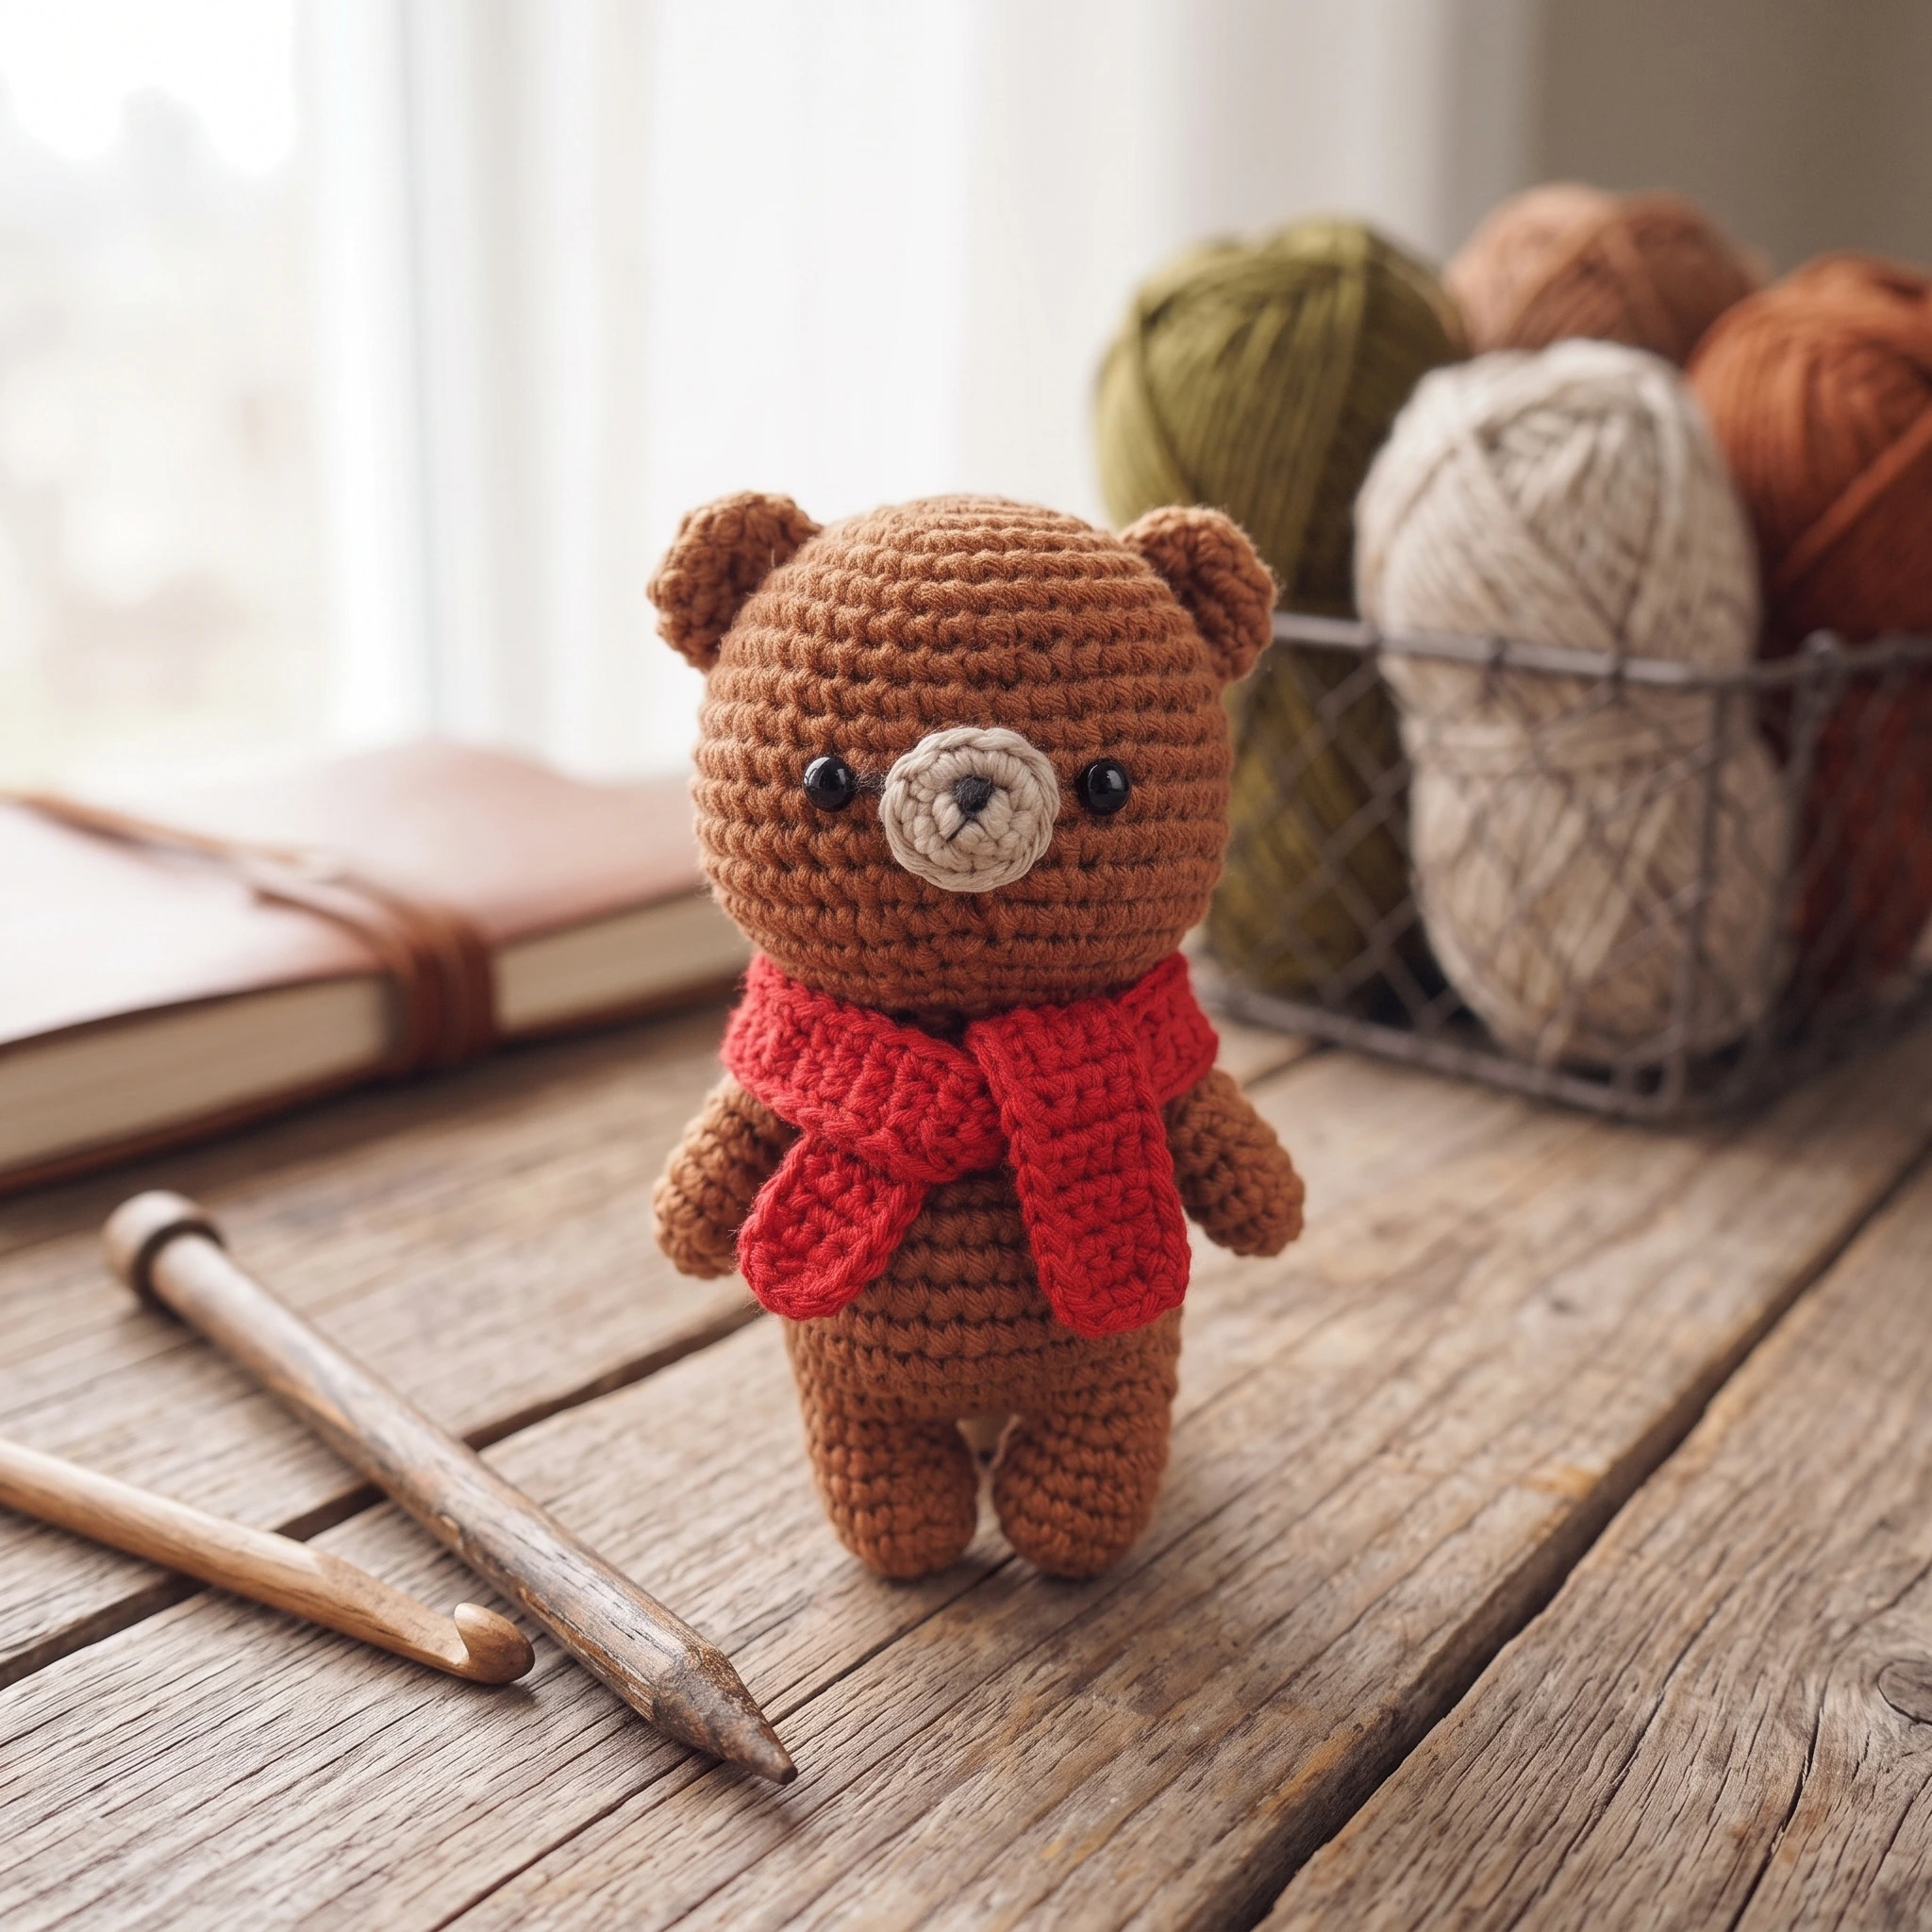
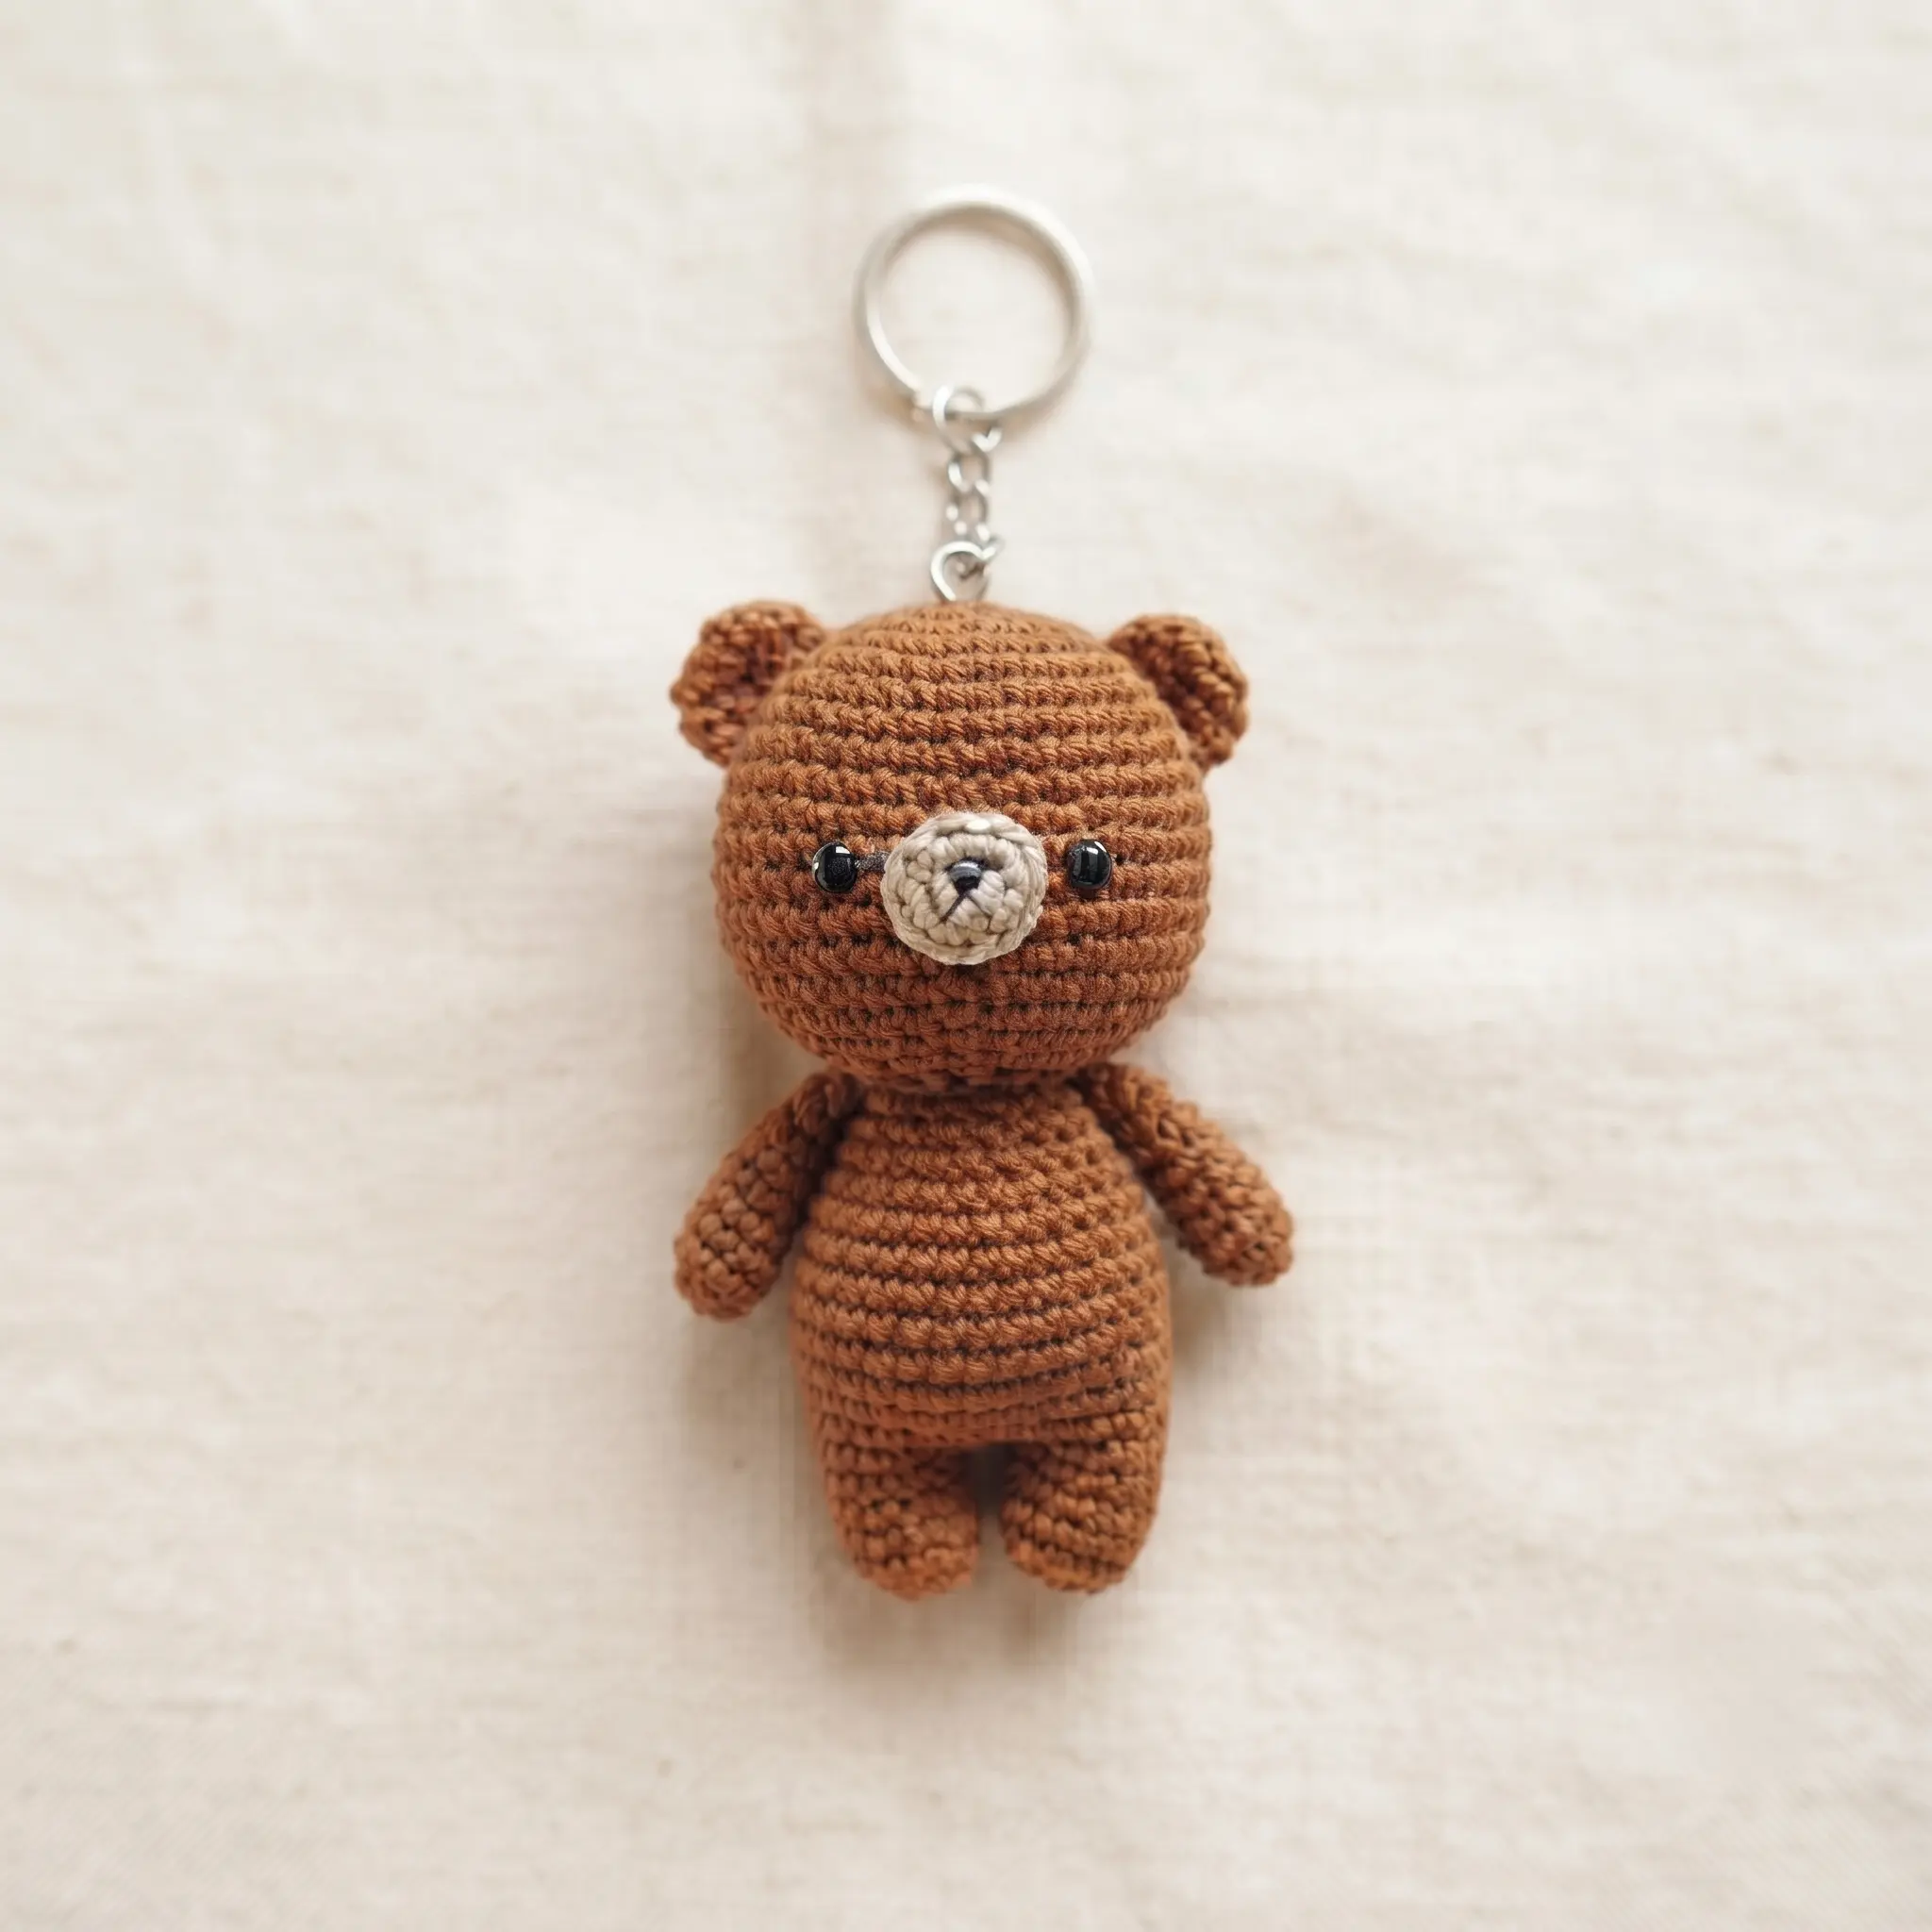
Small enough to fit in your palm, sweet enough to take everywhere. Our free crochet bear pattern makes a tiny amigurumi teddy with a round head, little ears, a soft cream muzzle and a gentle stitched nose. Keep him on a shelf, tuck him into a gift, or add a key ring and turn him into the cutest crochet bear keychain you’ve ever carried.
Why You’ll Love This Crochet Bear
There’s a reason teddy bears are the most loved toys in the world. They’re comforting, timeless and full of quiet charm, and this mini version captures all of that in something you can hold in one hand.
Every detail is designed to make him feel special. A round, full head gives him a gentle look, two small ears sit neatly on top, and a cream muzzle with a tiny embroidered nose finishes his sweet expression. His legs grow straight into his body as you crochet, so he stands neatly and feels sturdy in your hand.
Because he’s so small, he’s also incredibly versatile. He can be a desk buddy, a gift tag charm, a stocking filler or a keychain that comes with you everywhere. One pattern, lots of ways to enjoy it.
What’s Inside the Free Crochet Bear Pattern
Your PDF download guides you through every piece of your little bear:
- Round by round instructions for the head, body, legs, arms and ears, with stitch counts
- A simple method that joins the legs straight into the body, with no sewing legs on
- Exact safety eye placement for a balanced, friendly face
- Instructions for the cream muzzle and embroidered nose
- A clear assembly guide to bring your bear together
- An optional mini scarf to add a cosy touch
- US crochet terms throughout
Materials for Your Mini Bear
| Material | Details |
|---|---|
| Yarn | Brown (bear), cream (muzzle) |
| Crochet hook | 3mm |
| Safety eyes | 2 × 8mm, or black thread to embroider |
| Stuffing | Polyester fiberfill |
| Embroidery | Black embroidery thread and needle |
| Notions | Yarn needle, stitch markers, scissors |
| For a keychain | Key ring with a short chain, plus a small jump ring or screw eye pin |
| Crochet terms | US |
A smooth cotton or cotton blend gives your bear tidy, defined stitches that look lovely up close, which matters on a small amigurumi. Warm caramel, chocolate and honey brown all make a classic teddy, while cream, grey or soft pink create a fresh, modern look.
How Your Mini Bear Comes Together
This little bear is made in a handful of small pieces: a head, a body with legs, two arms, two ears and a muzzle. Each piece starts with a magic ring and grows in continuous rounds, so the whole project has a calm, steady rhythm.
The head is a classic amigurumi ball that grows to 42 stitches, works even for several rounds to give it a full, round shape, then decreases as you stuff it firmly. The arms and ears are quick little shapes you can make in minutes, and the muzzle is just two tiny rounds in cream.
Once every piece is ready, assembly brings your bear to life. You attach the face details, sew on the ears, join the head to the body and add the arms just where the head and body meet.
Legs That Grow Straight Into the Body
If sewing amigurumi legs on evenly has ever frustrated you, you’ll love this part. You crochet both legs first and stuff them lightly. Then, instead of fastening off the second leg, you chain across to the first leg and crochet around both together.
That joined round becomes the base of the body, and you simply keep working upward. The legs are perfectly placed and firmly attached before you’ve even finished the tummy, which gives your bear a neat, sturdy stance. It’s also why this pattern works so well as a keychain, since there are fewer sewn joins to wear loose.
Giving Your Bear His Sweet Face
The face is where your bear’s personality shines through. The 8mm safety eyes go in between Rounds 12 and 13 of the head, with seven stitches between them. That spacing gives him a gentle, friendly look.
Next, the cream muzzle is sewn on between the eyes, and a few strands of black embroidery thread create a small, soft nose. Add a tiny line underneath for a smile if you like. Finally, the round ears are sewn near the top of the head. Pin them first and look at your bear from the front before sewing, so they sit evenly.
A Little Bear That Fits in Your Hand
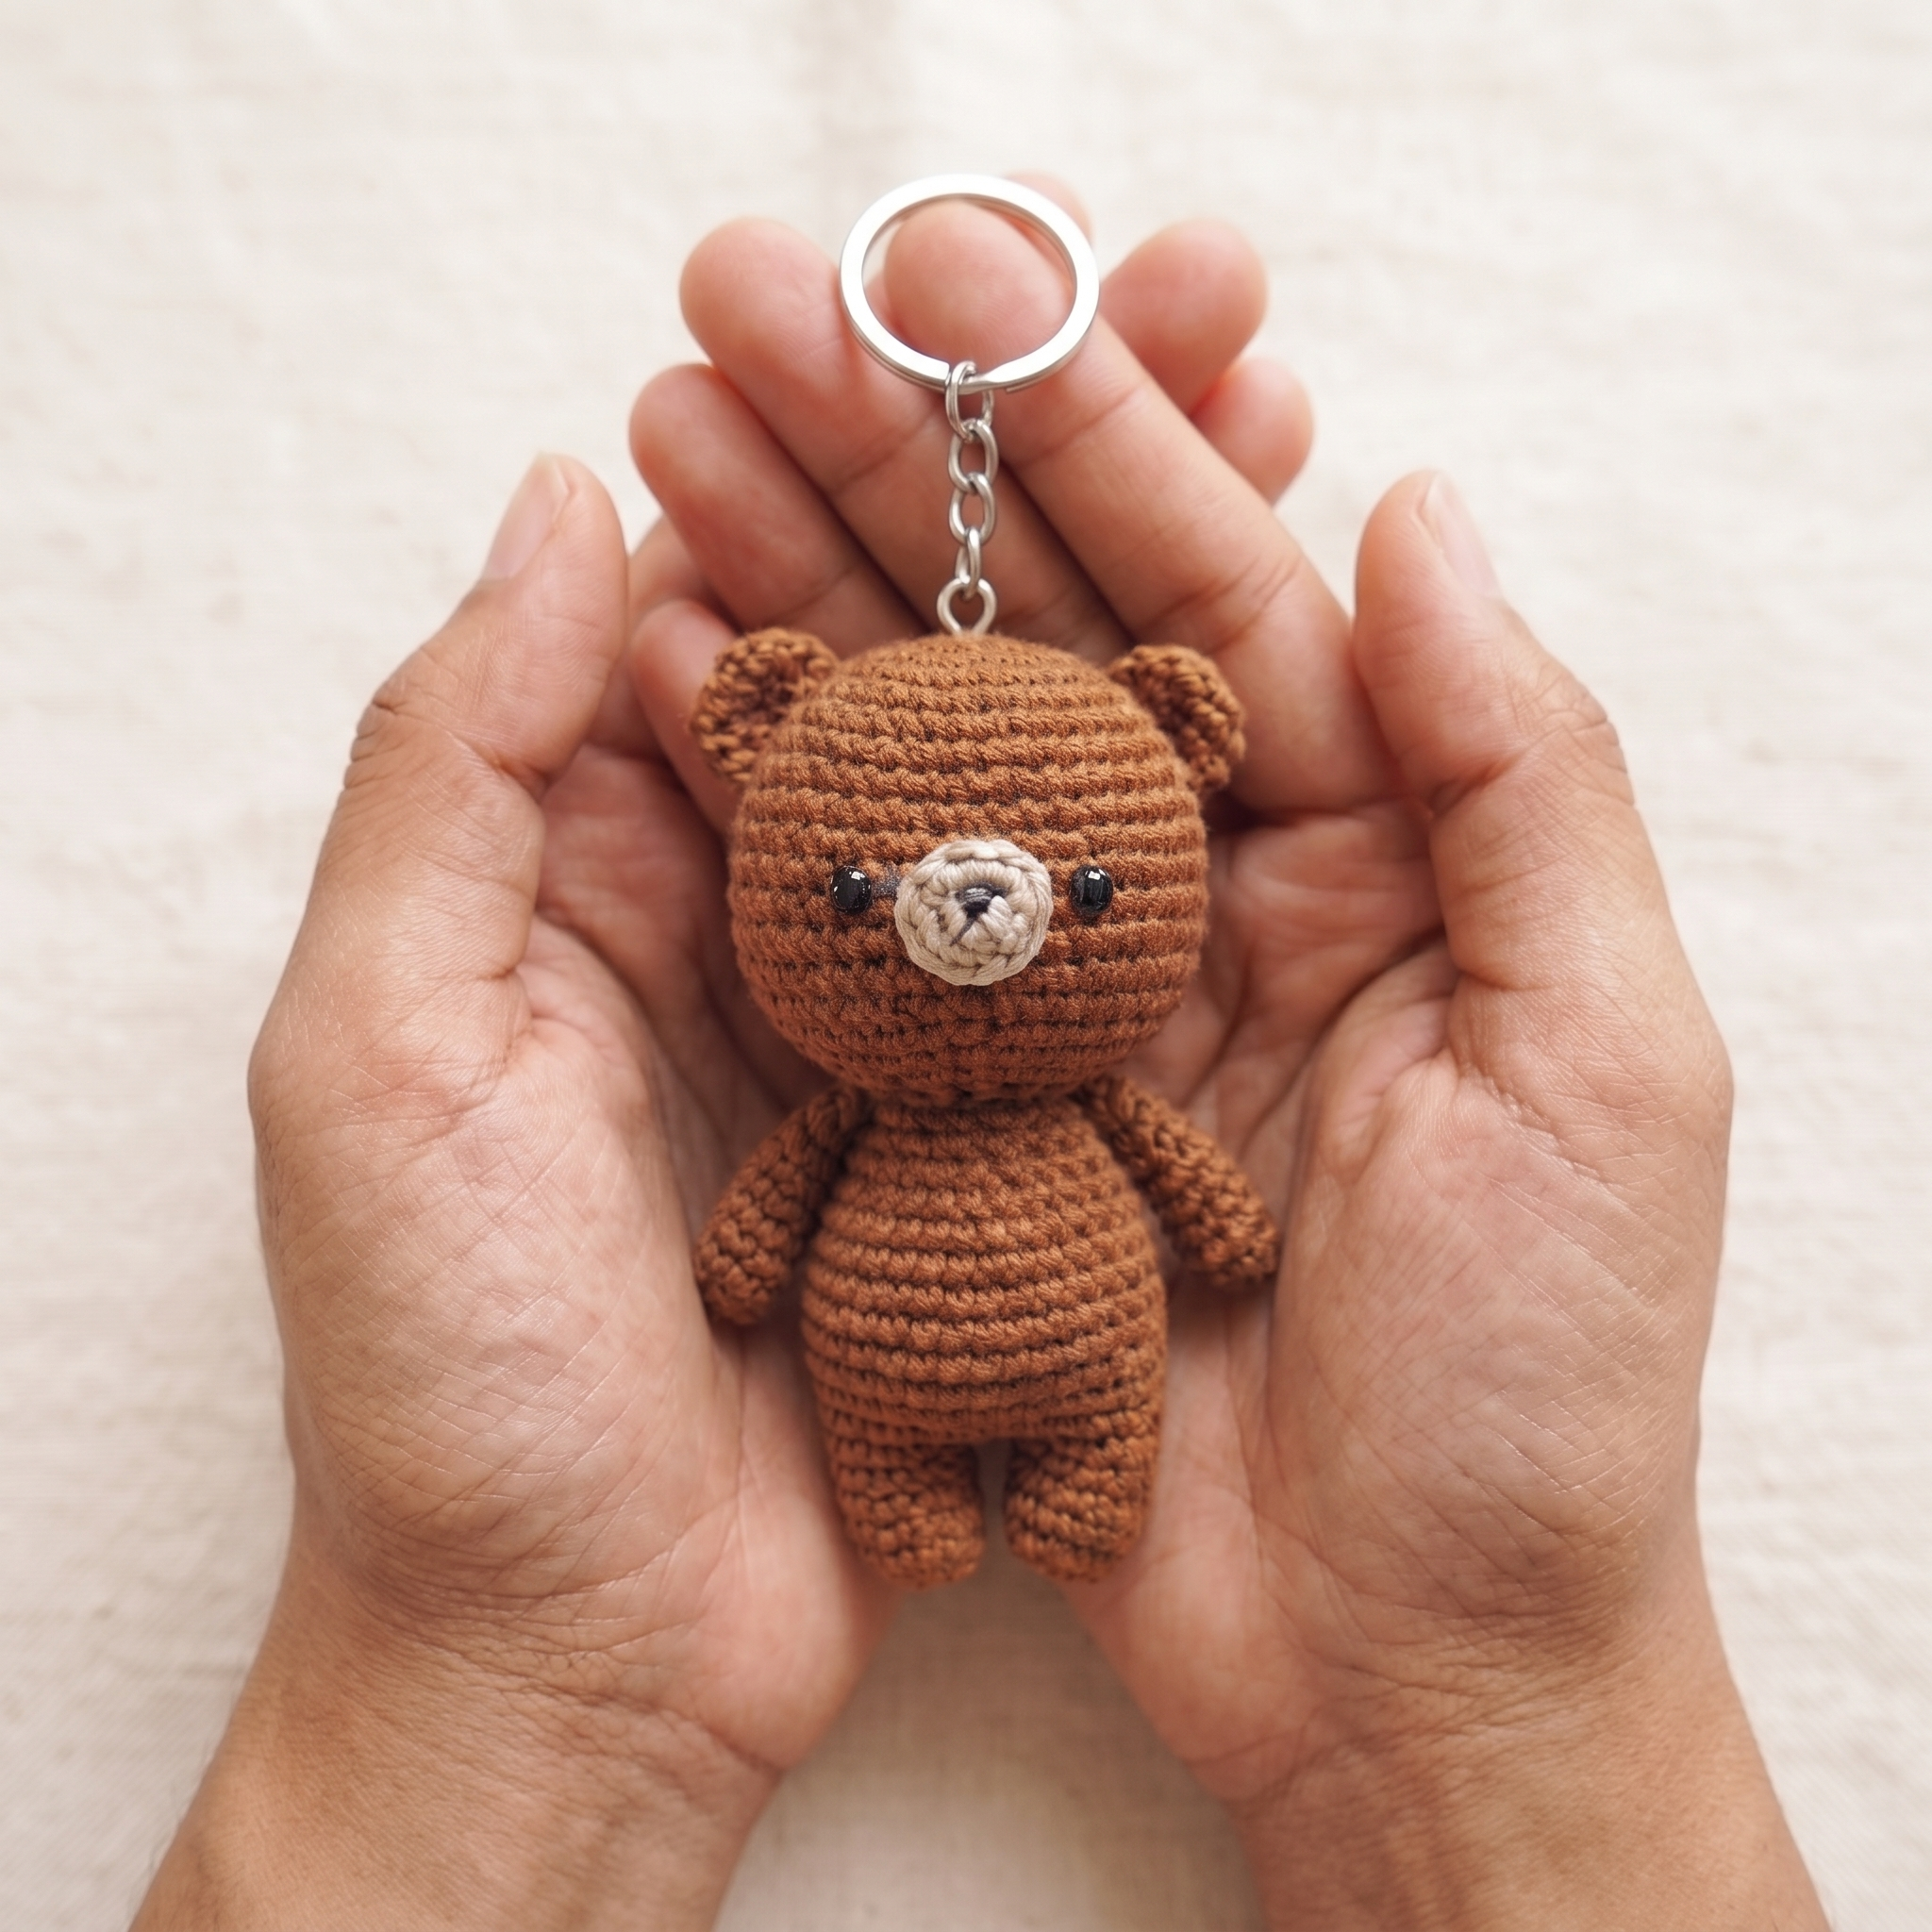
Picture him sitting in your palm, looking up at you with that sweet, stitched smile. That’s the moment this tiny bear was designed for.
He’s small enough to make in an evening, yet special enough to keep for years. Make one for yourself, one for a friend, and before long you’ll have a whole family of little bears.
Turn Your Bear Into a Crochet Keychain
This tiny bear makes a perfect crochet keychain, and it only takes a few extra minutes.
Add a secure attachment. The neatest option is a small screw eye pin pushed firmly into the top of the head, between the ears, with a jump ring linking it to your key ring. Alternatively, sew a strong loop of yarn through several stitches at the top of the head and attach the key ring to the loop.
Stuff firmly. A keychain gets squeezed and swung around, so firm stuffing helps your bear keep his shape.
Choose durable eyes. Keychains take more wear than shelf toys. Check that your safety eye washers are pressed on firmly, or embroider the eyes with black thread for extra durability.
Try a smaller size. For an even tinier keychain, use a finer cotton yarn with a 2mm to 2.5mm hook, and smaller safety eyes to match.
Clip your bear keychain onto your keys, a backpack, a tote bag or a pencil case. They also make wonderful little gifts and are a popular choice at craft fairs.
Add a Cosy Mini Scarf
Want to dress your bear up for winter? A tiny scarf adds instant charm. Simply chain a short strip in a contrasting colour, such as red, mustard or forest green, and work a couple of rows of single crochet. Wrap it around his neck, tie it loosely at the side and trim the ends, or add a few strands of fringe for extra character. It’s a lovely way to make each bear unique, and it turns him into a sweet seasonal gift for Christmas.
A Tiny Gift With Big Meaning
A handmade bear is one of the most heartfelt gifts you can give. Tuck one into a birthday card envelope, add one to a baby shower basket, or give one to a friend who needs a little comfort.
Bear keychains make lovely thank you gifts for teachers and colleagues, and they’re perfect stocking fillers at Christmas. Looking for more cute companions? Browse our Crochet Animal Patterns collection, or try our Crochet Tiger Pattern next.
Is This Bear Right for You?
If you’ve made a simple amigurumi ball before, you’ll feel comfortable with this pattern. All the stitches are basic: single crochet, increases and decreases, worked in rounds.
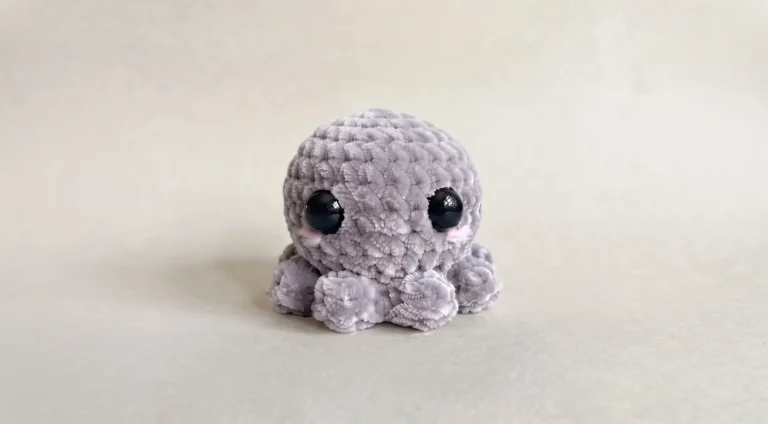
What takes a little more care is the number of small pieces and the assembly at the end. If you’re brand new to amigurumi, our no sew Crochet Octopus Pattern is a gentle first step. Then this little bear will feel like a lovely next project.
Make It Your Own
Change the colours to create a whole family. A cream bear with a brown muzzle looks soft and modern, a grey bear feels calm and cosy, and a pastel pink or mint bear is perfect for a nursery.
You can also personalise each one with an embroidered initial on the tummy, a tiny bow between the ears or a matching scarf. Because he’s so quick to make, you can easily create a set in different colours for siblings, friends or a craft fair display.
A Note on Safety
Safety eyes and key rings are small parts. If your bear is for a baby or toddler, embroider the eyes with black thread and don’t add a key ring. Treat bear keychains as accessories for older children and adults.
When Something Doesn’t Look Quite Right
If the head wobbles on the body, add a little extra stuffing to the neck area and sew around the join twice. If the face looks uneven, check the eyes sit in the same round with equal stitches on each side before locking the washers.
If the ears look lopsided, unpick and reposition them. And if your keychain attachment feels loose, move it slightly deeper into the head or sew the loop through more stitches for extra strength.
Keep Learning
Want to perfect your amigurumi details? These guides pair beautifully with this pattern: How to Use Safety Eyes in Amigurumi, How to Change Colours in Crochet and How to Sell Crochet at Craft Fairs.
A Few Tips Before You Start
- Use a stitch marker for every continuous round.
- Place the safety eyes before you close the head.
- Stuff the head firmly so it keeps its round shape.
- Pin the ears and muzzle before sewing.
- For a keychain, fit the attachment before giving it as a gift and test it with a firm tug.
Frequently Asked Questions
Pick up your hook and let’s bring your next crochet project to life!