Crochet Santa Ornament Pattern Free Amigurumi Santa Face
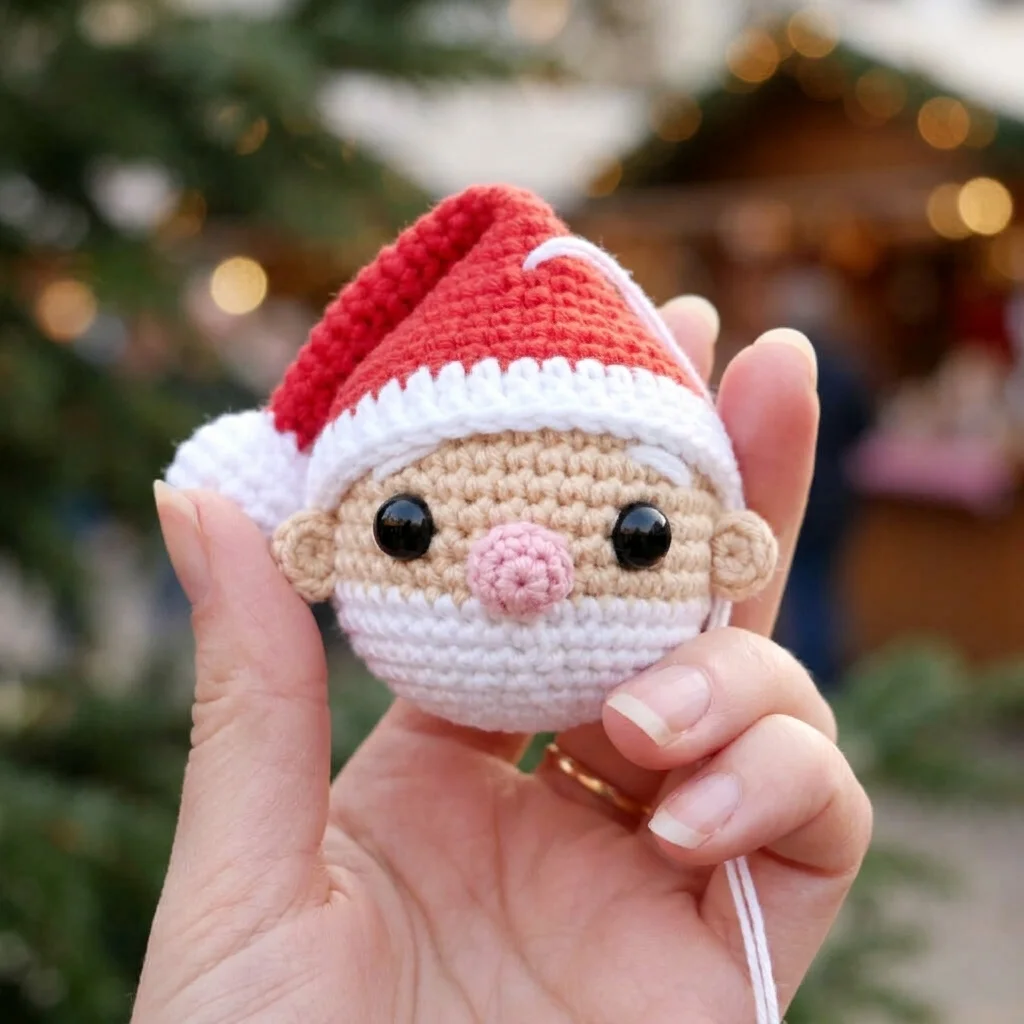
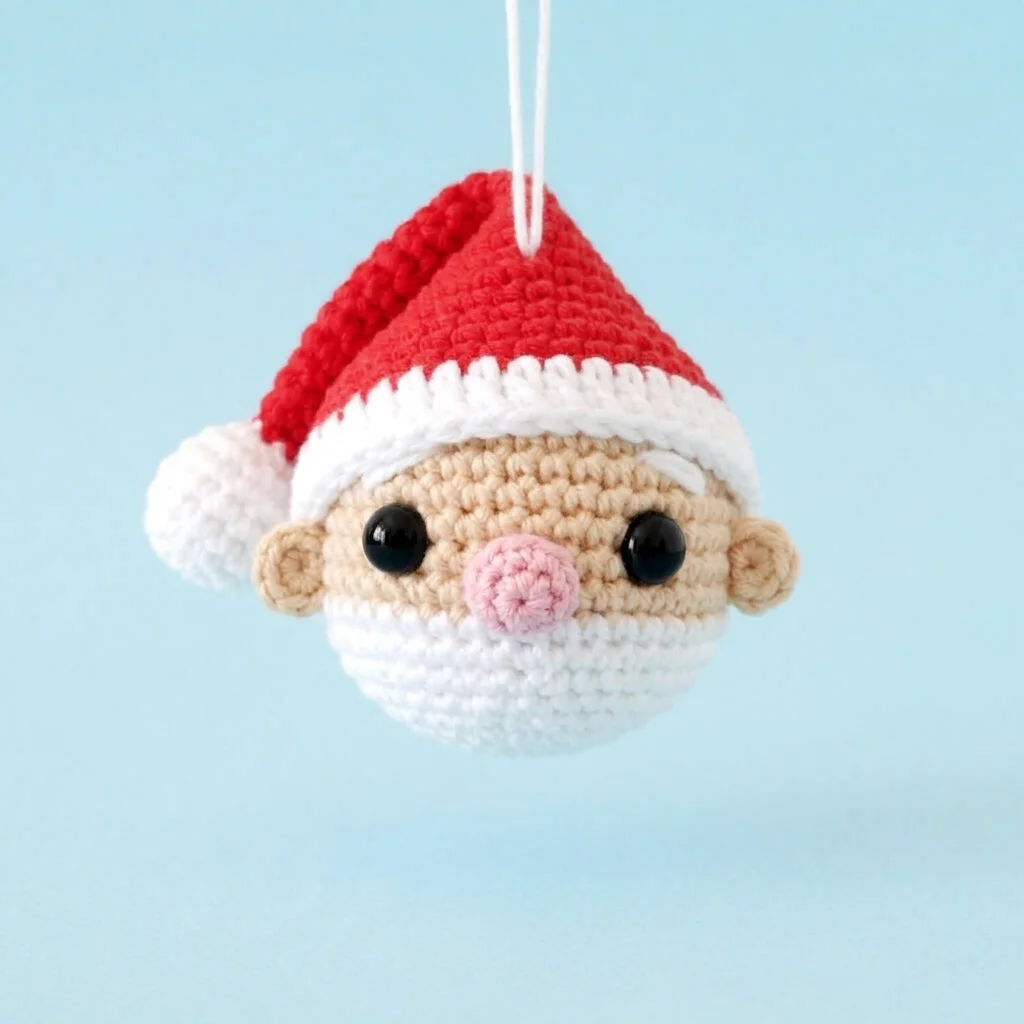
Santa comes once a year. This one stays all season. Our free crochet Santa ornament pattern makes a jolly little amigurumi face with rosy features, a soft white beard and a long floppy hat that flops over just like the real thing. At about 3 inches tall, he’s the cheerful centre of attention on any tree.
Why You’ll Love This Crochet Santa Ornament
Some ornaments are decorations. This one feels like a guest. With bright eyes, a little round nose, bushy white eyebrows and a cheeky tilted hat, your Santa has a personality that makes people smile the moment they spot him on the tree.
He’s all face and hat, which is exactly what makes him so charming. There’s no body to stuff or limbs to attach, so all of your attention goes into the details that matter most, the expression and that wonderfully floppy hat with its fluffy white trim and pompom tip.
He also makes a thoughtful handmade gift, especially for grandparents, teachers and anyone who loves a little Christmas nostalgia. Tie one onto a present, and you’ve given something that will come out of the decoration box for years.
What’s Inside the Free Crochet Santa Pattern
Your PDF download guides you through every piece:
- Round by round tables with stitch counts for the head and the hat
- Exact placement guidance for the safety eyes
- Step by step instructions for the nose, eyebrows and ear
- Simple assembly directions for that perfectly angled, folded hat
- Hanging loop instructions so he’s ready for the tree
- Helpful tips throughout, in US crochet terms
Materials for Your Santa
| Material | Details |
|---|---|
| Yarn | DK weight: skin tone, red, white |
| Crochet hook | 2.5mm (US C/2) |
| Safety eyes | 8mm |
| Stuffing | Polyester fiberfill |
| Hanging | Yarn or twine, 6 to 8in (15 to 20cm) |
| Notions | Stitch marker, yarn needle, scissors |
| Finished size | Approx. 2.5 × 3in (6.5 × 8cm) |
| Skill level | Easy |
| Crochet terms | US |
Choose any skin tone you like for Santa’s face. It’s a lovely way to make an ornament that feels personal to your family.
How Santa’s Head Comes Together
The head is a classic amigurumi ball worked in continuous rounds, and it’s where the magic starts. You increase to 42 stitches for a full, round face, work a few even rounds, and then switch to white yarn. Those white rounds become Santa’s beard, built right into the head so there’s nothing extra to sew on.
The eyes go in while the head is still open, between Rounds 11 and 12 and about seven stitches apart. Then the decreases bring the ball to a close, with stuffing added as you go for a smooth, firm face. Keep your stitches snug throughout, so the stuffing stays hidden and the face looks soft and polished from every angle on the tree.
The Floppy Hat With Its Fluffy Trim
The hat is the star of this pattern, and it’s a joy to watch it grow. It starts with a tiny white ball that becomes the pompom, then switches to red and slowly widens over many rounds into a long, elegant cone.
The final round is worked in white double crochet, which creates a soft, fluffy brim that looks just like Santa’s fur trim. The hat is the longest part of the project, so put on some Christmas music and enjoy the rhythm. The repeating rounds are relaxing, and the result is so worth it.
Bringing Santa’s Face to Life
This is where your ornament gets its personality. A little skin tone yarn, wrapped a few times in the centre of the face, creates a round, rosy nose. Then a few small stitches of white yarn above each eye form his eyebrows. Angle them slightly and Santa instantly looks warm and kind.
Next, a tiny ear is sewn on one side, level with the eyes. Finally, the hat goes on at a jaunty angle, sitting just above the ear and partly covering one eyebrow. Fold the tip over to the opposite side, secure it with a few stitches, and step back. There he is.
Is This Santa Right for You?
The pattern is rated Easy because every stitch is familiar: single crochet, increases, invisible decreases and a round of double crochet for the trim. What makes it a little longer than our other ornaments is the hat, which grows over 33 rounds.
If you’ve made a simple amigurumi ball before, you’ll feel right at home. If you’re brand new, consider making our Crochet Christmas Bauble Pattern first, since it uses the same sphere shaping for the head. Then Santa will feel like a natural next step, and the long hat will become a relaxing, rhythmic part of the make rather than a challenge.
Whole Family of Santas
One Santa is cheerful. A row of them is irresistible. Make several in different skin tones for a tree that feels warm and inclusive, or create a mini set with a green hat elf and a white hat snowman style friend using the same pattern.
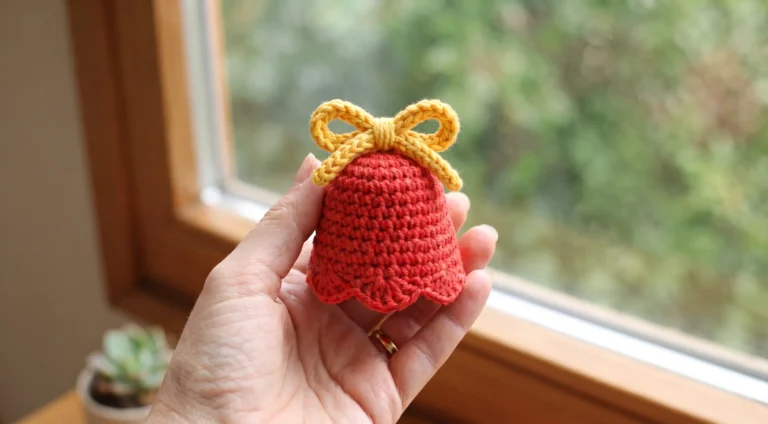
They also look wonderful alongside our Crochet Bell Ornament Pattern and Mini Crochet Stocking Pattern, so you can build a whole handmade Christmas story on your tree.
Getting the Hat Angle Just Right
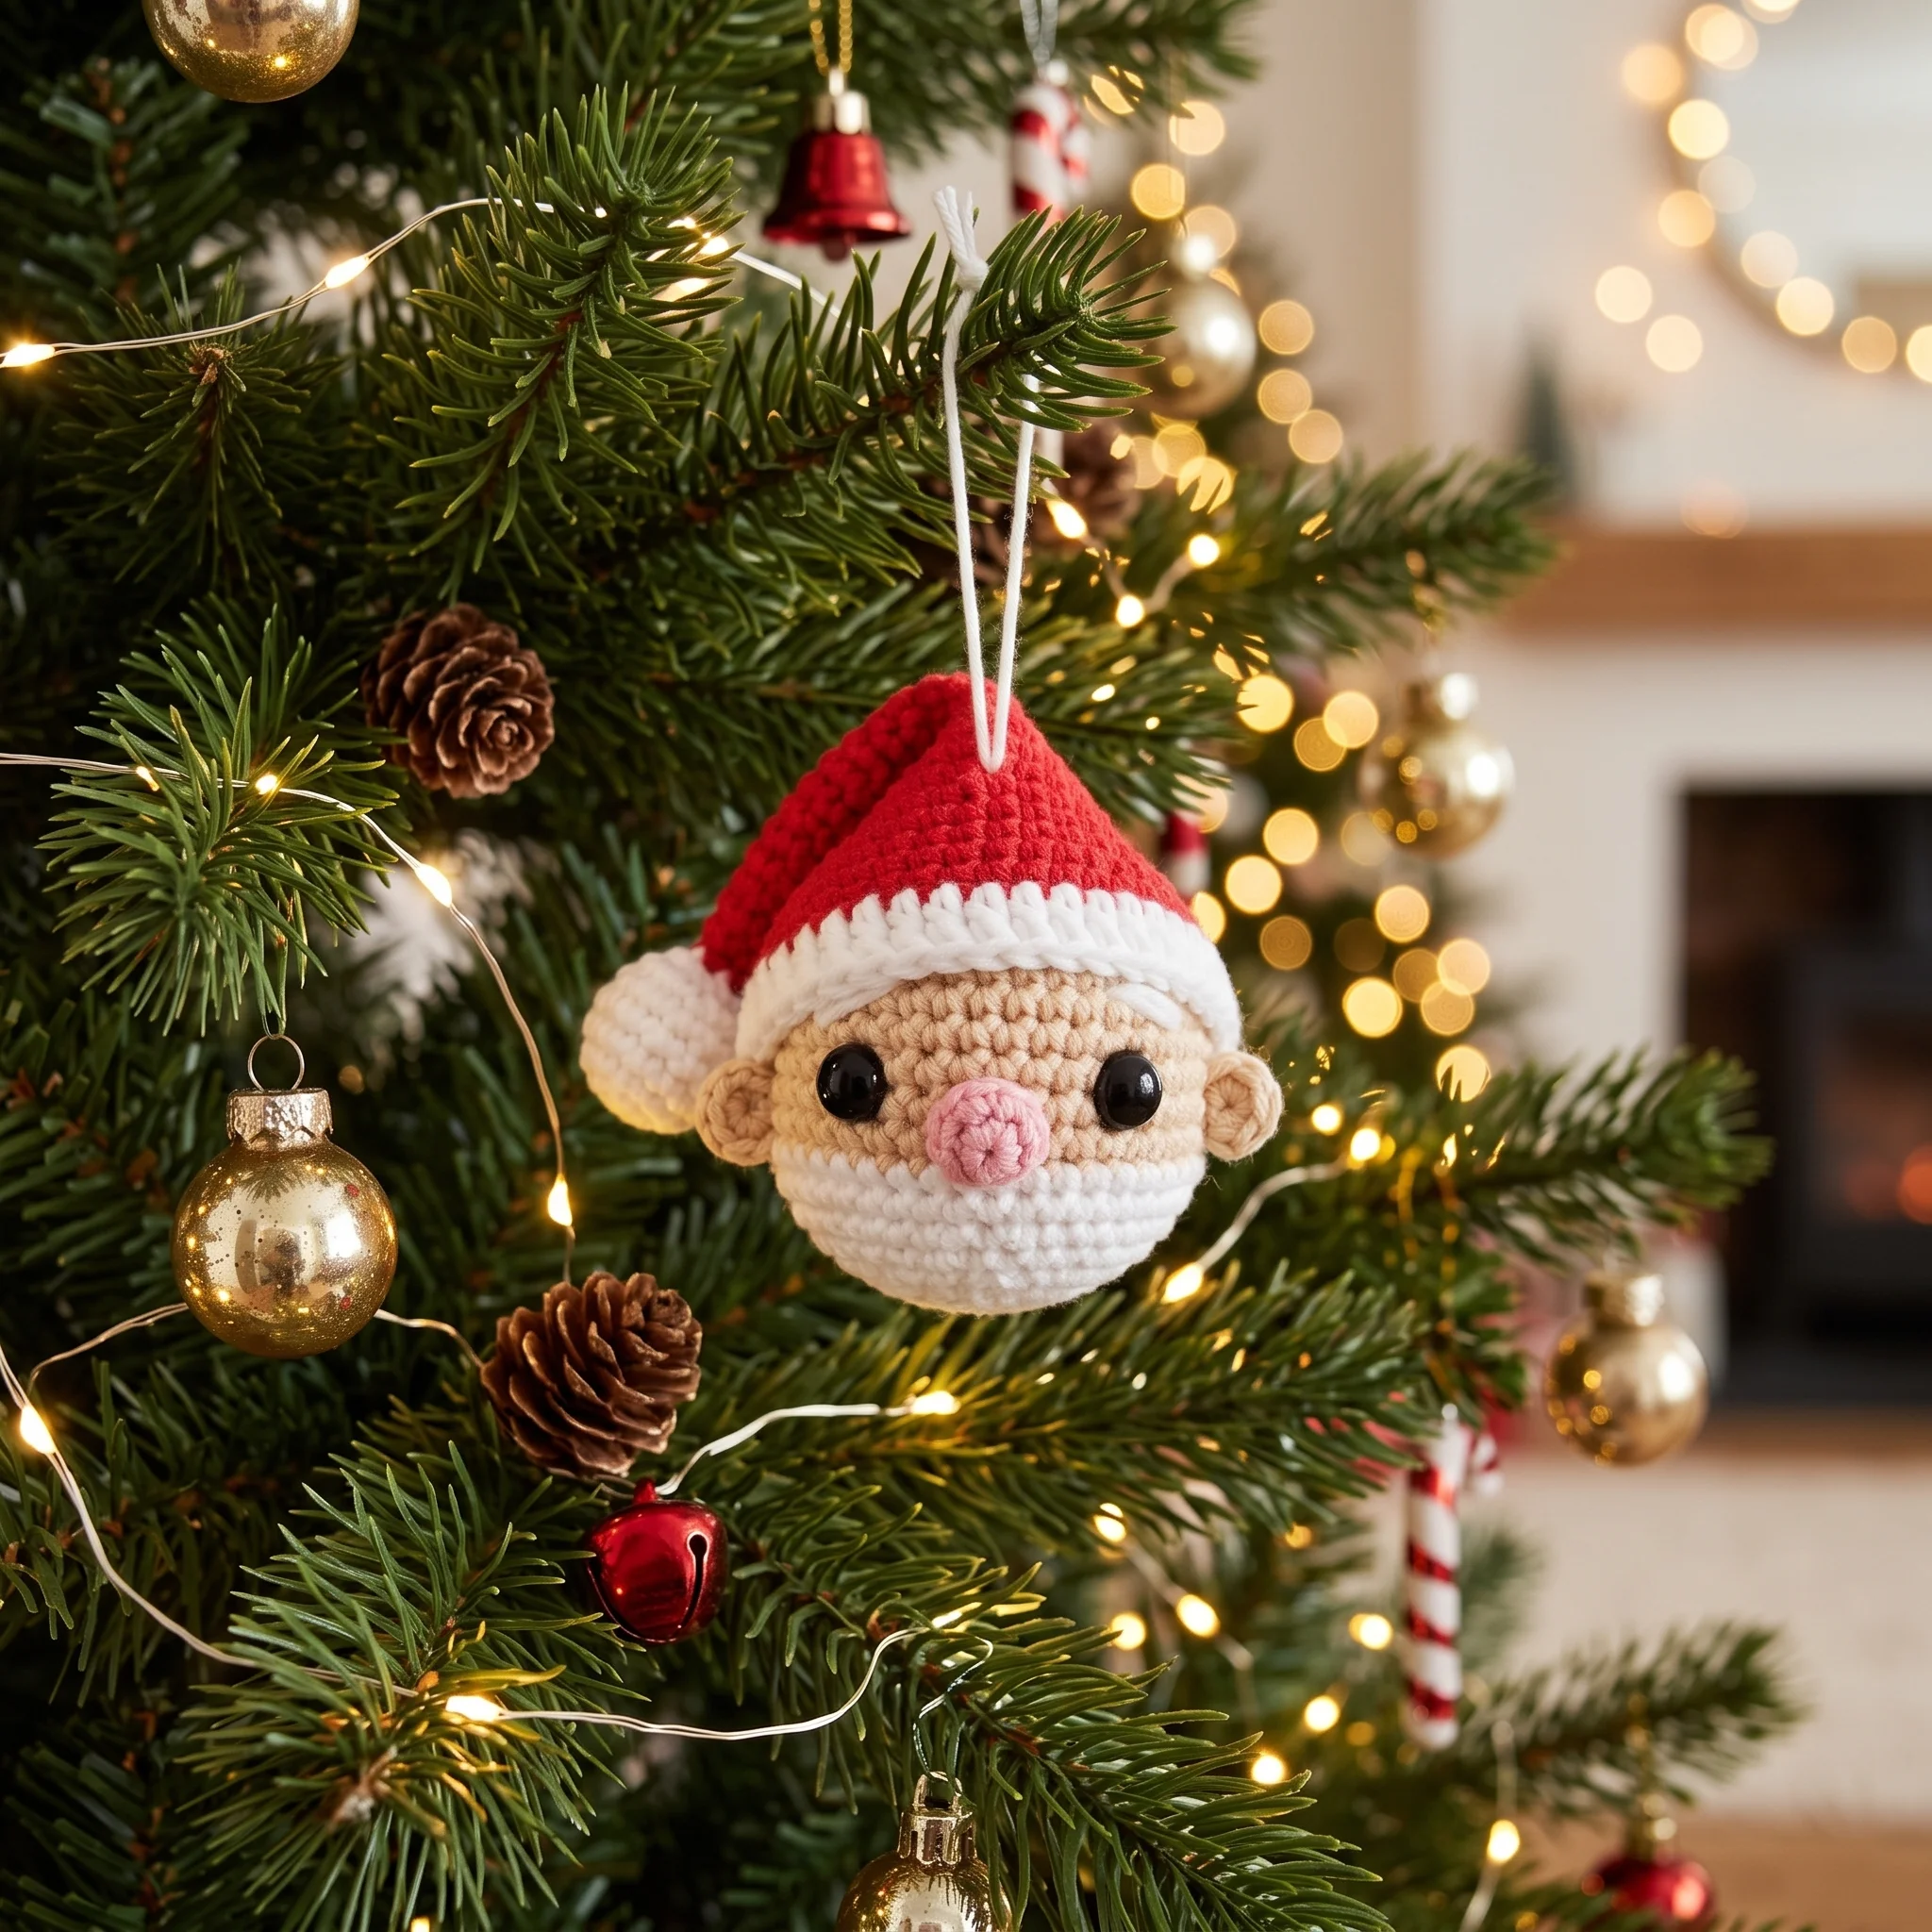
The tilt of the hat is what gives Santa his charm, so it’s worth taking a moment before you sew. Pin or hold the hat in place, check it from a little distance, and adjust until it looks playful rather than straight.
The hat should sit just above the ear, cover part of one eyebrow and leave the other eyebrow showing. Fold the tip away from the ear side and catch it with a couple of red stitches so it stays put. Once you’re happy, sew the hat securely all the way around the brim.
Make It Your Own
Santa is easy to personalise. Use a cream or ivory instead of bright white for a softer, vintage look. Add a tiny touch of pink blush to his cheeks with a little powder blusher and a cotton bud. Or sew a small jingle bell to the tip of the hat for a festive jingle.
You can even give him a full beard by adding a few extra white rounds before you begin the decreases. Larger yarn and a bigger hook will also give you a chunkier Santa, perfect for the top of a gift basket or as a wreath centrepiece.
When Something Doesn’t Look Quite Right
If Santa’s face looks a little lopsided, check the eye placement before closing, since evenly spaced eyes make all the difference. If the head feels lumpy, roll it gently between your palms and nudge the stuffing into any gaps.
If the hat looks too stiff or won’t fold, your stitches may be a little tight for such a long cone. The hat isn’t stuffed, so a gentle squeeze and a firm fold before you stitch the tip down usually sorts it out. And if the white trim curls, a gentle press with your fingers or a light steam from a distance helps it relax.
Keep Learning
Building your skills? These guides pair beautifully with this pattern: How to Use Safety Eyes in Amigurumi, Christmas Crochet Patterns to Make This Year and How to Change Colours in Crochet.
A Few Tips Before You Start
- Use a stitch marker on the first stitch of every round.
- Count stitches as the hat grows, since there are many rounds.
- Place the eyes before you start closing the head.
- Try the hat on before sewing the ear so you can check the spacing.
- Test the hanging loop with a gentle tug.
Frequently Asked Questions
Pick up your hook and let’s bring your next crochet project to life!