Granny Square Blanket Pattern Free Chunky Throw With Fringe
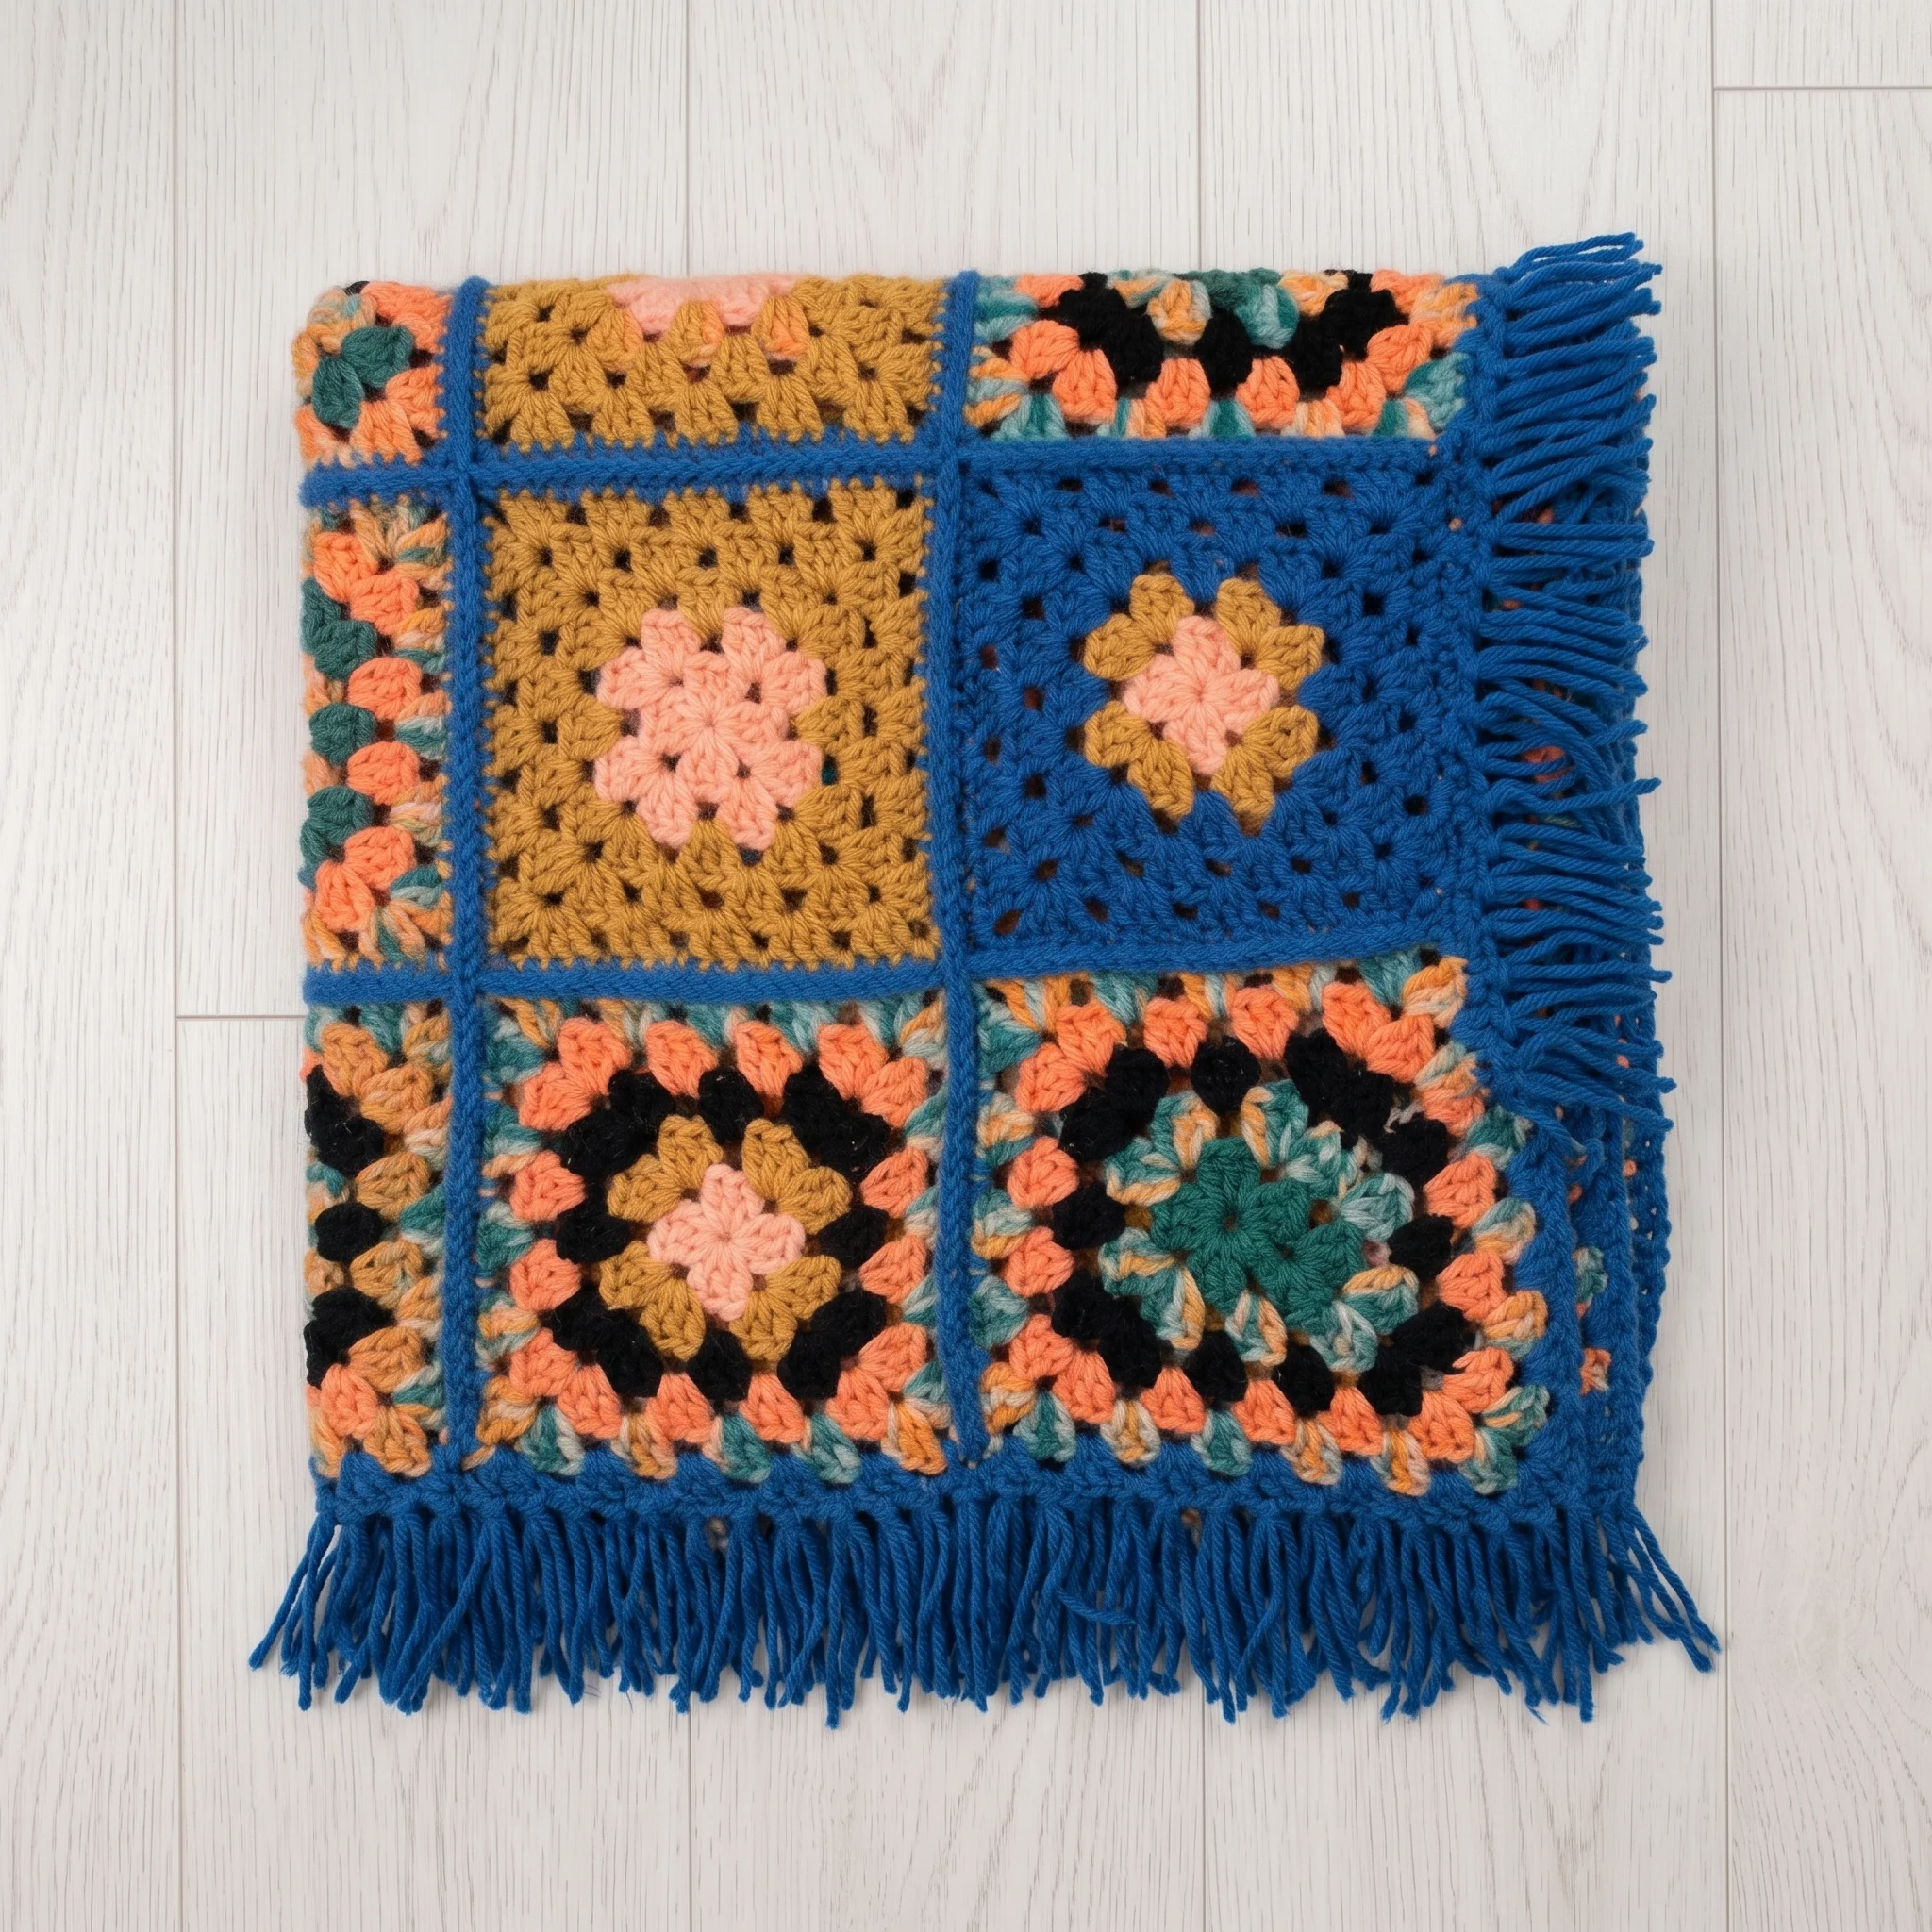
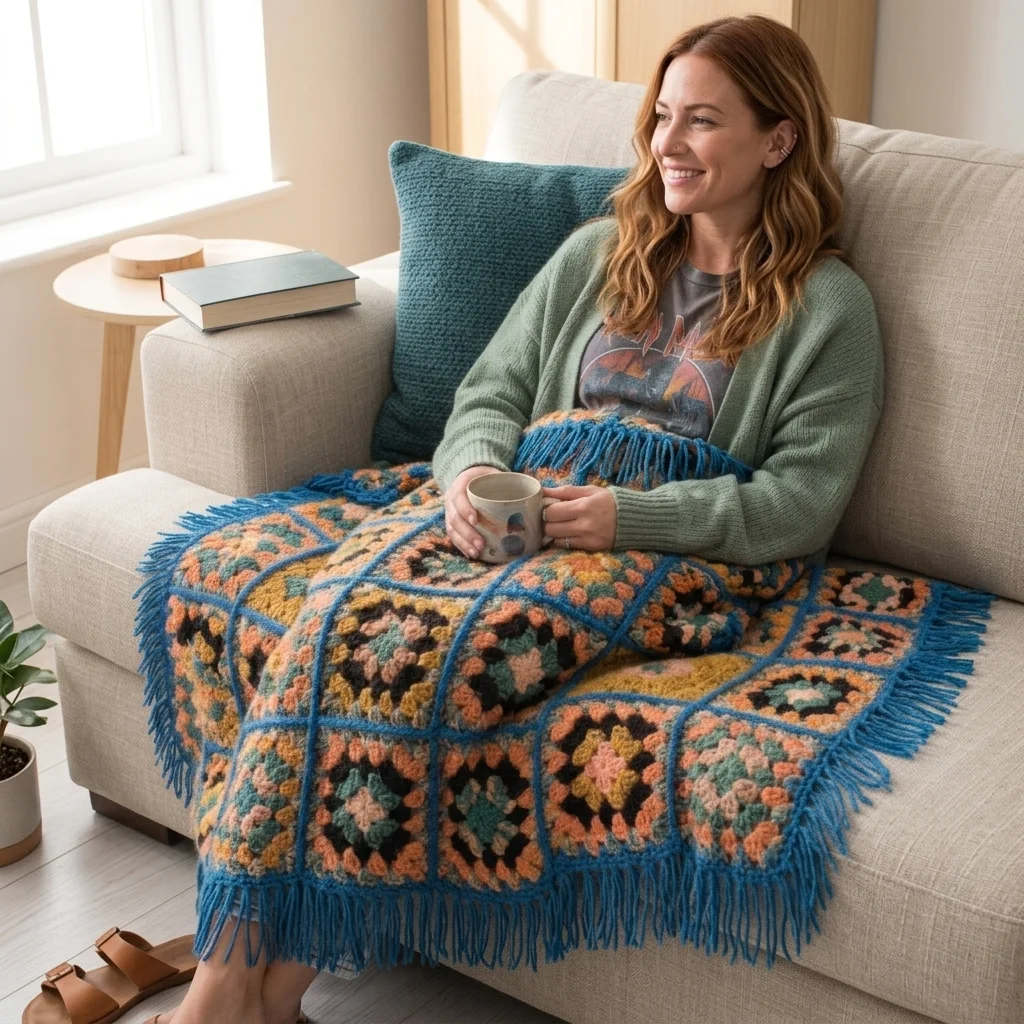
Some patterns never go out of style, and the granny square is the queen of them all. Our free granny square blanket pattern brings the classic up to date with super bulky yarn, big bold squares and a striking dark join that frames every motif like a stained glass window. Finished with a tidy border and a playful fringe, it makes a generous 54 × 65 inch throw you’ll want on your sofa every single evening.
Why You’ll Love This Granny Square Blanket
Granny squares are loved for a reason. They’re portable, relaxing and endlessly satisfying, because every square you finish feels like a little win. This blanket takes everything wonderful about the classic and makes it bigger, bolder and faster.
Thanks to super bulky yarn and an 8mm hook, each square grows to about 10½ inches in just five rounds. That means only 30 squares make a full sized throw, far fewer than a traditional granny square blanket. You’ll see real progress quickly, and the finished blanket is thick, warm and wonderfully squishy.
The design is modern too. Two main colors are arranged in a balanced, scattered layout, then joined with a third color that creates crisp graphic lines between the squares. Add a fringe at the top and bottom, and you have a blanket that looks right at home in a contemporary living room.
What’s Inside the Free Granny Square Blanket Pattern
Your PDF download is a complete guide from first square to finished throw:
- Round by round instructions for the classic five round granny square
- Clear tips for landing color changes neatly at the end of each round
- A layout chart showing exactly where each color square goes
- Step by step instructions for the flat slip stitch join
- A border round with guidance for crossing the joins neatly
- Fringe instructions for the top and bottom edges
- A one page cheat sheet to keep beside you as you work
- US crochet terms throughout
Materials for Your Granny Square Blanket
| Material | Details |
|---|---|
| Yarn | Super bulky weight in 3 colors |
| Color A | Shown in blue (15 squares) |
| Color B | Shown in peach (15 squares) |
| Color C | Shown in black (joining, border and fringe) |
| Crochet hook | 8mm (US L/11), or size needed for gauge |
| Gauge | One granny square ≈ 10½in (26.5cm); 7 sc × 8 rows = 4in (10cm) |
| Notions | Yarn needle, scissors |
| Finished size | 54½ × 65in (138.5 × 165cm), excluding fringe |
| Skill level | Easy |
| Crochet terms | US |
The sample uses color changing yarn, so each round of every square shows a different shade without cutting and rejoining. You can also use solid colors, changing yarn every round for a traditional scrappy look. Planning your colors? Our Yarn Calculator can help you work out how much you’ll need.
The Classic Granny Square, Made Bold
If you’ve never made a granny square, this is the perfect place to start. Each square begins with a small chain ring. The first round places four groups of three double crochets into the ring, separated by chain spaces that become the corners.
From there, the rule is beautifully simple. At every corner, you work three double crochets, three chains and three more double crochets. Along the sides, you work three double crochets into each space, with a single chain between groups. Repeat for five rounds, and your square is done.
Once you’ve made one or two, your hands will know the rhythm by heart. That’s what makes granny squares so relaxing: after the first few, you can crochet them while chatting, watching a film or traveling.
Landing Color Changes Perfectly
With color changing yarn, the goal is for each new color to start right at the beginning of a round. The pattern shows you how to manage this gently. If you have too much yarn left in a color at the end of the round, pull back a few stitches and loosen your tension slightly. If you run short, pull back and tighten a little.
It sounds fiddly, but it quickly becomes second nature. Practice on one spare square first, and every square after that will go faster. If a yarn join ever shows on the front, simply adjust it to sit on the back, or crochet over it on the next round.
A Throw That Becomes Part of the Family
A granny square blanket has a special way of becoming part of a home. It’s the throw that gets pulled over knees on movie nights, wrapped around shoulders on chilly mornings and spread out for picnics in the garden. Over time, it gathers memories along with every stitch.
It also makes an unforgettable gift for a wedding, a housewarming or a milestone birthday. Love the classic square? Explore more designs in our Granny Square Patterns collection, or try our Sunflower Granny Square Bag Pattern for a smaller project.
Arranging Your Squares
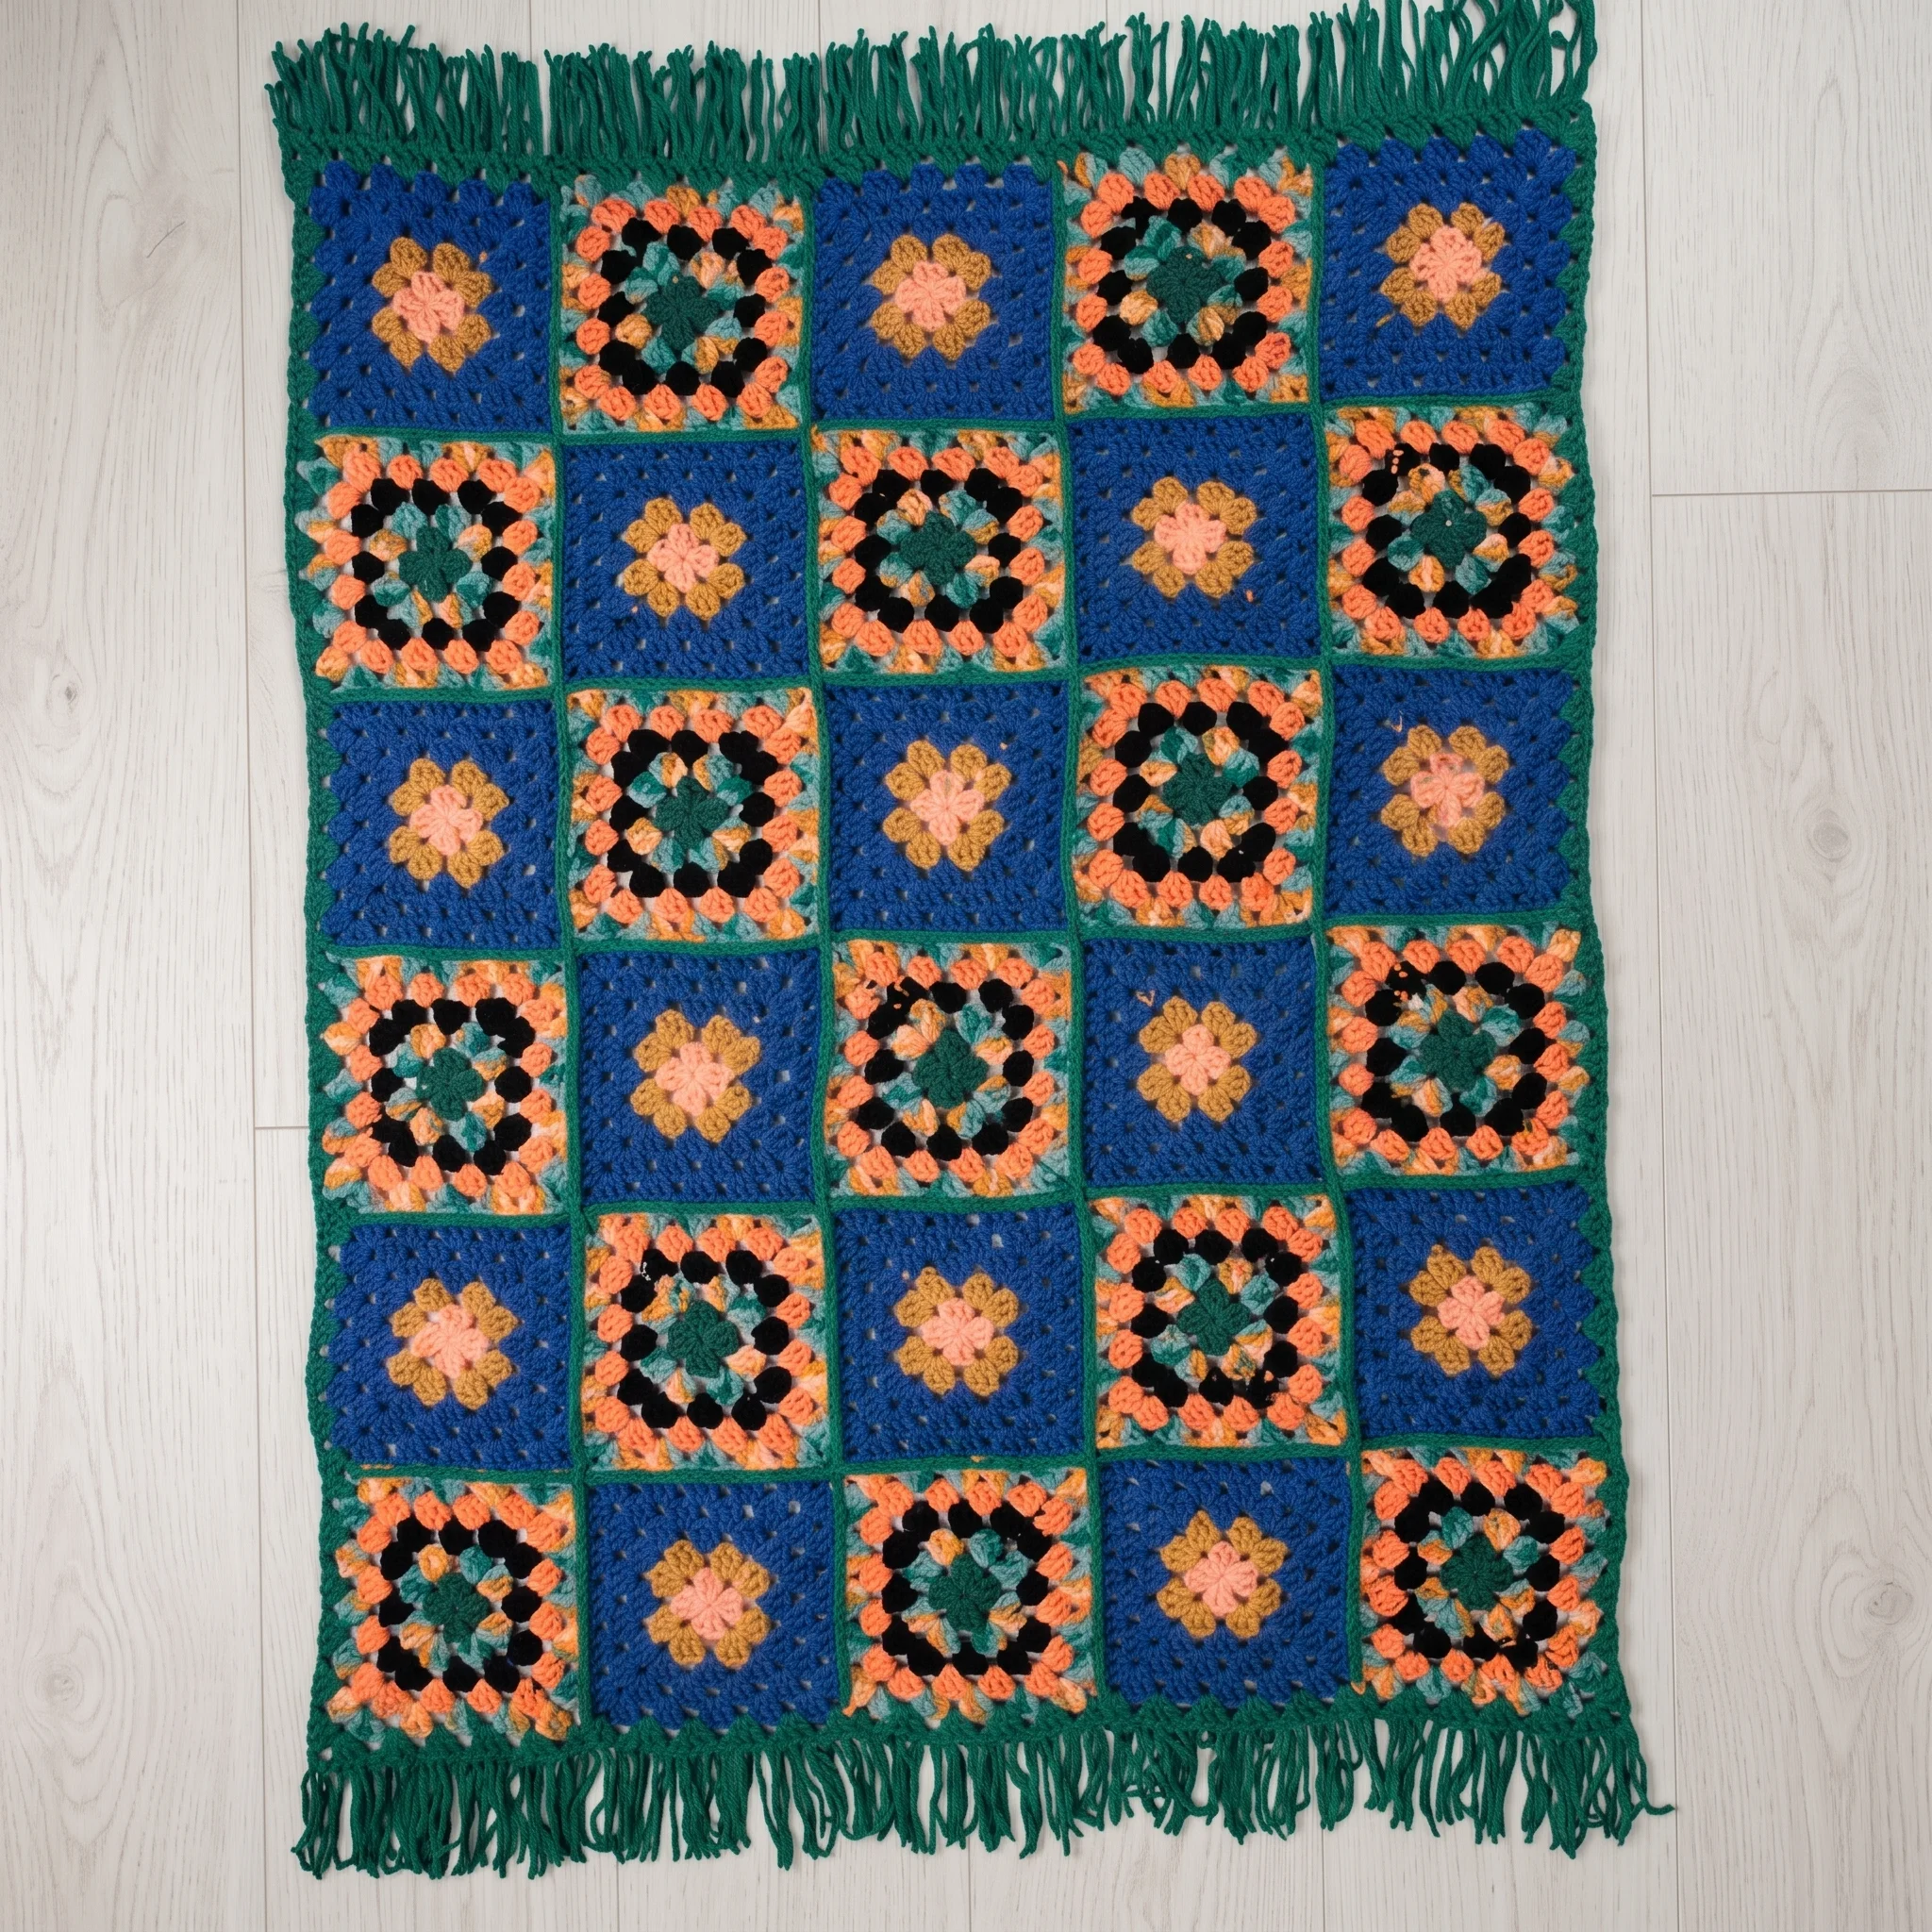
Once all 30 squares are finished, lay them out on the floor in a grid that is five squares wide and six squares tall. The pattern includes a chart showing exactly where each color A and color B square goes, creating a balanced, scattered effect rather than a simple checkerboard.
Take your time with this step. Stand back, look at the layout from a distance and make sure you love it before joining anything. It’s much easier to swap two squares now than to unpick a seam later. Snapping a quick photo of your layout is a handy way to keep track as you join.
The Flat Slip Stitch Join
The squares are joined with your third color using a flat slip stitch join worked on the right side. You hold two squares together, insert your hook through the back loops only of both, and slip stitch along the edge, keeping the working yarn behind.
The result is a neat, flat chain line on the front that outlines every square. In a dark color like black, it gives the blanket its striking graphic look. Join the squares into six strips of five first, then join the strips together. This keeps everything organized and your lines straight.
Border and Fringe
To frame the blanket, you work one border round in your joining color, with groups of double crochet worked into the spaces all the way around. The pattern shows you how to cross each seam smoothly, so the edge stays straight rather than dipping where squares meet.
Then comes the fringe. Cut 10 inch strands of yarn, fold each in half and loop it through a stitch along the top and bottom edges. Place one strand in every stitch and space for a full, generous fringe, then trim it evenly. It’s a fun, relaxing final step that gives your blanket a cozy, bohemian finish.
Is This Blanket Right for You?
The pattern is rated Easy. If you can chain, slip stitch and work a double crochet, you can make a granny square. The only part that asks for patience is the size of the project, because 30 squares plus joining is a real labor of love.
The good news is that granny squares break the work into small, portable pieces. Make a square or two each evening, and before long you’ll have a pile ready to join. If you’d like a smaller first project, try making just six squares for a cozy lap throw or cushion cover.
Make It Your Own
Change the colors to suit your home. Sage and cream joined with charcoal feels calm and modern, mustard and rust with brown feels warm and retro, and soft pinks joined with white look sweet in a nursery or bedroom.
Size is easy to adjust too. Add another row or column of squares for a larger blanket, or make fewer for a lap throw or baby blanket. You can also skip the fringe for a clean, simple edge, or add fringe on all four sides for extra drama.
When Something Doesn’t Look Quite Right
If your squares come out different sizes, check your tension, especially as you get more relaxed and faster with practice. Blocking each square before joining helps them match. If your corners look rounded, make sure you’re working three double crochets, three chains and three double crochets in every corner space.
If the join puckers, loosen your slip stitches slightly. And if the border ripples, check that you’re working the joins exactly as the pattern describes, so the edge lies flat all the way around.
Keep Learning
Building your skills? These guides pair beautifully with this pattern: How to Change Colors in Crochet, How to Block Crochet and How Much Yarn You Need for a Crochet Blanket.
A Few Tips Before You Start
- Practice one spare square to get the hang of color changes.
- Leave the long tail on each square for joining later.
- Lay out all 30 squares before you join anything.
- Join squares into strips first, then join the strips.
- Keep your joining stitches relaxed so the blanket lies flat.
Frequently Asked Questions
Pick up your hook and let’s bring your next crochet project to life!