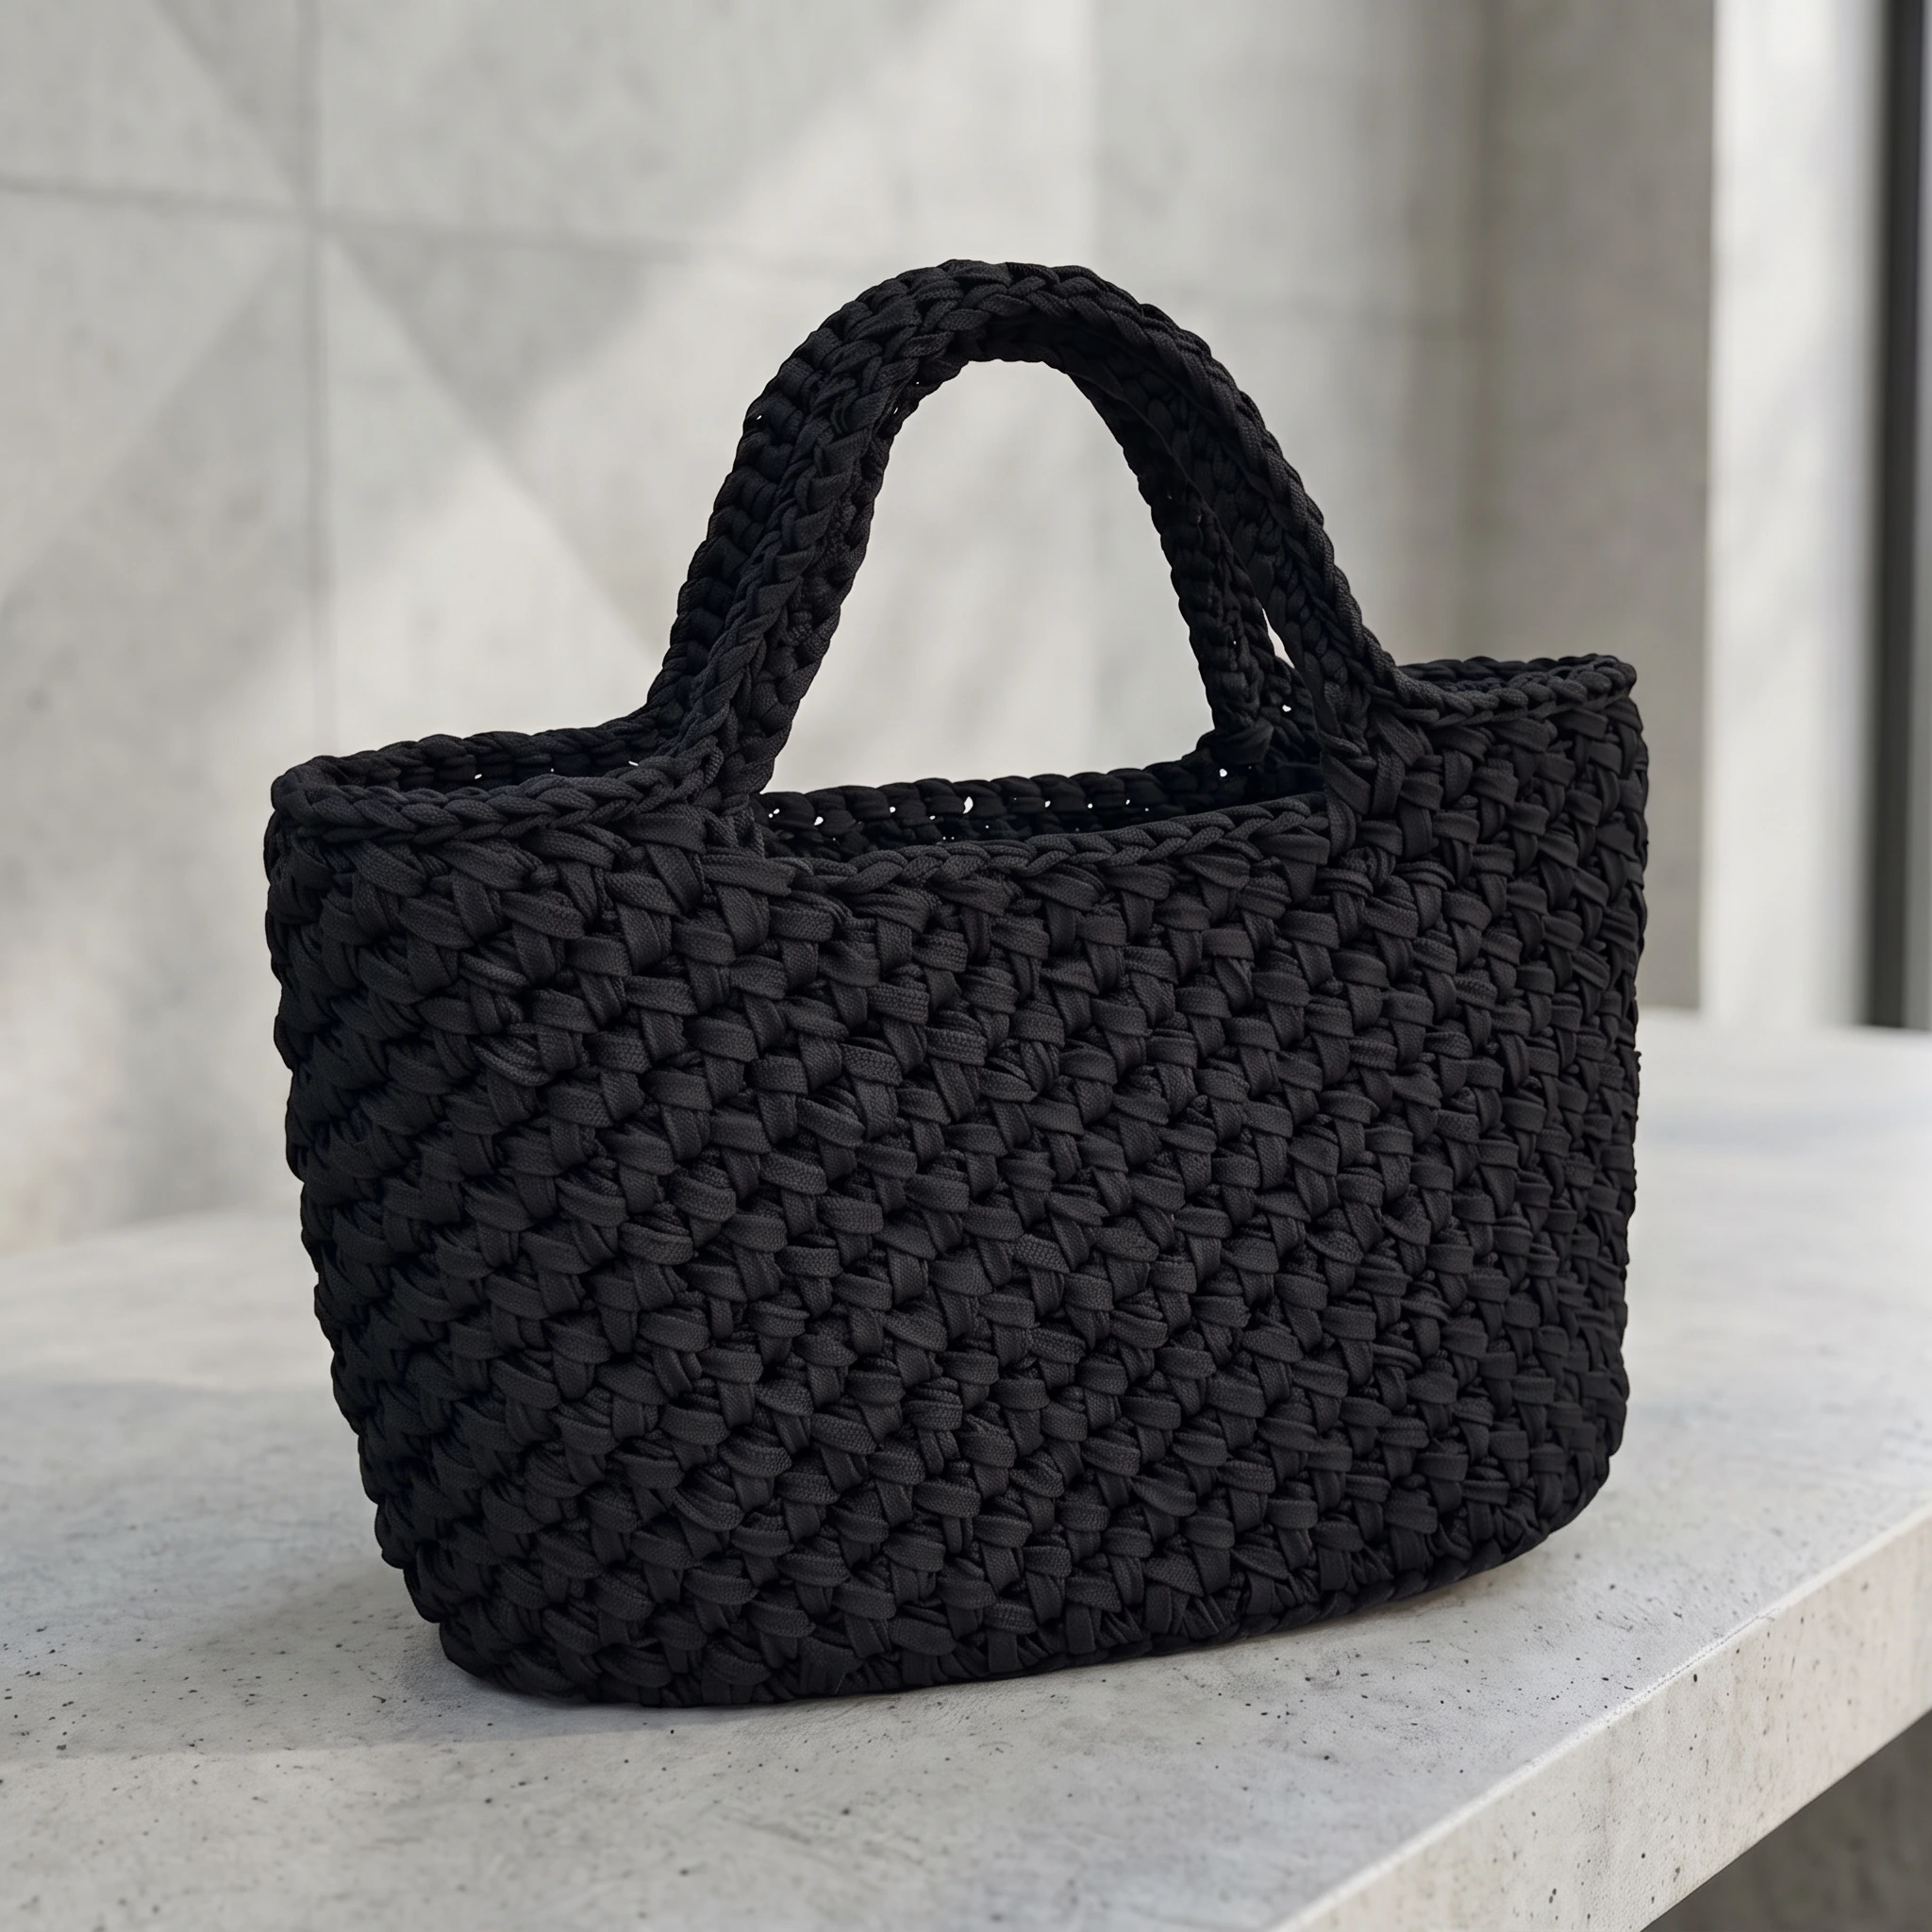
Crochet Tote Bag Pattern Free Big Woven Cord Tote
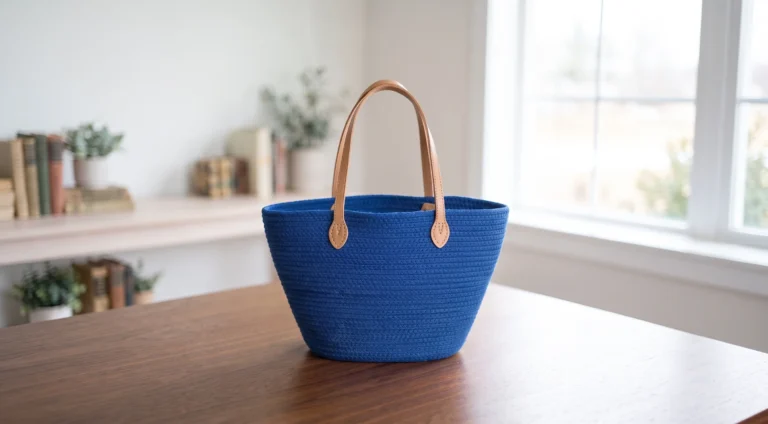
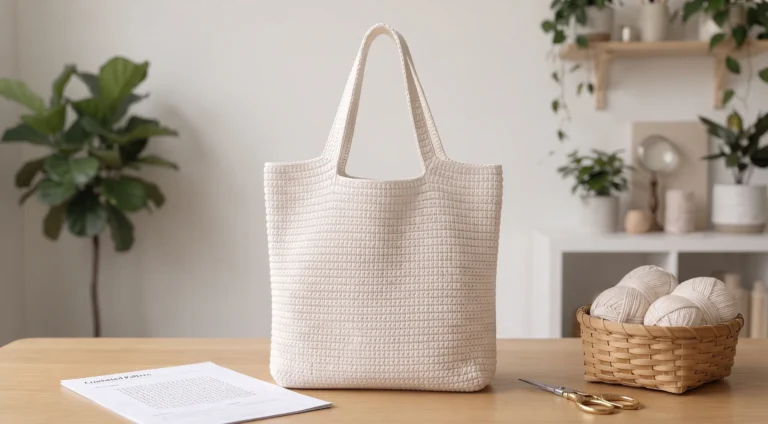
Some bags you carry. This one you show off. Our free crochet tote bag pattern makes a big, structured tote with a woven, basket style texture that looks far more complicated than it is. Worked in thick 6mm ribbon cord with seamless rounds and handles built right in, it holds its shape beautifully and carries everything from your laptop sleeve to the weekly shop.
Why You’ll Love This Crochet Tote Bag
Most crochet bags use one flat stitch from bottom to top. This tote is different. Its sides are built from long single crochet stitches worked in crossing pairs, which creates a raised, woven surface that looks like a hand woven basket.
The material does half the work. Thick ribbon cord has a body of its own, so the bag stands up straight instead of slumping when you set it down. Add an oval base for stability and two handles crocheted right into the top rounds, and you have a tote that feels as good as anything you’d find in a boutique.
It’s also genuinely roomy. At 16 inches wide and more than 7 inches deep, it fits a book, a water bottle, a cardigan and your everyday essentials with room to spare.
What’s Inside the Free Crochet Tote Bag Pattern
Your PDF download guides you through every stage:
- Round by round instructions for the oval base, with stitch counts
- A clear guide to the long single crochet and the seamless round join
- Setup rounds that establish the woven pattern
- Simple repeat rounds for the sides, with a note on making the bag taller
- Built in handle rounds, plus a tip for adjusting handle length
- Finishing instructions for a neat, slip stitched top edge
- US crochet terms throughout
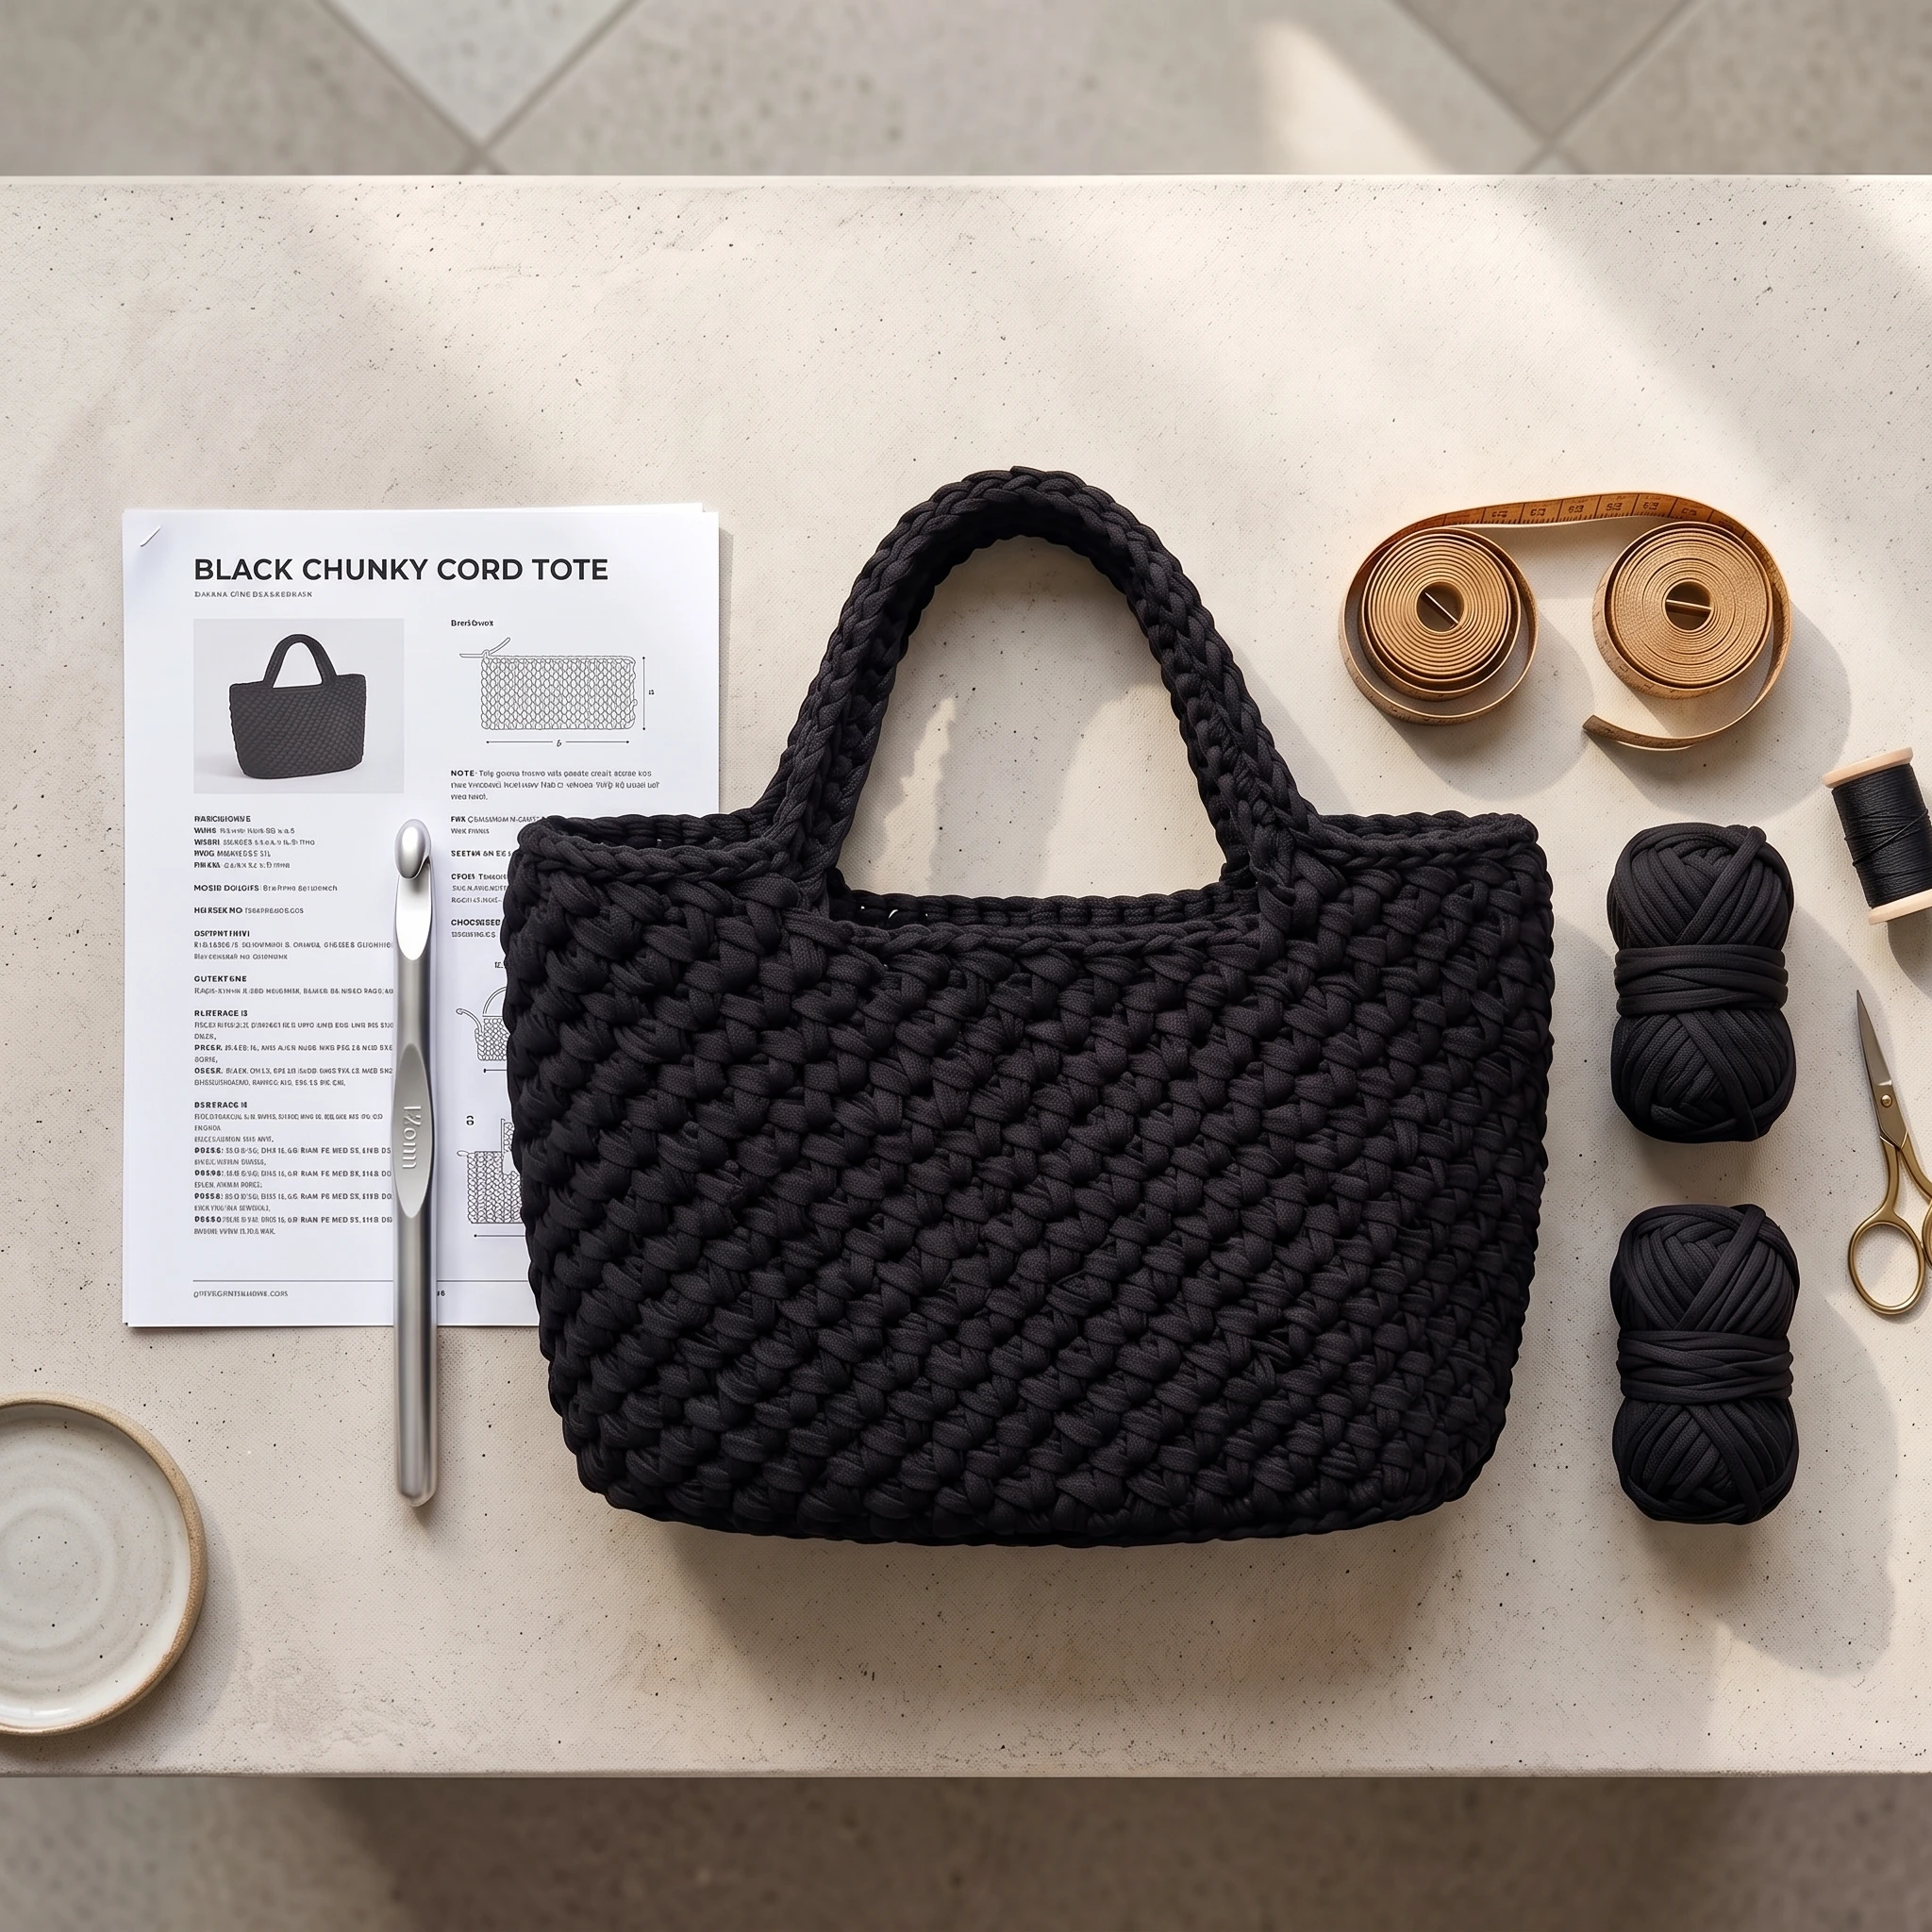
Materials for Your Cord Tote
| Material | Details |
|---|---|
| Cord | 6mm ribbon cord, approx. 328yd (300m) |
| Crochet hook | 6mm (US J/10) |
| Gauge | 8 sts × 6 rows = 4 × 4in (10 × 10cm) |
| Notions | Stitch markers, scissors, lighter (for synthetic cord only) |
| Finished size | 11in tall × 16in wide × 7.4in deep (28 × 41 × 19cm) |
| Handles | 13in (33cm) |
| Skill level | Advanced Beginner to Intermediate |
| Crochet terms | US |
A firm cord gives the crispest structure, closest to the sample bag. A softer cord drapes more and makes a slouchier tote. Black is timeless, while natural, sand and olive tones look lovely for summer. Planning a taller bag? Our Yarn Calculator can help you estimate how much extra cord you’ll need.
How Your Tote Comes Together
The tote starts at the bottom with an oval base. You crochet around both sides of a short foundation chain, adding increases at the curved ends so the base grows from 42 to 72 stitches over six rounds. That oval gives the bag a stable, flat bottom.
Next, a round worked in the back loops only creates a neat edge where the base turns into the sides. From there, the woven pattern begins, and the sides grow upward round after round. Finally, the handle rounds create two openings bridged by chains, and a last round of slip stitches gives the top a smooth, sturdy finish.
The Woven Texture Made Simple
The basket weave look comes from one technique repeated: the long single crochet. Instead of working into the top of the next stitch, you insert your hook into the space below it, under the post of the stitch from the round before. Pull up a loop to the height of your current round, then finish it like a normal single crochet.
The woven effect comes from working these in crossing pairs. Skip one stitch, work a long single crochet into the next stitch, then go back and work into the stitch you skipped. The two stitches cross over each other, and repeating that all the way around builds the woven surface.
It feels unusual for the first few pairs. Then it clicks, and the rest of the bag flows with a relaxing, steady rhythm.
Seamless Rounds With No Visible Jog
Most crochet worked in the round has a small step where each round ends. On a plain, textured bag like this one, that step would show. This pattern avoids it with a seamless connection.
At the end of each round, you pull up a slightly longer loop, remove your hook, insert it under the top loops of the first stitch from behind, pull the loop through and continue. The new round begins without a visible join, so the woven surface looks continuous all the way around.
A Tote That Goes Everywhere With You
Picture it on your shoulder at the farmers market, beside your desk at work or packed with towels for a day at the beach. This tote is designed for real life, sturdy enough for daily use and stylish enough that people will ask where you bought it.
When you tell them you made it yourself, that’s the best part.

Built In Handles
The handles are crocheted right into the bag, so there’s nothing to sew on. In the handle round, you work the woven pairs along each side, then chain 30 across a gap to form each handle. In the next round, you crochet into the back bumps of those chains, which turns each one into a smooth, solid handle.
Want longer handles to wear on your shoulder? Simply chain more stitches across each gap. Prefer shorter, hand held handles? Chain fewer. Keep both handles the same length so the bag hangs evenly.
Working With Ribbon Cord
If you usually crochet with yarn, cord feels a little different, and it’s worth knowing what to expect.
Tension feels firmer. Cord has very little stretch, so stitches that feel slightly loose as you work still create a firm, structured fabric.
Ends need sealing. Synthetic cords can be sealed by briefly holding a lighter to the cut end, which stops fraying. Pure cotton cord burns rather than melts, so for cotton, weave the ends in securely and add a tiny dab of fabric glue if needed. Check your label before using a flame.
Small variations are normal. Cord is less uniform than machine spun yarn, so slight changes in thickness along the length won’t affect the finished bag.
Is This Tote Right for You?
The pattern is rated Advanced Beginner to Intermediate. The stitches themselves are simple: chains, single crochet, slip stitches and increases. What takes a little focus is the long single crochet and the crossing pairs, which need careful stitch placement.
If you’ve made a basic bag or amigurumi in the round before, you’ll be comfortable here. If you’re newer to crochet, our Easy Crochet Tote Bag Pattern is a great first bag, worked almost entirely in single crochet. Come back to this woven tote as your next challenge.
Make It Your Own
Make it taller by working extra repeats of the side pattern before the handle rounds. Every extra round adds height without changing the shape.
Play with colour too. A natural cord gives a summery market bag feel, while black or navy looks sleek and modern. Two colours, such as a contrast band near the top, add a playful twist.
For heavy loads, sew a simple fabric lining inside. It supports the base, keeps small items from slipping through and helps the bag keep its shape for years.
When Something Doesn’t Look Quite Right
If your stitch count drifts on the long handle round, don’t worry. It’s a long round, and small differences add up. If you run short at the end, skipping one fewer pair in each handle gap brings the count back in line.
If the woven texture looks flat, check that each long single crochet goes under the post of the stitch below, not into its top loops. And if the base curls, recount the increases in your oval rounds before moving on.
Caring for Your Cord Tote
Spot clean everyday marks with a damp cloth, since the dense woven texture hides dirt well. For a deeper clean, check your cord’s care label. Many cords can be hand washed in cool water. Reshape the bag gently and let it dry flat or stuffed loosely with a towel, never wrung.
Keep Learning
Want to build on these skills? These guides pair beautifully with this pattern: How Much to Charge for Crochet Items, How to Change Colours in Crochet and How to Sell Crochet at Craft Fairs.
A Few Tips Before You Start
- Practise long single crochet pairs on a small swatch first.
- Count stitches at the end of every base round.
- Place a stitch marker at the start of each round.
- Keep your tension relaxed, since cord doesn’t stretch.
- Recount carefully on the handle rounds.
Frequently Asked Questions
Pick up your hook and let’s bring your next crochet project to life!