Crochet Christmas Bag Pattern, Free Christmas Tree Shoulder Bag
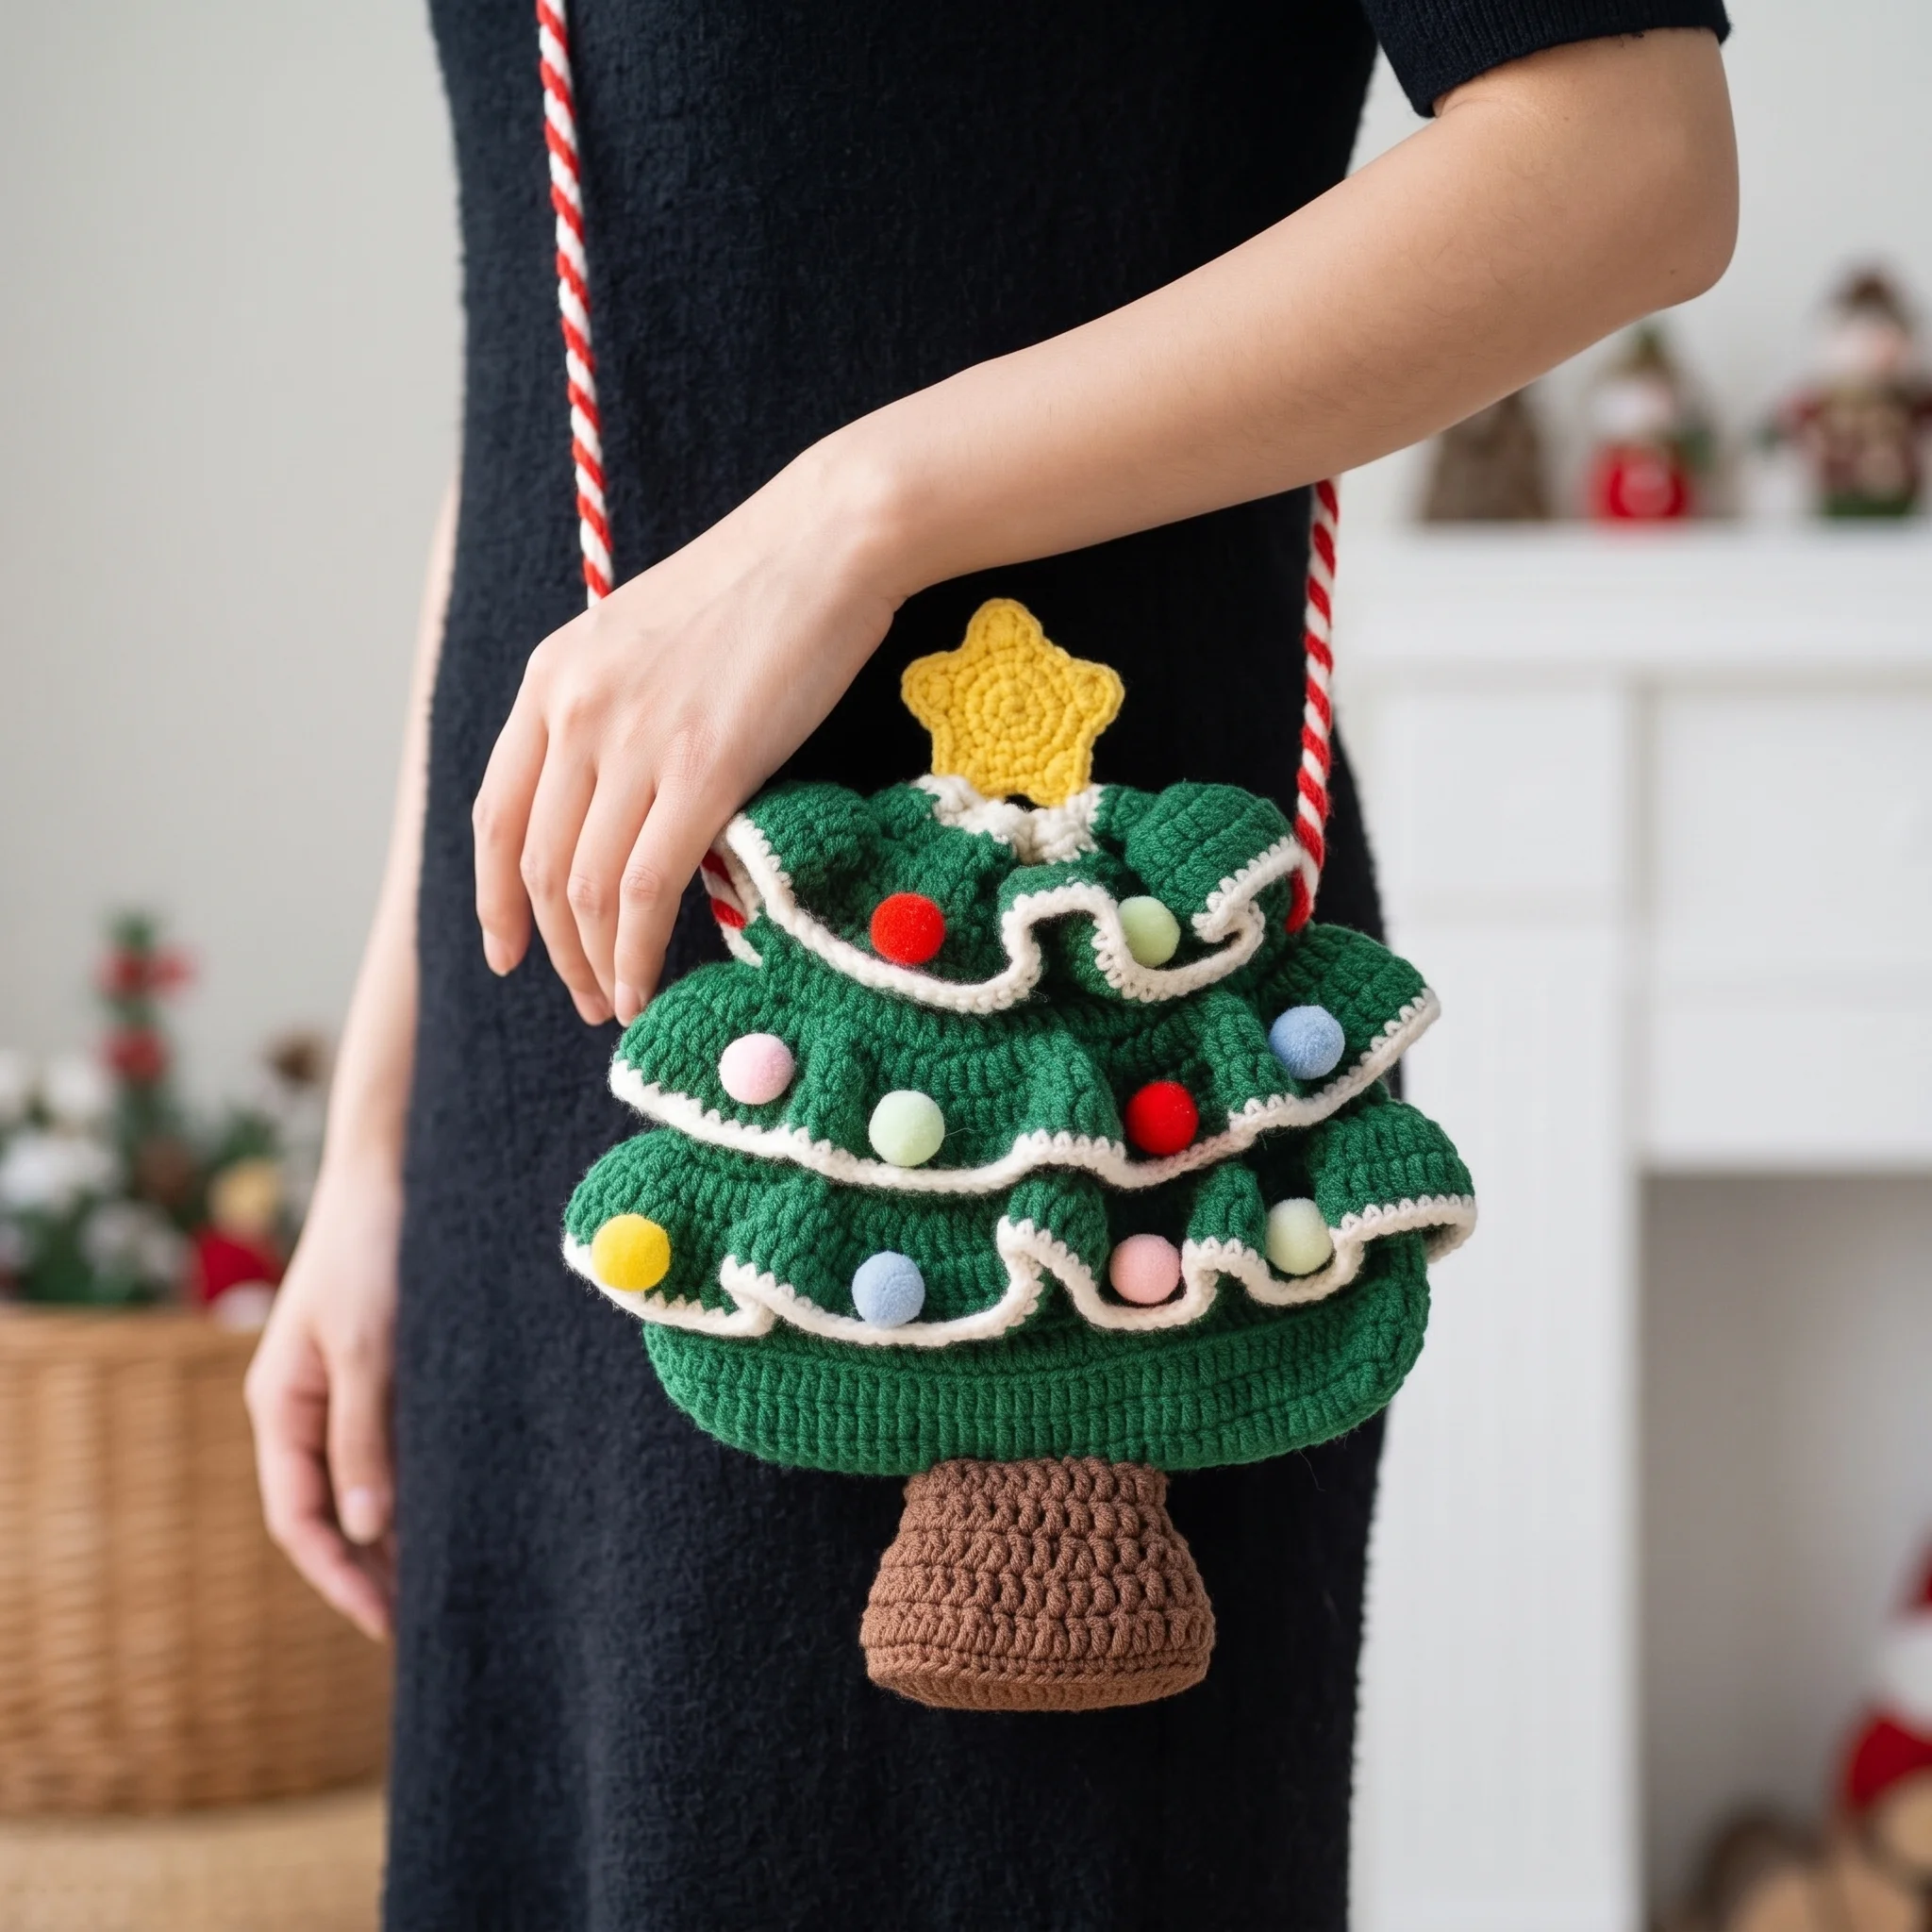
Why hang a tree when you can wear one? Our free crochet Christmas bag pattern turns a festive tree into the most joyful little bag of the season, with three layers of snow tipped branches, a golden star on top, a drawstring closure and a red and white strap twisted like a candy cane. It’s the bag that gets noticed at every Christmas market and holiday party.
Why You’ll Love This Crochet Christmas Bag
Some Christmas makes sit on a shelf. This one comes out with you. Shaped like a little tree, with ruffled branches dusted in white “snow” and a sweet stuffed trunk at the base, it brings instant festive cheer to any outfit.
It’s also a genuinely fun build. Each piece is simple on its own: a trunk, a tree body, three layers of branches, two stars, drawstrings and straps. Bringing them all together feels like decorating a tree, one cheerful detail at a time.
And it makes an unforgettable gift. Fill it with sweets, small treats or a festive surprise for a child, a friend or anyone who loves Christmas as much as you do.
What’s Inside the Free Crochet Christmas Bag Pattern
Your PDF download takes you through every piece and every step:
- Round by round instructions with stitch counts for the trunk, tree body and stars
- Clear guidance on working the three rings of branches into the tree body
- Instructions for the white trim and drawstring loops
- Strap instructions, including how to twist them into a candy cane cord
- A step by step assembly guide
- Helpful tips throughout, in US crochet terms
Materials for Your Christmas Bag
| Material | Details |
|---|---|
| Yarn | Green (tree, branches), white (trim, drawstrings, strap), red (strap), yellow (stars), dark brown (trunk) |
| Total yarn | Approx. 70g |
| Crochet hook | 2.5mm (US C/2) |
| Stuffing | A small amount, for the trunk |
| Notions | Stitch marker, tapestry needle, scissors |
| Skill level | Easy |
| Crochet terms | US |
Only about 70g of yarn in total is needed, so this is a lovely way to use up festive colours from your stash. A smooth cotton gives the branches crisp, defined ruffles.
How Your Christmas Tree Bag Comes Together
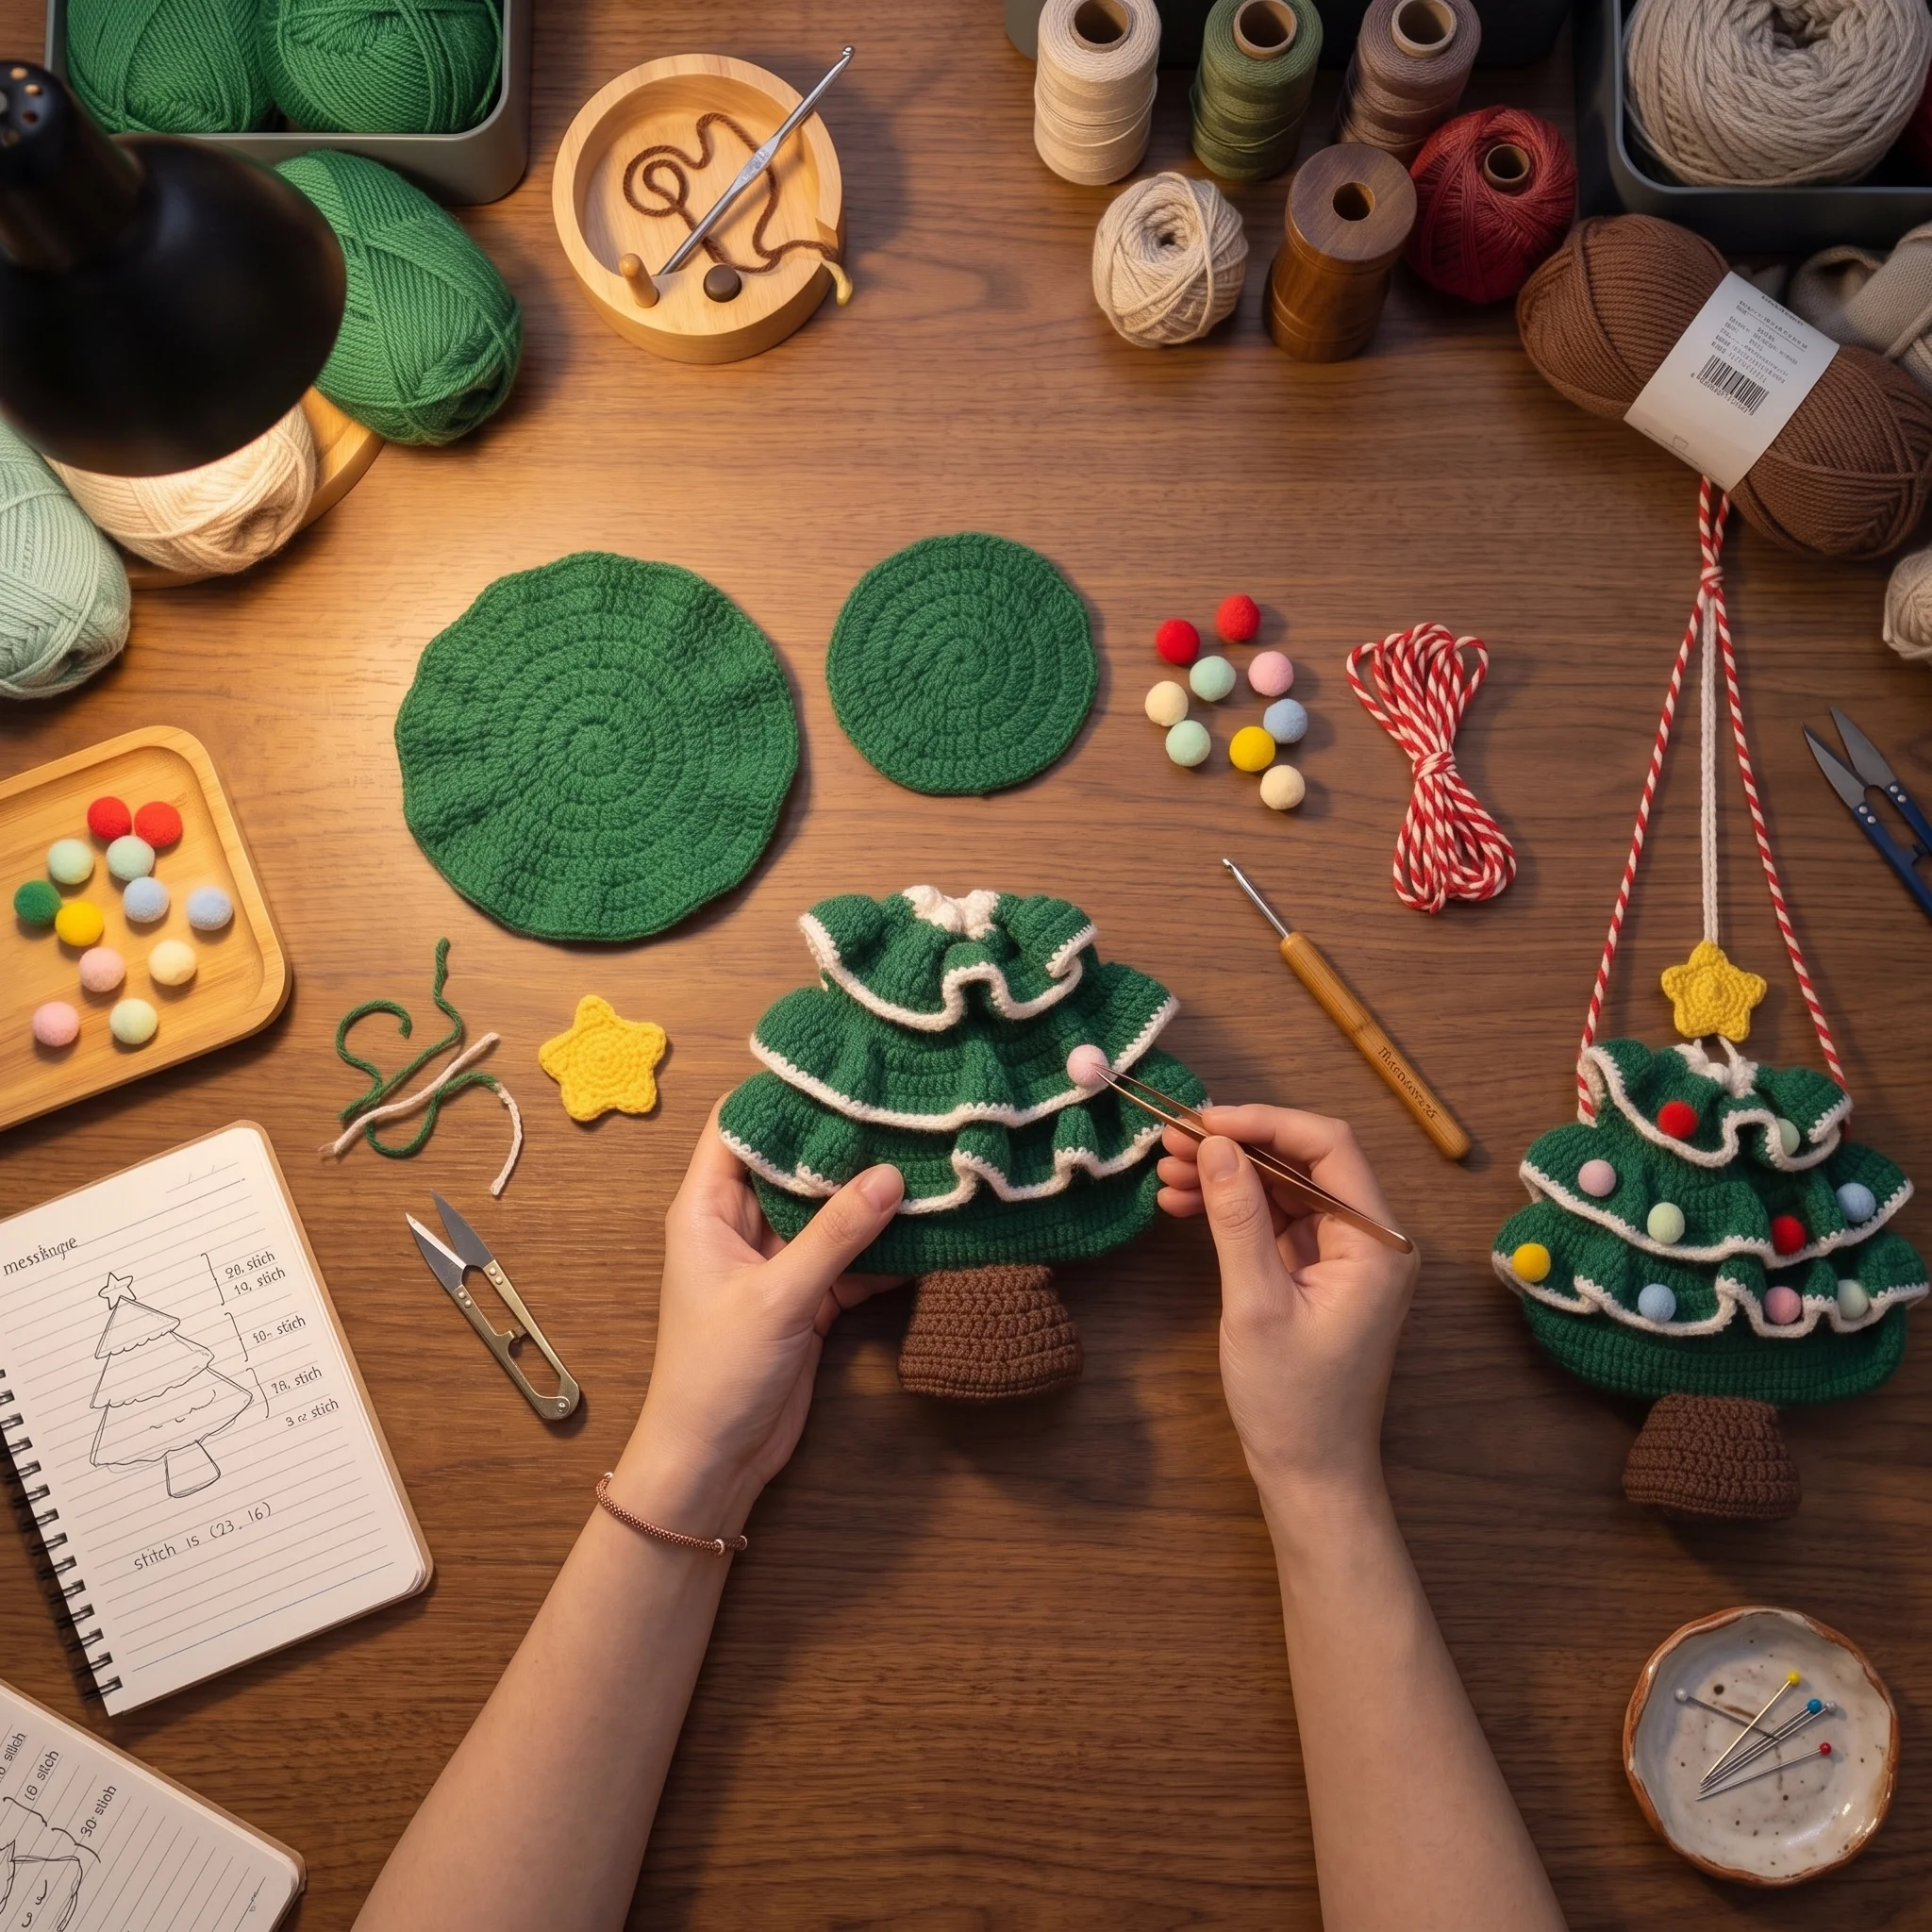
The bag is made in separate pieces and assembled at the end, which keeps every step manageable. You’ll start with the trunk, a small stuffed oval that forms the base. Then you make the stars and drawstrings, so they’re ready and waiting.
The heart of the project is the tree body. It begins as an oval and gradually narrows as it rises, which gives the bag its tree shape. Finally, the branches are added, the straps are made, and everything comes together in a satisfying assembly.
The Layered Branches That Make It Magical
Here’s the clever part. As you work the tree body, three of its rounds are crocheted in the back loops only. That leaves a ring of free front loops at each level, waiting for the branches.
Later, you return to each ring and work outward from those front loops, increasing quickly to create a full, ruffled layer that flares out like a real branch. A final round in white finishes each layer with a fresh dusting of “snow.” The bottom layer is the widest, and each layer above is a little narrower, so the bag looks beautifully tiered, just like a real tree.
The Star Topped Drawstring
The top of the bag finishes with a white trim and a round of small chain loops. Those loops hold the drawstrings, which thread through and tie neatly, so you can open and close your bag easily.
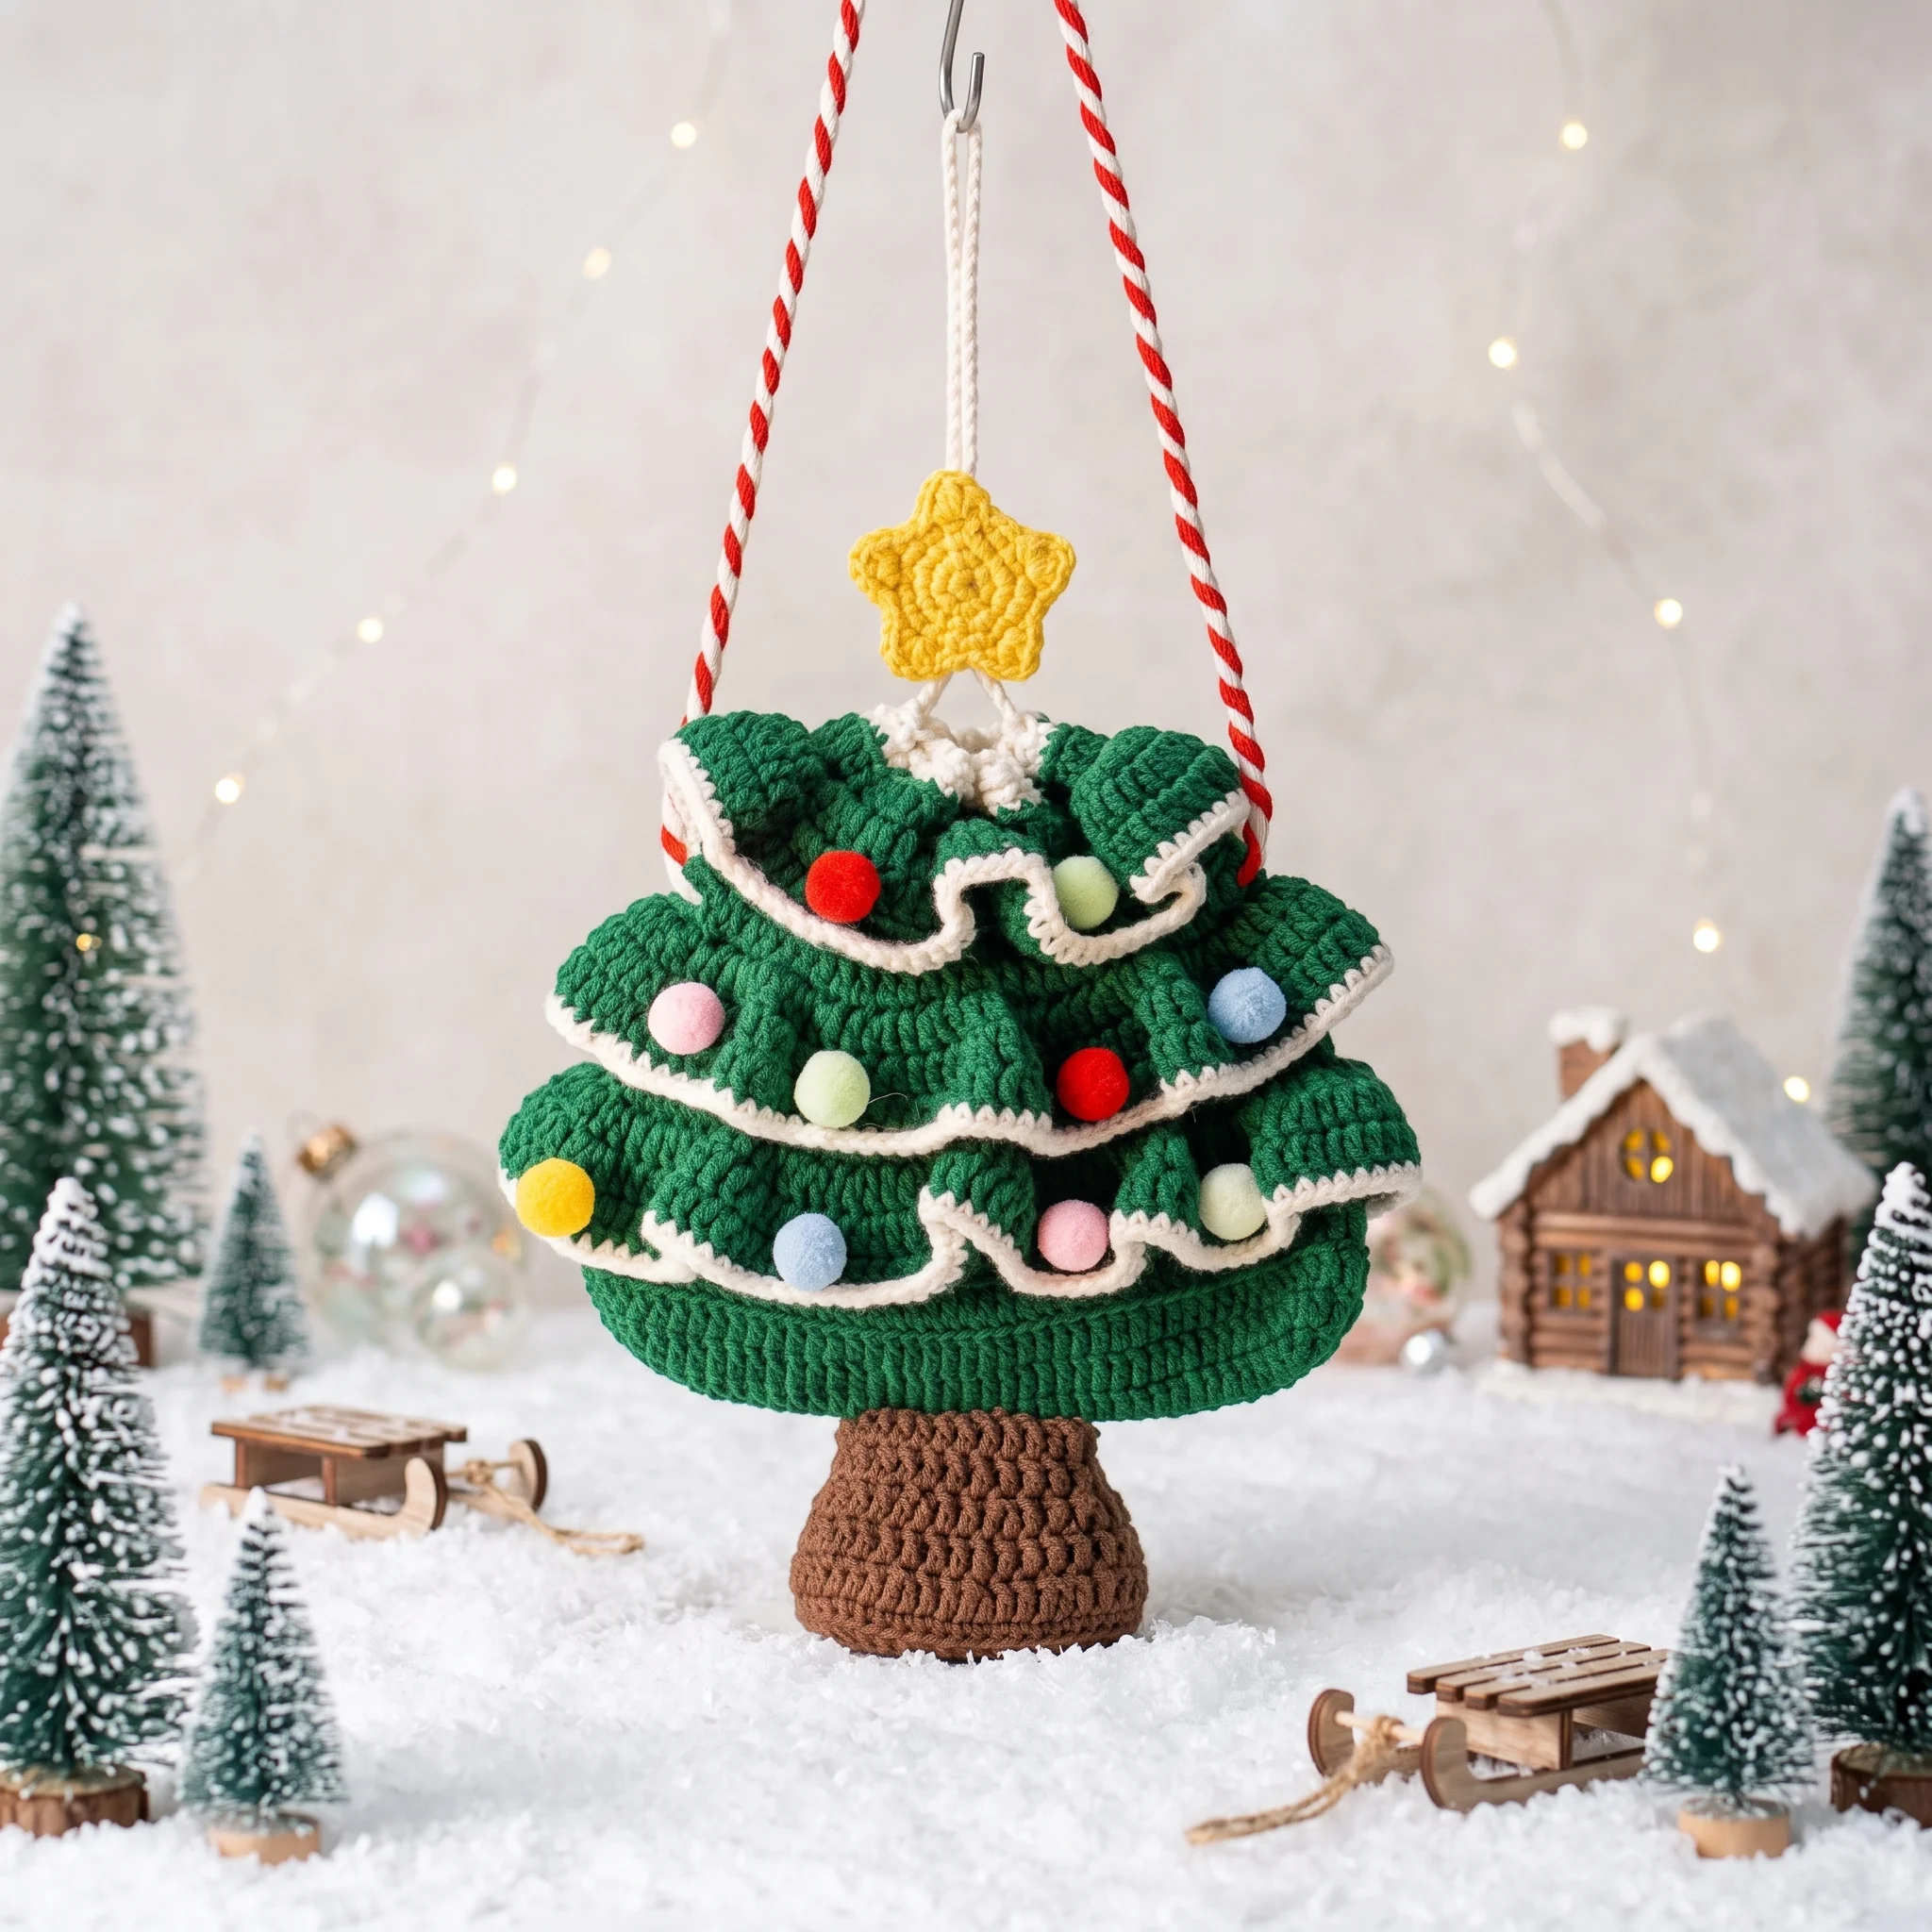
The two golden stars are sewn together with the drawstrings passing through their centre, so the star sits proudly at the very top of your tree. It’s a charming detail that’s also practical, giving you something easy to grip when you open the bag.
Is This Bag Right for You?
The pattern is rated Easy because every stitch is a familiar one: single crochet, half double crochet, double crochet and a few simple decreases. What makes it a bigger project than our ornaments is the number of pieces and the branch rings, which are worked back into the tree body.
If you’ve made a small amigurumi or a simple bag before, you’ll feel right at home. If you’re newer to crochet, read the pattern through once before starting, so you know where the branches will attach. Take it one piece at a time, and you’ll be amazed by how naturally it comes together.
The Candy Cane Strap
The straps are simple chains, one red and one white, made to whatever length suits you. Twist them together and attach both ends, and you have a striped strap that looks just like a candy cane.
You can wear it as a shoulder bag or a cross body bag, depending on the length you choose. Simply chain about 2in (5cm) longer than the length you want, to allow for knotting the ends securely inside the bag. Love the idea of matching accessories? Our Crochet Candy Cane Pattern makes a perfect keychain charm.
Finishing Touches and Ornaments
Once your bag is assembled, the fun really begins. Small pom poms in red, gold and blue scattered across the branches look just like tree baubles. You can use tiny shop bought pom poms or stitch little French knots in bright colours. A few tiny beads or a little jingle bell add even more sparkle.
These finishing touches are entirely up to you, so every Christmas tree bag you make can be completely unique.
Make It Your Own
Change the tree colour for a different mood. A snowy white tree with silver trim feels elegant and wintry, while a deep forest green with gold accents looks rich and festive. You can also swap the strap colours for green and white or gold and red.
For a sturdier bag that holds its shape for carrying, sew a simple fabric lining inside the tree body. It keeps small items secure and adds a lovely finished feel.
When Something Doesn’t Look Quite Right
If your branches look flat rather than ruffled, check your increases in the first and second rounds of each layer, since those are what create the flare. If the tree body looks uneven, count your stitches after each decrease round, so it narrows smoothly as it rises.
If the drawstrings don’t close easily, make sure they’re threaded through every chain loop in the top trim. And if you’re making the bag for a little one, keep the strap shorter for comfort and safety, and always supervise young children when cords are involved.
Caring for Your Christmas Tree Bag
With a little care, your bag will come out every December looking just as cheerful. Spot clean small marks with a damp cloth. If it needs a fuller wash, hand wash gently in cool water, press out the water without wringing, and lay it flat to dry, fluffing the branches back into shape as it dries.
Between seasons, store the bag stuffed loosely with tissue paper, so the tiered branches keep their ruffled shape and the star stays standing tall.
Keep Learning
Building your skills? These guides pair beautifully with this pattern: Christmas Crochet Patterns to Make This Year, How to Change Colours in Crochet and How Much to Charge for Crochet Items.
A Few Tips Before You Start
- Read the whole pattern once before starting, so the branch rounds make sense.
- Mark the back loop rounds on the tree body as you work them.
- Make the stars and drawstrings early, so assembly flows smoothly.
- Try the strap length on before knotting the ends.
- Take your time with assembly. It’s where the bag comes to life.
Frequently Asked Questions
Pick up your hook and let’s bring your next crochet project to life!