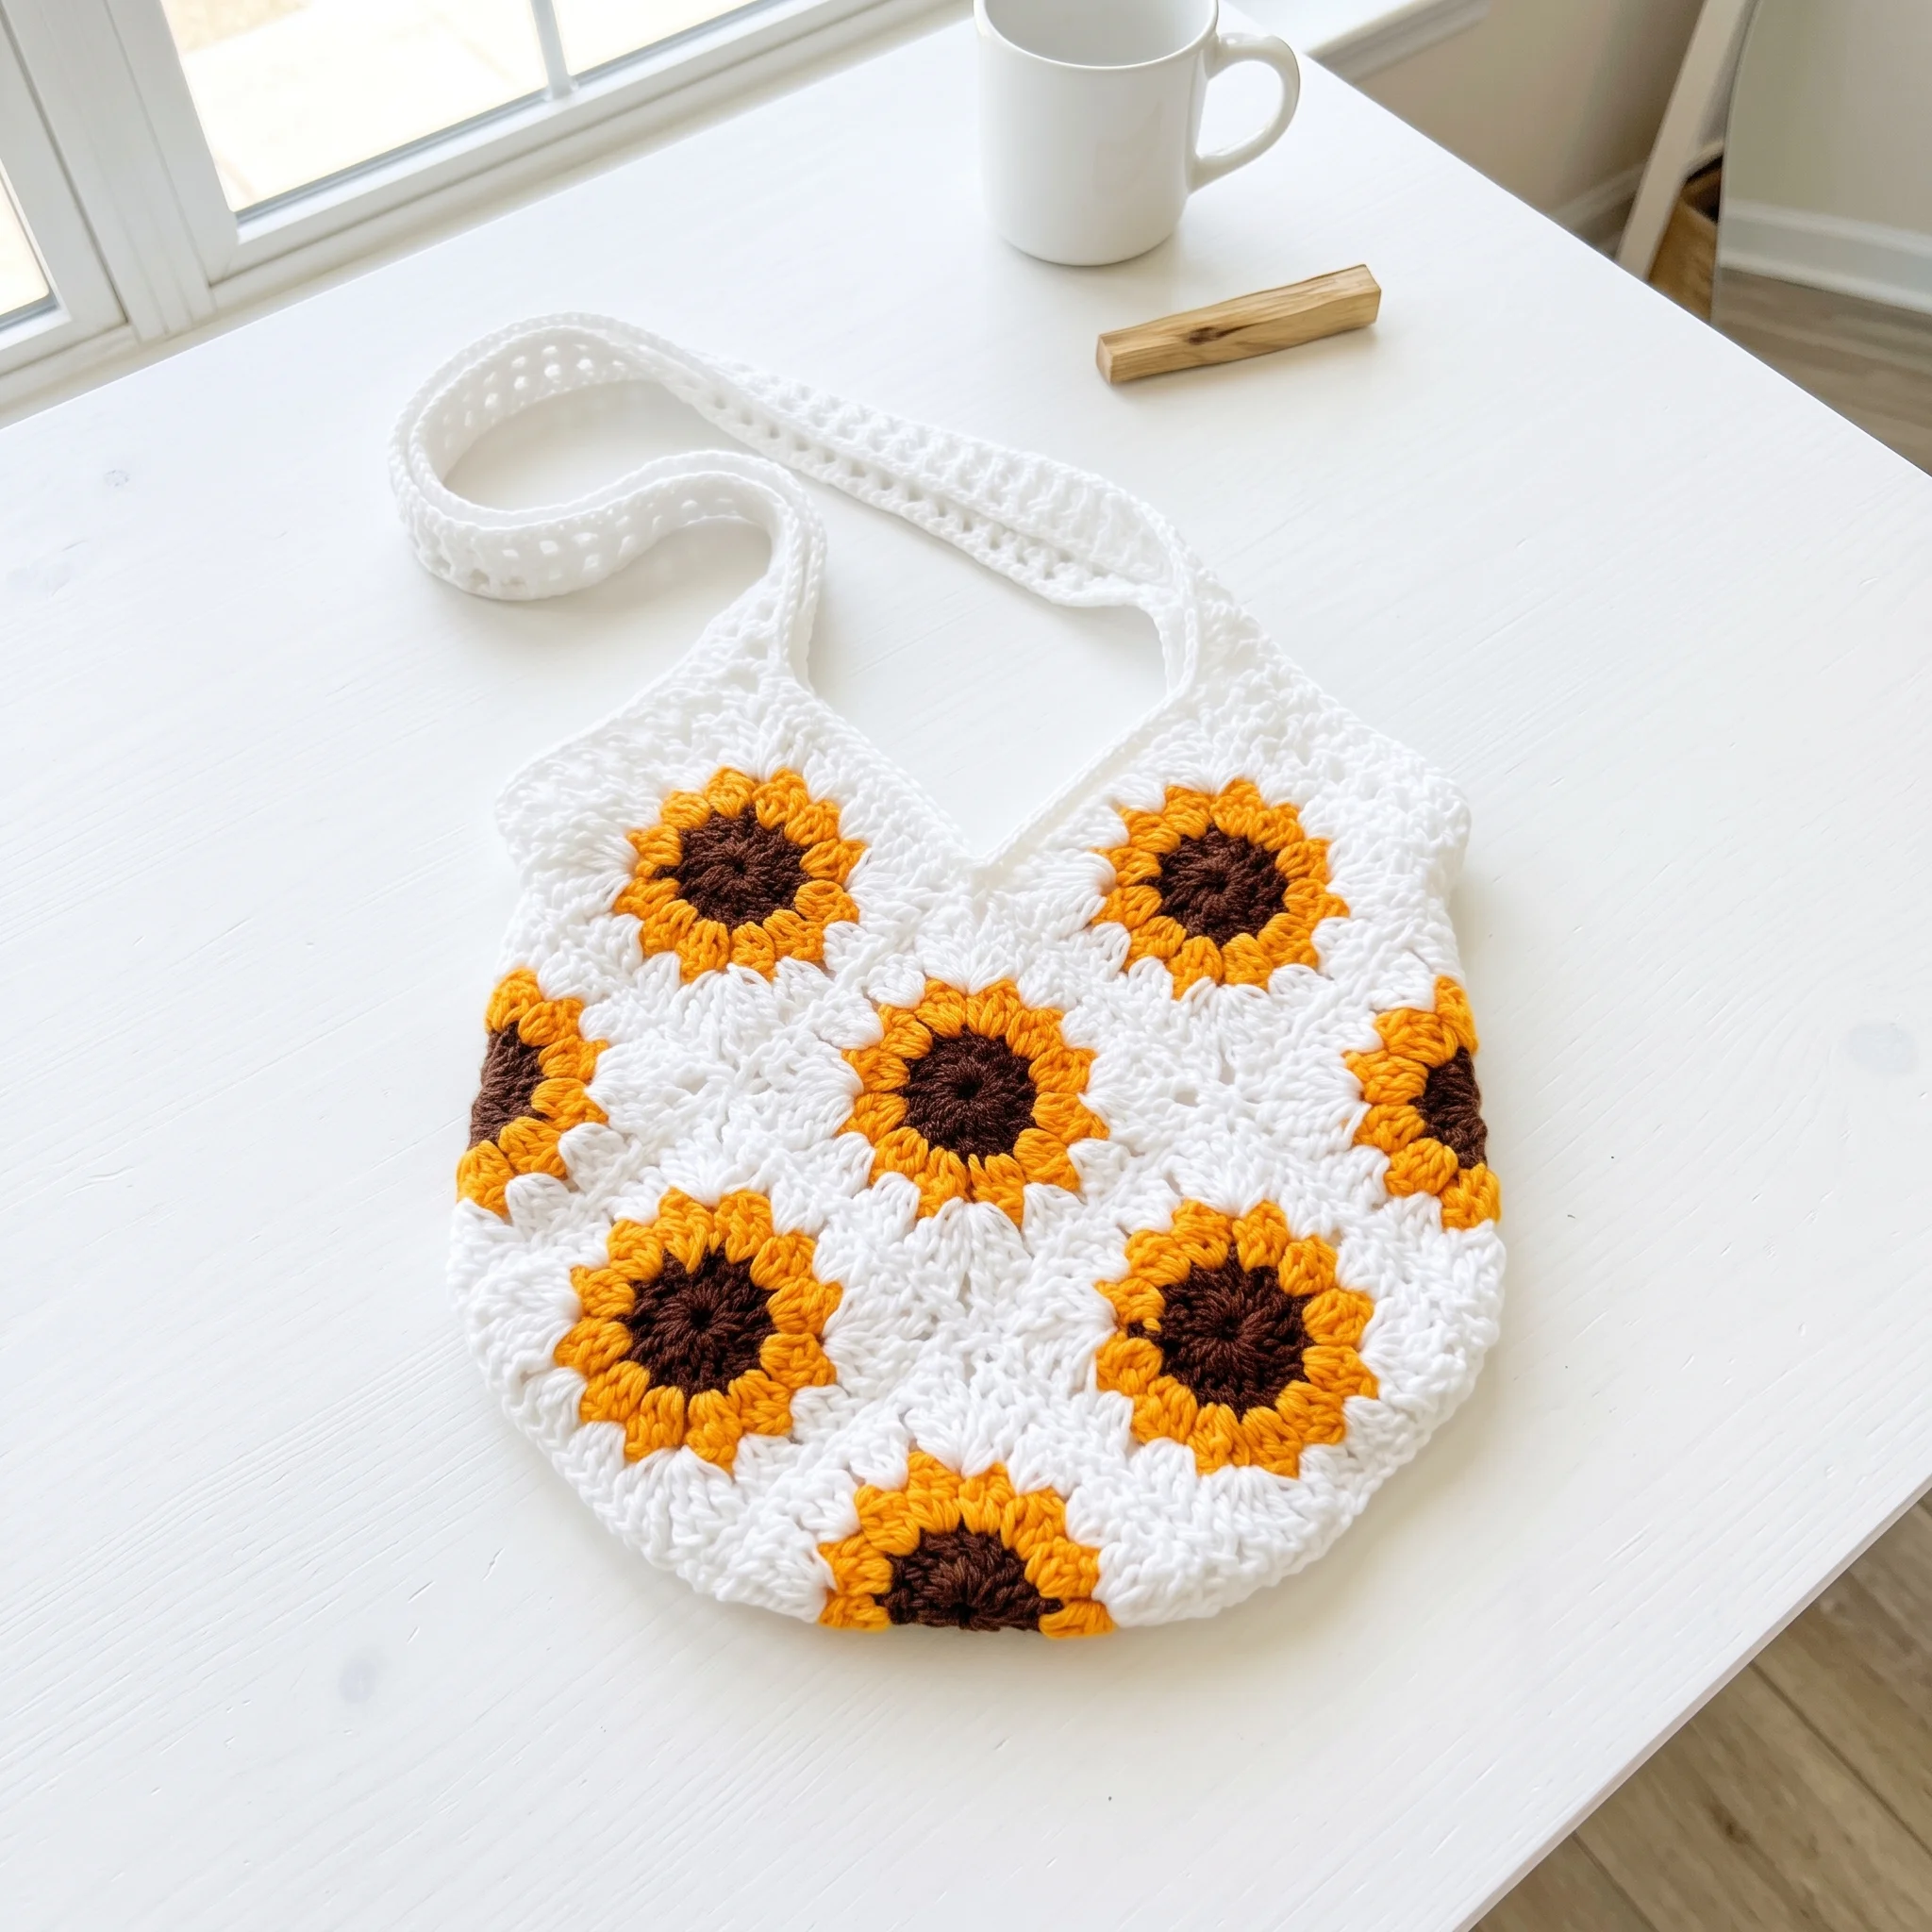
Sunflower Granny Square Bag Pattern Free Everyday Crochet Bag
Carry a little sunshine wherever you go. Our free sunflower granny square bag pattern turns bright, cheerful squares into a roomy everyday bag. Each square has a warm brown center, a ring of orange petals and a crisp white border, and once they’re joined, a simple fold turns your flat grid into a bag. Make it any size you like, simply by making more or fewer squares.
Why You’ll Love This Sunflower Granny Square Bag
Granny square bags are a classic, and this one adds a happy twist. Every square blooms like a little sunflower, so the finished bag looks like a field of flowers stitched together.
The construction is refreshingly simple. Instead of following a long row by row bag body, you make as many squares as you like, join them into a grid, then fold and seam. It’s almost like a recipe: more squares make a bigger bag, fewer make a smaller one.
It’s also wonderfully portable. Each square is small and quick, so you can make a few on your commute, during a lunch break or in front of a film, then join them all at the end.
What’s Inside the Free Sunflower Bag Pattern
Your PDF download walks you through every stage:
- Round by round instructions for the sunflower granny square
- A guide to the cluster stitches that form the petals
- Simple steps for joining squares along their length and width
- Clear folding instructions that turn the grid into a bag
- A mesh strap pattern, with an option for one long loop handle
- Finishing tips for strong seams and secure straps
- US crochet terms throughout
Materials for Your Bag
| Material | Details |
|---|---|
| Yarn | Brown, orange and white, plus extra colors if you like |
| Crochet hook | 4mm (US G/6) |
| Notions | Tapestry needle, scissors |
| Finished size | Approx. 8 × 10in (sample), adjustable with more or fewer squares |
| Strap | Approx. 18in, adjustable |
| Skill level | Advanced Beginner |
| Crochet terms | US |
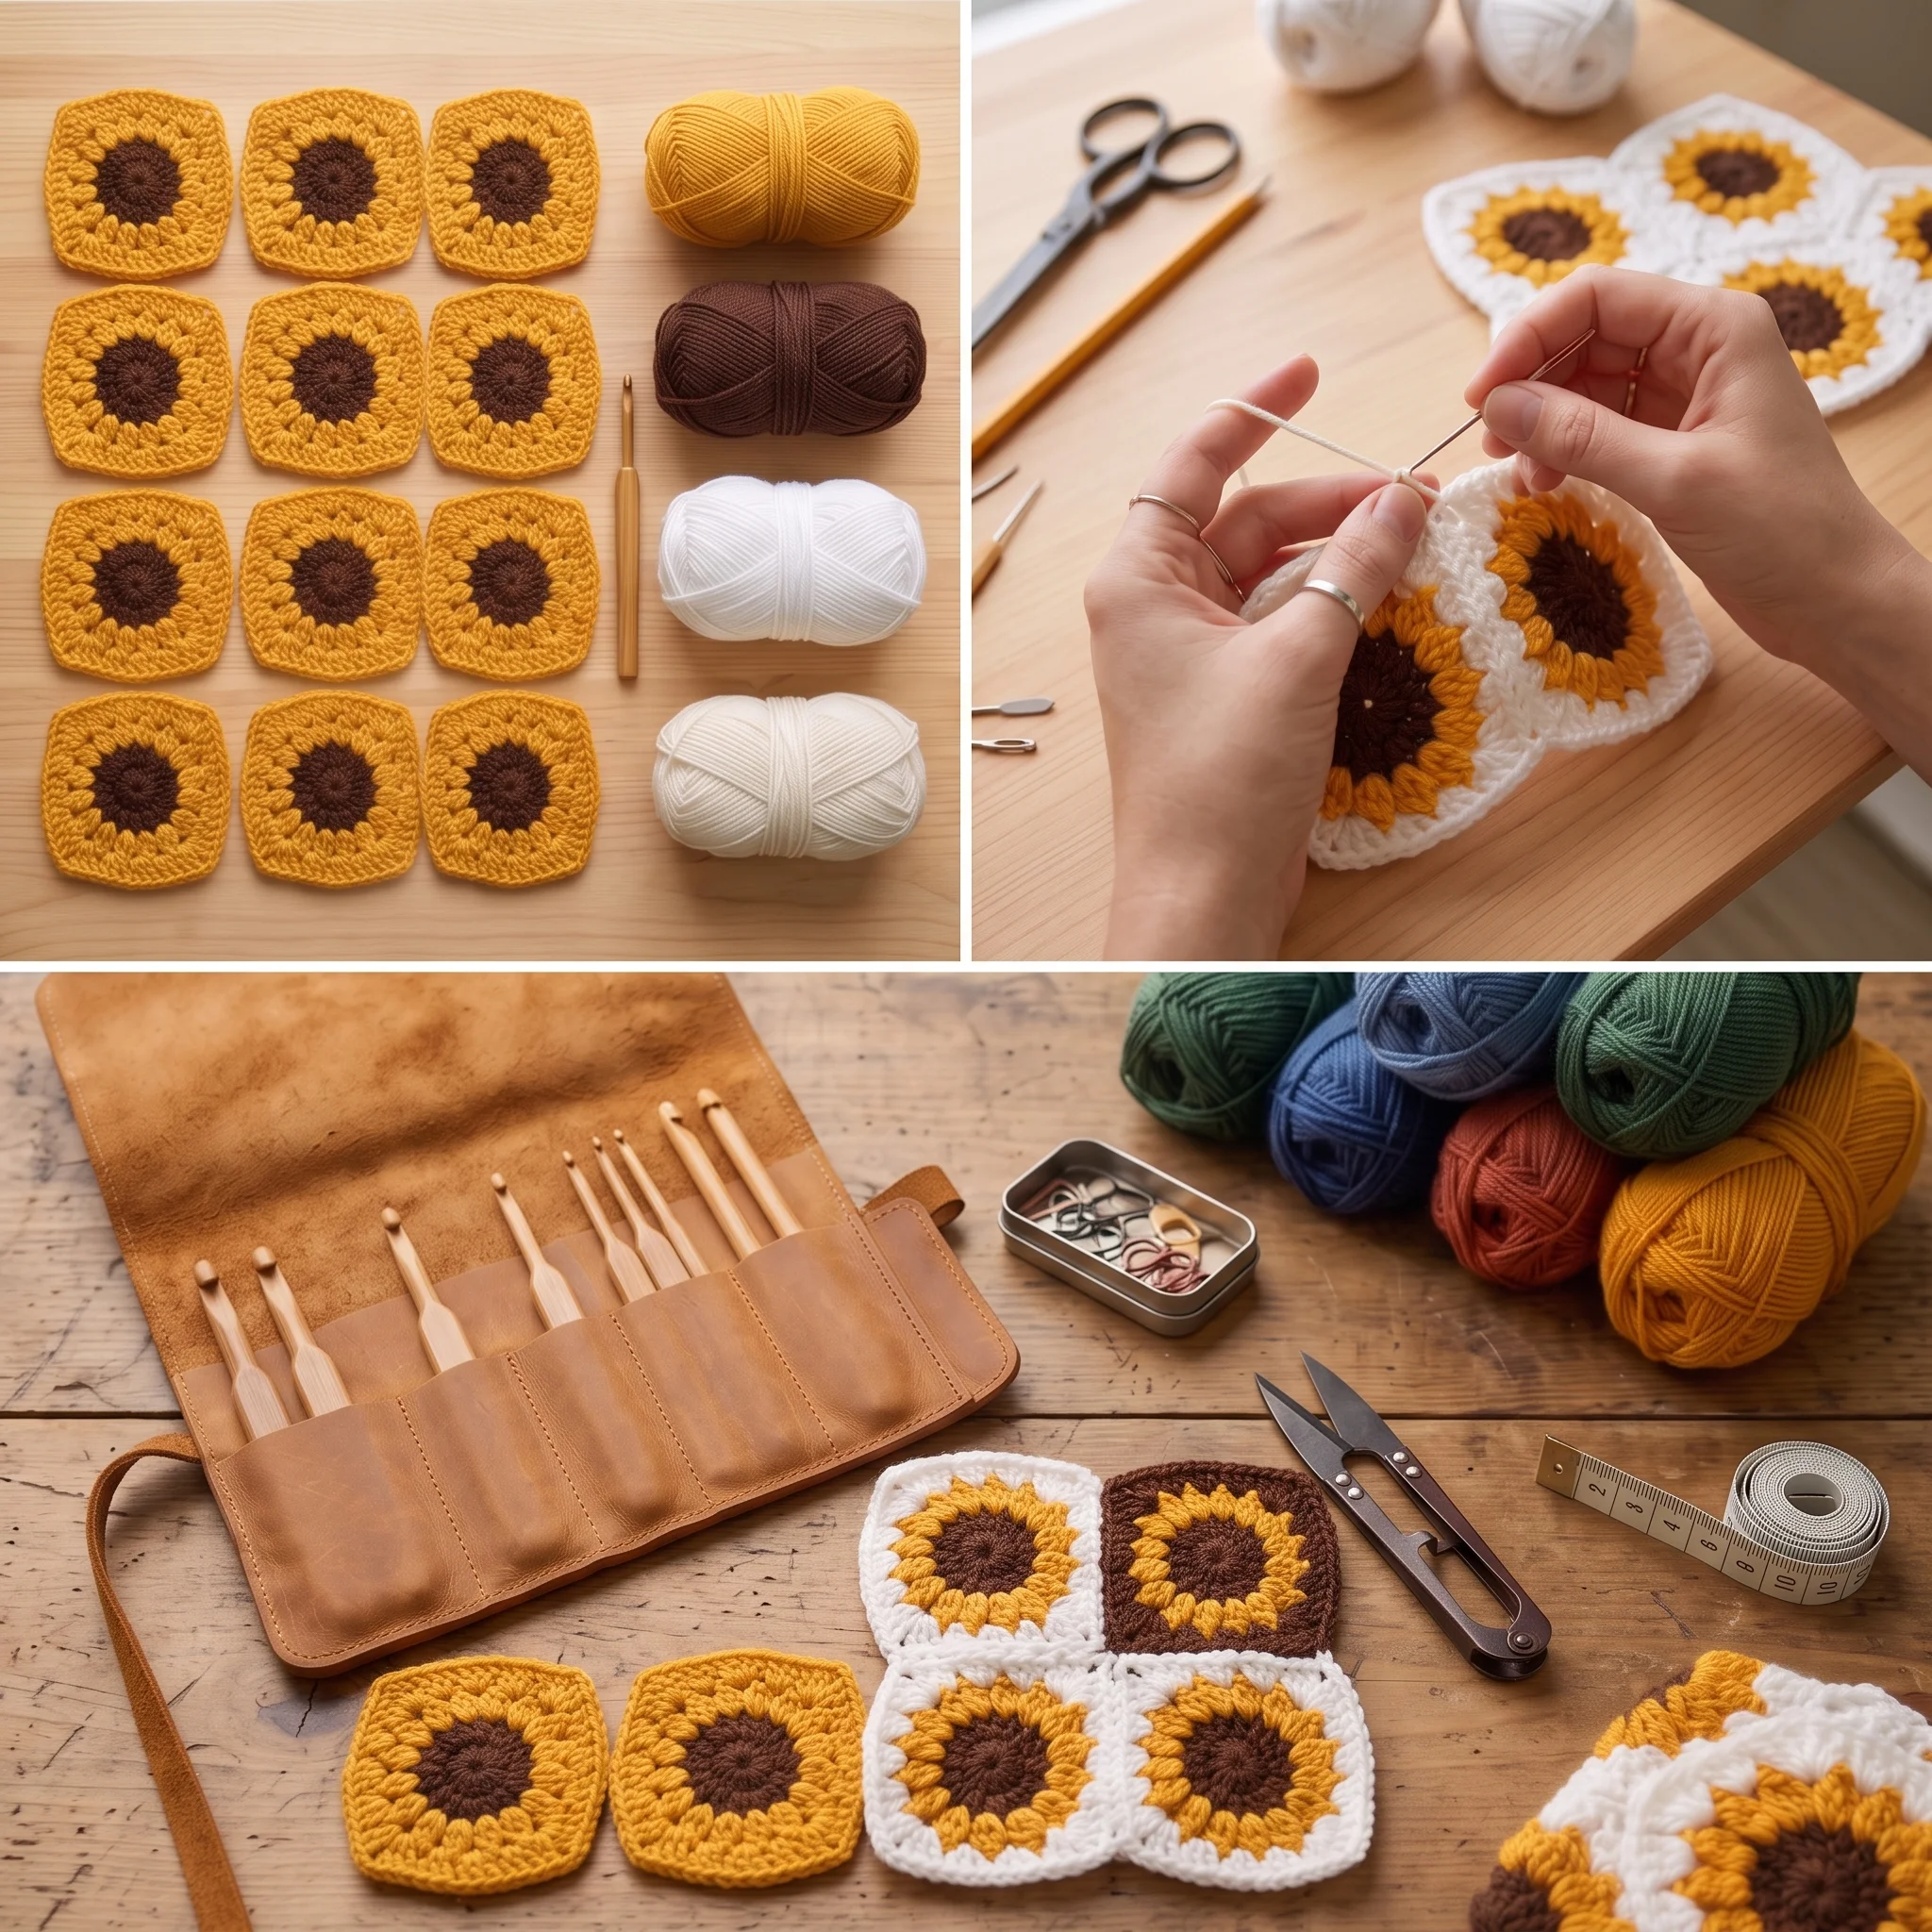
Cotton or a cotton blend is a lovely choice for a bag, since it’s strong, holds its shape and shows the sunflower motif crisply. Brown, orange and white give a classic sunflower look, but the motif works in any palette.
How the Sunflower Square Blooms
Each square is worked in four rounds, and you’ll see the sunflower appear as you go.
Round 1 starts with a small ring in brown and a round of double crochet, which forms the center of the flower.
Round 2 switches to orange and builds a ring of clusters. Each cluster is several double crochets started in the same place and joined together at the top, which creates a rounded petal shape. Twelve clusters make a full ring of petals.
Round 3 changes to white and starts turning the circle into a square. Groups of double crochet fill the sides, while groups of treble crochet with a chain space build the corners.
Round 4 repeats the granny square pattern to finish the square with neat, sharp corners.
After a few squares, the four rounds become a calm, familiar rhythm.
Planning Your Layout
Before you join anything, lay all your squares out on a flat surface in the grid you plan to use. This is the moment to decide where each square goes, especially if you’ve added extra colors.
Take your time. Swap squares around until the colors feel balanced and the sunflowers sit where you want them. It’s much easier to rearrange squares now than to unpick a seam later. Snapping a quick photo of your layout helps you remember it as you join.
A Bag That Brightens Every Day
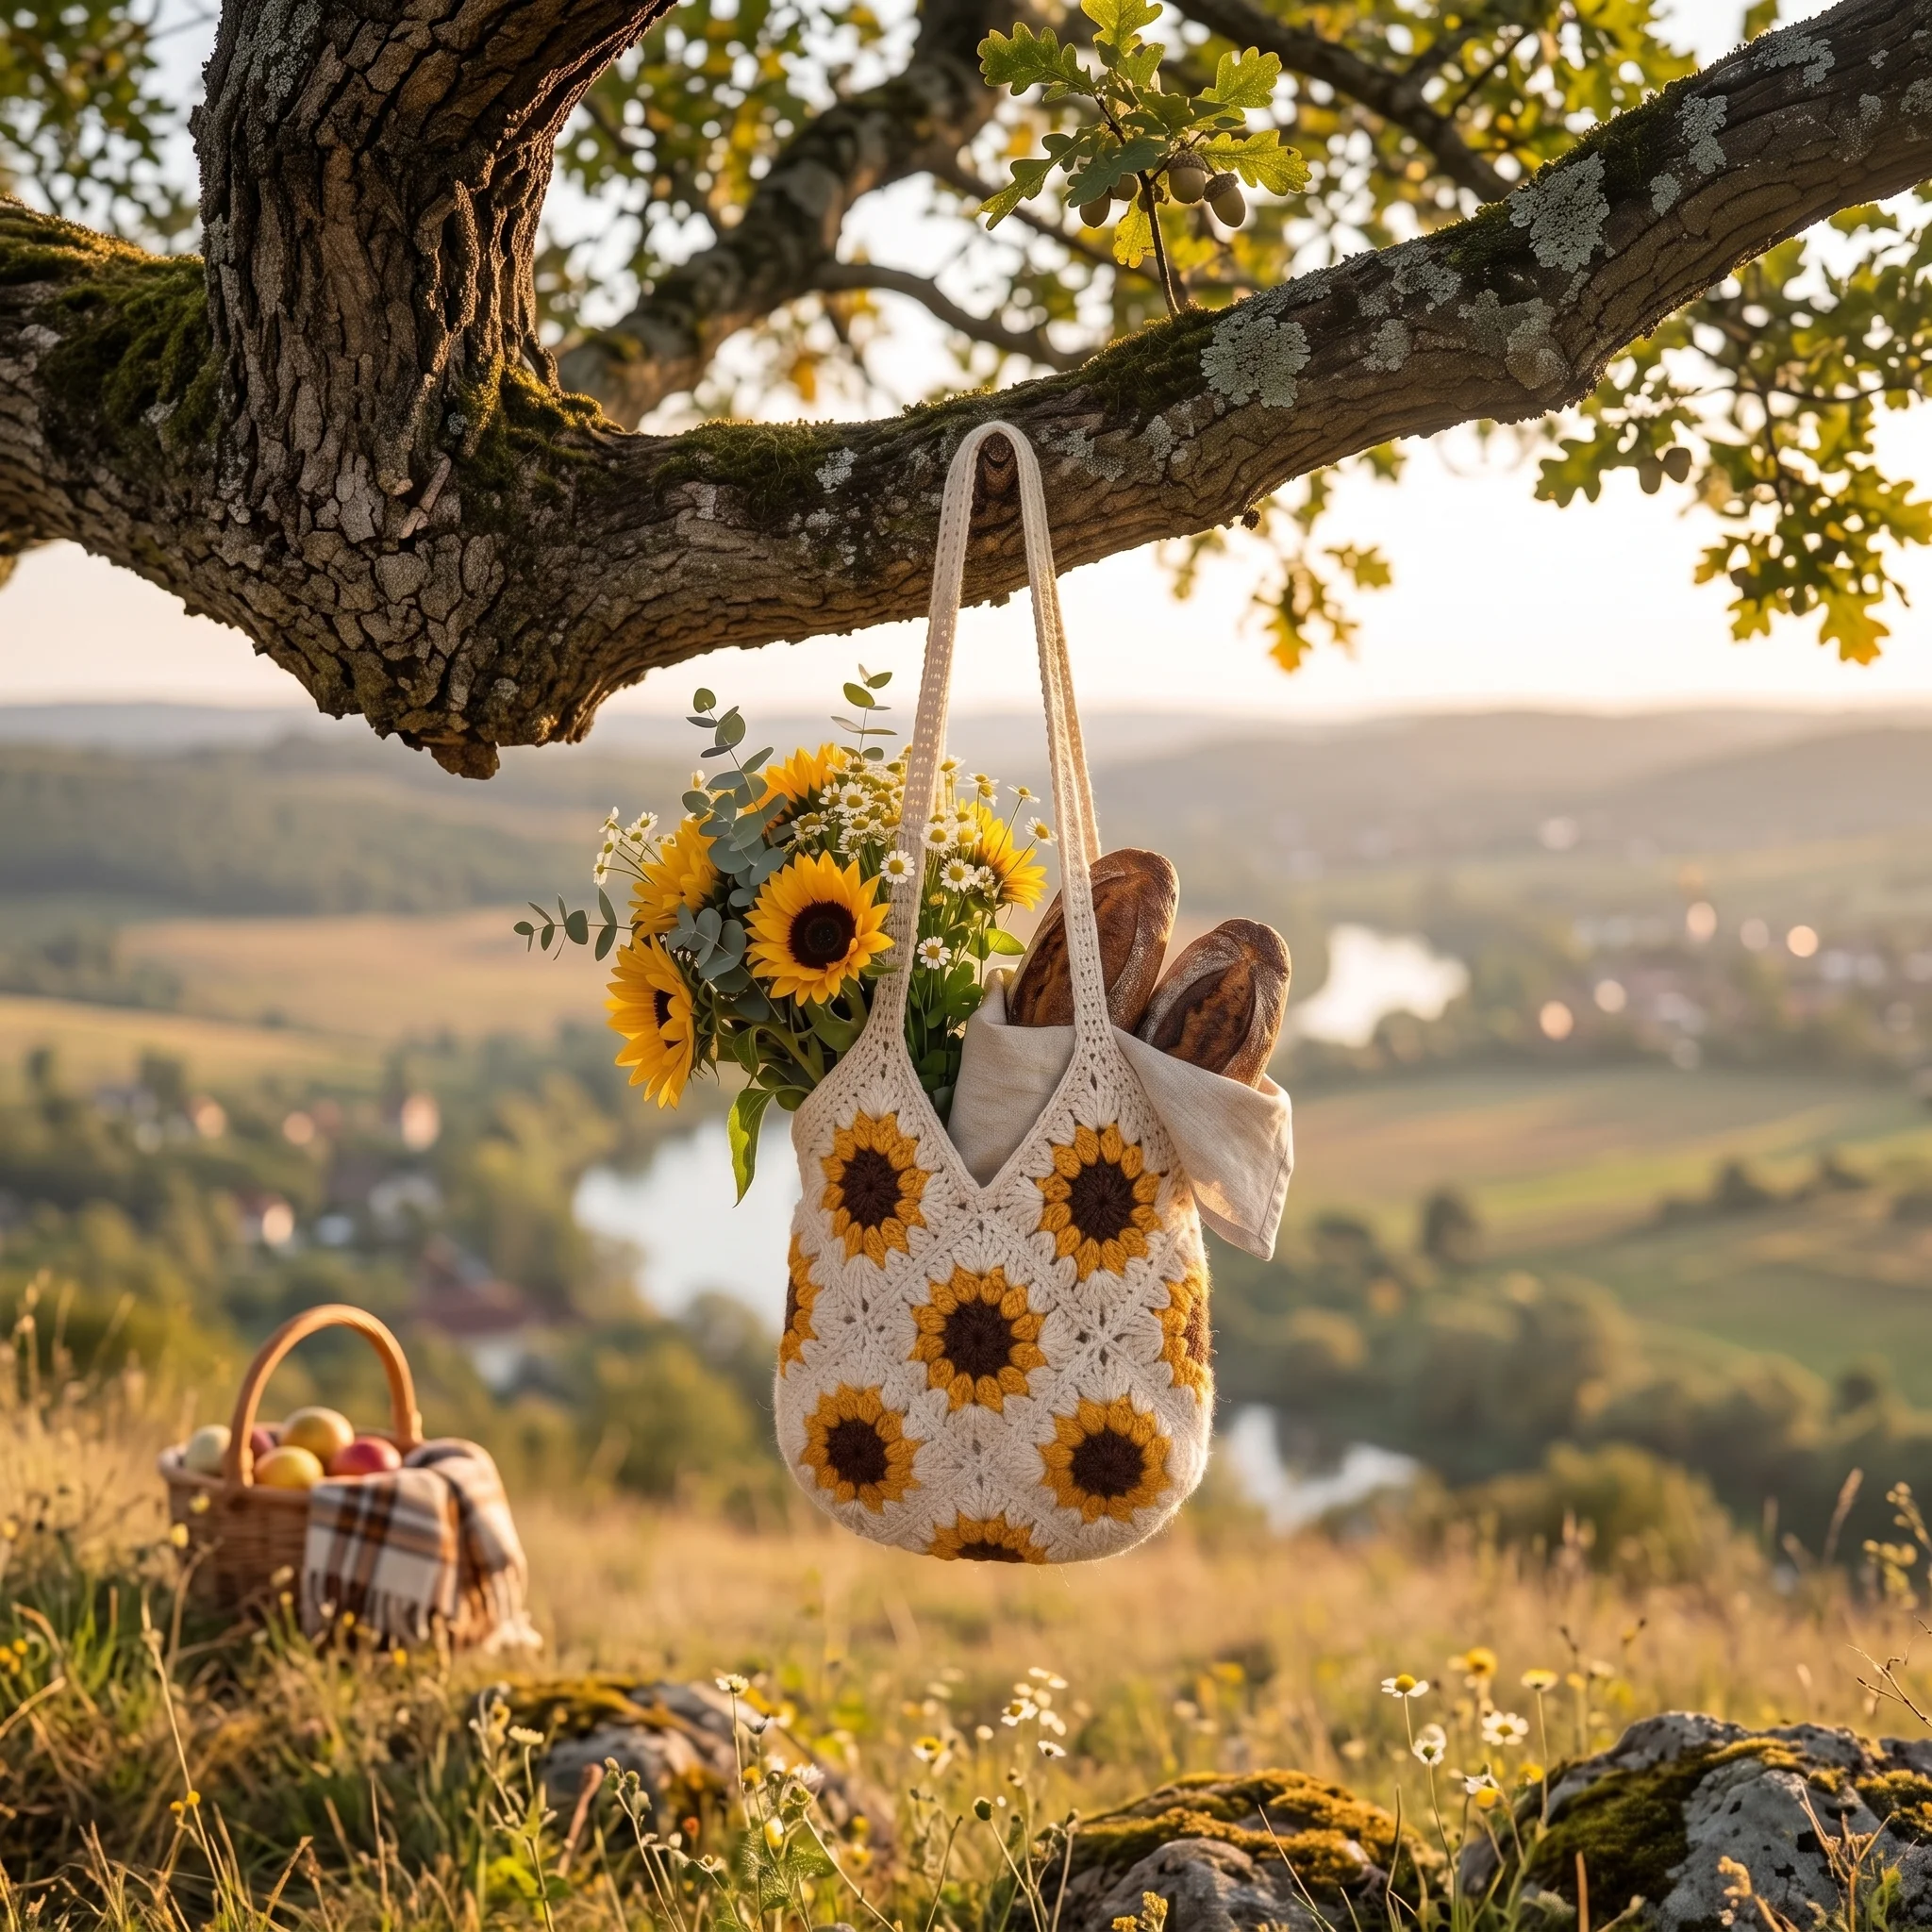
Imagine slinging this bag over your shoulder on a gray Monday morning. It’s impossible not to smile at a bag covered in sunflowers.
Make one for yourself, or make one for a friend who loves bright, happy things. It’s the kind of handmade gift people use every single day.
Joining the Squares
Once your layout is set, join the squares using a tapestry needle and yarn. Work along the length of the grid first, then along the width, so every square is securely attached to its neighbors.
For the neatest look, keep your stitches even and not too tight, since a very snug join can pucker the edges of the squares. Match your joining yarn to the white borders for an almost invisible seam, or use a contrasting color for a bold, graphic look.
Folding Your Grid Into a Bag
This is the clever part. Once your squares are joined into one flat piece, you fold it rather than crocheting further.
First, fold the piece along its width and sew the bottom section and side edges, leaving the top open. Then fold the remaining corner sections diagonally to form the sides, and seam them along their length and width. Repeat on the opposite side.
The diagonal folds give the bag its depth, so it stands as a proper bag rather than a flat pouch. It’s a satisfying moment when the flat grid suddenly becomes three dimensional.
The Mesh Strap
The strap is worked in an open mesh pattern of chains and double crochet, which keeps it light and flexible. You attach yarn to a top corner and work the mesh to your preferred length, then repeat for the second strap on the opposite side.
Prefer a single loop handle? Make one longer strap and attach both ends to the bag instead of making two shorter ones. Both styles use the same simple stitch pattern.
Should You Line Your Bag?
Granny squares are naturally open and lacy, which looks beautiful but means small items like keys or coins could slip through the gaps. A simple fabric lining solves this completely and adds a little structure, too.
Cut fabric to match the finished bag shape with a small seam allowance, then hand sew or machine stitch it around the top edge. If you’d rather skip the sewing, the bag still works beautifully for larger items, or as a light, decorative bag.
Who This Bag Is Right For
The pattern is suited to anyone comfortable with basic granny squares. The petal clusters and treble crochet corners go a step beyond a classic beginner square, but each one is explained clearly.
If you’ve never made a granny square, practice one or two first. Once you’re comfortable, this bag is a joyful next project, and you’ll pick up useful skills in joining and simple construction along the way.
Make It Your Own
Change the colors for a whole new look. Yellow petals on a green background feel like a summer meadow, while cream and dusty rose create a softer, vintage style. Vary the outer color from square to square for a patchwork feel.
Make it bigger by adding more squares for a tote, or fewer for a small purse. Add a button and loop closure at the top for extra security.
Caring for Your Granny Square Bag
Spot clean small marks with a damp cloth. For a deeper clean, hand wash gently in cool water, press out the water without wringing and lay the bag flat to dry, easing the squares back into shape.
Keep Learning
Want to build on these skills? These guides pair beautifully with this pattern: How to Change Colors in Crochet, How to Block Crochet and How Much to Charge for Crochet Items.
A Few Tips Before You Start
- Make one practice square to check your size and colors.
- Lay out all squares before joining.
- Join the full grid before folding.
- Keep joining stitches relaxed so edges stay flat.
- Reinforce strap attachments with a few extra stitches.
Frequently Asked Questions
Pick up your hook and let’s bring your next crochet project to life!