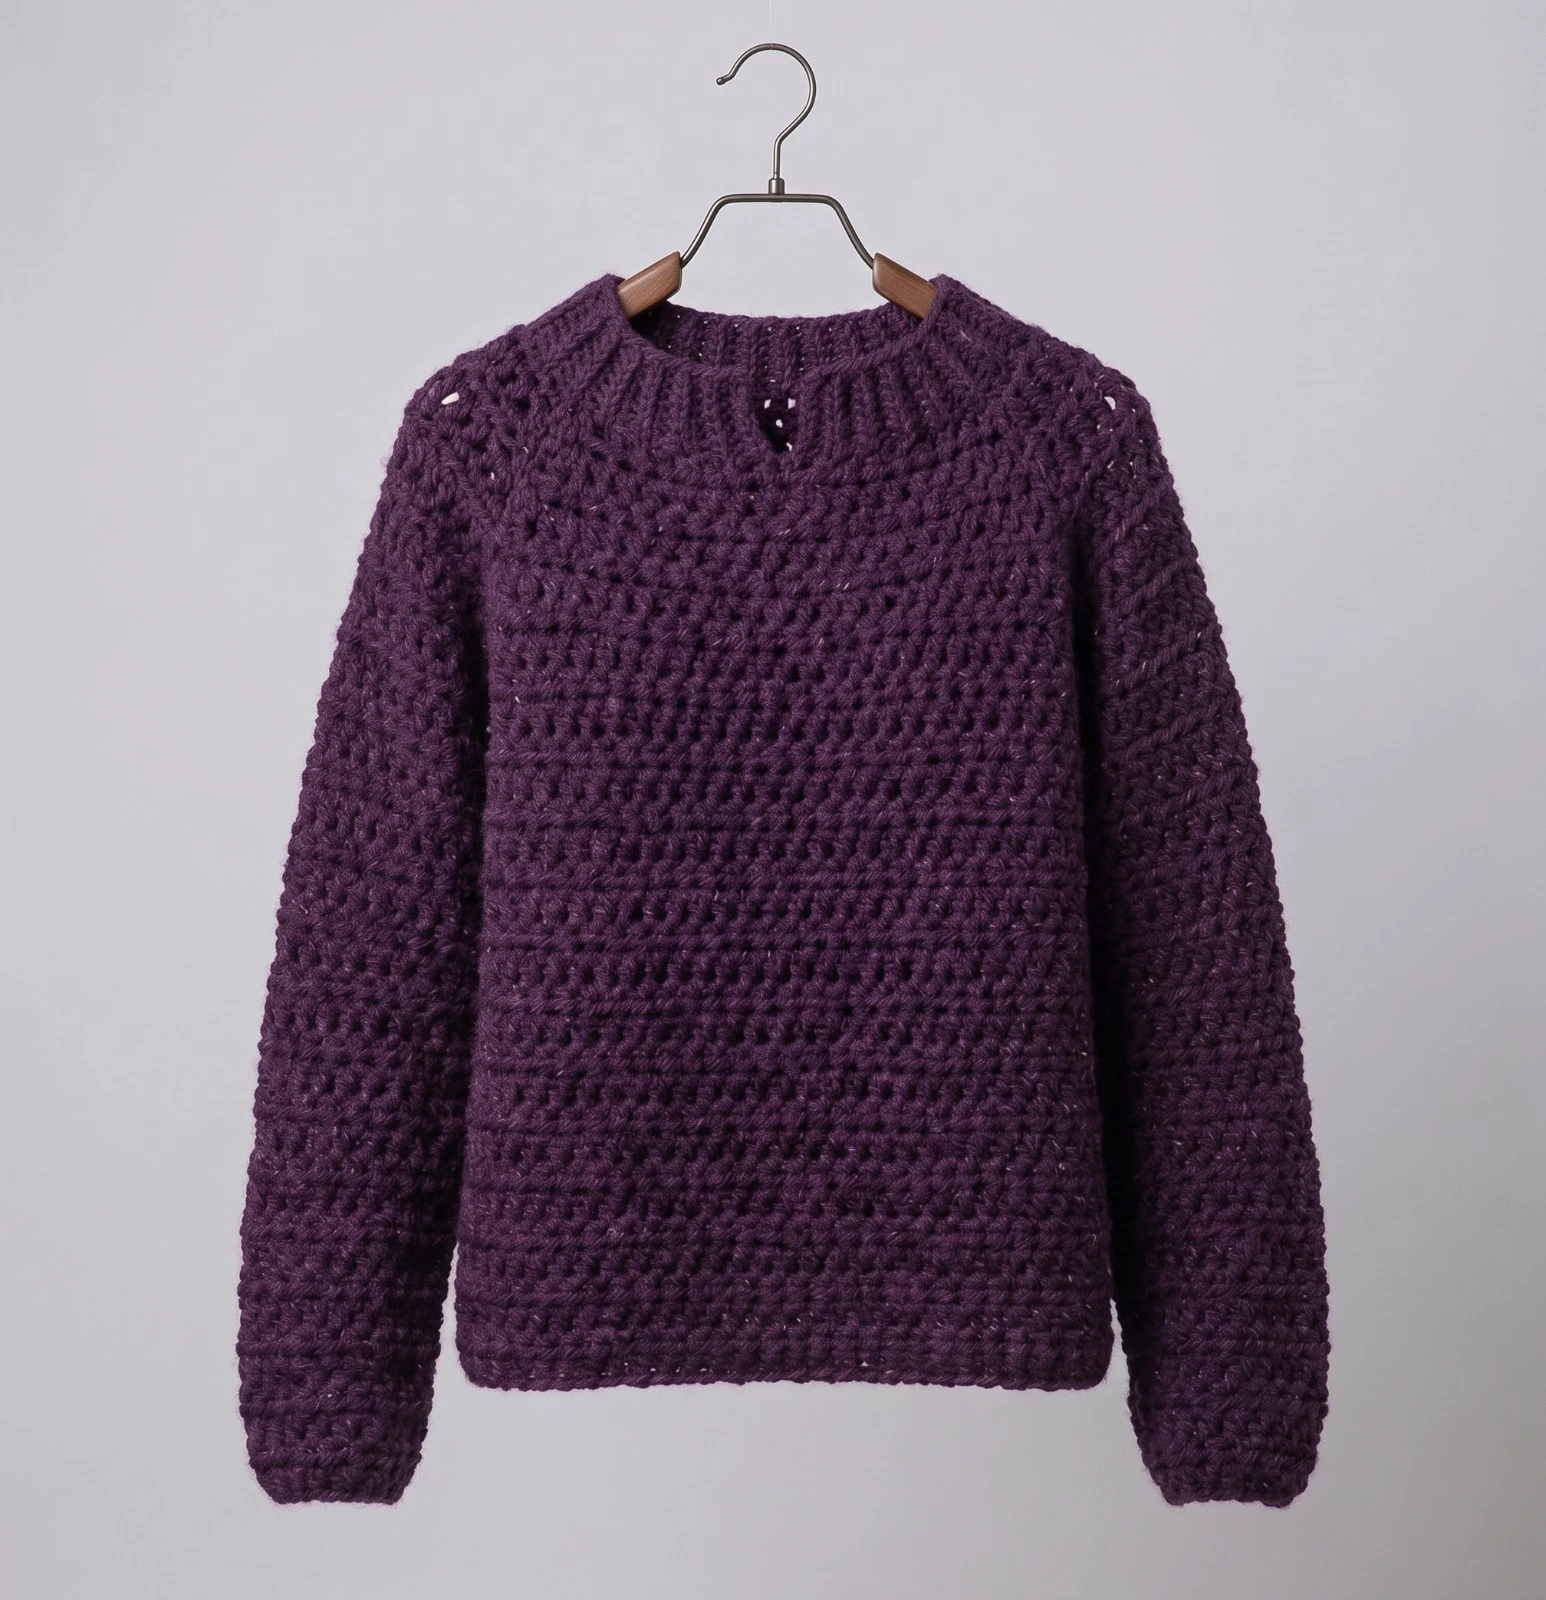
Beginner Crochet Sweater Pattern Free Easy Top Down Raglan
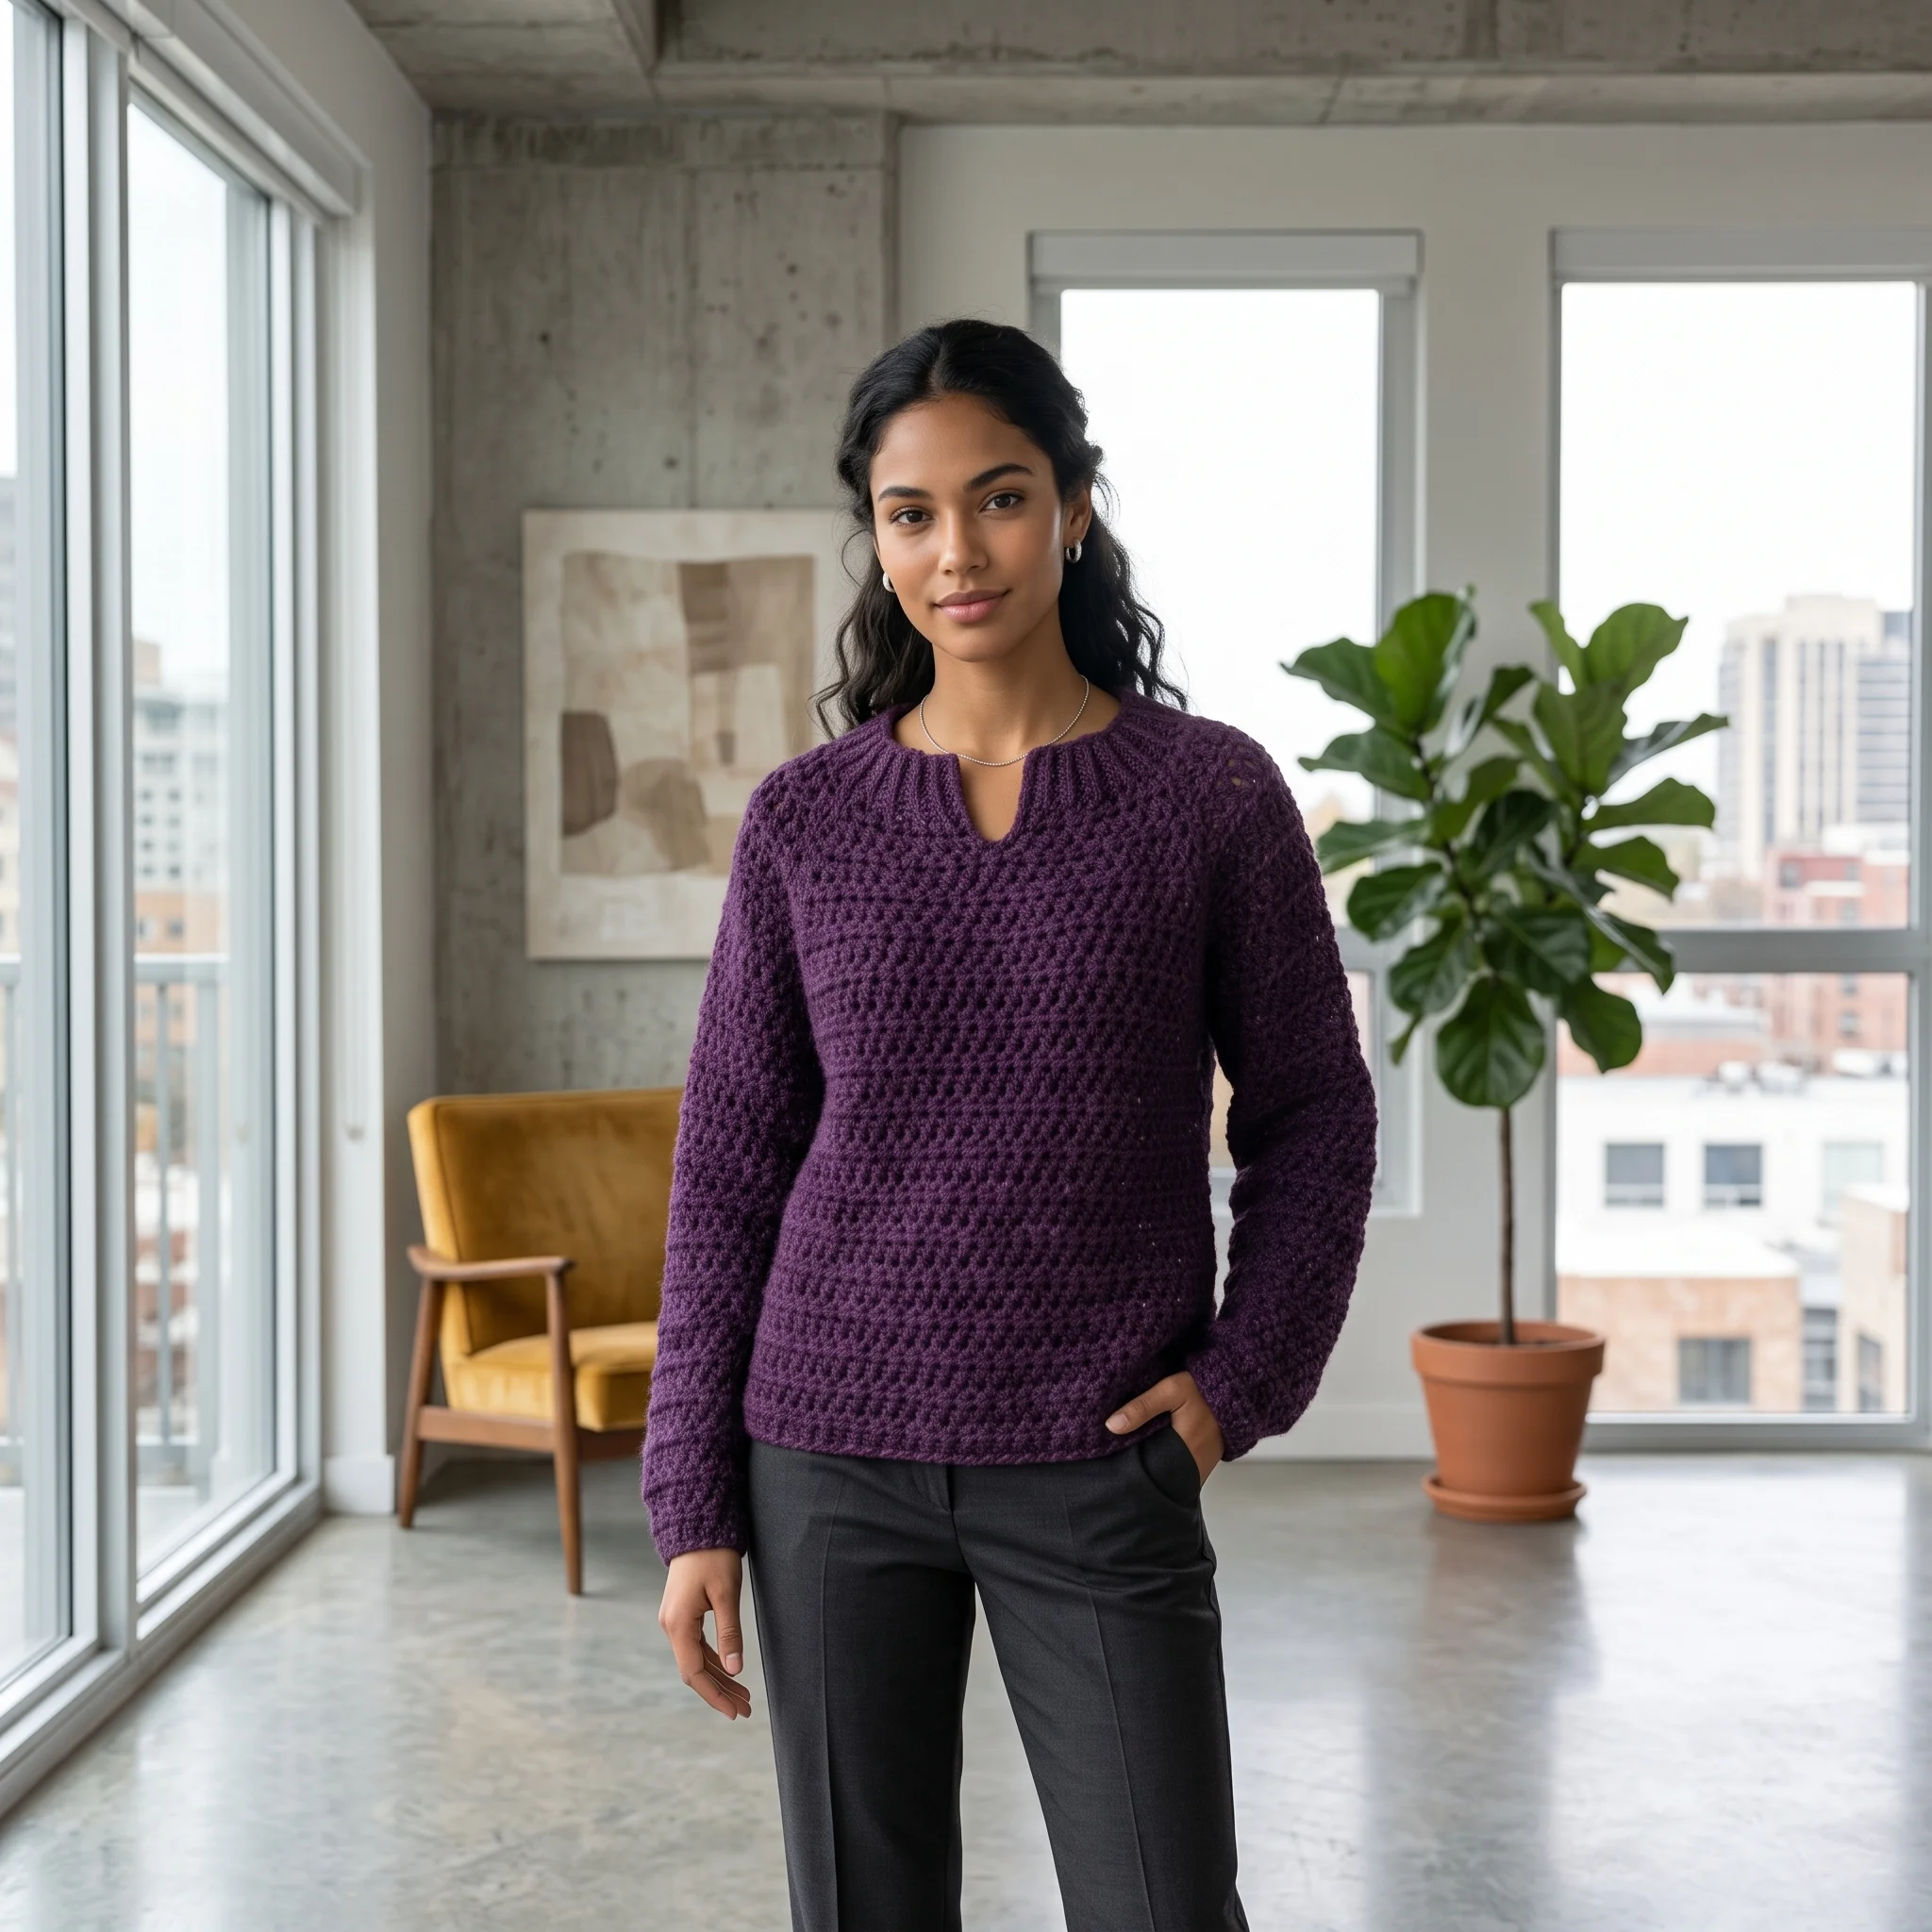
Your first sweater is closer than you think. Our free beginner crochet sweater pattern is worked from the top down in simple rounds of half double crochet, with clear checkpoints at every step and almost no seaming. You’ll try it on as you go, adjust it to fit, and finish with a cosy, relaxed raglan sweater you’ll be proud to say you made.
Why You’ll Love This Beginner Crochet Sweater
Making a sweater can feel like a big leap. You picture complicated shaping, mysterious measurements and a pile of pieces to sew together. This pattern was designed to remove all of that, so you can focus on the joy of making something you’ll actually wear.
You start at the neckline and work downward in rounds. Four stitch markers show you exactly where to increase, and those increases build the classic raglan lines that run from the collar to the underarms. When the yoke is deep enough, you divide for the body and sleeves and simply continue down. There are no separate pieces and no sleeves to sew in.
Best of all, you can try the sweater on at every stage. Is the yoke deep enough? Is the body the length you want? You’ll know before you finish, which takes all the guesswork out of fit.
What’s Inside the Free Raglan Sweater Pattern
Your PDF download is written with beginners in mind:
- Four sizes from XS/S to XL, with chest and finished chest measurements
- Yarn amounts in skeins, yards and metres for every size
- A simple ribbed neckband that starts the sweater
- Step by step yoke rounds with stitch marker guidance
- “You should have” checkpoints after key rounds, so you can catch mistakes early
- Clear instructions for dividing the body and sleeves
- Body, sleeve and finishing instructions
- US crochet terms throughout
Materials for Your First Sweater
| Material | Details |
|---|---|
| Yarn | XS/S 731yd (4 skeins) · M 804yd (5) · L 880yd (5) · XL 997yd (6) |
| Crochet hook | Size needed to obtain gauge |
| Gauge | 7 hdc × 5 rows = 4in (10cm), worked turning each round |
| Notions | 5 stitch markers, yarn needle |
| Crochet terms | US |
Choose a soft, smooth yarn in a solid or lightly heathered colour. It makes your stitches easy to see and count, which is a big help on your first sweater. Our Yarn Calculator can help you double check your yardage before you buy.
Find Your Perfect Size
This sweater is designed with 8 to 14 inches of positive ease for a relaxed, cosy fit. Choose your size by the finished chest measurement you’d like to wear.
| Size | To fit chest | Finished chest |
|---|---|---|
| XS/S | 28 to 34in (71 to 86.5cm) | 42in (101.5cm) |
| M | 36 to 38in (91.5 to 96.5cm) | 44½in (113cm) |
| L | 40 to 42in (101.5 to 106.5cm) | 49in (124.5cm) |
| XL | 44 to 46in (112 to 117cm) | 52½in (133.5cm) |
Not sure? Measure a sweater you love wearing, lay it flat, and double the width across the chest. Pick the size closest to that number.
It All Starts With the Neckband
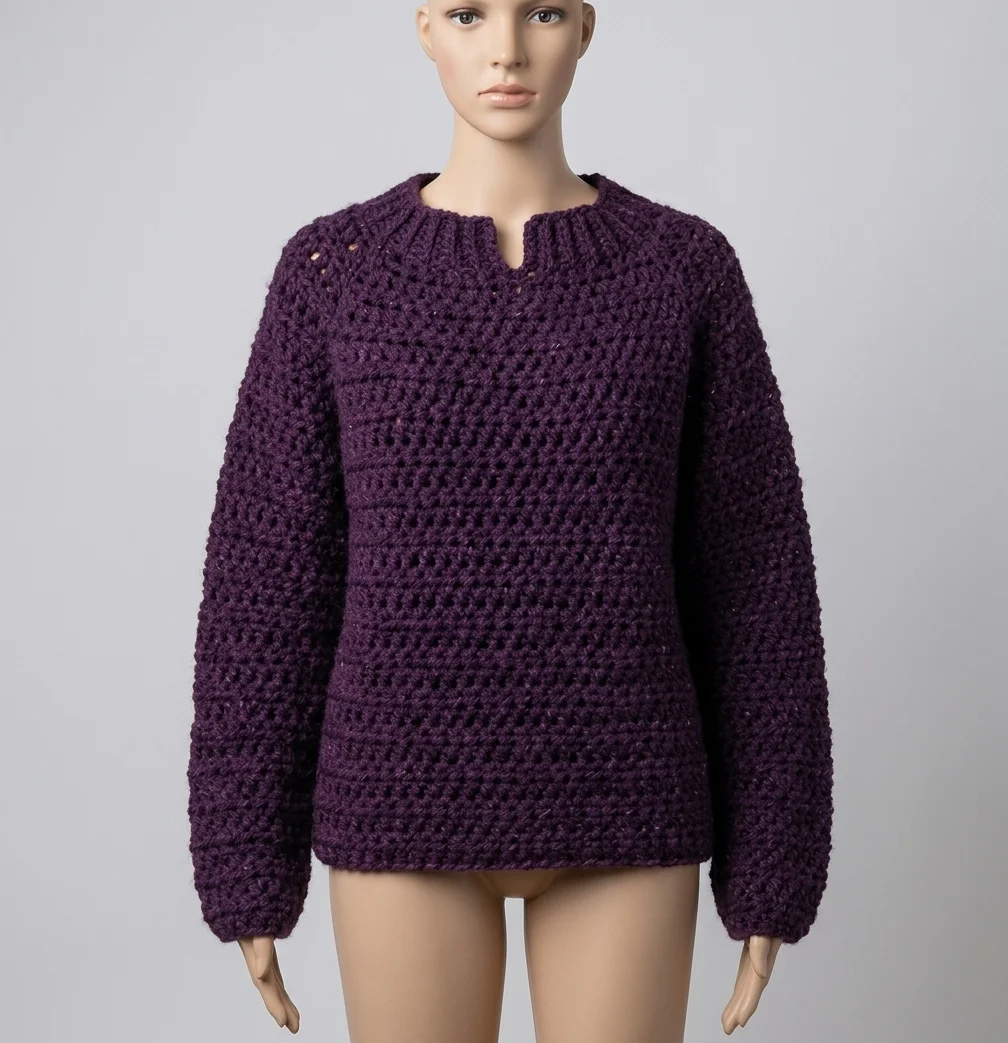
Instead of starting with a tricky foundation chain in the round, this sweater begins with a short, flat strip of ribbing. You chain seven, then work rows of slip stitches through the back loops only. Row by row, a stretchy ribbed band grows.
When it reaches the length for your size, you join the ends into a ring. That ring becomes your neckline, already neatly finished. Then you work the first round of the yoke straight into its edge. It’s a gentle, confidence building start, and it gives your sweater a polished collar from the very beginning. Keep the band slightly stretched when you measure it, so your neckline sits comfortably rather than gaping.
How the Raglan Yoke Grows
The yoke is the top part of the sweater that covers your shoulders and chest. In a raglan sweater, it’s shaped by four lines of increases that run diagonally from the neckline to the underarms.
You’ll place four stitch markers to show where those lines are, plus one for the start of each round. On every increase round, you add stitches at each marker, then move the markers up as you go. Round by round, the yoke widens evenly and the raglan lines appear as beautiful diagonal seams, without any actual sewing.
A small detail that makes a big difference: you turn your work at the end of every round. That keeps the fabric looking even and stops the seam line from slanting, which is why the pattern’s gauge is measured this way too.
The Pride of Your First Handmade Sweater
There’s a feeling you only get once: pulling on the very first sweater you’ve made with your own hands. It’s cosy, it’s yours, and every stitch carries the story of learning something new.
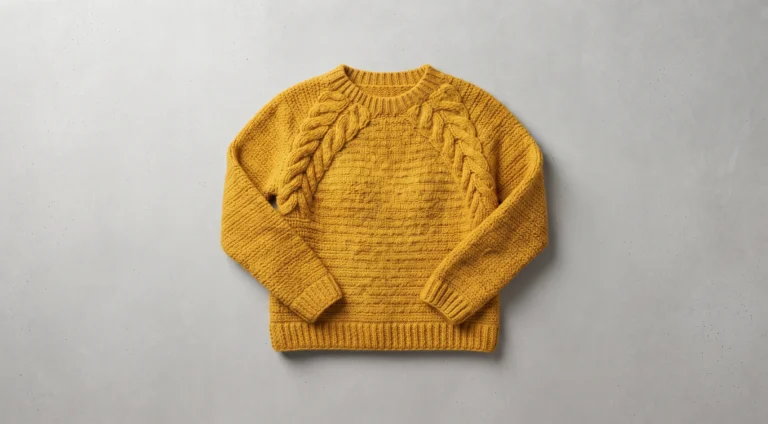
This raglan is designed to get you there with confidence. Wear it with jeans on weekends, over a collared shirt for work, or as your go to cosy layer at home. Once you’ve made it, you’ll be ready for our Oversized Crochet Sweater Pattern or the cabled Crochet Cardigan Pattern. Explore them all in our Crochet Sweater Patterns collection.
Dividing for the Body and Sleeves
When your yoke reaches the right depth, you divide it into three parts: the body and two sleeves. You’ll work around the body stitches, joining the front and back under each arm, and leave the sleeve stitches waiting.
This is the moment your work suddenly looks like a sweater, and it’s wonderfully motivating. From here, the body continues in simple rounds down to the hem, and each sleeve is worked in rounds down to the cuff. Try it on now and you’ll see exactly how it fits.
Is This Sweater Right for You?
If you can make a chain, a slip stitch and a half double crochet, you can make this sweater. The pattern is written to guide beginners step by step, with stitch count checkpoints that help you spot and fix mistakes before they grow.
The only new skill is following stitch markers and increasing at them, and that becomes second nature after a few rounds. If you’ve made a hat or a blanket, this is the perfect next step into garments. And because you can try it on at every stage, there’s no nervous wait to see whether it fits at the very end.
Make It Your Own
Because you’re working top down, adjusting the length is easy. Keep going for a longer sweater that covers the hips, or stop sooner for a cropped style. The sleeves work the same way: try them on and stop when they reach the length you love.
Colour is yours to choose too. A classic cream or grey feels timeless, while a bold mustard, rust or teal makes a confident statement. You could even add stripes to the body or sleeves by changing colour every few rounds.
When Something Doesn’t Look Quite Right
If your stitch count doesn’t match a checkpoint, stop and count the stitches between each marker. A missed increase is usually easy to spot when you count section by section. Fix it right away, since small errors in the yoke grow quickly.
If your raglan lines look wavy, make sure you’re moving your markers up every round and increasing in the right stitch. And if your sweater feels too tight or loose, check your gauge, since a different hook size can make a big difference over a whole yoke.
Caring for Your Sweater
Check your yarn label for washing instructions. Most sweater yarns are happiest washed gently in cool water and laid flat to dry. Ease the sweater back into shape while it’s damp, and avoid hanging it, since a heavy wet sweater can stretch.
Keep Learning
These guides make a perfect companion to your first sweater: How to Block Crochet, Why Crochet Gets Wider or Curls and How to Change Colours in Crochet.
A Few Tips Before You Start
- Make a gauge swatch, turning at the end of each round.
- Highlight your size throughout the PDF.
- Count your stitches at every “You should have” checkpoint.
- Move all your stitch markers up every round.
- Try the sweater on before dividing for the sleeves.
Frequently Asked Questions
Pick up your hook and let’s bring your next crochet project to life!