Crochet Pullover Pattern Free Seamless Cabled Yoke Sweater
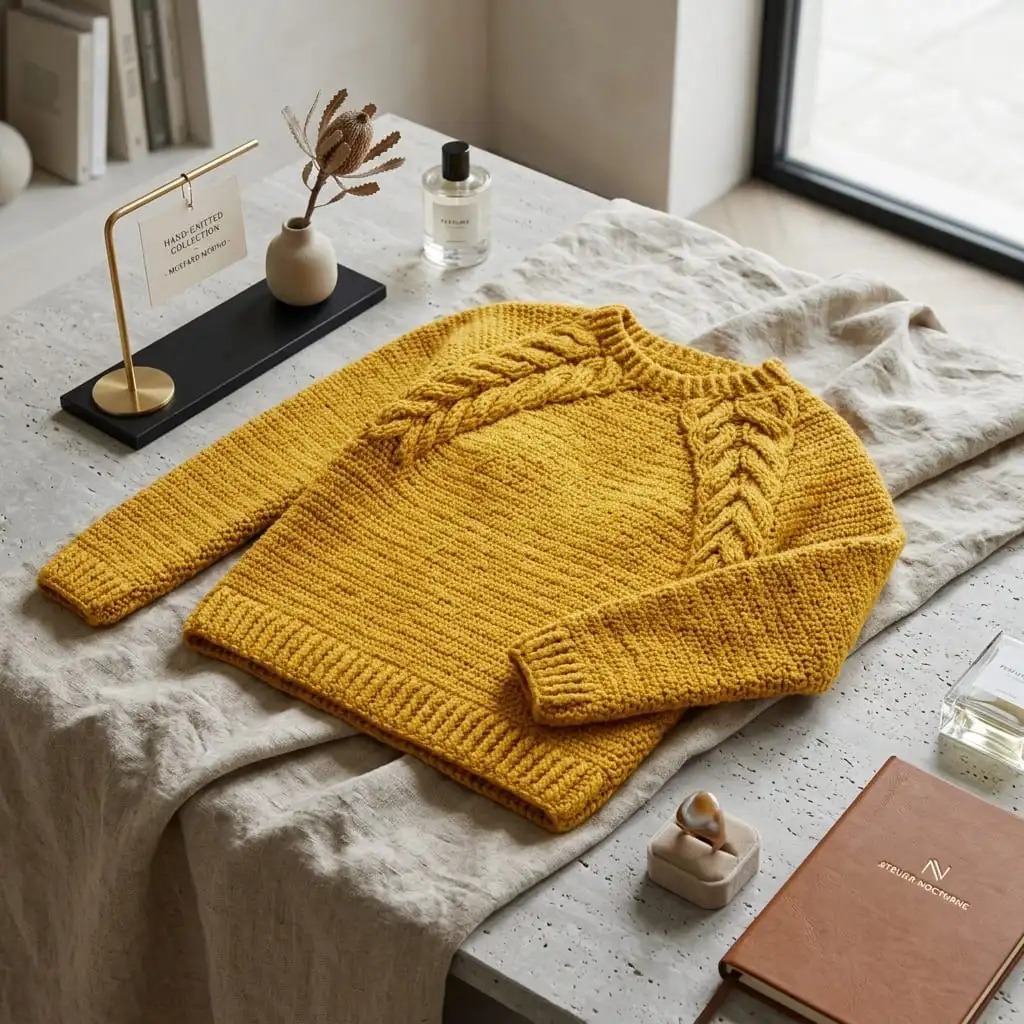
This is the sweater you make when you’re ready to make something extraordinary. Our free crochet pullover pattern is worked seamlessly from the neck down, with a column of cables flowing along every raglan line, starting narrow at the collar and blooming into wide, leafy cables across the shoulders. It’s a relaxed, timeless pullover in sizes XS/S to 4/5XL, and the kind of handmade piece people will ask about every time you wear it.
Why You’ll Love This Crochet Pullover
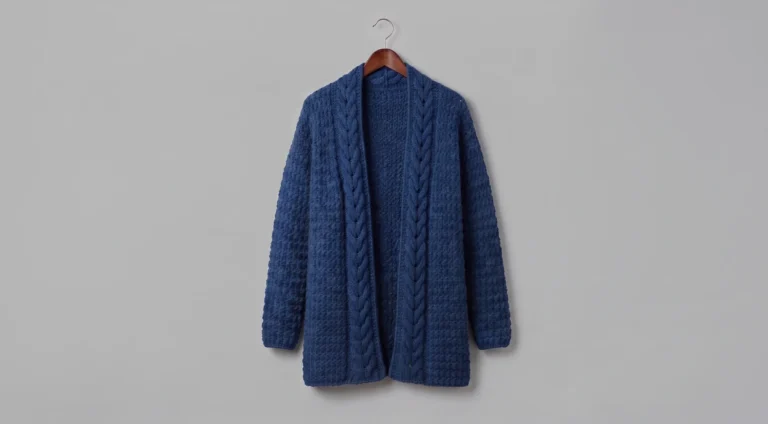
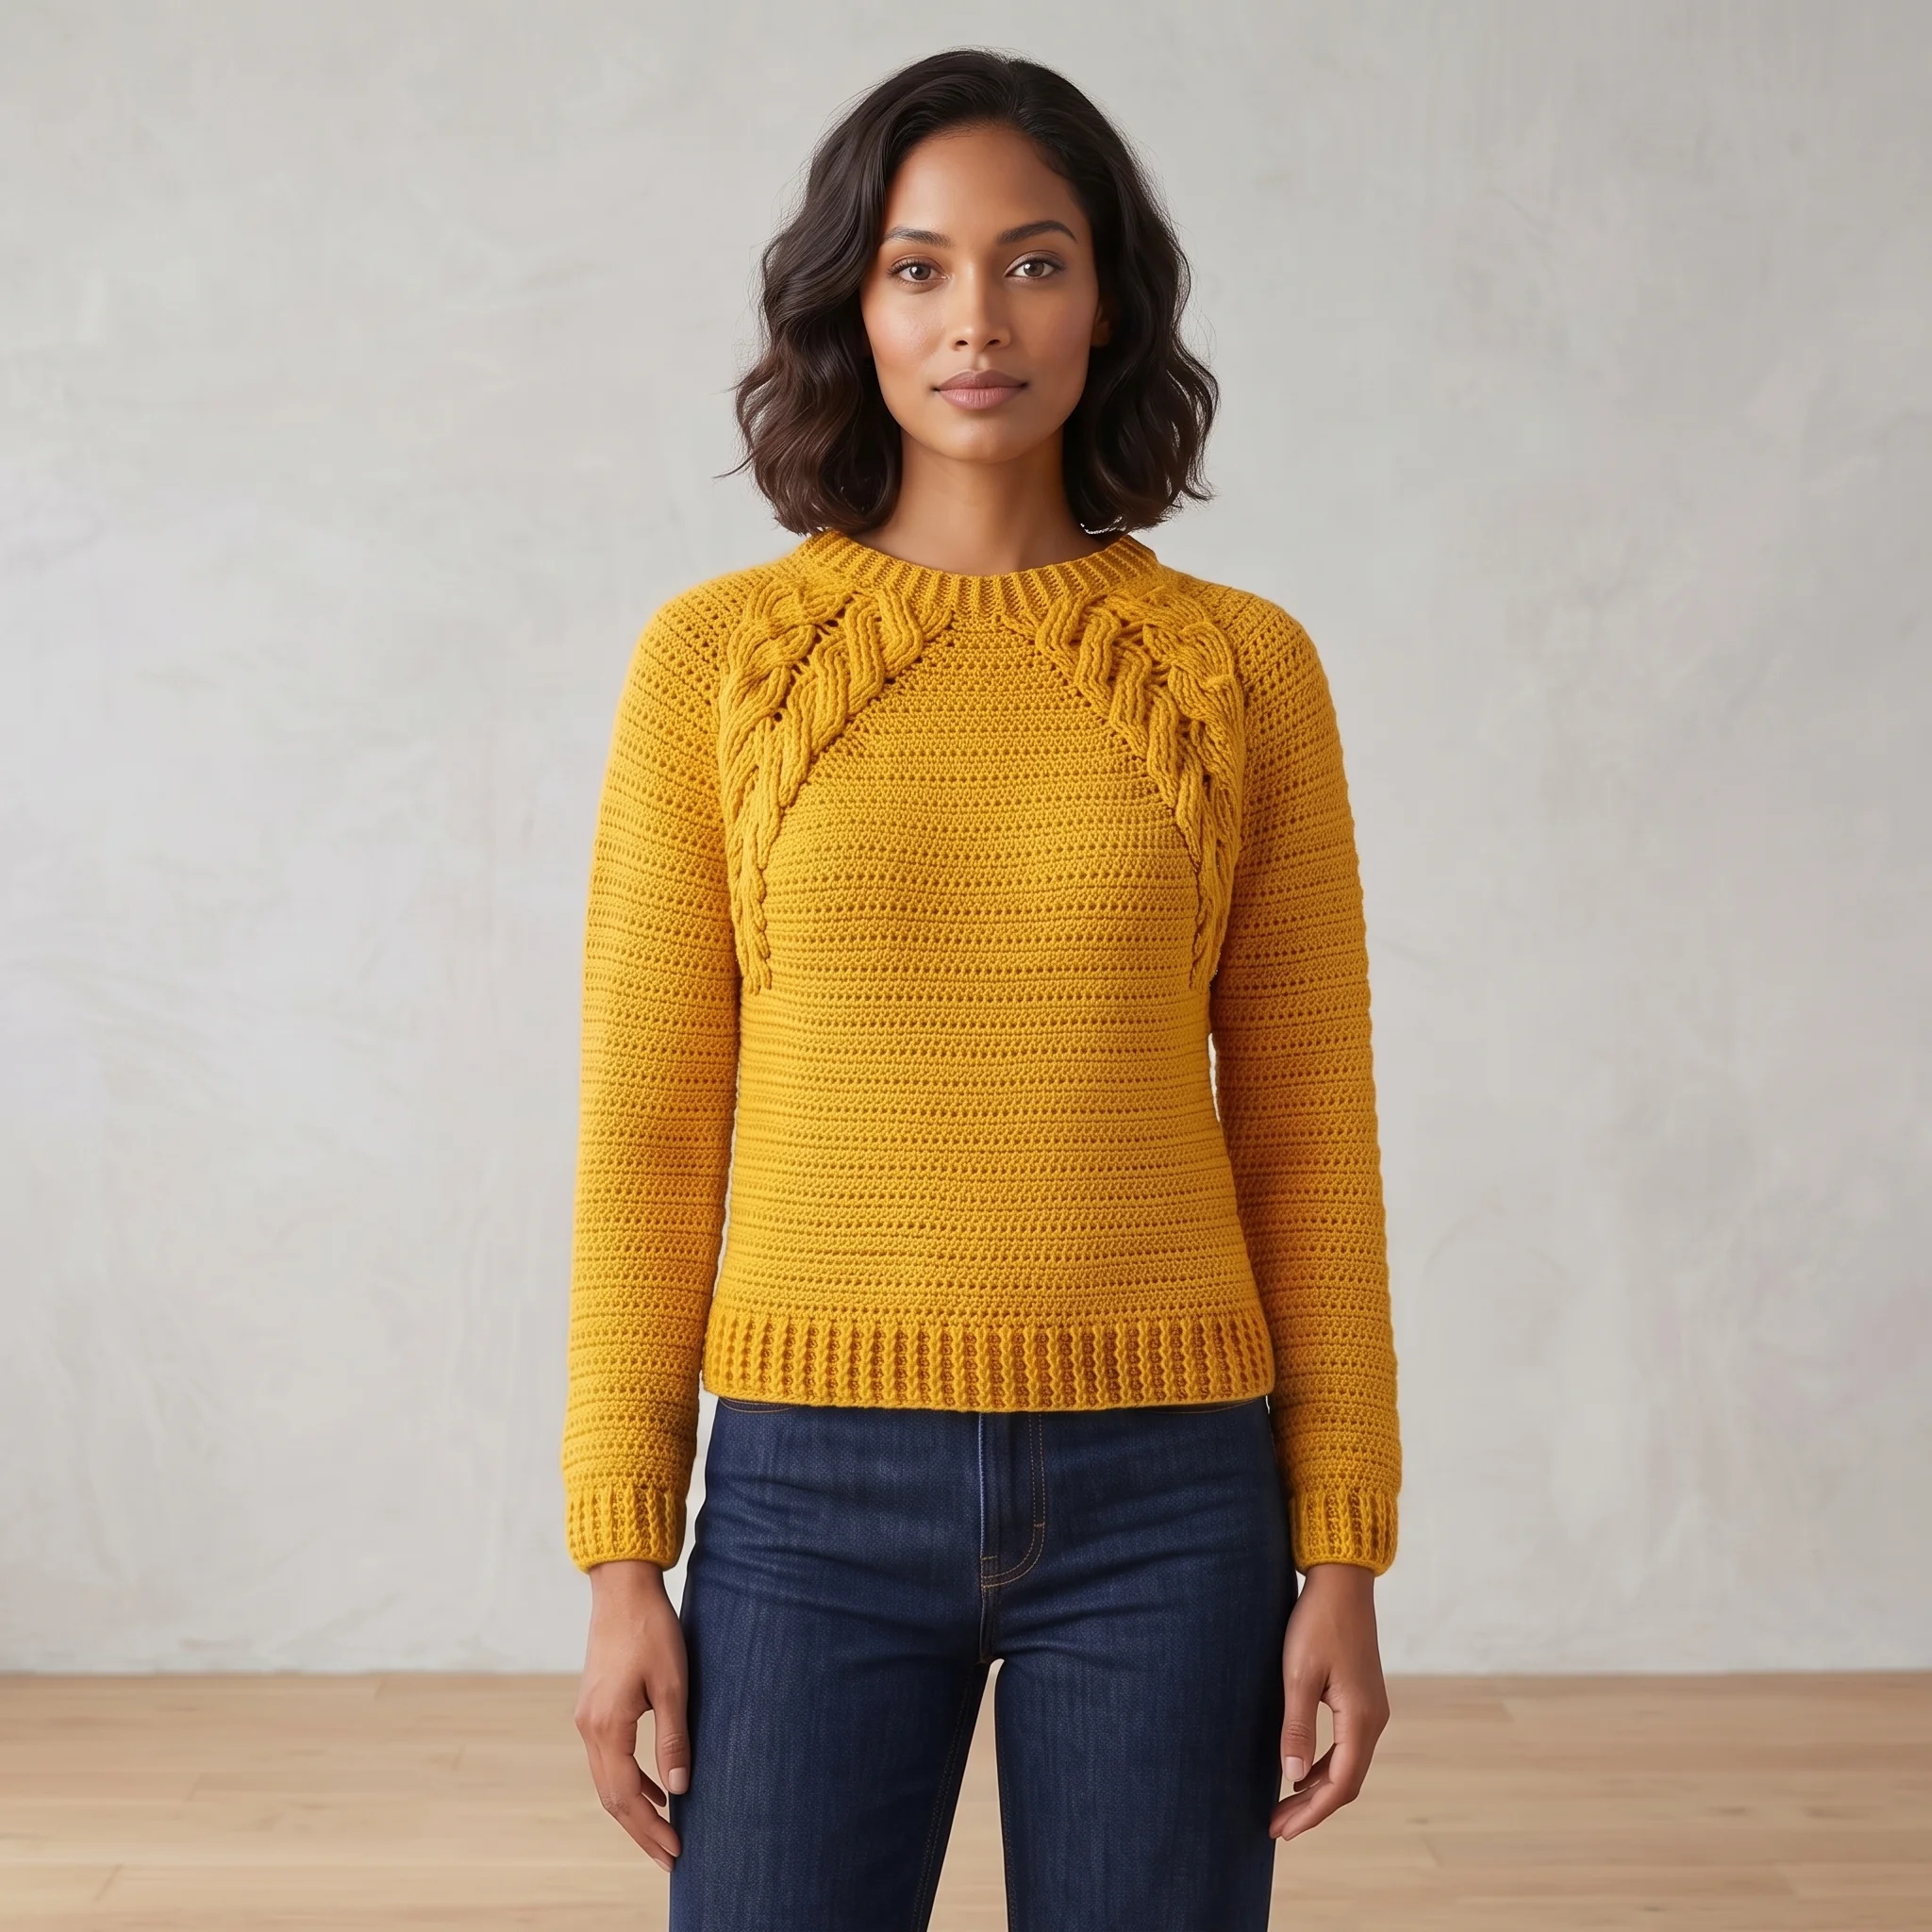
Most crochet sweaters keep their cables in the body or on the sleeves. This design places them exactly where your eye goes first: the yoke. Four cable panels run diagonally down the raglan lines, framing the neckline and shoulders like a piece of jewellery.
What makes them so beautiful is how they grow. Each panel starts as a slim band at the collar, then widens as the yoke increases around it, until the cables spread into elegant leaf shapes. It’s a design that rewards your effort with real wow factor.
Below the yoke, the body and sleeves are worked in simple half double crochet, giving you a calm, cosy stretch of stitching after the excitement of the cables. The result is a sweater that looks luxurious yet feels easy to wear, every single day.
What’s Inside the Free Crochet Pullover Pattern
Your PDF download is a complete, carefully organised garment pattern:
- Six sizes from XS/S to 4/5XL, with bust and finished bust measurements
- Yarn amounts for every size
- Full instructions for every post stitch and cable cross used
- A complete 31 row cable panel guide
- Step by step yoke, body and sleeve instructions
- Guidance for dividing the yoke into body and sleeves
- A quick size reference page that collects every size specific number in one place
- US crochet terms throughout
Materials for Your Pullover
| Material | Details |
|---|---|
| Yarn | XS/S 7 balls · M 8 · L 9 · XL 9 · 2/3XL 10 · 4/5XL 11 |
| Crochet hook | 5mm (US H/8), or size needed for gauge |
| Gauge | 13 hdc × 10 rows = 4in (10cm) |
| Notions | Stitch markers, yarn needle, scissors |
| Skill level | Experienced |
| Crochet terms | US |
Cables look their best in a smooth, light coloured yarn, where every crossing casts a soft shadow. Cream, oat, soft grey and pale blue are timeless choices. Darker colours work too, but the cables will appear more subtle. Not sure how much to buy? Our Yarn Calculator can help you plan.
Find Your Perfect Size
This pullover is designed with several inches of positive ease for a relaxed, comfortable fit. Choose your size by the finished bust measurement you’d like to wear.
| Size | To fit bust | Finished bust |
|---|---|---|
| XS/S | 28 to 34in (71 to 86.5cm) | 42in |
| M | 36 to 38in (91.5 to 96.5cm) | 45½in |
| L | 40 to 42in (101.5 to 106.5cm) | 49in |
| XL | 44 to 46in (112 to 117cm) | 53in |
| 2/3XL | 48 to 54in (122 to 137cm) | 57in |
| 4/5XL | 56 to 62in (142 to 157.5cm) | 62in |
If you prefer a closer fit, consider sizing down. For a slouchier, oversized look, size up.
Seamless From the Neck Down
One of the biggest joys of this pattern is that there’s almost no sewing. You start at the neckline and work downward in joined rounds, increasing along the four raglan lines to shape the shoulders. When the yoke is deep enough, you divide it into the body and two sleeves, then continue each one down to the hem and cuffs.
Working top down also lets you try the sweater on as you go. You can check the fit of the yoke, adjust the body length and decide exactly where you’d like the sleeves to end. It’s the most reliable way to make a sweater that truly fits you.
Cables That Grow With the Yoke
The cable panel starts at 20 stitches wide and is worked over 31 rows. At first, it’s a narrow band of crossing cables. As the yoke increases around it, the panel widens, and the crossings stretch into broad, leaf like shapes that spread across the shoulders.
Each crossing is made with post stitches, worked around the stems of the stitches below. Some cross in front and some behind, which creates the raised, woven look that makes crochet cables so striking. The pattern gives every cross a clear name and full instructions, so you always know exactly what to do.
Dividing for the Body and Sleeves
Once the yoke reaches the right depth for your size, you divide it into three parts: the body and two sleeves. You work around the body stitches, chaining a few stitches under each arm to create the underarm, and set the sleeve stitches aside for later.
It’s a satisfying moment, because suddenly your yoke becomes a recognisable sweater. From here, the body continues in simple rounds of half double crochet down to the hem, and each sleeve is worked in rounds down to the cuff. These relaxed rounds are the perfect reward after the focus of the cable yoke.
An Heirloom Sweater Worth Every Stitch
Some projects are quick makes. This one is a keepsake. A cabled pullover you’ve crocheted yourself becomes the sweater you reach for on crisp autumn mornings, cosy winter weekends and every holiday gathering. It’s the kind of handmade piece that lasts for years and often gets passed on.
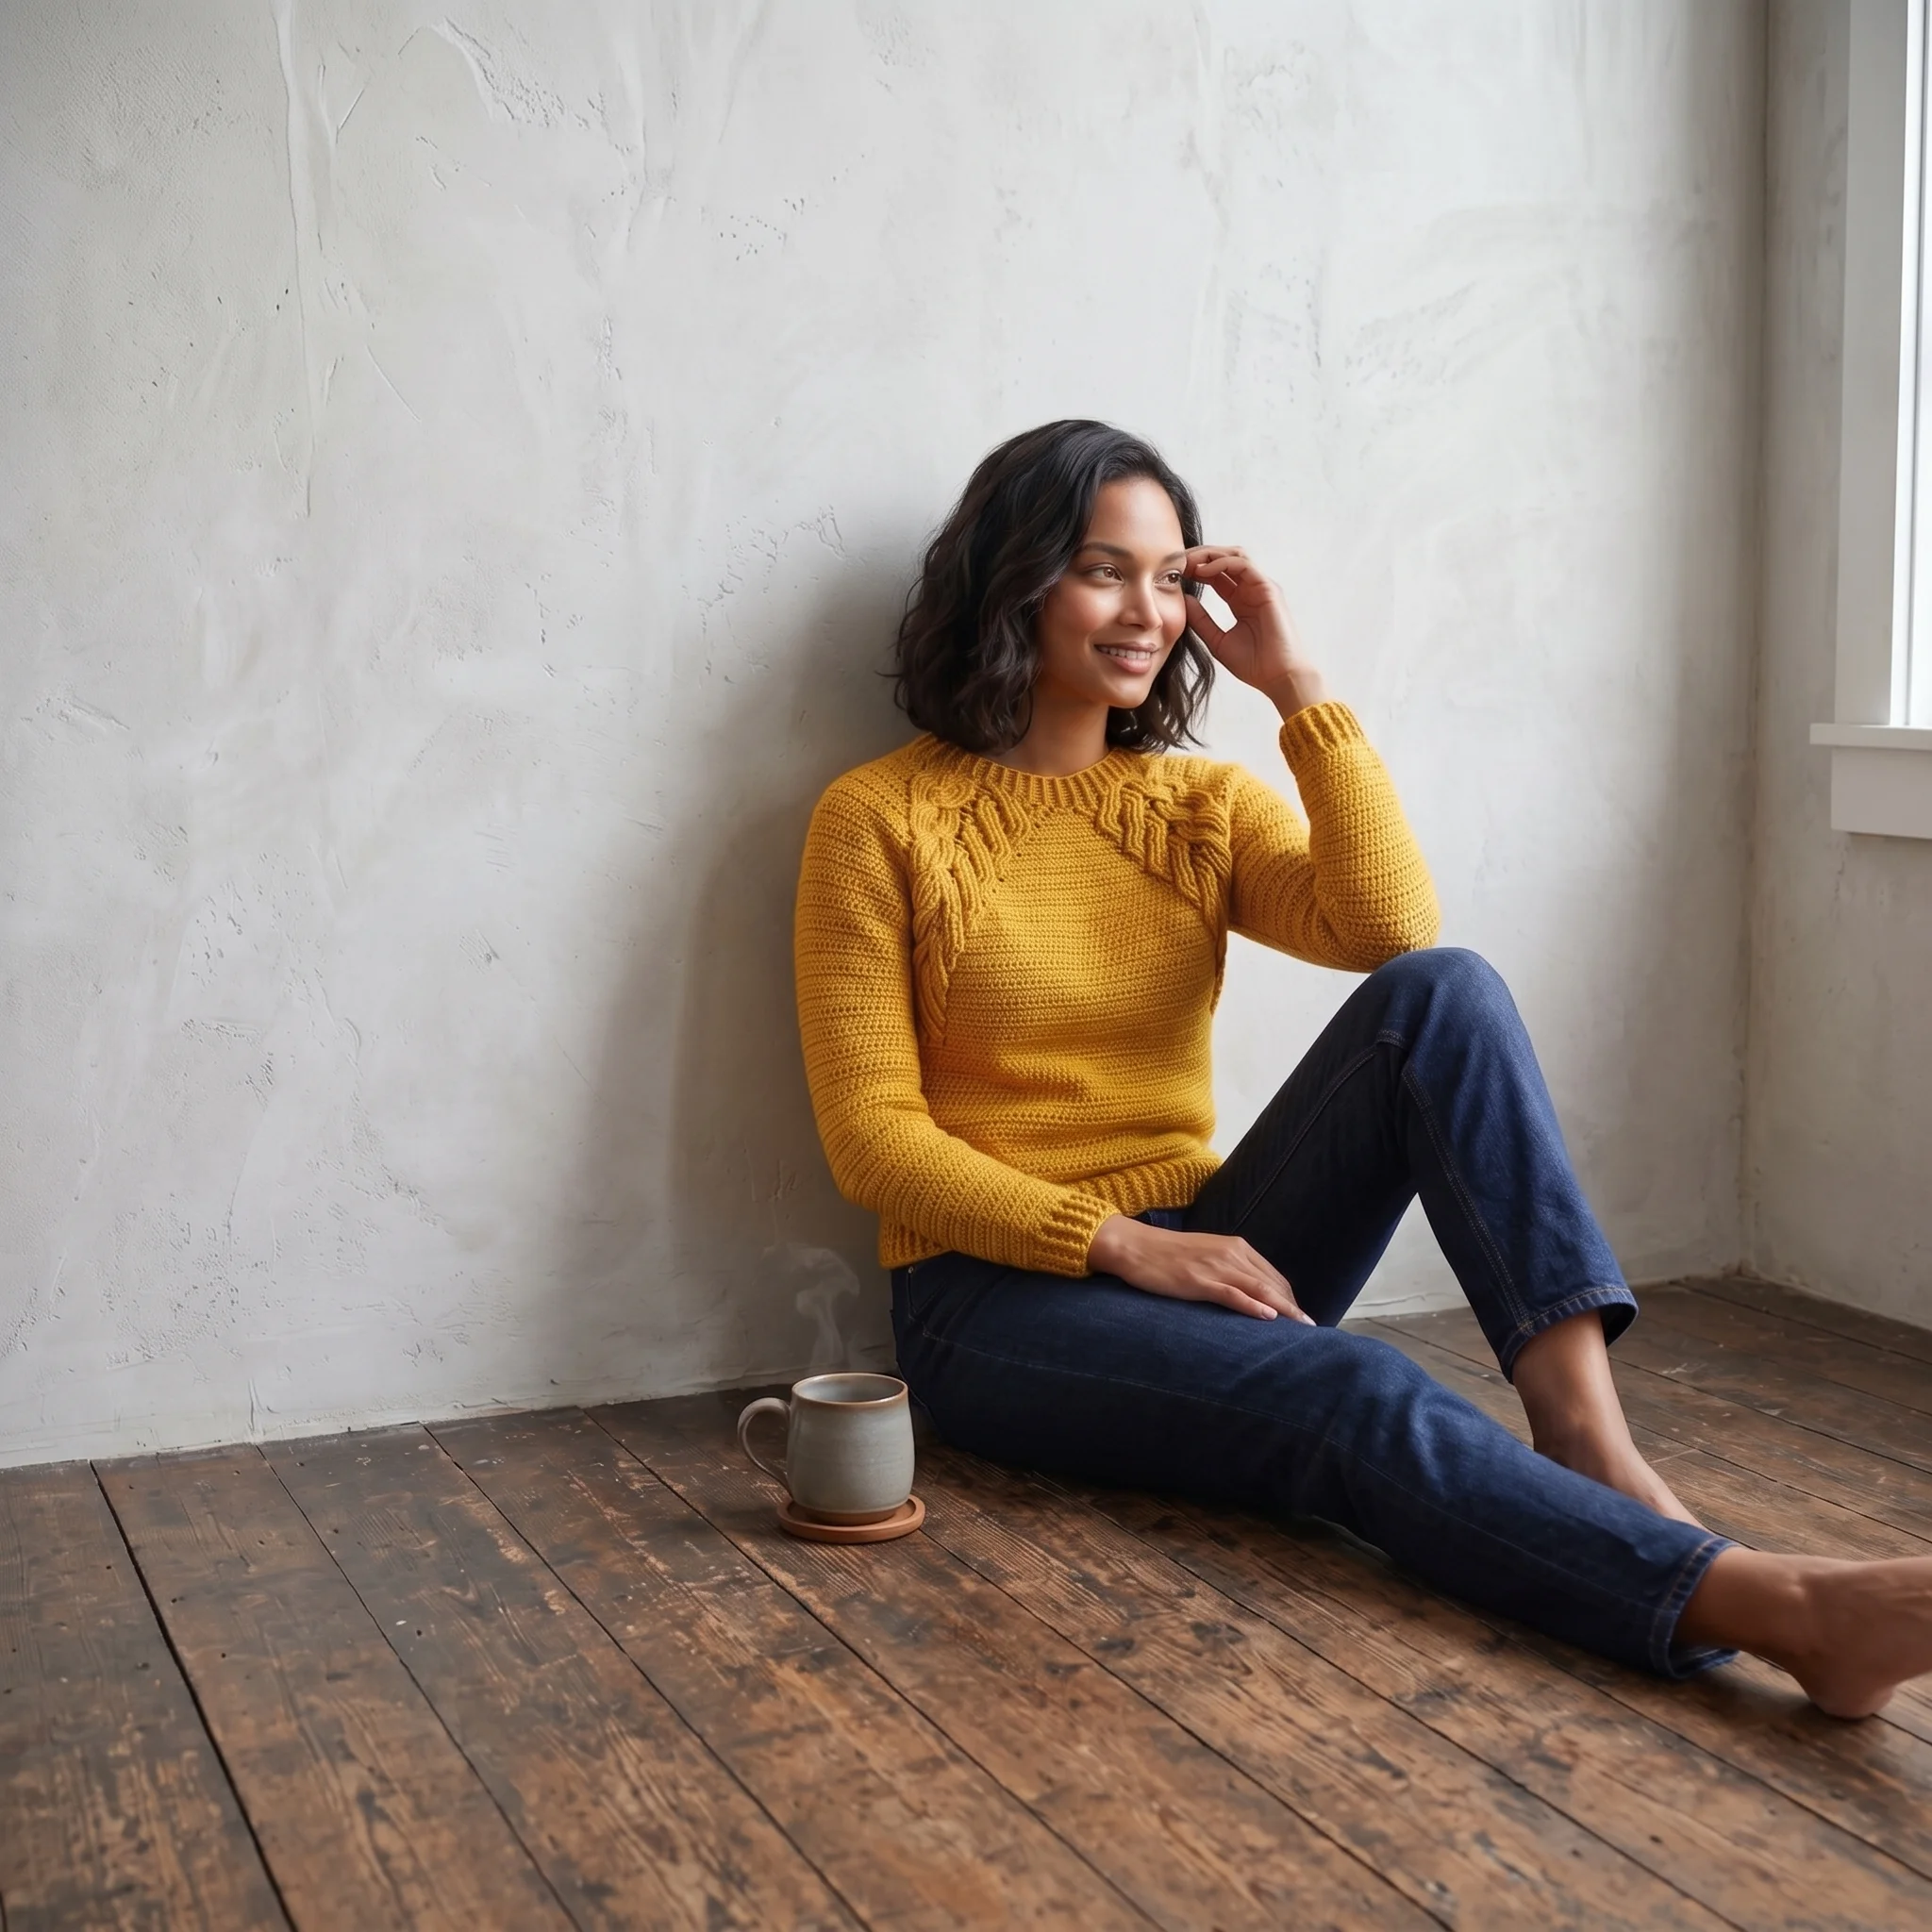
Wear it with jeans for a relaxed look, layer it over a collared shirt for something smarter, or pair it with a long skirt and boots. Want more cosy layers? Try our Crochet Cardigan Pattern or explore our Crochet Sweater Patterns collection.
Why Gauge Matters So Much Here
In a seamless, top down sweater, every stitch count in the yoke depends on your gauge. If your stitches are even slightly larger or smaller than the pattern, the difference adds up across the whole yoke and changes the fit of the neckline, shoulders and body.
Crochet a swatch in half double crochet and block it the way you plan to block the finished sweater before measuring. You’re aiming for 13 stitches and 10 rows over 4 inches. If you have more stitches, go up a hook size. If you have fewer, go down. It’s a small step that makes all the difference.
Is This Pullover Right for You?
This pattern is rated Experienced, and it’s an honest rating. It assumes you’re comfortable with post stitches, following row by row repeats and tracking several stitch counts at once across six sizes.
If you’ve made a sweater before and you’ve enjoyed cables, this is a wonderful next challenge. If you’re newer to garments, our Crochet Cardigan Pattern is a great way to build cable skills first, with a simpler collar panel. Then come back to this pullover when you’re ready for something truly special.
Make It Your Own
Adjust the length to suit your style. Work extra rounds for a longer, tunic style pullover, or fewer for a cropped look that pairs beautifully with high waisted trousers. You can also shorten the sleeves for a three quarter length sweater perfect for spring.
Colour can change the mood completely. A soft cream feels classic and cosy, a deep forest green feels rich and autumnal, and a muted rose feels romantic. Whatever you choose, keep it solid or very lightly heathered so the cables stay the star.
When Something Doesn’t Look Quite Right
If your yoke feels too tight or too loose, check your gauge before going further. It’s much easier to adjust at the top than after the divide. If your cables look flat, make sure you’re working around the post of each stitch, not into its top loops.
If a cable crosses the wrong way, check whether it should sit in front of or behind the work. Front and back crossings create opposite slants, and both are needed for the leaf shape. Once your sweater is finished, a gentle wet or steam block helps the cables settle and the fabric drape beautifully.
Keep Learning
Ready to master the techniques in this sweater? These guides are a great companion: How to Crochet Cables With Post Stitches, How to Block a Crochet Sweater and Why Crochet Gets Wider or Curls.
A Few Tips Before You Start
- Read the whole pattern once before you begin.
- Make and block a gauge swatch first.
- Highlight your size throughout the PDF.
- Keep the quick size reference page beside you.
- Use stitch markers to mark each raglan line.
- Try the sweater on as you go.
Frequently Asked Questions
Pick up your hook and let’s bring your next crochet project to life!