Crochet Bat Pattern Free Halloween Bat Appliqué and Bunting
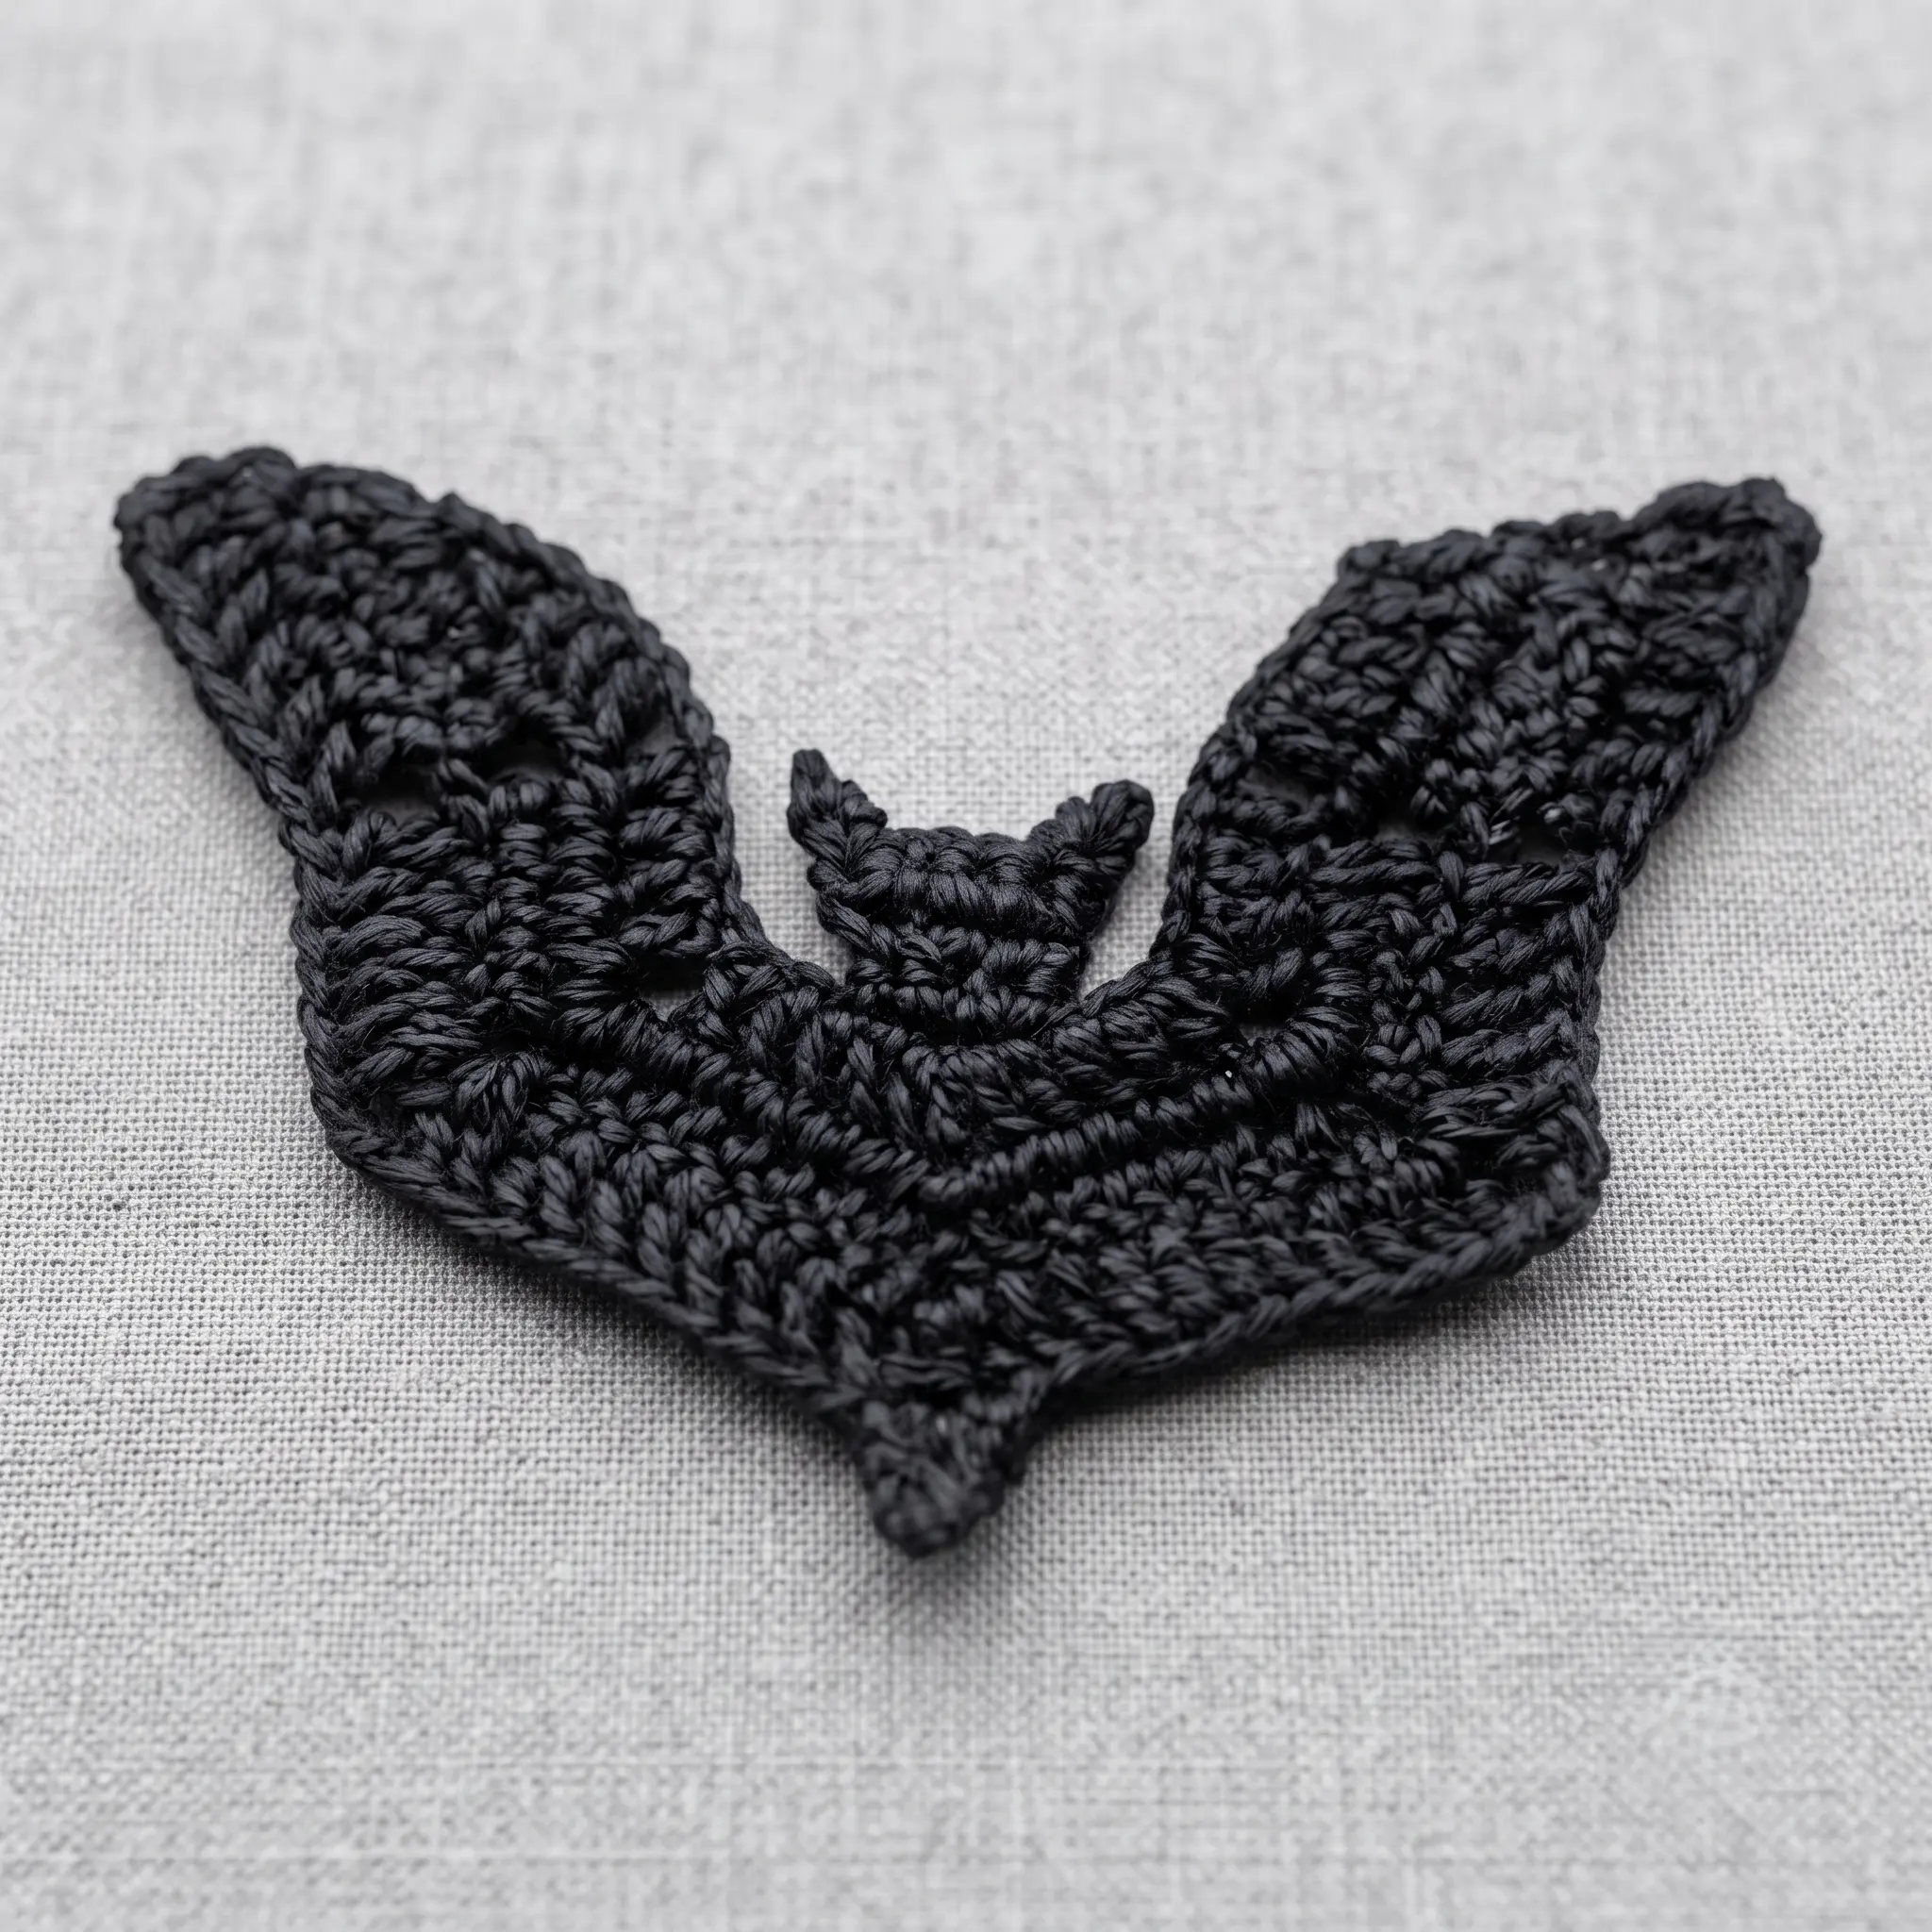
They come out at night, and now they’ll come out of your hook. Our free crochet bat pattern makes a flat Halloween bat with sweeping, wavy wings and two little pointed ears. It takes just three rows for the wings and around 17 yards of yarn, so you can make one in an evening, or a whole flock for a spooky bat bunting that swoops across your mantel.
Why You’ll Love This Crochet Bat
Bats are the unsung heroes of Halloween decor. They’re spooky without being scary, instantly recognisable and they look fantastic in a group. This flat bat captures that classic silhouette beautifully, with dramatic scalloped wings and a cute little head.
The best part is how quickly it comes together. The whole wing shape is built in just three rows, using a simple pattern that works a lot like a ripple or chevron. Then you crochet the head and ears straight onto the top. There are no separate pieces to sew, which makes this one of the fastest Halloween projects you can make.
Because it uses so little yarn, it’s also a brilliant way to use up black scraps. Make a few, join them into bunting, and your home is ready for Halloween. It’s also a lovely last minute project, since a full bunting can be finished in a weekend.
What’s Inside the Free Crochet Bat Pattern
Your PDF download guides you through every step:
- Row by row instructions for the wings, with a centre point marker to keep both sides even
- A simple method for crocheting the head and ears directly onto the wings
- An optional pointed tail at the bottom
- Instructions for joining bats into a garland
- How to add hanging loops at each end of your bunting
- Tips for stiffening your bats for a crisp shape
- US crochet terms throughout
Materials for Your Bat
| Material | Details |
|---|---|
| Yarn | Approx. 17yd (15m) DK or light worsted |
| Crochet hook | 3.5mm (US E/4) |
| Notions | Tapestry needle, optional fabric stiffener |
| Finished size | Approx. 6½ × 4½in (16.5 × 11cm) |
| Gauge | Not important |
| Skill level | Easy |
| Crochet terms | US |
Gauge isn’t important, so any yarn will do. Thicker yarn simply makes a bigger bat. Choose a hook a little smaller than your yarn label suggests to create a firm fabric that keeps the bat sturdy. Black is classic, but deep purple or charcoal bats look wonderfully moody too.
Wavy Wings in Just Three Rows
The wings are the star of this pattern, and they’re surprisingly simple. You start with a chain and work double crochets along it. Between the groups of stitches, you alternate between skipping two stitches and chaining two. That rhythm is what creates the scalloped, wavy edge of the wings.
At the very centre, you work three double crochets into one stitch. Then you repeat the same steps in reverse for the second wing. Because both wings mirror each other, they always come out perfectly symmetrical.
The next two rows add gentle increases to widen and shape the wings. Mark the centre stitch on each row, and you’ll always know where you are. Three rows later, you’ll be holding a full bat wing shape.
The Little Head and Pointed Ears
Next, you add the head right onto the top of the wings. Along the top centre, you’ll see a row of small chain loops. You work a few single crochets into the middle three loops, then build up a few short rows to form the head.
For the ears, you work a single half double crochet at each top corner and fasten off with a knot. Weave the ends down the inside edge and give each ear a gentle pinch, and they’ll stand up in neat little points. It’s a small detail that brings your bat to life.
The Optional Pointed Tail
For a finishing touch, you can add a small point at the bottom centre of the bat. Turn the bat upside down, join your yarn at the centre and work a short decrease that draws the stitches into a neat point. It gives the bat a sleek, classic shape, and it only takes a minute.
Make a Bat Bunting
This is where your bats really shine. Make five to nine bats, place them side by side with their wing tips touching and join them at the corners with a single crochet stitch. Then add a chain loop at each end, and your bunting is ready to hang.
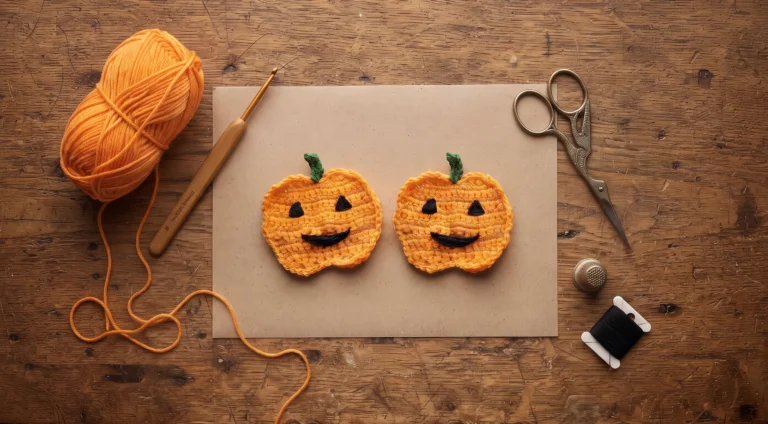
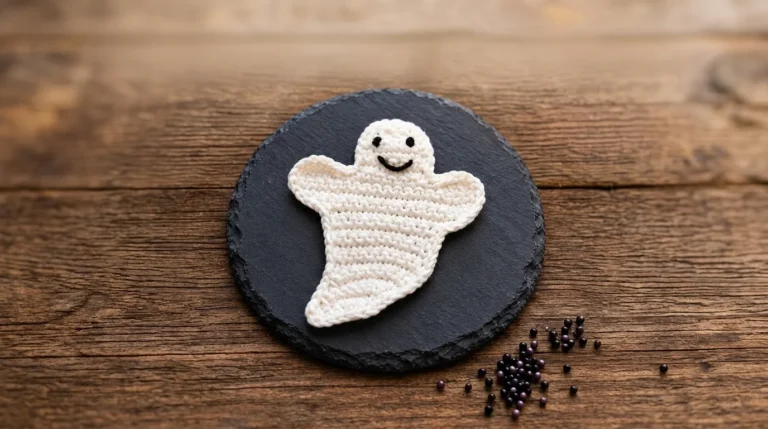
It looks fantastic across a fireplace, along a window or above a doorway. For a full Halloween scene, mix your bats with our Crochet Pumpkin Pattern and Crochet Ghost Pattern. Find even more spooky makes in our Halloween Crochet Patterns collection.

Crocheting With Black Yarn Made Easier
Black yarn is perfect for bats, but it can make stitches harder to see. A few simple habits make a big difference. Work in bright, direct light, ideally from a lamp angled across your work rather than from above. Lay a white towel or a piece of card on your lap so the stitches stand out against a light background.
On the first row, work into the top loop of each chain rather than the back bump. It’s quicker and much easier to spot in dark yarn. Placing a stitch marker in the centre stitch of each row also saves a lot of counting. And if your eyes get tired, take a short break. Dark yarn is much easier to read after a pause.
Stiffening Your Bats
For a crisp, flat bat that holds its shape, use a little fabric stiffener. Pin the bat flat, apply the stiffener and let it dry completely. The wings stay open and the ears stand proud.
Making a garland? Join your bats first, then stiffen the whole bunting at once. It saves time, and the joined bats dry together in a neat, even line.
More Ways to Use Your Bats
These little bats are perfect for all kinds of Halloween fun. Sew one onto a hat, a tote bag or a child’s costume. Add a hanging loop to make ornaments for a Halloween tree. Glue a magnet to the back for a fridge decoration, or attach a clip to turn it into a spooky hair accessory.
They also make wonderful gift toppers for trick or treat bags and party favours for Halloween guests.
Is This Bat Right for You?
The pattern is rated Easy. If you can chain, work a double crochet and count stitches, you can make it. The ripple style wing pattern is explained clearly, and marking the centre stitch on each row keeps everything balanced.
It’s a great quick project for beginners and a fun, satisfying make for experienced crocheters who want lots of decorations fast. Once you’ve made one, the rest will fly off your hook.
Make It Your Own
Try a glow in the dark yarn for bats that light up at night, or a sparkly black yarn for a touch of glamour. Purple, grey and even white bats look striking mixed together on a garland.
You can also change the size. A worsted yarn with a slightly larger hook makes a bigger bat for a wall display, while a fine cotton makes a tiny bat perfect for earrings or cards.
When Something Doesn’t Look Quite Right
If your wings look uneven, check that you’ve marked the centre stitch and that each side has the same number of stitches. Symmetry is the key to a great bat. If the wings curl, block and stiffen the bat flat.
If the ears don’t stand up, pinch them firmly and weave the yarn ends down the inside edge to help hold the point. Working in the top loop of each chain on the first row also makes the foundation easier to see, especially in black yarn.
Keep Learning
Building your Halloween crochet skills? These guides pair perfectly with this pattern: How to Block and Stiffen Crochet, How to Change Colours in Crochet and How to Sell Crochet at Craft Fairs.
A Few Tips Before You Start
- Use a hook slightly smaller than your yarn suggests.
- Mark the centre stitch on every wing row.
- Work into the top loop of each chain on Row 1 for easier stitching.
- Pinch the ears into points as you weave in the ends.
- Join bats before stiffening if you’re making a garland.
Frequently Asked Questions

Pick up your hook and let’s bring your next crochet project to life!