Crochet Ghost Pattern Free Cute Flat Halloween Ghost Appliqué
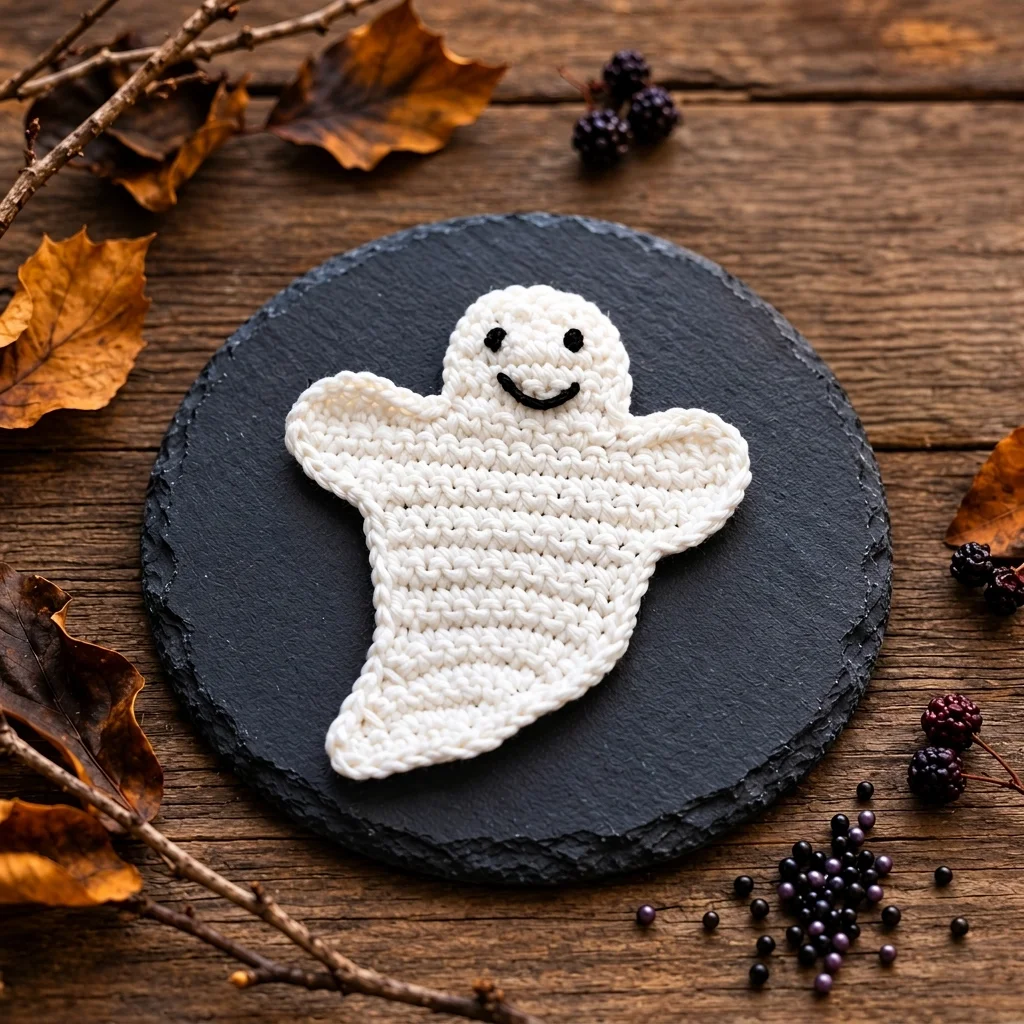
Boo! Just kidding, this one only wants to wave hello. Our free crochet ghost pattern makes a flat Halloween ghost with little arms raised mid wave, a swishy curved tail and your choice of two faces: sweet and cute, or classic spooky. It’s quick to make, endlessly charming and the perfect friend for a Halloween garland.
Why You’ll Love This Crochet Ghost
Ghosts are the friendliest part of Halloween, and this one has bags of personality. With its arms out in a playful wave and a tail that swishes to one side, it looks like it’s floating right across your wall.
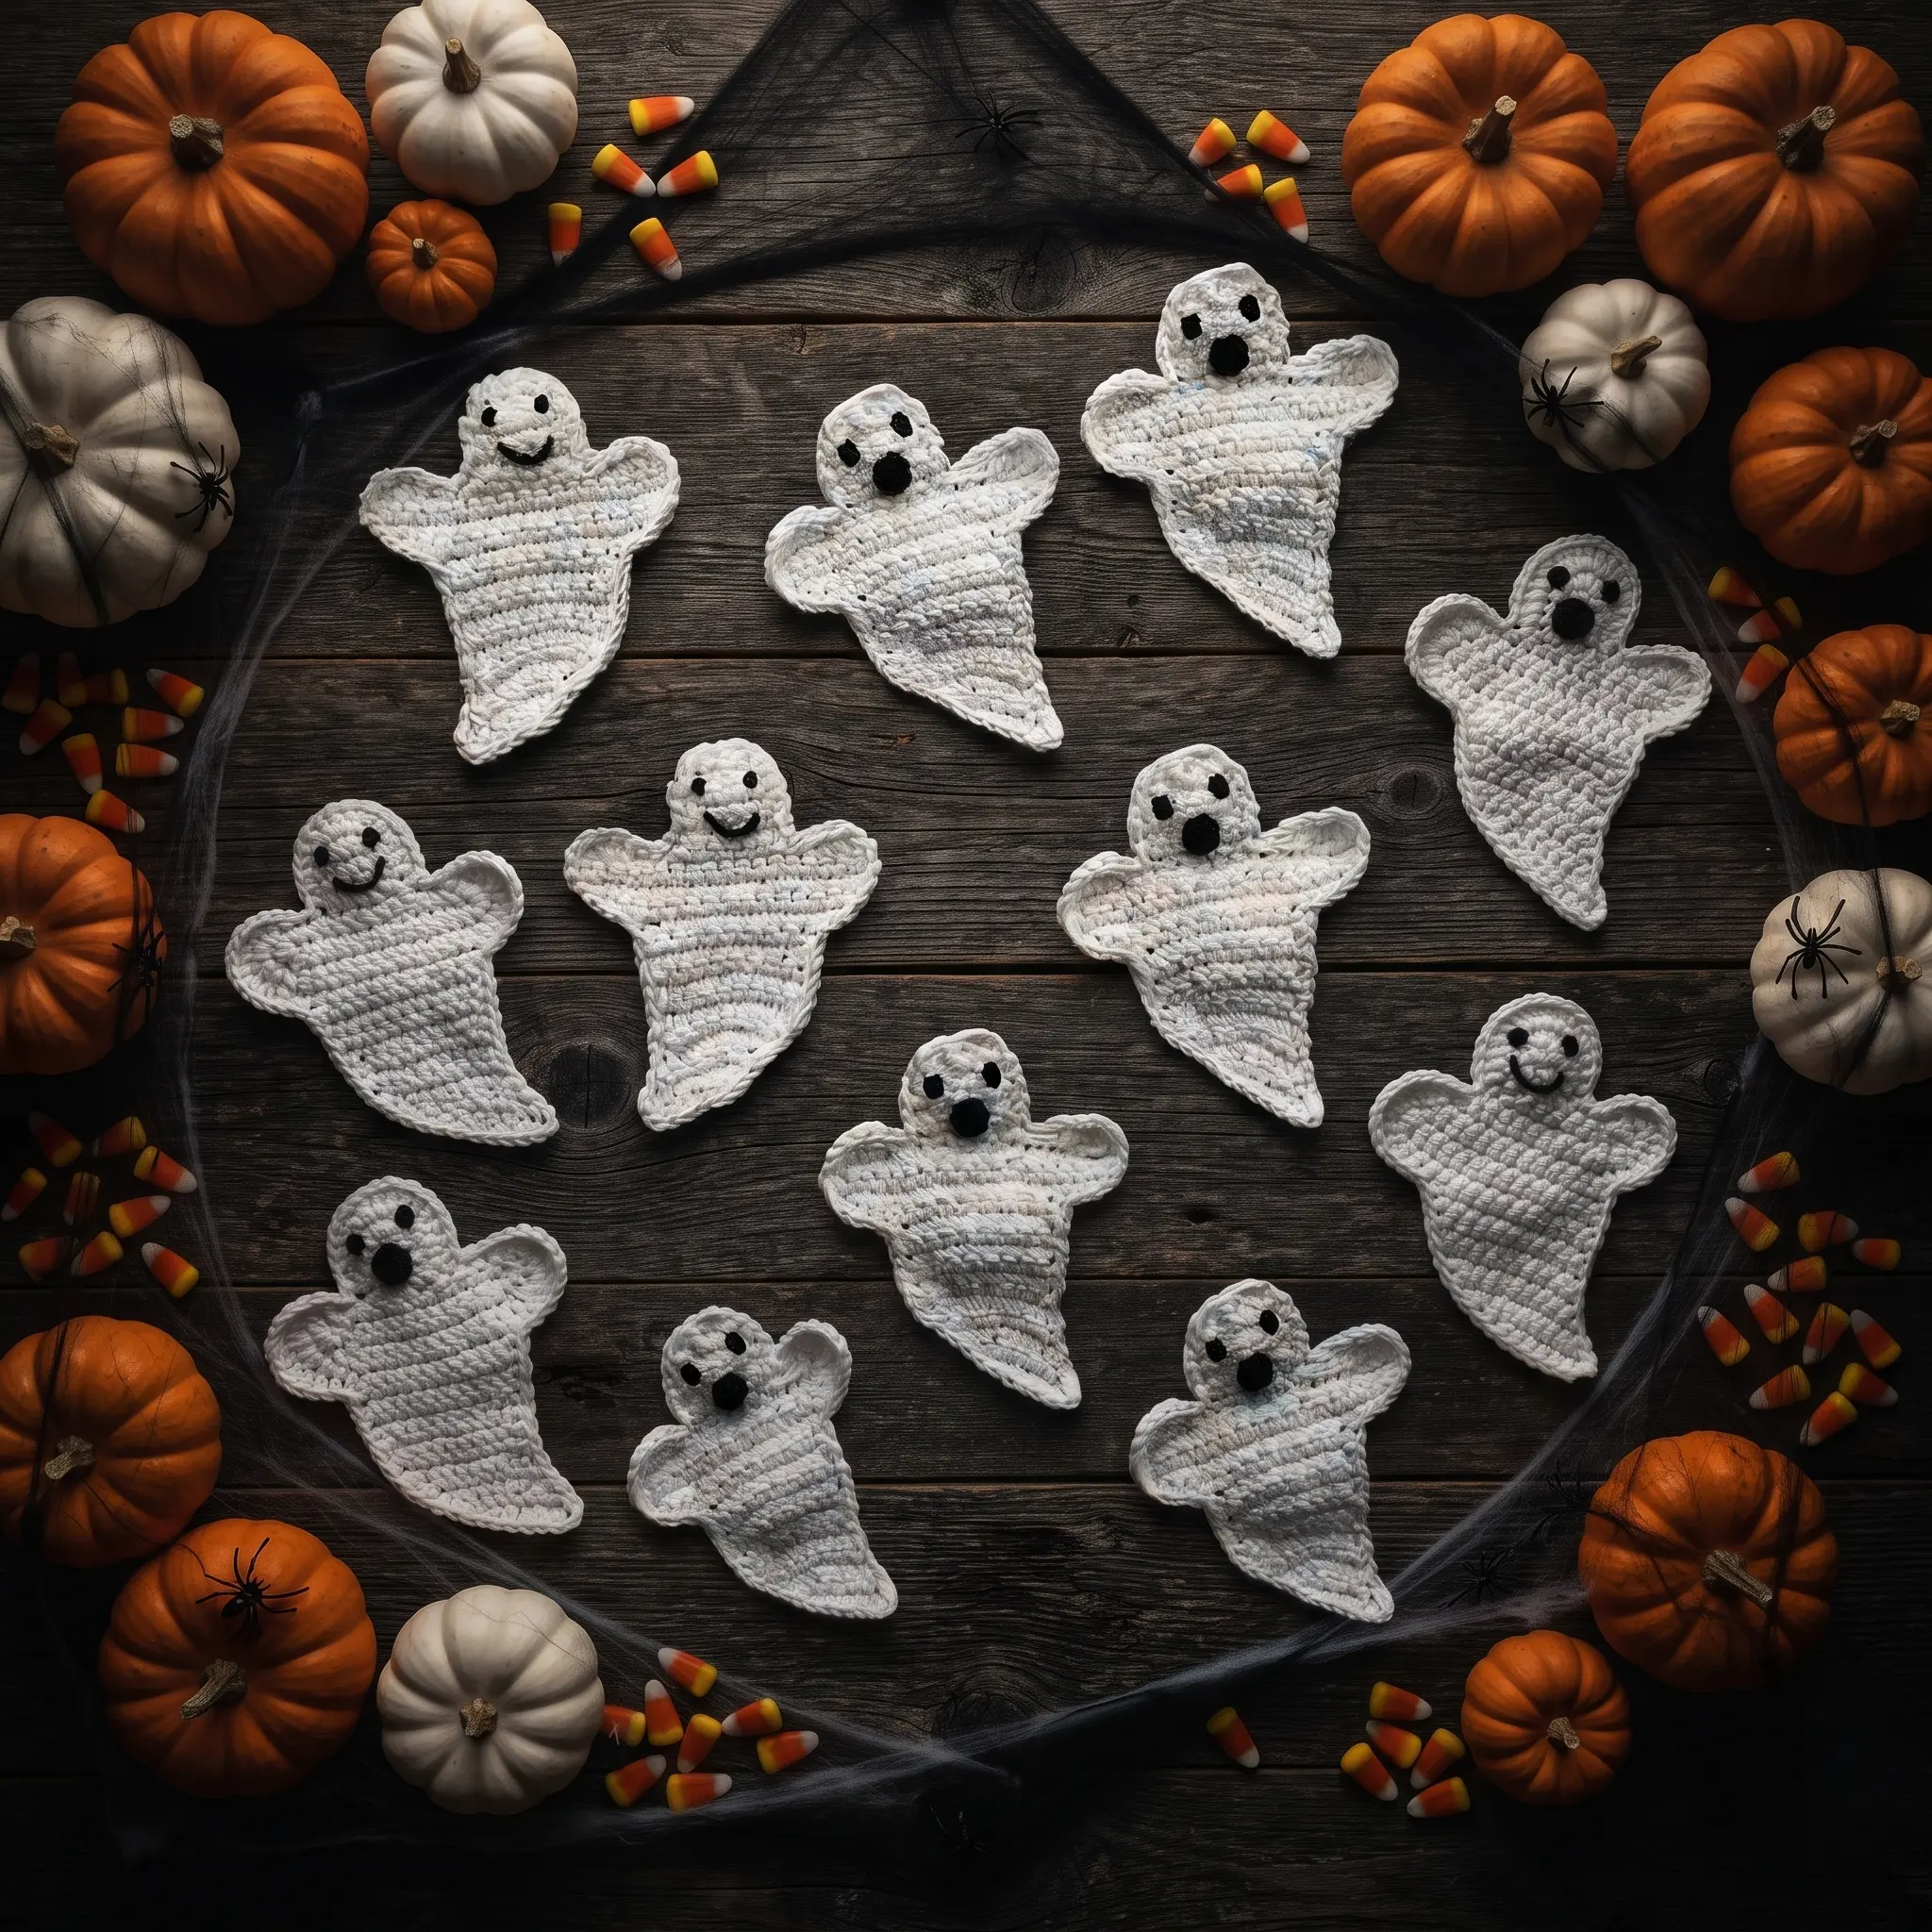
The two face options make it extra fun. Choose French knot eyes and a little smile for a cute ghost that children adore, or stitched eyes and a wide open mouth for a more classic spooky look. Make a garland that mixes both, and every ghost has its own mood.
It’s flat, quick and uses only a little white yarn, so it’s perfect for making in multiples. Hang one on a door, string a few into bunting or sew one onto a Halloween tote. It’s an easy way to fill your home with festive cheer, and it’s just as lovely as a last minute make in late October.
What’s Inside the Free Crochet Ghost Pattern
Your PDF download guides you from first chain to finished ghost:
- Row by row instructions for the body, arms, head and tail
- Instructions for making the tail swish left or right
- An optional slip stitch outline for a crisp finish
- Two embroidered face options, cute and spooky
- Stiffening tips for a firm decoration
- Instructions for joining ghosts into a garland
- US crochet terms throughout
Materials for Your Ghost
| Material | Details |
|---|---|
| Yarn | White DK |
| Face | Black yarn or embroidery floss |
| Crochet hook | 3.5mm (US E/4) |
| Notions | Embroidery needle, optional light fabric stiffener |
| Finished size | Approx. 4¼ × 5½in (11 × 14cm) |
| Gauge | Not important |
| Skill level | Easy |
| Crochet terms | US |
Gauge isn’t important, so you can use any yarn weight. A thicker yarn simply makes a bigger ghost. Choose a hook a little smaller than your yarn suggests, so the fabric is firm and the shape stays crisp. Bright white is classic, while cream, pale grey or a glow in the dark yarn make wonderfully eerie ghosts.
How Your Ghost Takes Shape
Your ghost is worked in rows from the bottom up. You start with a short chain and a few rows of single crochet, then increase to widen the lower body. A few straight rows build the middle, giving the ghost its floating, flowing form.
Next come the arms. By adding a few extra chains and increasing stitches at the sides, the ghost’s arms stretch outward in a friendly wave. Then the pattern moves into the head, using a mix of single, half double and double crochet with slip stitches to create a smooth, rounded top. Final shaping tapers the head neatly.
The Swishy Curved Tail
The curved tail gives your ghost movement, as if it’s drifting through the air. By default, the tail points to the right, but the pattern also shows you how to reverse it so the tail points to the left.
That small option makes a big difference on a garland. Alternate left and right facing ghosts, and they look like they’re floating towards each other. You can also add an optional slip stitch outline around the whole ghost for a cleaner, more defined edge that really makes the shape pop.
Two Faces, Cute or Spooky
The face is where your ghost’s personality comes through.
The cute face uses French knot eyes and a simple embroidered smile. It’s soft and sweet, perfect for nurseries, classrooms and little ones who prefer friendly Halloween decorations.
The spooky face uses short stitched eyes and a larger open mouth for that classic “oooOOOooo” ghost look. It’s still fun rather than frightening, and it’s great for older kids and Halloween parties.
Try making a set with both. Alternating faces along a garland gives each ghost its own character and makes the display much more playful.
A Gentle Halloween for Little Ones
Not every child loves scary decorations, and that’s where this ghost shines. With the cute face option, it becomes a friendly, smiling character rather than something spooky. It’s a lovely way to bring Halloween into a nursery, a classroom or a home with young children who prefer their ghosts sweet.
Some families even give each child their own ghost to name and hang on their bedroom door. Because the ghosts are soft and flat, they’re safe and gentle decorations, though as with any handmade item, keep small loose parts away from babies and toddlers.
Make a Ghost Garland
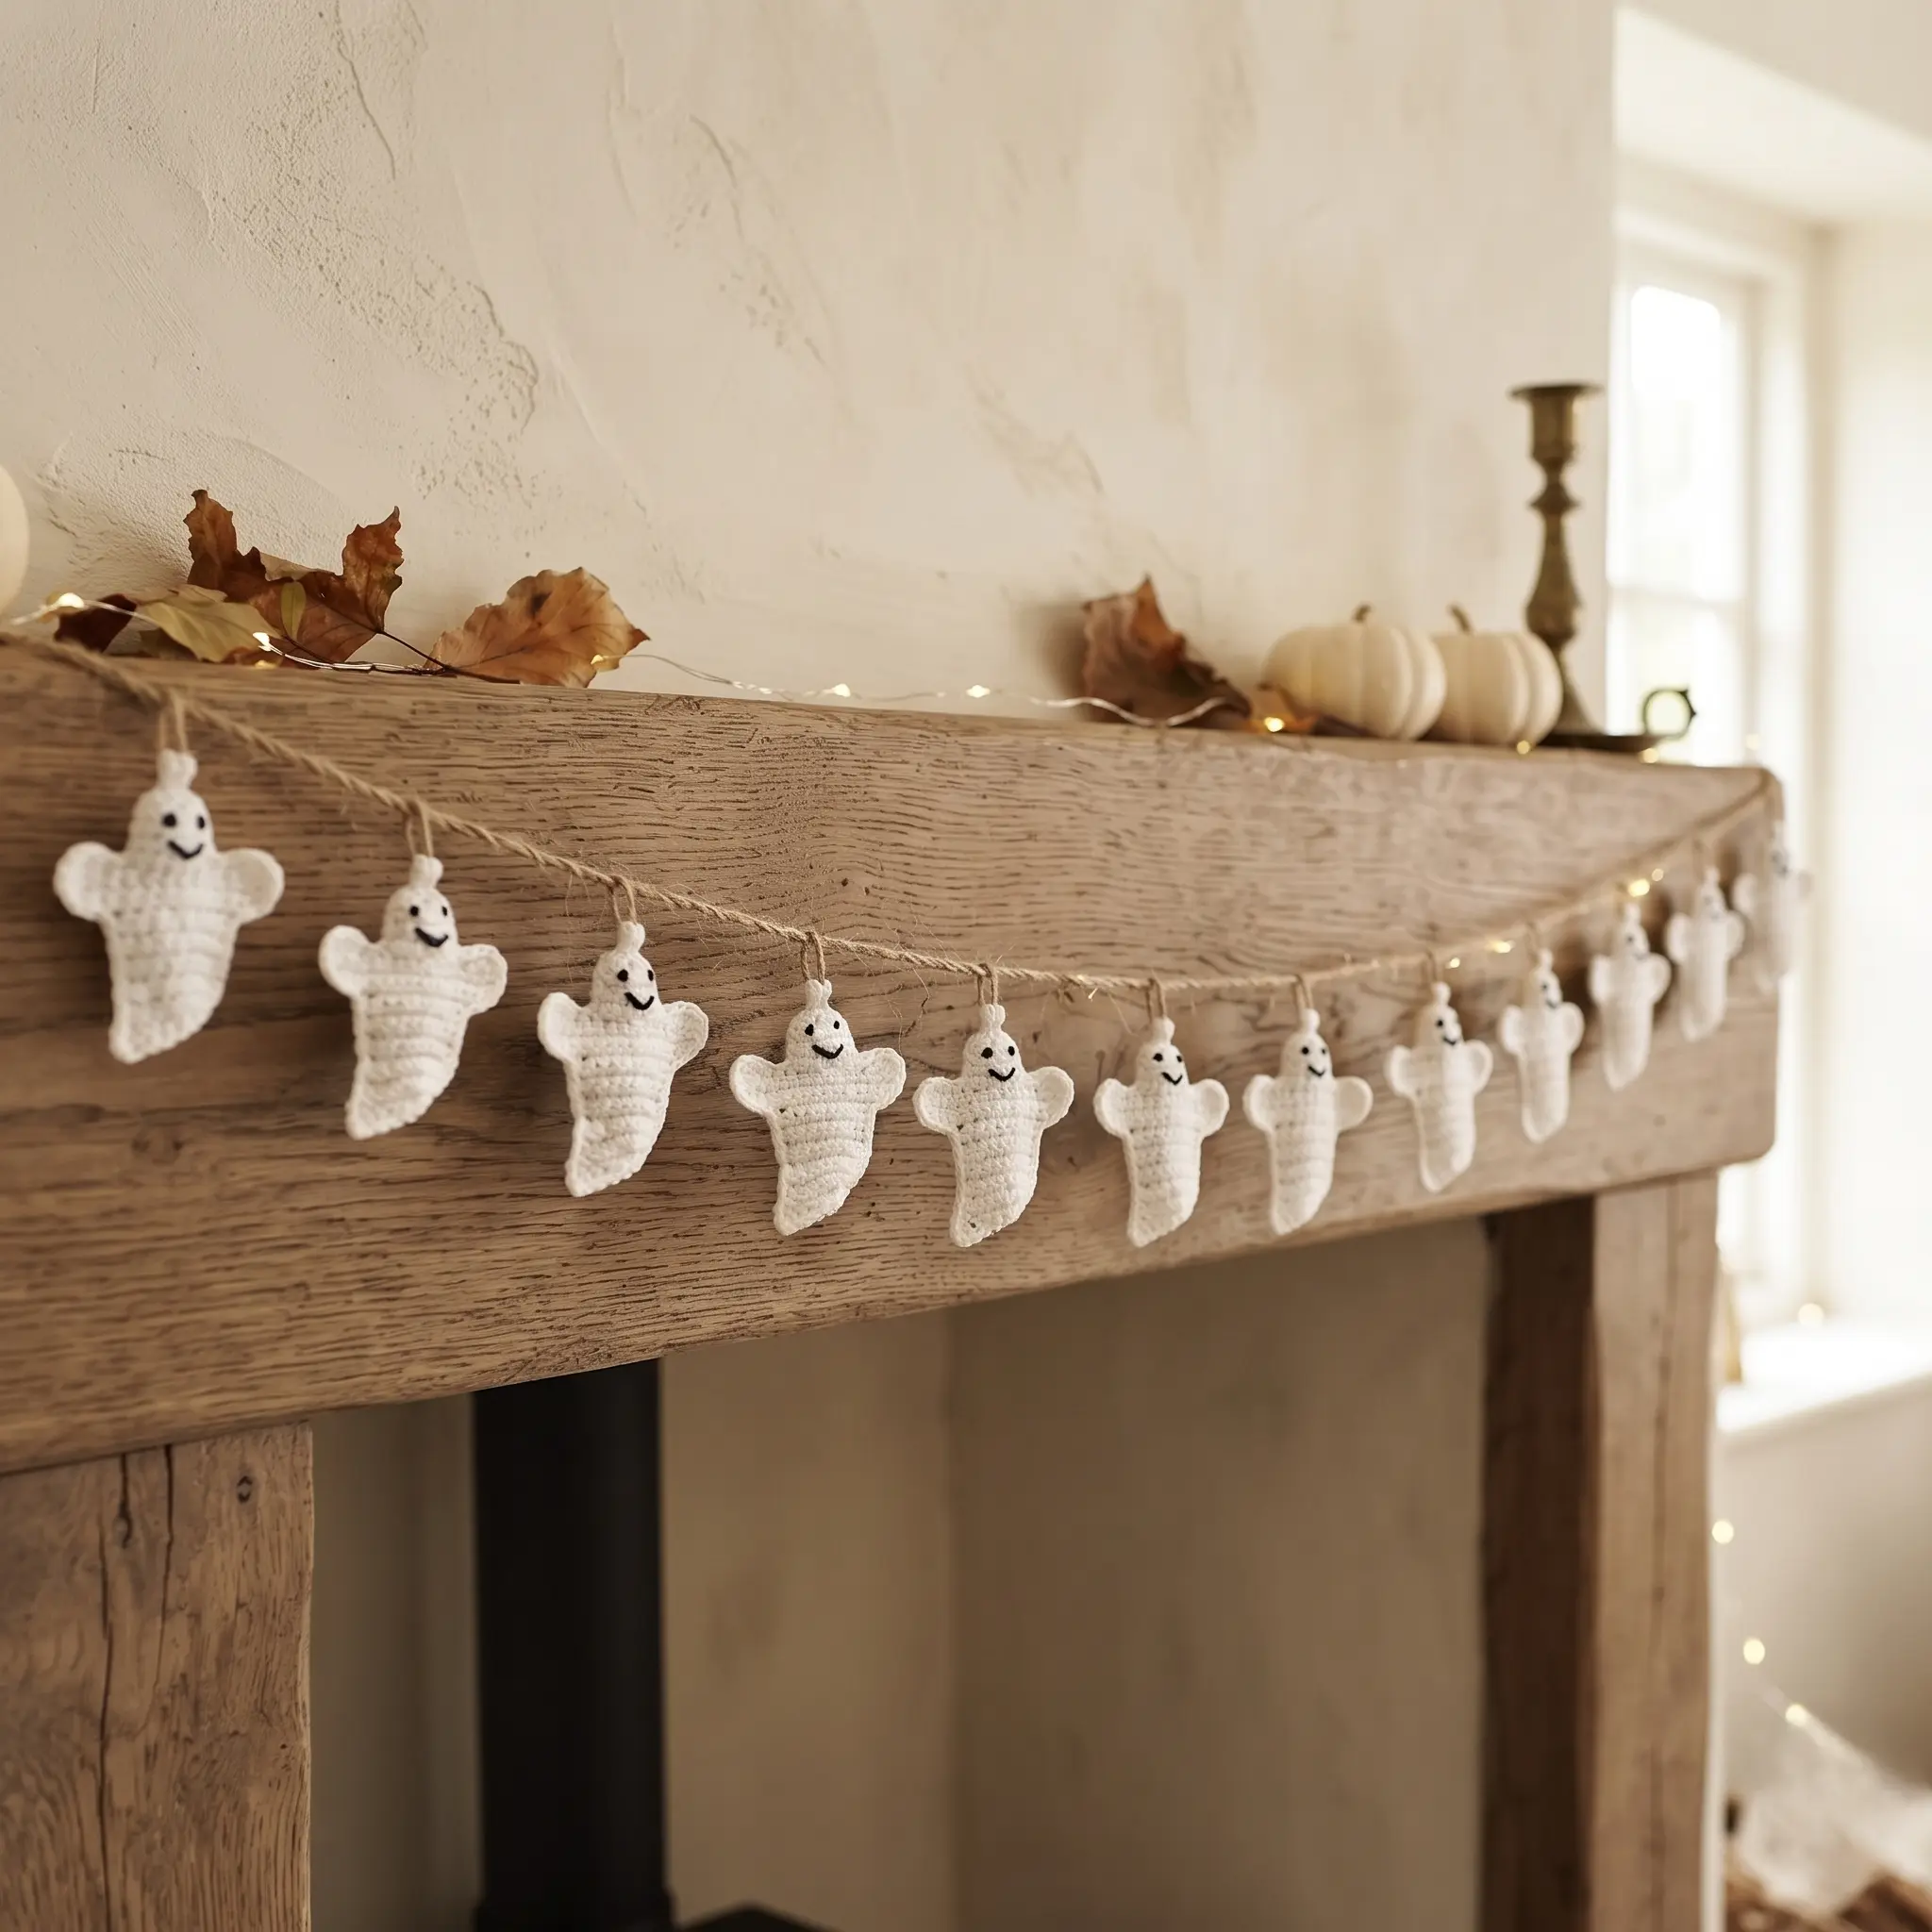
String your ghosts together for a garland that floats across a mantel, a window or a doorway. The pattern shows you how to attach each ghost to a crochet chain, chaining across the top of each motif to create a gentle swag between them.
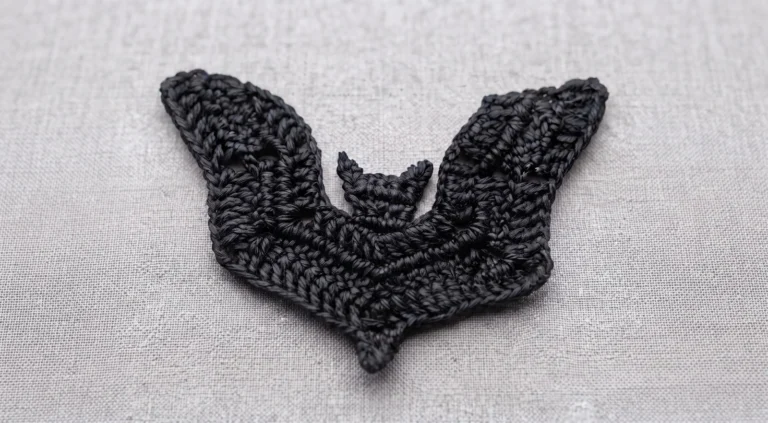
For a full Halloween scene, mix your ghosts with our Crochet Bat Pattern and Crochet Pumpkin Pattern. You’ll find even more spooky makes in our Halloween Crochet Patterns collection.
Stiffening Your Ghost
You can leave your ghost soft, which is lovely for sewing onto projects. For a decoration that hangs flat and keeps its shape, add a little light fabric stiffener. Pin the ghost flat, apply the stiffener and let it dry completely. The arms and tail stay neatly in place, and your ghost is ready for years of Halloween fun.
If you’re making a garland, join your ghosts first, then stiffen the whole garland at once. It saves time and keeps everything aligned.
More Ways to Use Your Ghosts
These ghosts are wonderfully versatile. Sew one onto a trick or treat bag, a hat or a child’s costume. Add a hanging loop for a Halloween tree ornament, or glue a magnet on the back for the fridge. They also make sweet gift toppers and party favours.
For a cosy touch, stitch a few ghosts onto a cushion cover or a small throw blanket. They’ll add a playful hint of Halloween to your sofa all October long.
Is This Ghost Right for You?
The pattern is rated Easy. If you can work single crochet, increases and simple shaping, you can make it. The embroidered faces are simple, and the French knots are a great skill to learn if you haven’t tried them before.
It’s a perfect quick project for beginners and a fun, satisfying make for experienced crocheters who want lots of decorations fast. Once you’ve made one, you’ll want a whole haunted family.
Make It Your Own
Change the colour for a whole new look. A pale lilac or soft green ghost feels whimsical, while a silvery grey ghost looks wonderfully eerie. Glow in the dark yarn creates a show stopping garland that comes alive when the lights go out.
You can also add little accessories. Stitch a tiny bow onto a ghost’s head, add a small witch’s hat, or embroider rosy cheeks for an extra cute look.
When Something Doesn’t Look Quite Right
If your ghost looks lopsided, count your stitches at the end of each row, especially through the arm shaping. If the edges curl, add the optional slip stitch outline and block the ghost flat.
If your face looks off centre, mark the eye positions with pins before stitching. And if your French knots keep unravelling, wrap the yarn around the needle two or three times and hold the tension until the knot is pulled through.
Keep Learning
Building your Halloween crochet skills? These guides pair perfectly with this pattern: How to Block and Stiffen Crochet, How to Change Colours in Crochet and How to Sell Crochet at Craft Fairs.
More Halloween Makes to Love
Visit the Variatee shop on Etsy for more spooky designs
A Few Tips Before You Start
- Use a hook slightly smaller than your yarn suggests.
- Count stitches carefully through the arm shaping.
- Decide which way you want the tail to face before you start.
- Mark the face positions with pins before embroidering.
- Join ghosts before stiffening if you’re making a garland.
Frequently Asked Questions
Pick up your hook and let’s bring your next crochet project to life!