Crochet Turtle Pattern Free Tiny Amigurumi Sea Turtle
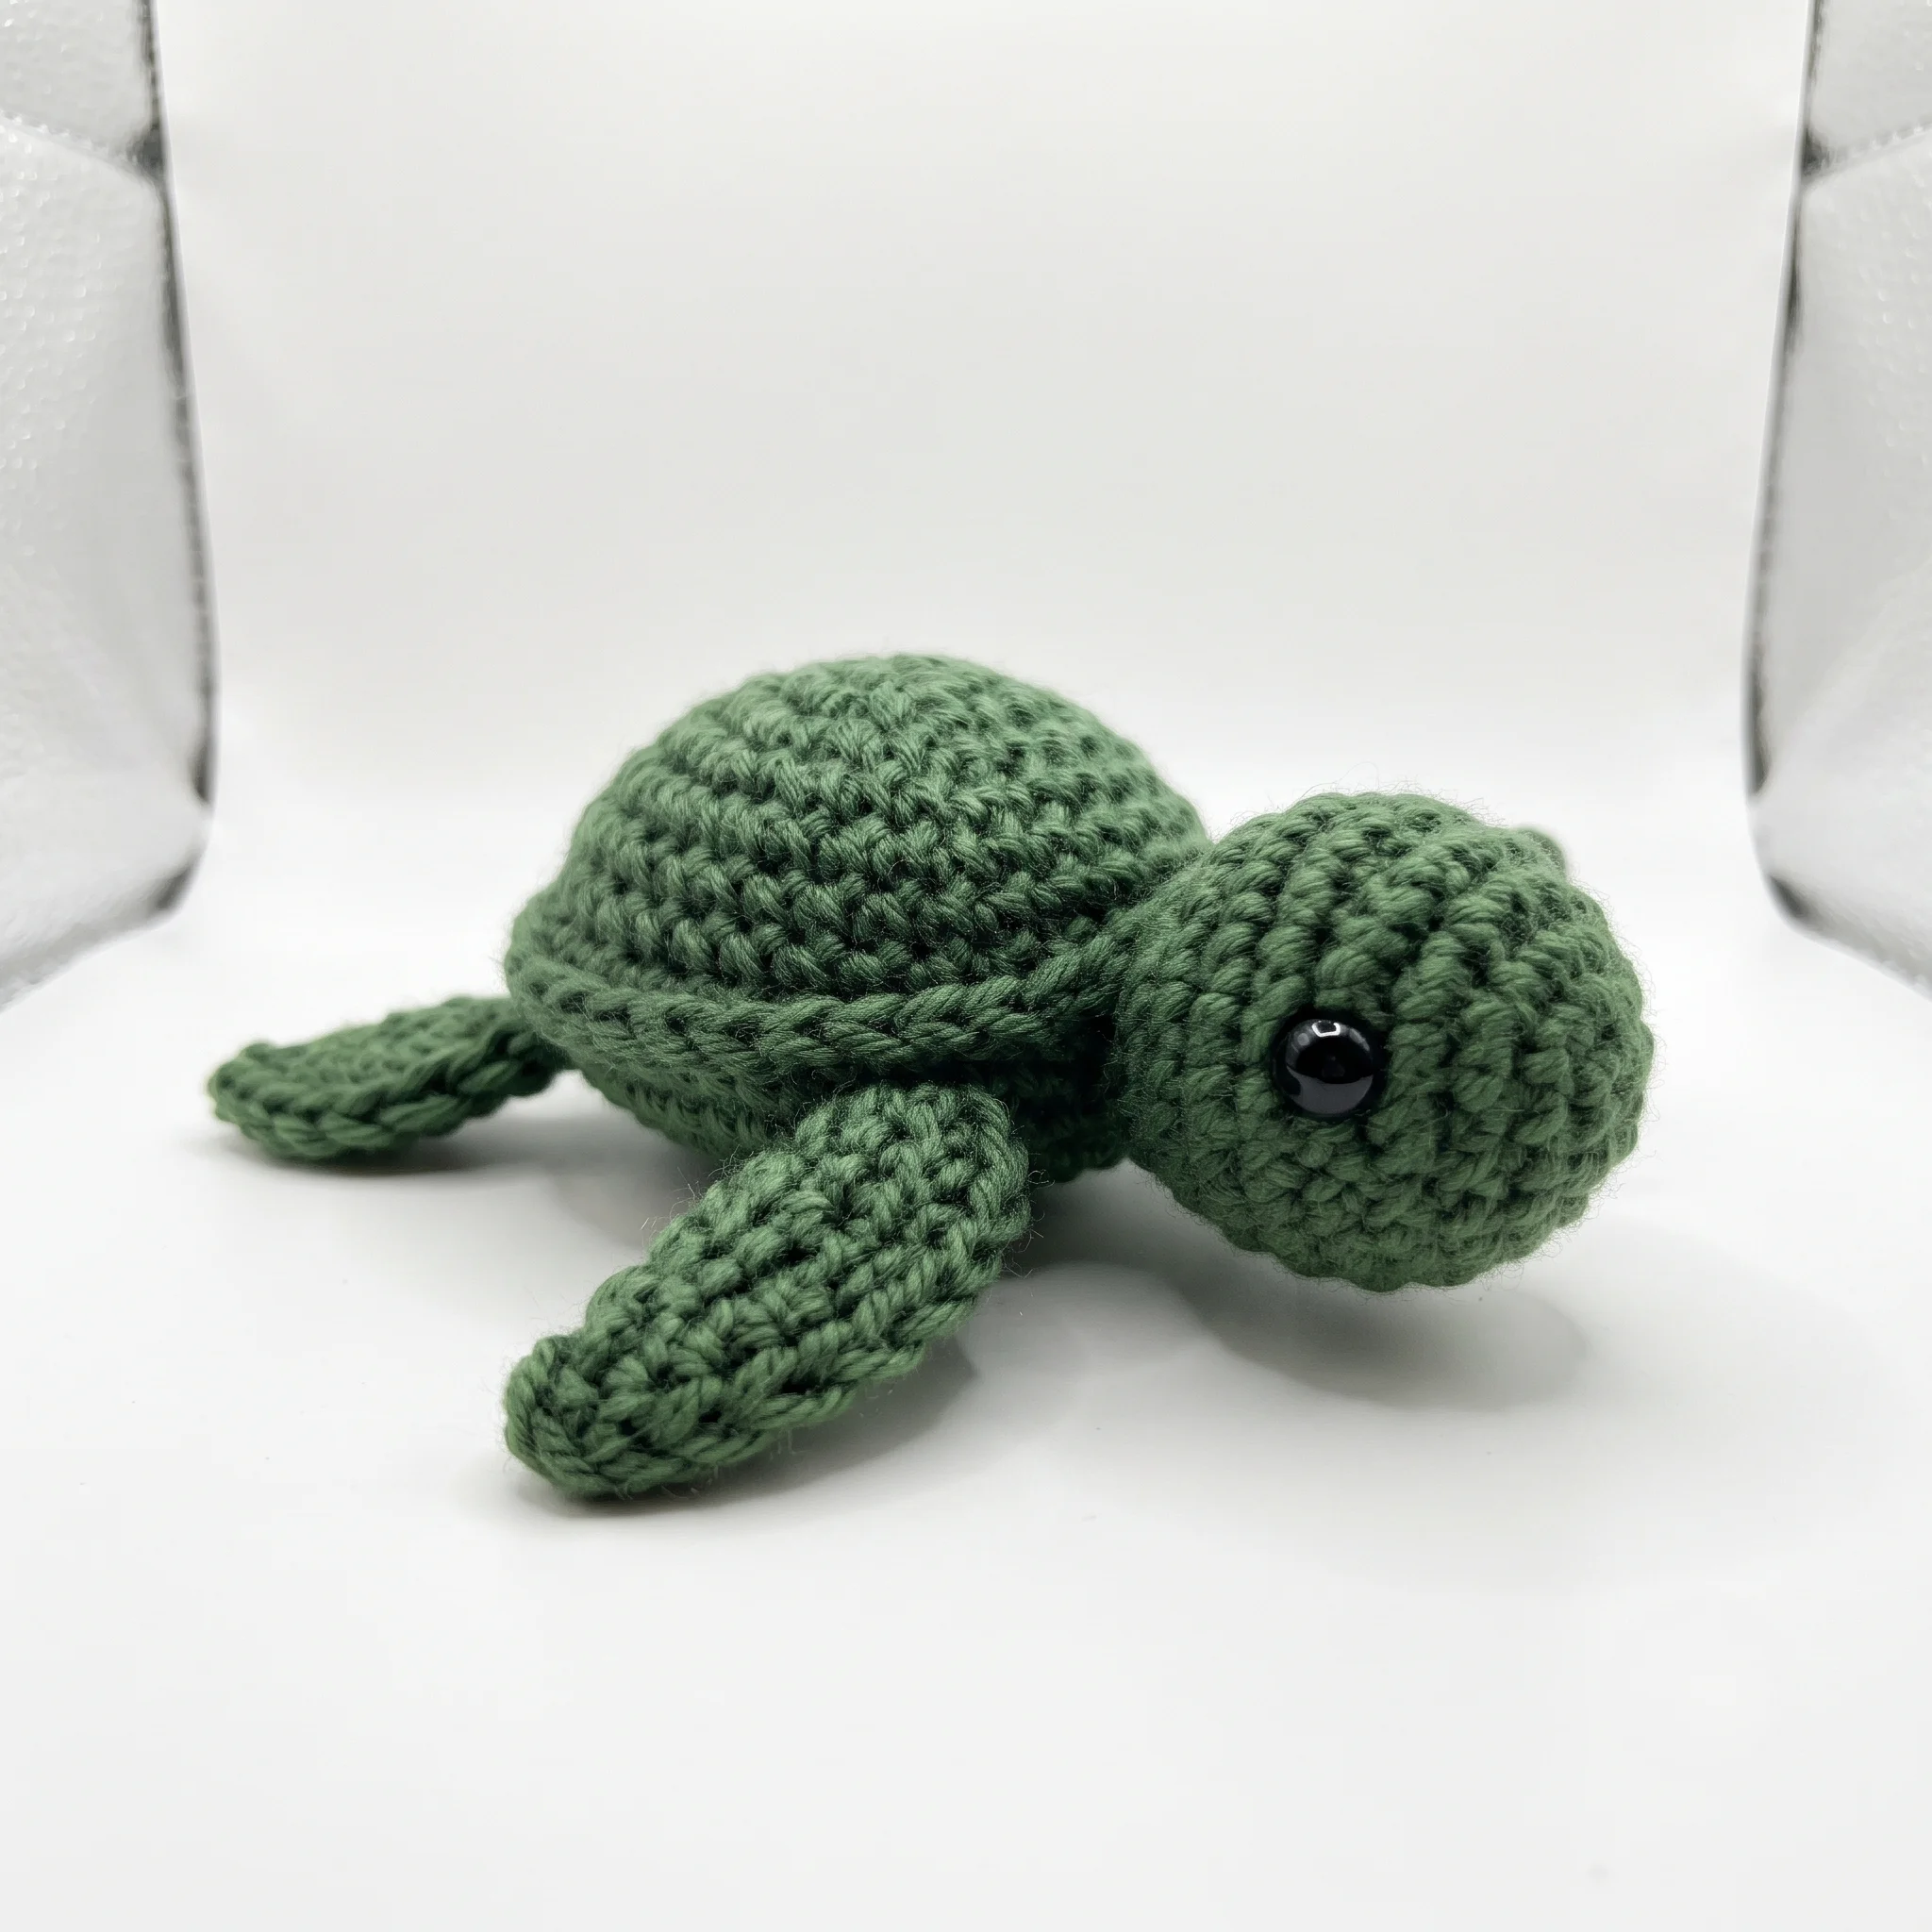
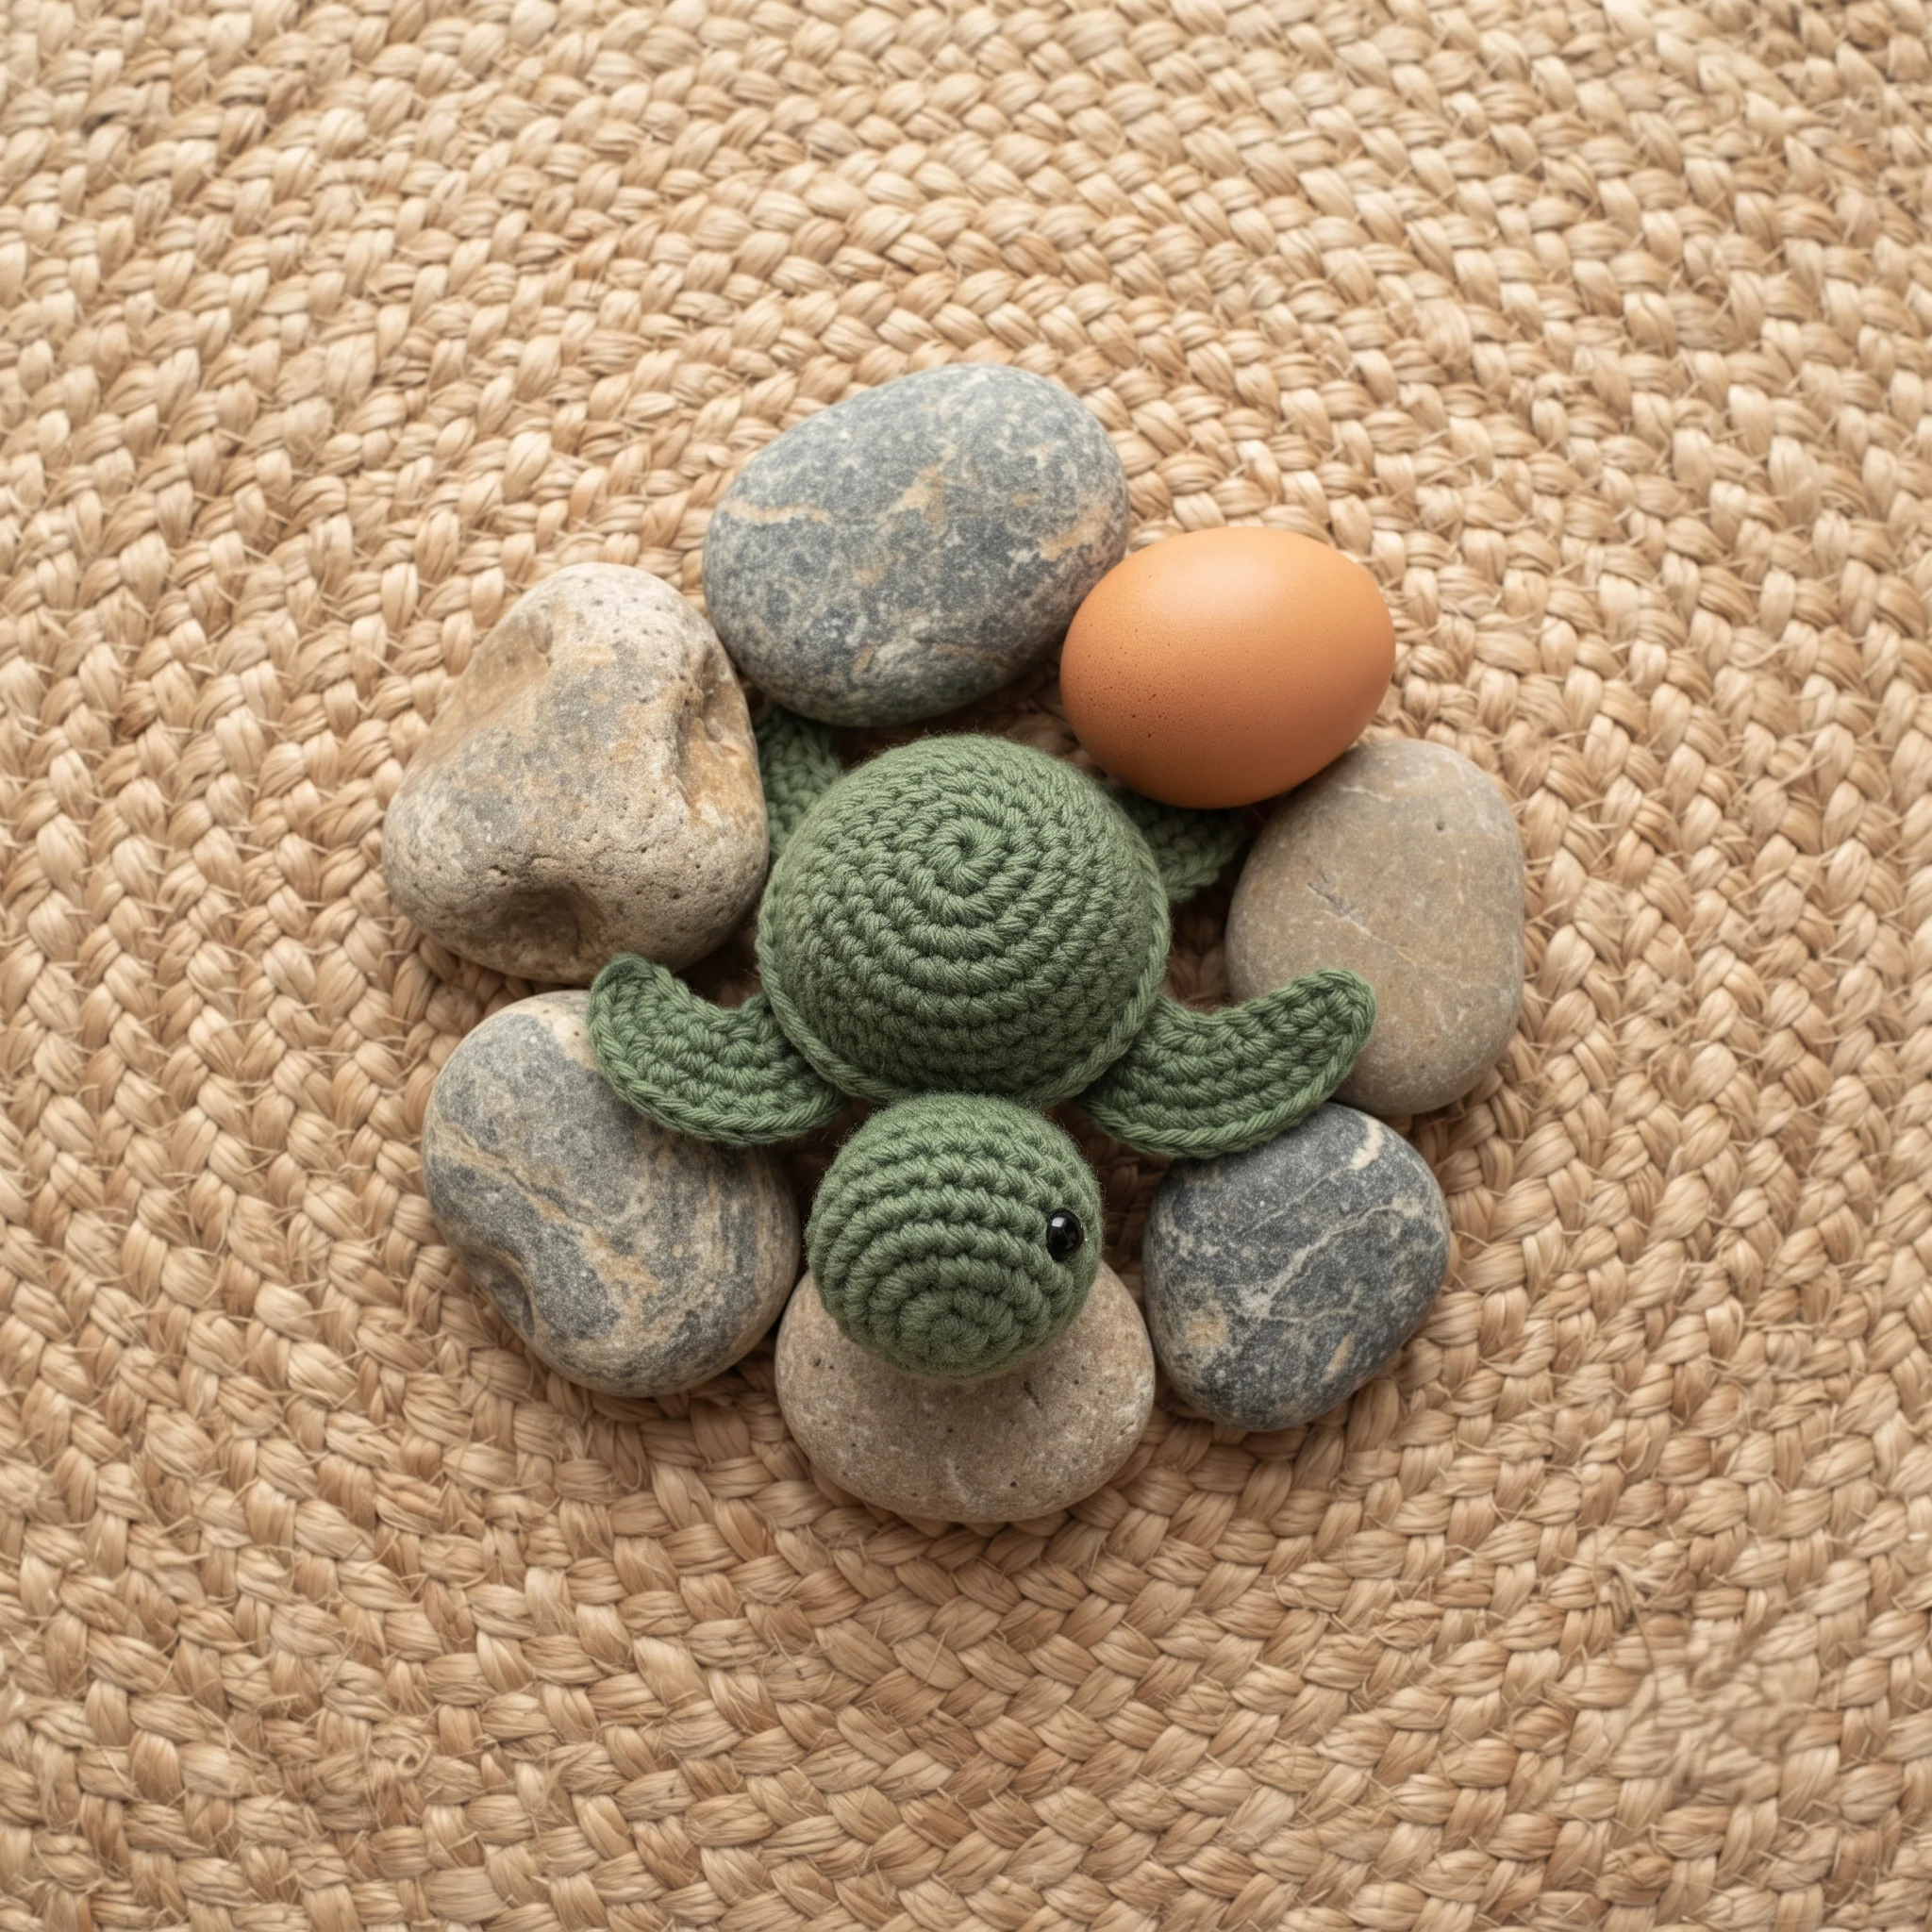
Small enough to sit on your fingertip, sweet enough to steal your heart. Our free crochet turtle pattern makes a tiny amigurumi sea turtle just 1 inch tall, complete with a rounded shell, a little head and four flippers that make it look ready to paddle away. It’s a quick, beginner friendly crochet animal, and one of the cutest things you’ll ever make with a handful of yarn.
Why You’ll Love This Crochet Turtle
There’s something irresistible about tiny things, and this little turtle proves it. Despite its miniature size, it has every detail you’d hope for: a domed shell, a curious little head with shiny eyes, two front flippers for swimming and two smaller back flippers tucked behind.
It’s also wonderfully quick. Each piece is small, so the whole turtle comes together in a single cosy sitting. That makes it perfect for a little bit of crochet joy at the end of a busy day, or for making a whole family of turtles in different colours.
And because it uses so little yarn, it’s a lovely way to turn leftover worsted weight scraps into something special. A green one, a teal one, a sandy beige one. Before long you’ll have a whole beach full.
What’s Inside the Free Crochet Turtle Pattern
Your PDF download guides you through each tiny piece:
- Round by round instructions for the shell and head, with stitch counts
- Simple instructions for the front and back flippers
- Exact safety eye placement for a sweet expression
- Clear assembly steps, including when to add the flippers
- A velvet yarn variation for a softer, slightly bigger turtle
- Tips for making larger or smaller turtles
- US crochet terms throughout
Materials for Your Tiny Turtle
| Material | Details |
|---|---|
| Yarn | Worsted weight (shown in 100% acrylic) |
| Crochet hook | 3.5mm (US E/4) |
| Safety eyes | 2 × 6mm |
| Stuffing | Polyester fiberfill |
| Notions | Yarn needle, stitch marker, scissors |
| Finished size | Approx. 1in (2cm) tall |
| Skill level | Beginner |
| Crochet terms | US |
A smooth acrylic worsted gives clean stitches and a crisp shell. Try a classic sea green for the shell with a lighter green for the head and flippers, or use one colour throughout for a simple, sweet look.
How Your Turtle Comes Together
Your turtle is made in four simple parts: the shell, the head, two front flippers and two back flippers. The shell is the heart of the project. It starts with a magic ring and grows in a spiral, with increases shaping the rounded dome before decreases bring it in underneath.
The last round of the shell is worked through the back loops only, which helps create a neat, defined edge where the shell meets its base. Before the shell is fully closed, you position the flippers around it, so they sit naturally at the sides. Then you stuff the shell, close it up, and attach the head.
Because each piece is so small, everything moves quickly. You’ll see your turtle take shape in no time.
It also helps to work in good light. On a project this tiny, stitches can be hard to see, especially in darker yarn. A bright lamp and a lighter shell colour make counting much easier, and they let you enjoy every little detail as your turtle comes together. Many makers like to finish the shell in one sitting, then make the head and flippers the next day.
The Little Head and Shiny Eyes
The head is a tiny amigurumi ball worked over just four rounds. Your 6mm safety eyes go in between Rounds 2 and 3, with three stitches between them. That spacing gives your turtle a sweet, slightly wide eyed look that’s full of character.
Once the eyes are in, you add a small amount of stuffing, close the head and sew it to the front of the shell. Tilt it slightly upwards for a curious, looking around expression, or keep it straight for a calm, peaceful turtle. It’s amazing how much personality a tiny change in angle can add.
Front and Back Flippers
The flippers give your turtle its sea creature charm. The front flippers are a little longer, made with a short chain and single crochet stitches, so they look ready to sweep through the water. The back flippers are smaller and simpler, made with chains and slip stitches.
That difference in size is what gives the turtle its natural proportions, just like a real sea turtle. Leave the yarn tails long when you finish each flipper, so you have plenty to work with when attaching them to the shell.
A Tiny Friend With Big Charm
Tiny turtles make the sweetest little gifts. Tuck one into a birthday card, add one to a gift bag, or give one to a friend as a pocket sized good luck charm. They also make adorable desk companions, plant pot decorations and bag charms when you add a small loop.
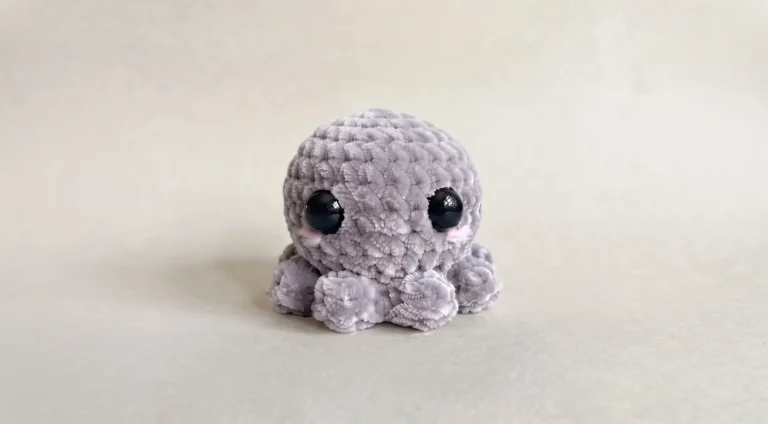
For an ocean themed collection, pair your turtle with our Crochet Octopus Pattern, or browse more cute makes in our Crochet Animal Patterns collection.
Getting the Flippers Just Right
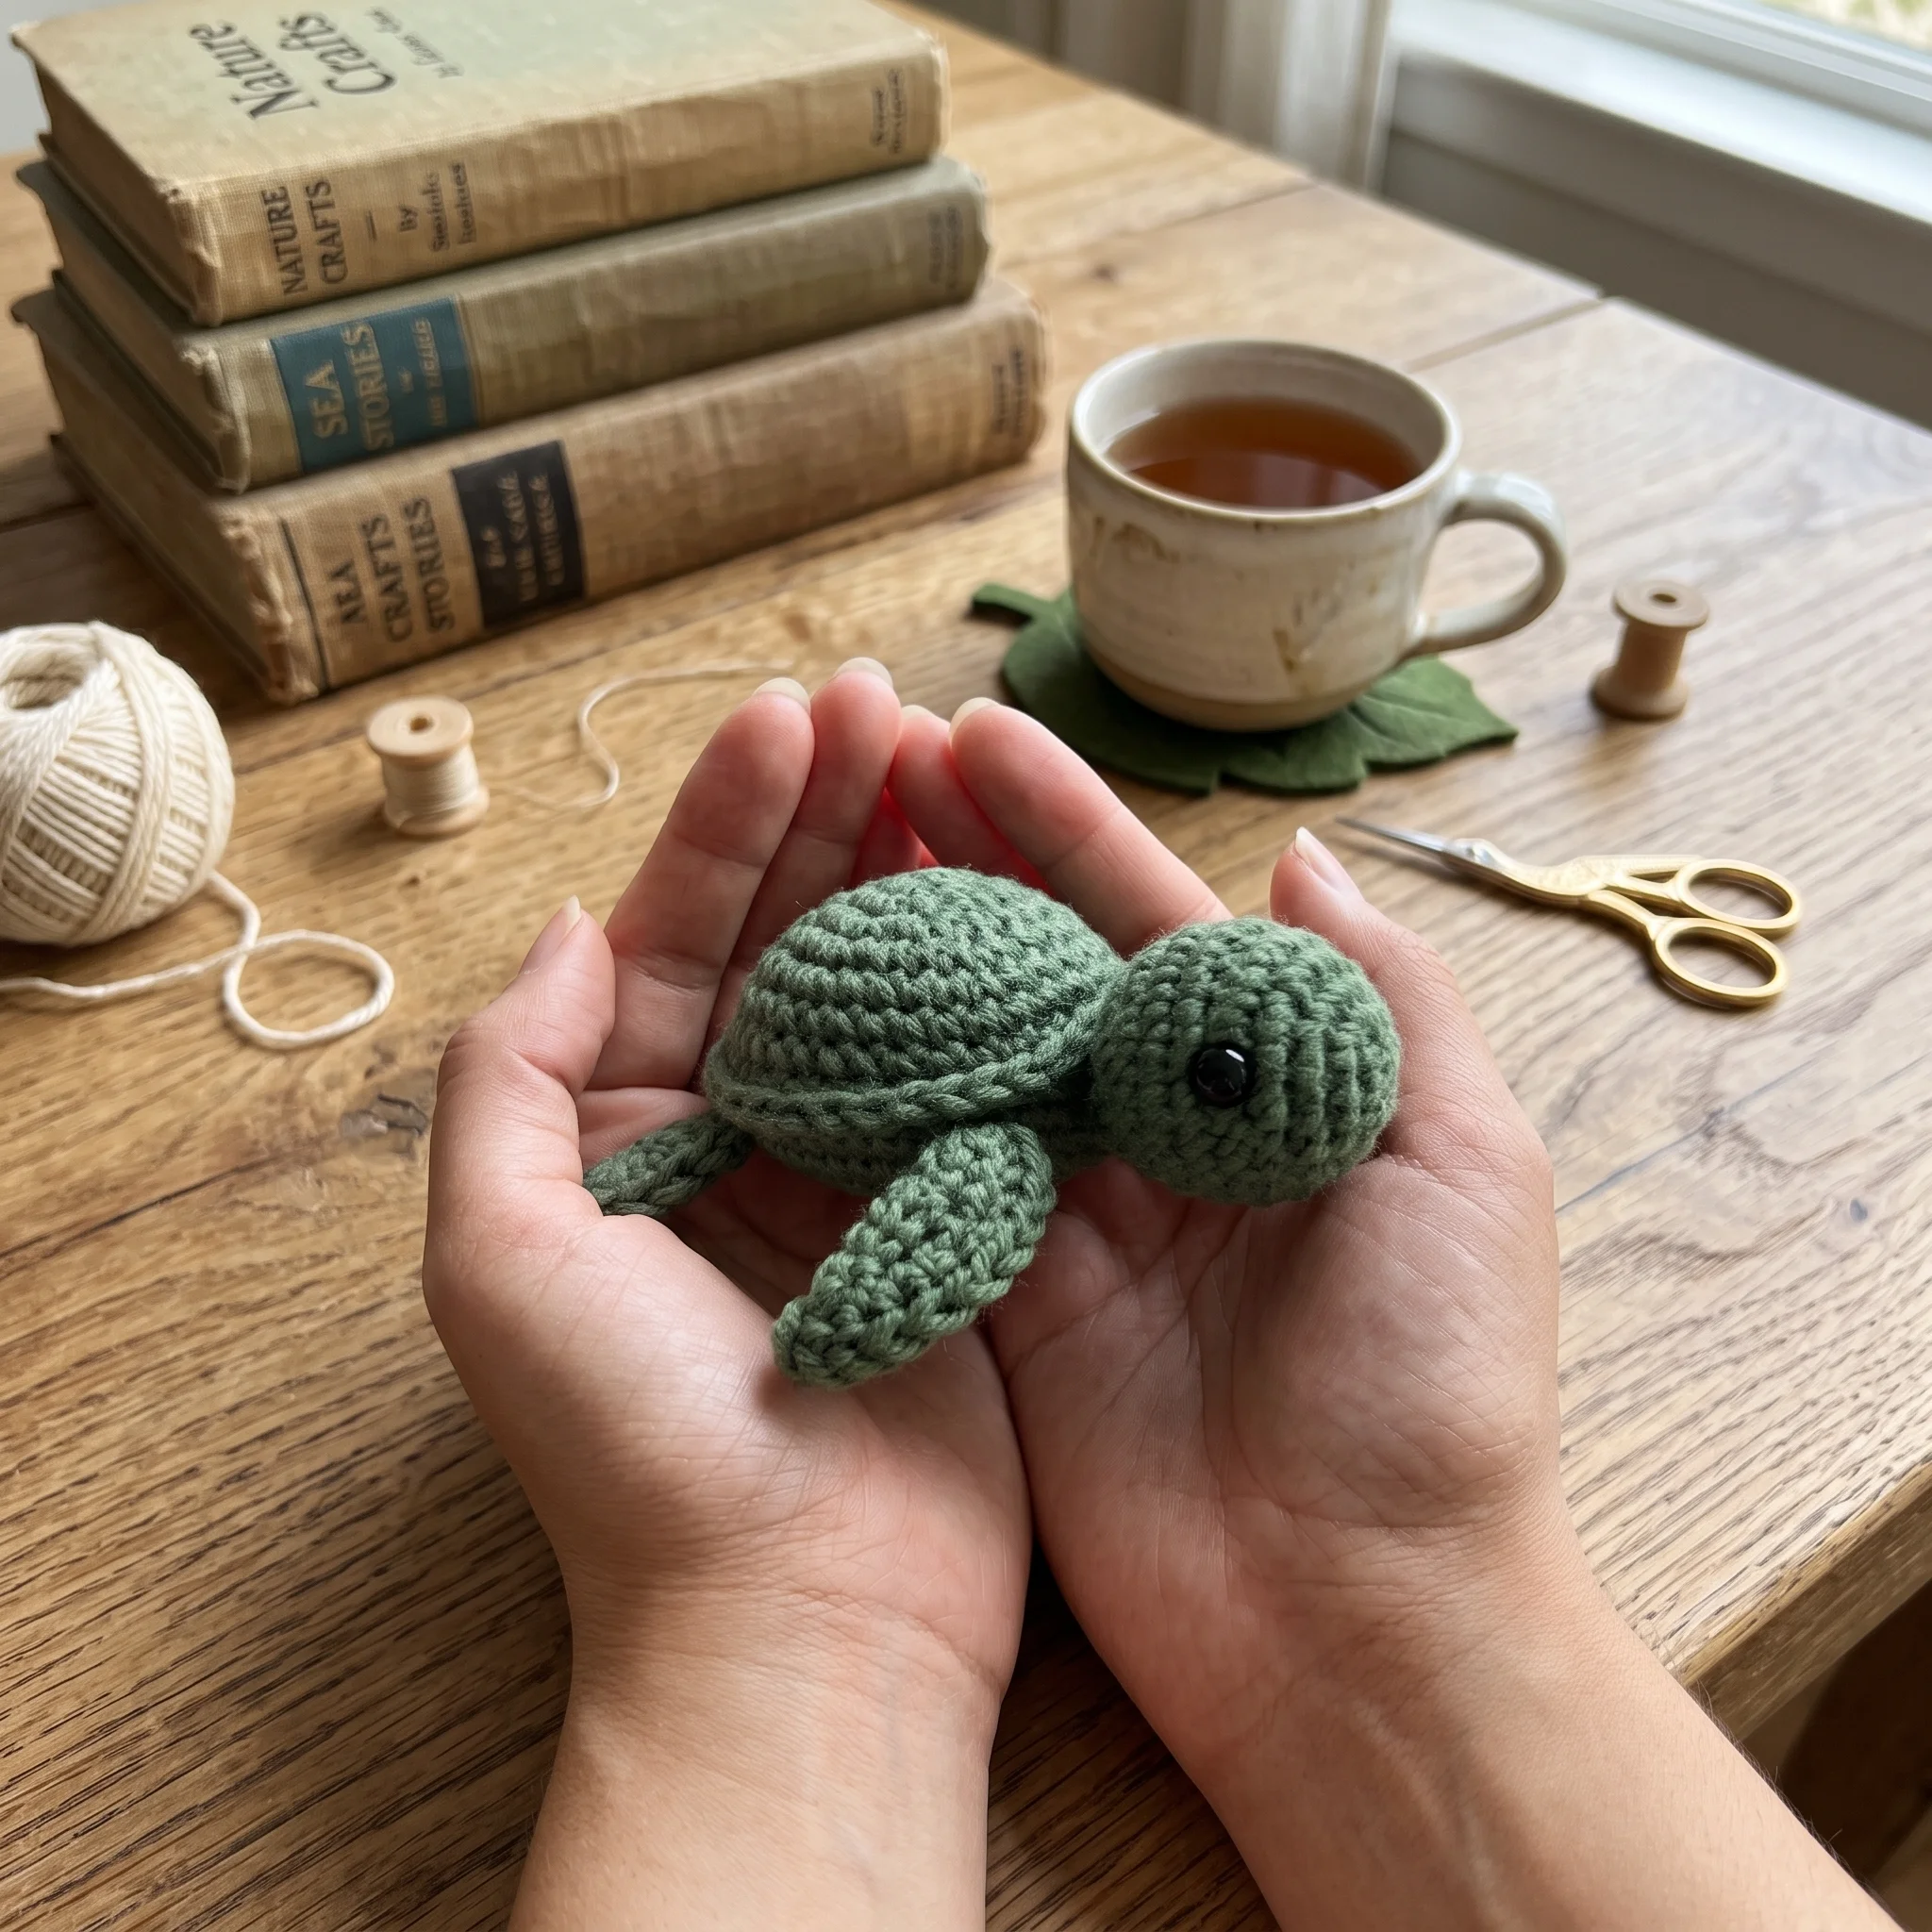
Positioning the flippers is the moment your turtle comes to life, so take a little time with it. Place the two front flippers slightly forward on each side of the shell and the two back flippers towards the rear. Then turn your turtle around and look at it from the front, the sides and above.
When all four flippers look balanced and symmetrical, secure them in place. Checking from different angles before you finish makes a big difference on such a tiny piece, since small shifts are easy to see.
The Soft Velvet Variation
Want a turtle that’s extra soft to the touch? The pattern includes a velvet version using a velvet yarn such as Bernat Velvet or Baby Velvet, a 4.5mm hook and 8mm safety eyes. The plush yarn gives your turtle a cosy, squishy feel, and the slightly larger hook and eyes make it a little bigger too.
Velvet yarn can be slippery, so work slowly, keep your tension steady and count your stitches carefully. The result is a beautifully soft turtle that’s lovely to hold.
Is This Turtle Right for You?
This pattern is rated Beginner and uses basic amigurumi techniques: a magic ring, single crochet, increases, decreases, chains, slip stitches and back loop crochet. If you’re new to amigurumi, it’s a great way to learn shaping and assembly on a small, manageable scale.
Because the pieces are tiny, it does ask for a little patience and careful counting. Good lighting and a stitch marker will help a lot. If you’d like to warm up first, our Crochet Octopus Pattern is a lovely no sew starter project.
Make It Your Own
Changing your yarn weight is the easiest way to change your turtle’s size. Finer yarn with a smaller hook creates an even tinier turtle, while a bulkier yarn with a larger hook makes a turtle you can cuddle. Just adjust the safety eye size to match.
Colour is your playground too. Try a bright shell with a contrasting head, a speckled yarn for a patterned shell, or soft pastels for a nursery set. You could even embroider simple lines on the shell to suggest a pattern.
A Note on Safety
Safety eyes are small parts, and this turtle is very small overall. For babies and toddlers, embroider the eyes with black yarn and treat the turtle as a decoration rather than a toy.
When Something Doesn’t Look Quite Right
If your shell looks flat rather than domed, recount your increase rounds, since they create the rounded top. If stuffing shows through, try a slightly smaller hook or a snugger tension.
If the flippers look uneven, gently reposition them before securing, checking from all angles. And if the head looks too large or small for the shell, adjust the stuffing. A little less stuffing makes a neater, smaller head on such a tiny turtle.
More Little Crochet Critters to Love
Visit the Variatee shop on Etsy for more cute designs.
Keep Learning
Building your skills? These guides pair beautifully with this pattern: How to Use Safety Eyes in Amigurumi, How to Change Colours in Crochet and How to Sell Crochet at Craft Fairs.
A Few Tips Before You Start
- Use a stitch marker, since tiny rounds are easy to lose track of.
- Crochet tightly so the stuffing stays hidden.
- Leave long tails on each flipper for attaching.
- Check flipper placement from every angle before securing.
- Stuff the head lightly rather than overfilling it.
Frequently Asked Questions
Pick up your hook and let’s bring your next crochet project to life!