Crochet Pumpkin Pattern Free Jack O Lantern Appliqué and Garland
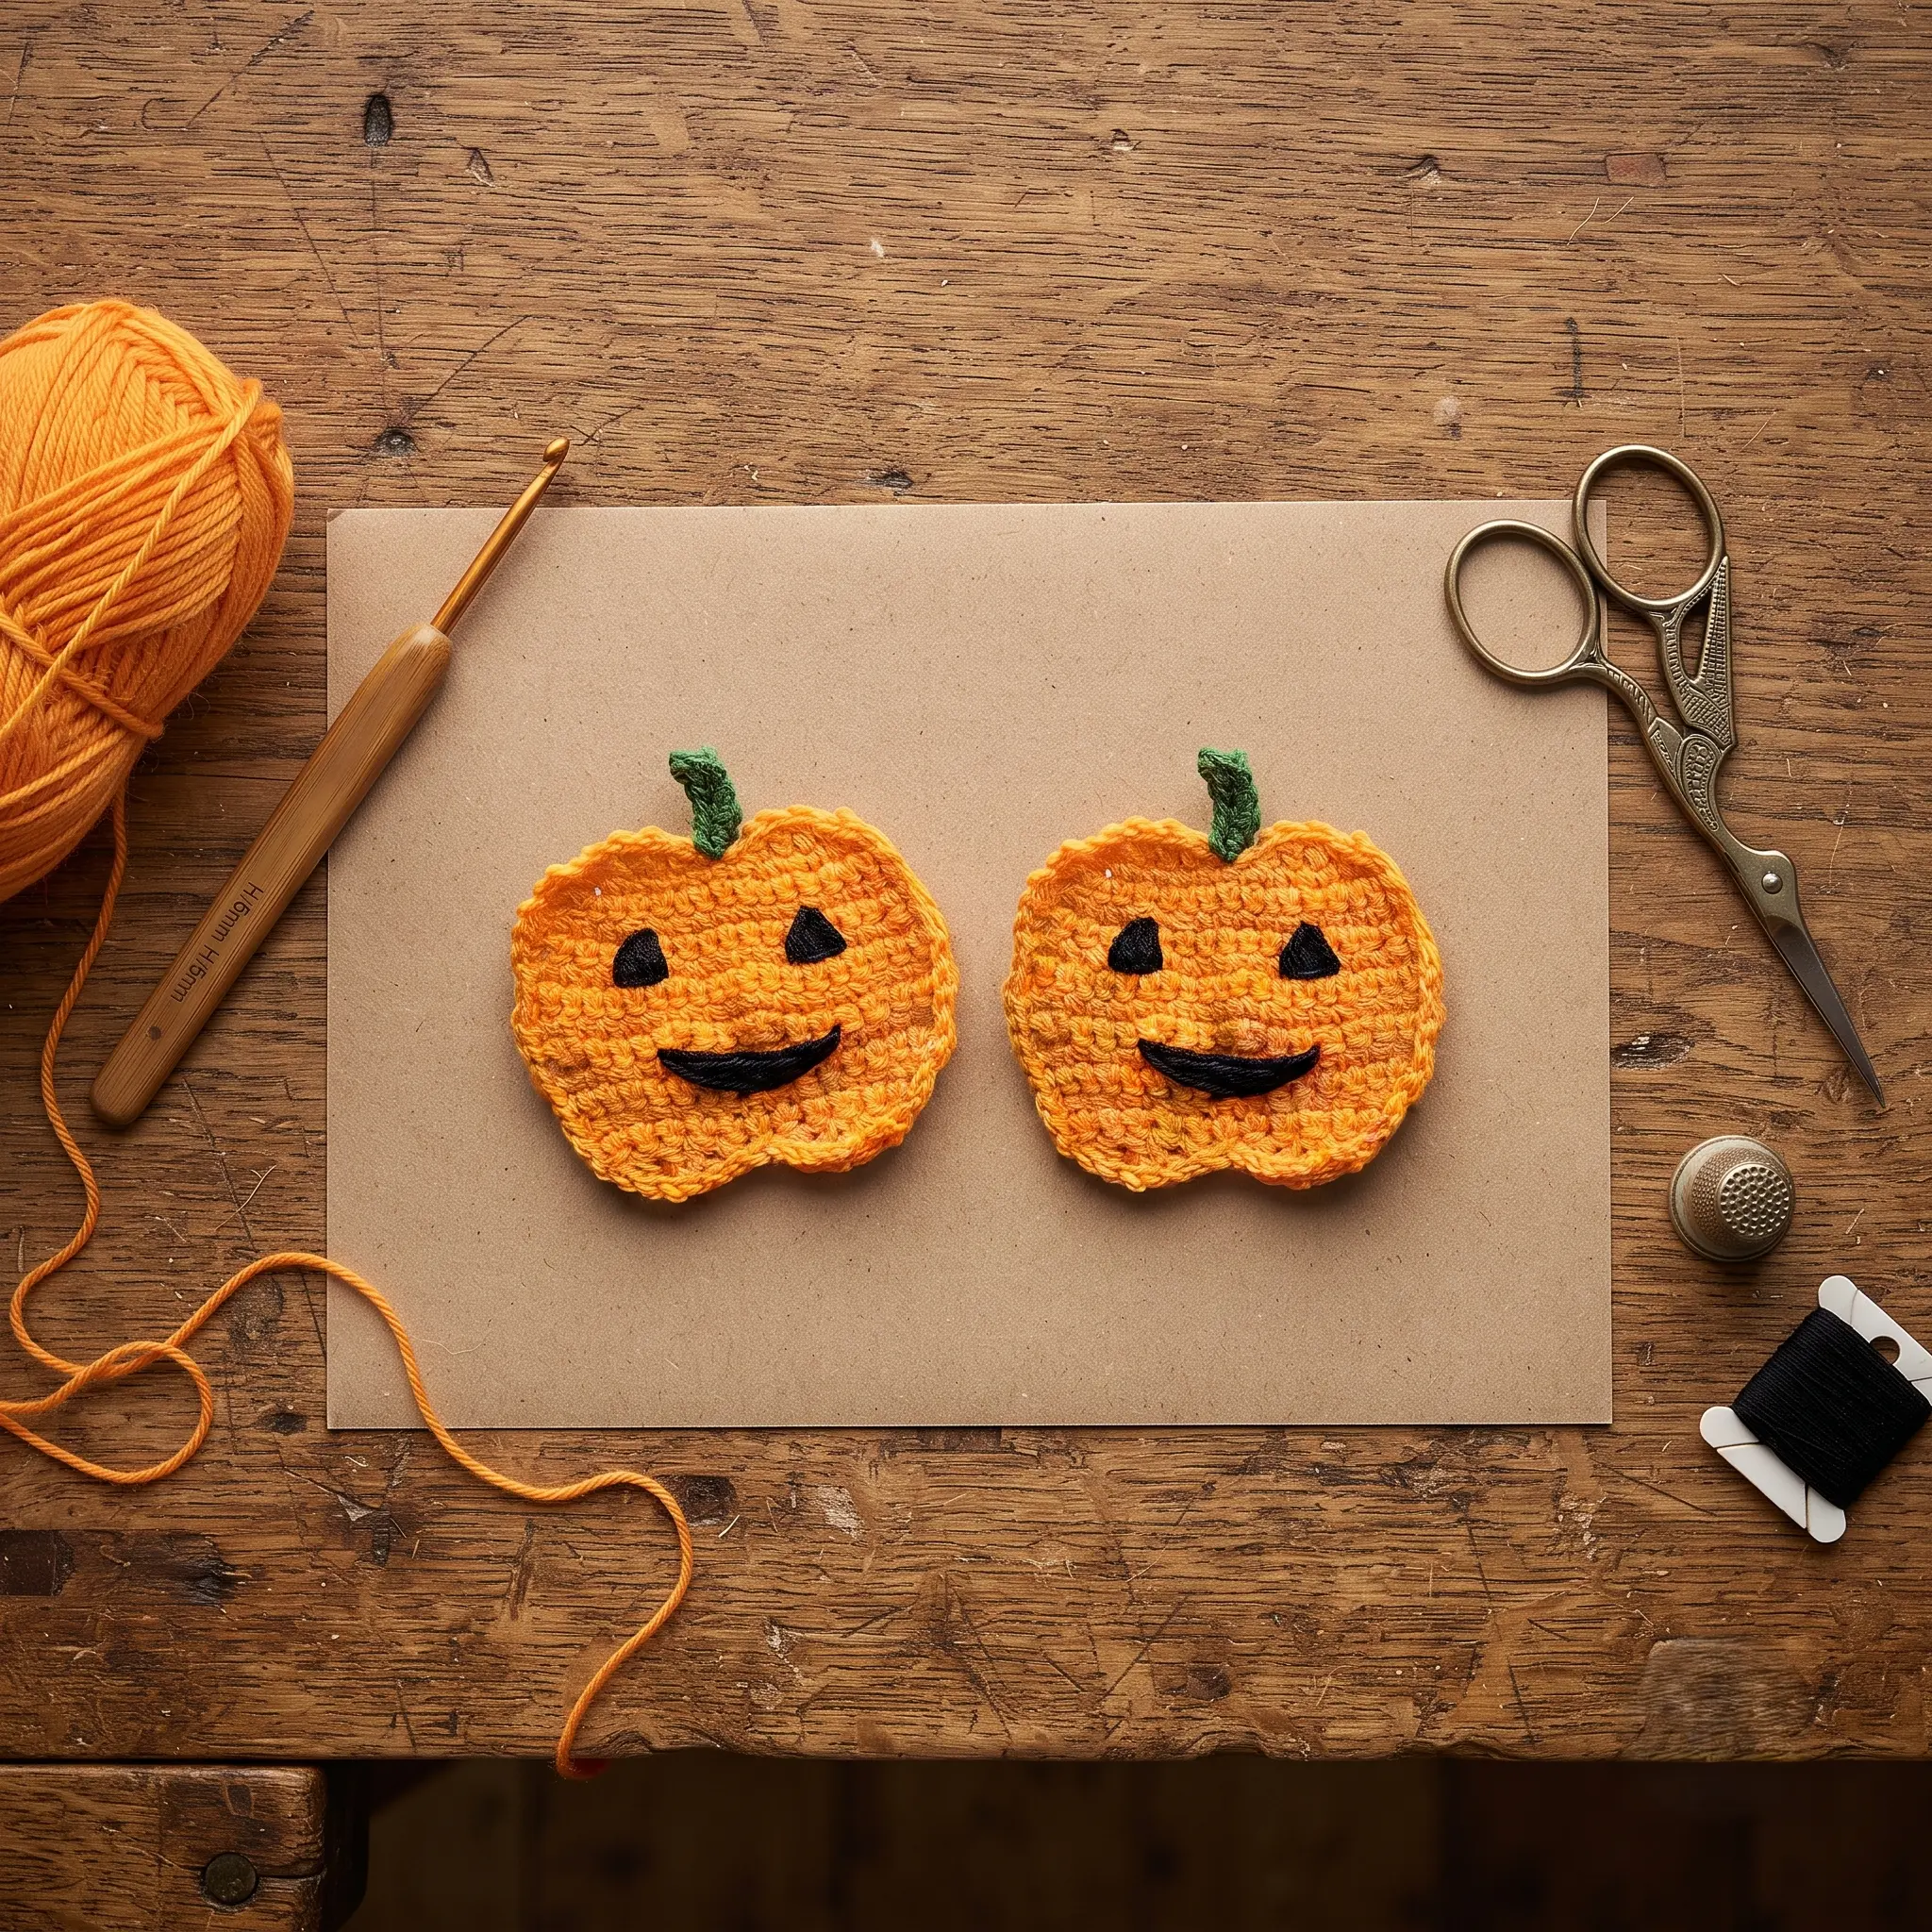
No carving, no mess, and it lasts for every Halloween to come. Our free crochet pumpkin pattern makes a flat jack o lantern appliqué with a plump, scalloped shape, a little green stalk and a cheeky stitched grin. It works up quickly in a few short rows, and once you’ve made one, you’ll want a whole string of them grinning across your mantel.
Why You’ll Love This Crochet Pumpkin
Real pumpkins are wonderful, but they’re messy to carve and they don’t last. A crochet pumpkin brings all the cheer of a jack o lantern to your home, and it comes out of the decoration box looking just as bright next year.
This design captures the classic pumpkin silhouette beautifully. Gentle increases and decreases shape the round body, while soft scallops along the top and bottom create the lobes of a real pumpkin. A short green stalk tops it off, and the stitched face gives it a playful, friendly character rather than a scary one.
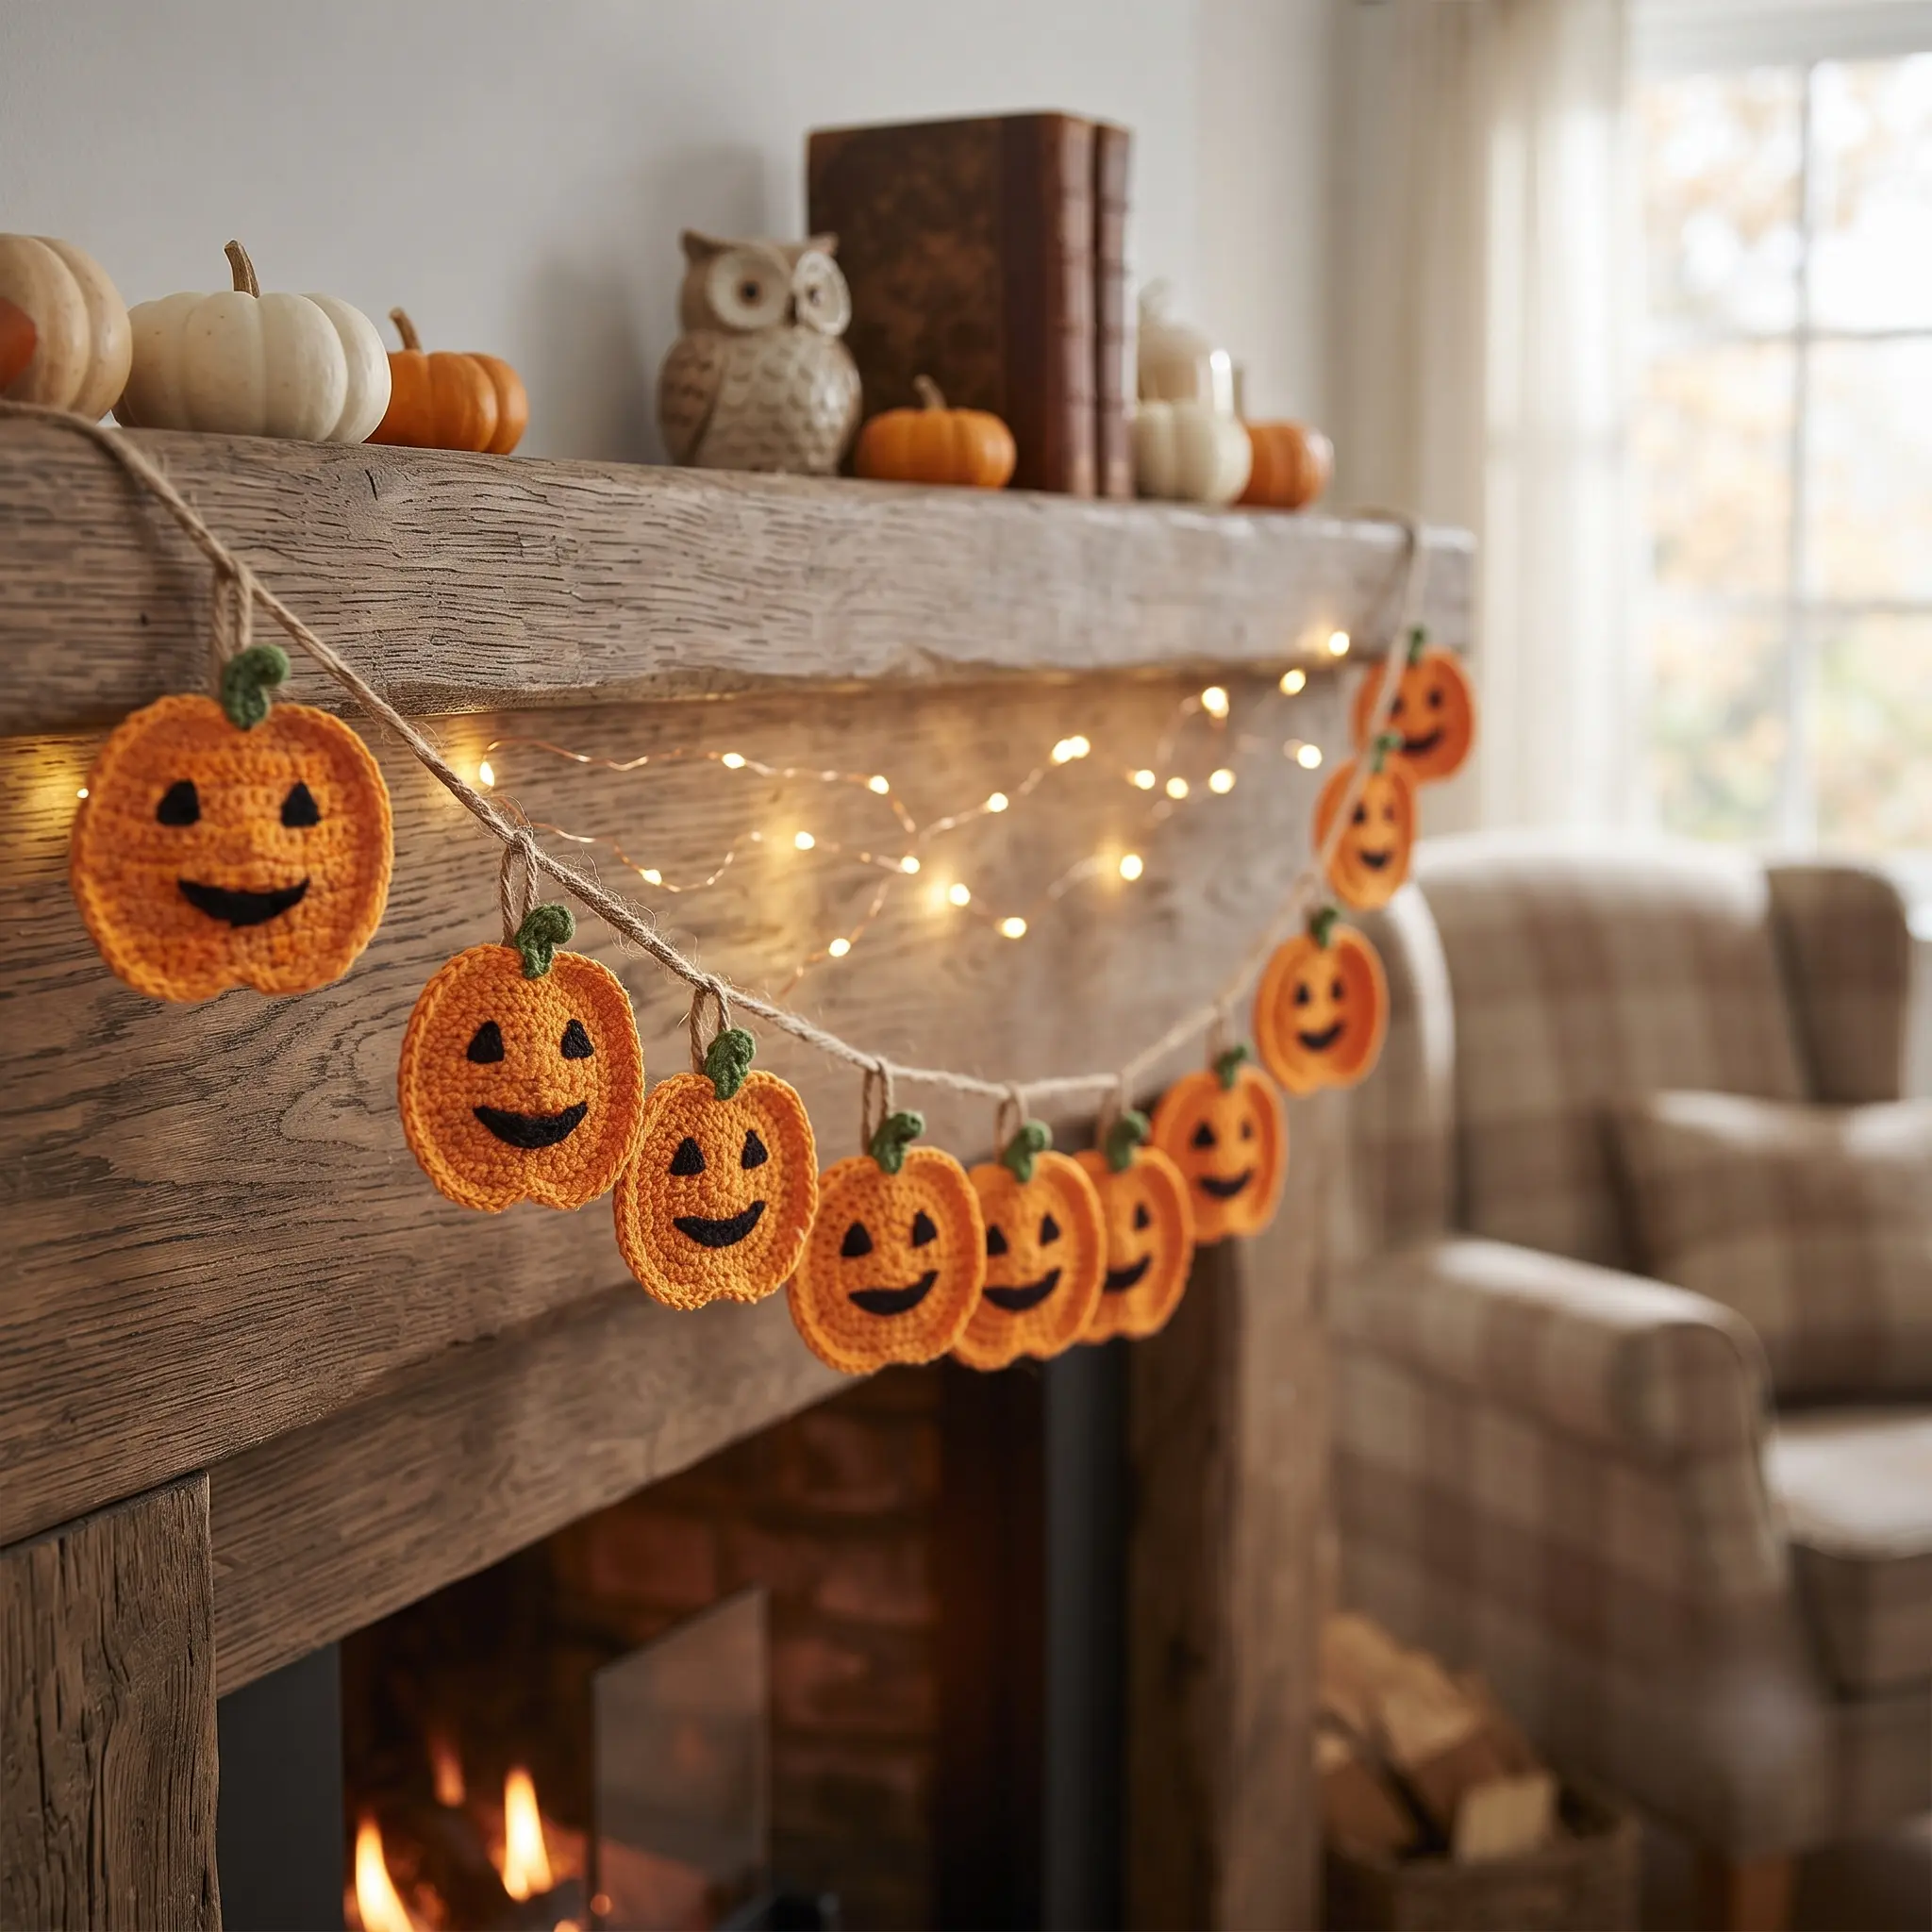
Because it’s flat, it’s incredibly versatile. Hang it on its own, sew it onto a bag or blanket, or join several into a garland. It’s the kind of quick, cheerful make that gets you in the Halloween spirit the moment you pick up your hook.
What’s Inside the Free Crochet Pumpkin Pattern
Your PDF download includes everything you need:
- Row by row instructions for the pumpkin shape, with stitch counts
- A simple method for shaping the scalloped top and bottom
- A neat slip stitch outline for crisp edges
- Easy instructions for the green stalk
- A step by step embroidery guide for the eyes and jagged smile
- Blocking tips to help your pumpkin lie flat
- Instructions for joining pumpkins into a garland
- US crochet terms throughout
Materials for Your Pumpkin
| Material | Details |
|---|---|
| Yarn | DK weight in orange and green |
| Face | Black yarn or embroidery floss |
| Crochet hook | 3.5mm (US E/4) |
| Notions | Embroidery needle, optional fabric stiffener |
| Finished size | Approx. 4 × 3½in (10 to 11 × 8 to 9cm), excluding stalk |
| Gauge | Not important |
| Skill level | Easy |
| Crochet terms | US |
Gauge doesn’t matter here, so any yarn will work. Thicker yarn simply makes a bigger pumpkin. Just choose a hook slightly smaller than your yarn label suggests, which gives a firm fabric that holds its shape. A bright, classic orange looks festive, while burnt orange or pumpkin spice shades feel cosy and autumnal.
Why a Flat Pumpkin Works So Well
Stuffed amigurumi pumpkins are sweet, but flat pumpkins have some real advantages. They lie neatly against a wall or window, hang beautifully on a garland and store easily between seasons without getting squashed. They also use far less yarn and time, so you can make a whole collection quickly.
Their flat shape makes them ideal for embellishing other projects too. A pumpkin appliqué can be stitched onto almost anything, from a cushion cover to a trick or treat bag, turning an everyday item into a festive one in minutes.
How Your Pumpkin Takes Shape
Your pumpkin is worked in short rows of single crochet. You start with a foundation chain, then increase across a couple of rows to widen the body, work a few rows straight, then decrease to bring it back in. That simple rhythm creates a round, chubby pumpkin shape.
The bottom is finished with a row that combines slip stitches, half double crochets and double crochets. Those taller stitches rise in the middle and drop at the edges, forming two soft curves. Then you turn the piece around and repeat the same row along the top edge, creating the matching curved top. The result is a pumpkin with gently rounded lobes, just like the real thing.
The Finishing Outline and Stalk
To give your pumpkin a crisp, polished edge, you work a round of slip stitches down one side, across the bottom and up the other side. This small step neatens the edges, helps the pumpkin lie flat and makes the shape really stand out.
Then comes the stalk. You join green yarn at the centre top, chain a few stitches and work half double crochets back down the chain to form a short, sturdy stalk. It takes only a minute, and it instantly turns an orange shape into a pumpkin.
Stitching the Jack O Lantern Face
The face is where your pumpkin gets its personality. The pumpkin’s rows create seven horizontal bands, which act as a handy guide for placing each feature evenly.
For the eyes, you stitch two small triangles with black yarn or floss, then fill them in with short stitches. For the mouth, you outline a wide grin a few rows below and fill it with short vertical stitches for a classic jagged, toothy smile. Prefer a solid grin? Add a few horizontal stitches across it. Each pumpkin can have its own expression, from cheeky to surprised.
All the Jack O Lantern Fun Without the Carving
No knives, no mess and no soggy pumpkin by November. This little jack o lantern grins back at you every Halloween, looking just as bright as the day you made it.
Give each one its own expression, from cheeky to surprised, and let the children choose their favourite. It’s a quick, joyful make that gets the whole family into the Halloween spirit. For a full spooky scene, add our Crochet Bat Pattern and Crochet Ghost Pattern, or explore our Halloween Crochet Patterns collection.
Blocking for a Flat, Neat Pumpkin
If your pumpkin curls a little after you finish, blocking will fix it. Soak it in water, gently squeeze out the excess with a towel, then lay it flat to dry. Use pins to hold the shape if needed. Acrylic yarn dries quickly, while cotton may take up to a day.
For pumpkins that will hang in a garland, a light coat of fabric stiffener adds extra strength. It keeps them flat, crisp and ready to display year after year.
More Ways to Use Your Pumpkins
These little pumpkins are wonderfully versatile. Sew one onto a tote bag, a cushion or a child’s Halloween costume for a festive touch. Add a hanging loop to make tree ornaments for an autumn tree. Glue a magnet to the back for a fridge decoration, or use them as cheerful gift toppers for Halloween treats.
They also make lovely table scatter for an autumn dinner, or a Halloween party favour for guests to take home.
Is This Pumpkin Right for You?
The pattern is rated Easy and is ideal for beginners. If you can work single crochet, increases and decreases, you can make it. The scalloped edges use a handful of familiar stitches, and the embroidery is simple and forgiving.
It’s also a perfect quick project for experienced crocheters who want lots of decorations fast. Because each pumpkin is small, you can make a whole garland in an evening or two.
Make It Your Own
Change the colours for a whole new look. A white pumpkin with a grey stalk feels elegant and modern, while a pastel pink or sage pumpkin suits a soft autumn theme. For harvest decor that lasts all season, skip the face and leave your pumpkins plain.
You can play with size too. A worsted or aran yarn with a 4.5mm hook makes a bigger pumpkin, while a fine cotton makes a tiny one perfect for earrings or cards.
When Something Doesn’t Look Quite Right
If your pumpkin looks lopsided, recount the stitches in your increase and decrease rows. Even shaping keeps the pumpkin symmetrical. If the edges curl, add a few more slip stitches to the outline and block it flat.
If your face looks off centre, use the seven horizontal bands as a guide and count stitches in from each side before you stitch. Marking the eye positions with pins first helps too.
Keep Learning
Building your Halloween crochet skills? These guides pair perfectly with this pattern: How to Block and Stiffen Crochet, How to Change Colours in Crochet and How to Sell Crochet at Craft Fairs.
A Few Tips Before You Start
- Use a hook slightly smaller than your yarn suggests.
- Count your stitches at the end of every row.
- Add enough slip stitches to the outline to help the pumpkin lie flat.
- Pin the eye and mouth positions before embroidering.
- Block your pumpkins before joining them into a garland.
Frequently Asked Questions

Pick up your hook and let’s bring your next crochet project to life!