Crochet Star Pattern Free Easy Christmas Star Ornament
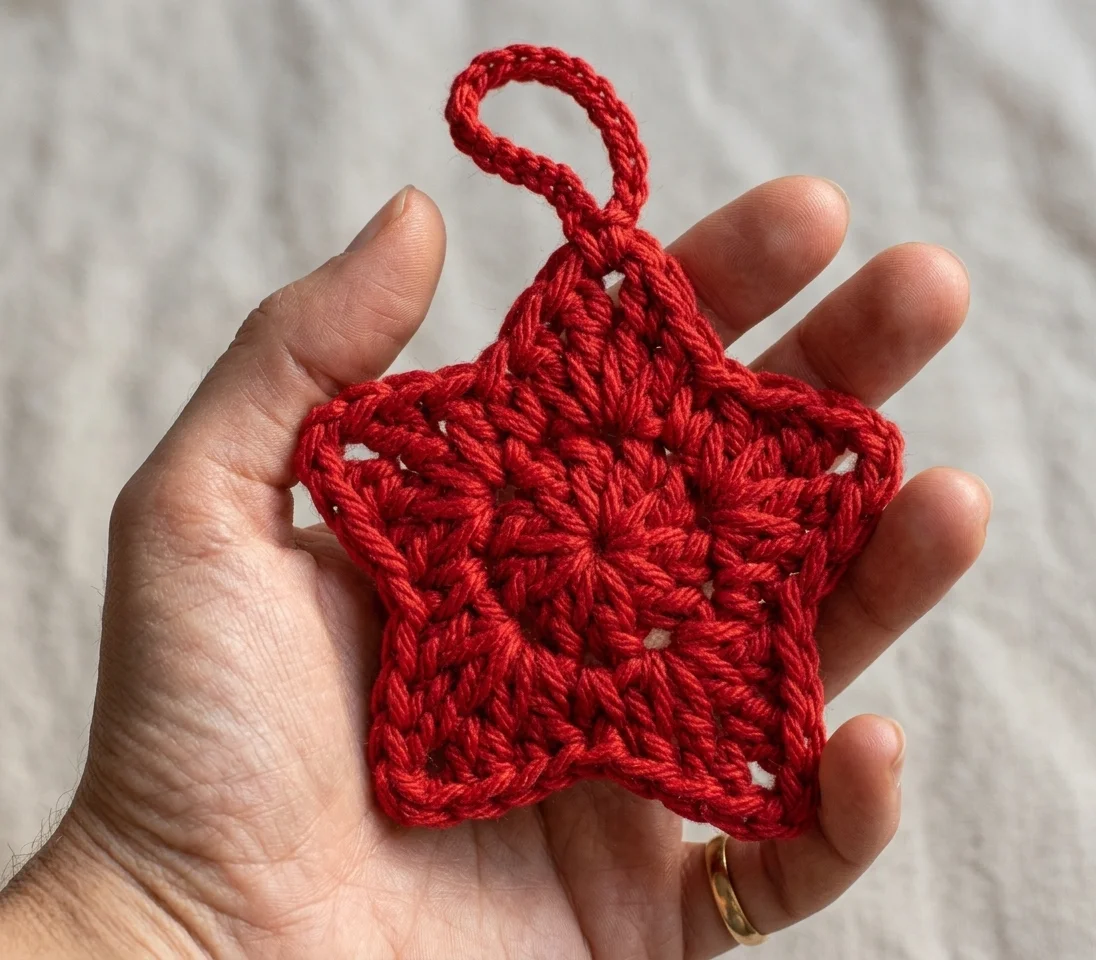
Two rounds. Five points. One very happy maker. Our free crochet star pattern is one of the quickest ornaments you’ll ever make, a simple circle of stitches that transforms into a crisp five point star with a little blocking magic. It’s the perfect project for filling a tree, a wreath or a stack of gift tags in no time.
Why You’ll Love This Crochet Star
There’s real joy in a project that’s finished almost as soon as it begins. With only two rounds, this star is ideal when you want something festive without a big commitment. Make one in a coffee break, or a dozen over a cozy evening.
The best part is the transformation. Fresh off the hook, your star looks more like a soft little flower. Then you pin it, add stiffener and let it dry, and suddenly it becomes a sharp, symmetrical star that holds its shape beautifully. It’s a satisfying “wow” moment every single time.
It’s also a gentle introduction to blocking, a skill that will lift all of your crochet projects, from lacy shawls to snowflakes. Learn it on something this small and quick, and you’ll feel confident using it on bigger makes later.
What’s Inside the Free Crochet Star Pattern
Your PDF download guides you from first stitch to finished ornament:
- Clear instructions for both rounds, with stitch counts
- A simple explanation of how each star point is built
- A full step by step guide to stiffening and blocking
- A handy method for making your own blocking board at home
- Hanging loop instructions using jute, ribbon or yarn
- Helpful tips throughout, in US crochet terms
Materials for Your Star
| Material | Details |
|---|---|
| Yarn | Your choice |
| Crochet hook | 6.5mm (US K/10.5) |
| Stiffener | Fabric stiffener |
| Blocking | Blocking mat, or cardboard with plastic wrap |
| Pins | Rust proof straight pins |
| Hanging | Jute cord, ribbon or yarn, 6 to 8in (15 to 20cm) |
| Notions | Yarn needle, scissors |
| Skill level | Easy |
| Crochet terms | US |
A larger hook gives the star an open, airy look and helps the points stretch nicely during blocking. Gold, yellow and white are classic, while red or green looks lovely tucked into a wreath. Any yarn you love will work, so this is a perfect chance to use up partial balls.
How Your Star Comes Together
Your star begins with a magic ring and a single round of ten double crochets. Pull the ring tight and you have a neat little disc, the center of your star.
The second round builds the points. You alternate between a single crochet and a cluster of stitches worked into one stitch: a double crochet, a treble crochet, a chain, another treble and another double. That cluster rises up and narrows at the top, forming one point. Repeat it five times, and your star is crocheted. That really is all there is to it, and it’s wonderfully quick.
From Flower to Star With Blocking
This is where the magic happens, and it’s worth taking your time. Soak the crocheted star in fabric stiffener, gently squeeze out the excess without twisting, and lay it on your blocking surface.
Now stretch it gently until you have five clear, even points, and pin each tip in place. Adjust the center and edges so the star lies flat and balanced. Then simply leave it alone until it’s completely dry, which can take several hours depending on your yarn and the humidity. When you remove the pins, you’ll have a firm, crisp star that keeps its shape on the tree for years.
Is This Star Right for You?
This is one of the friendliest patterns on our site. If you can make a magic ring, a double crochet and a treble crochet, you have everything you need. The crochet itself takes only a few minutes, and the blocking steps are explained clearly from start to finish.
It’s a great first ornament for new crocheters and a relaxing quick make for experienced ones. Because each star is so small, it’s also a perfect project for practicing even tension. You’ll see your stitches become neater with every star you make.
Your Brightest Christmas Star Yet
Two rounds, a little blocking, and you’ll be holding a crisp, golden star ready for the tree. It’s the kind of quick, satisfying make that turns one quiet evening into a whole set of handmade ornaments.
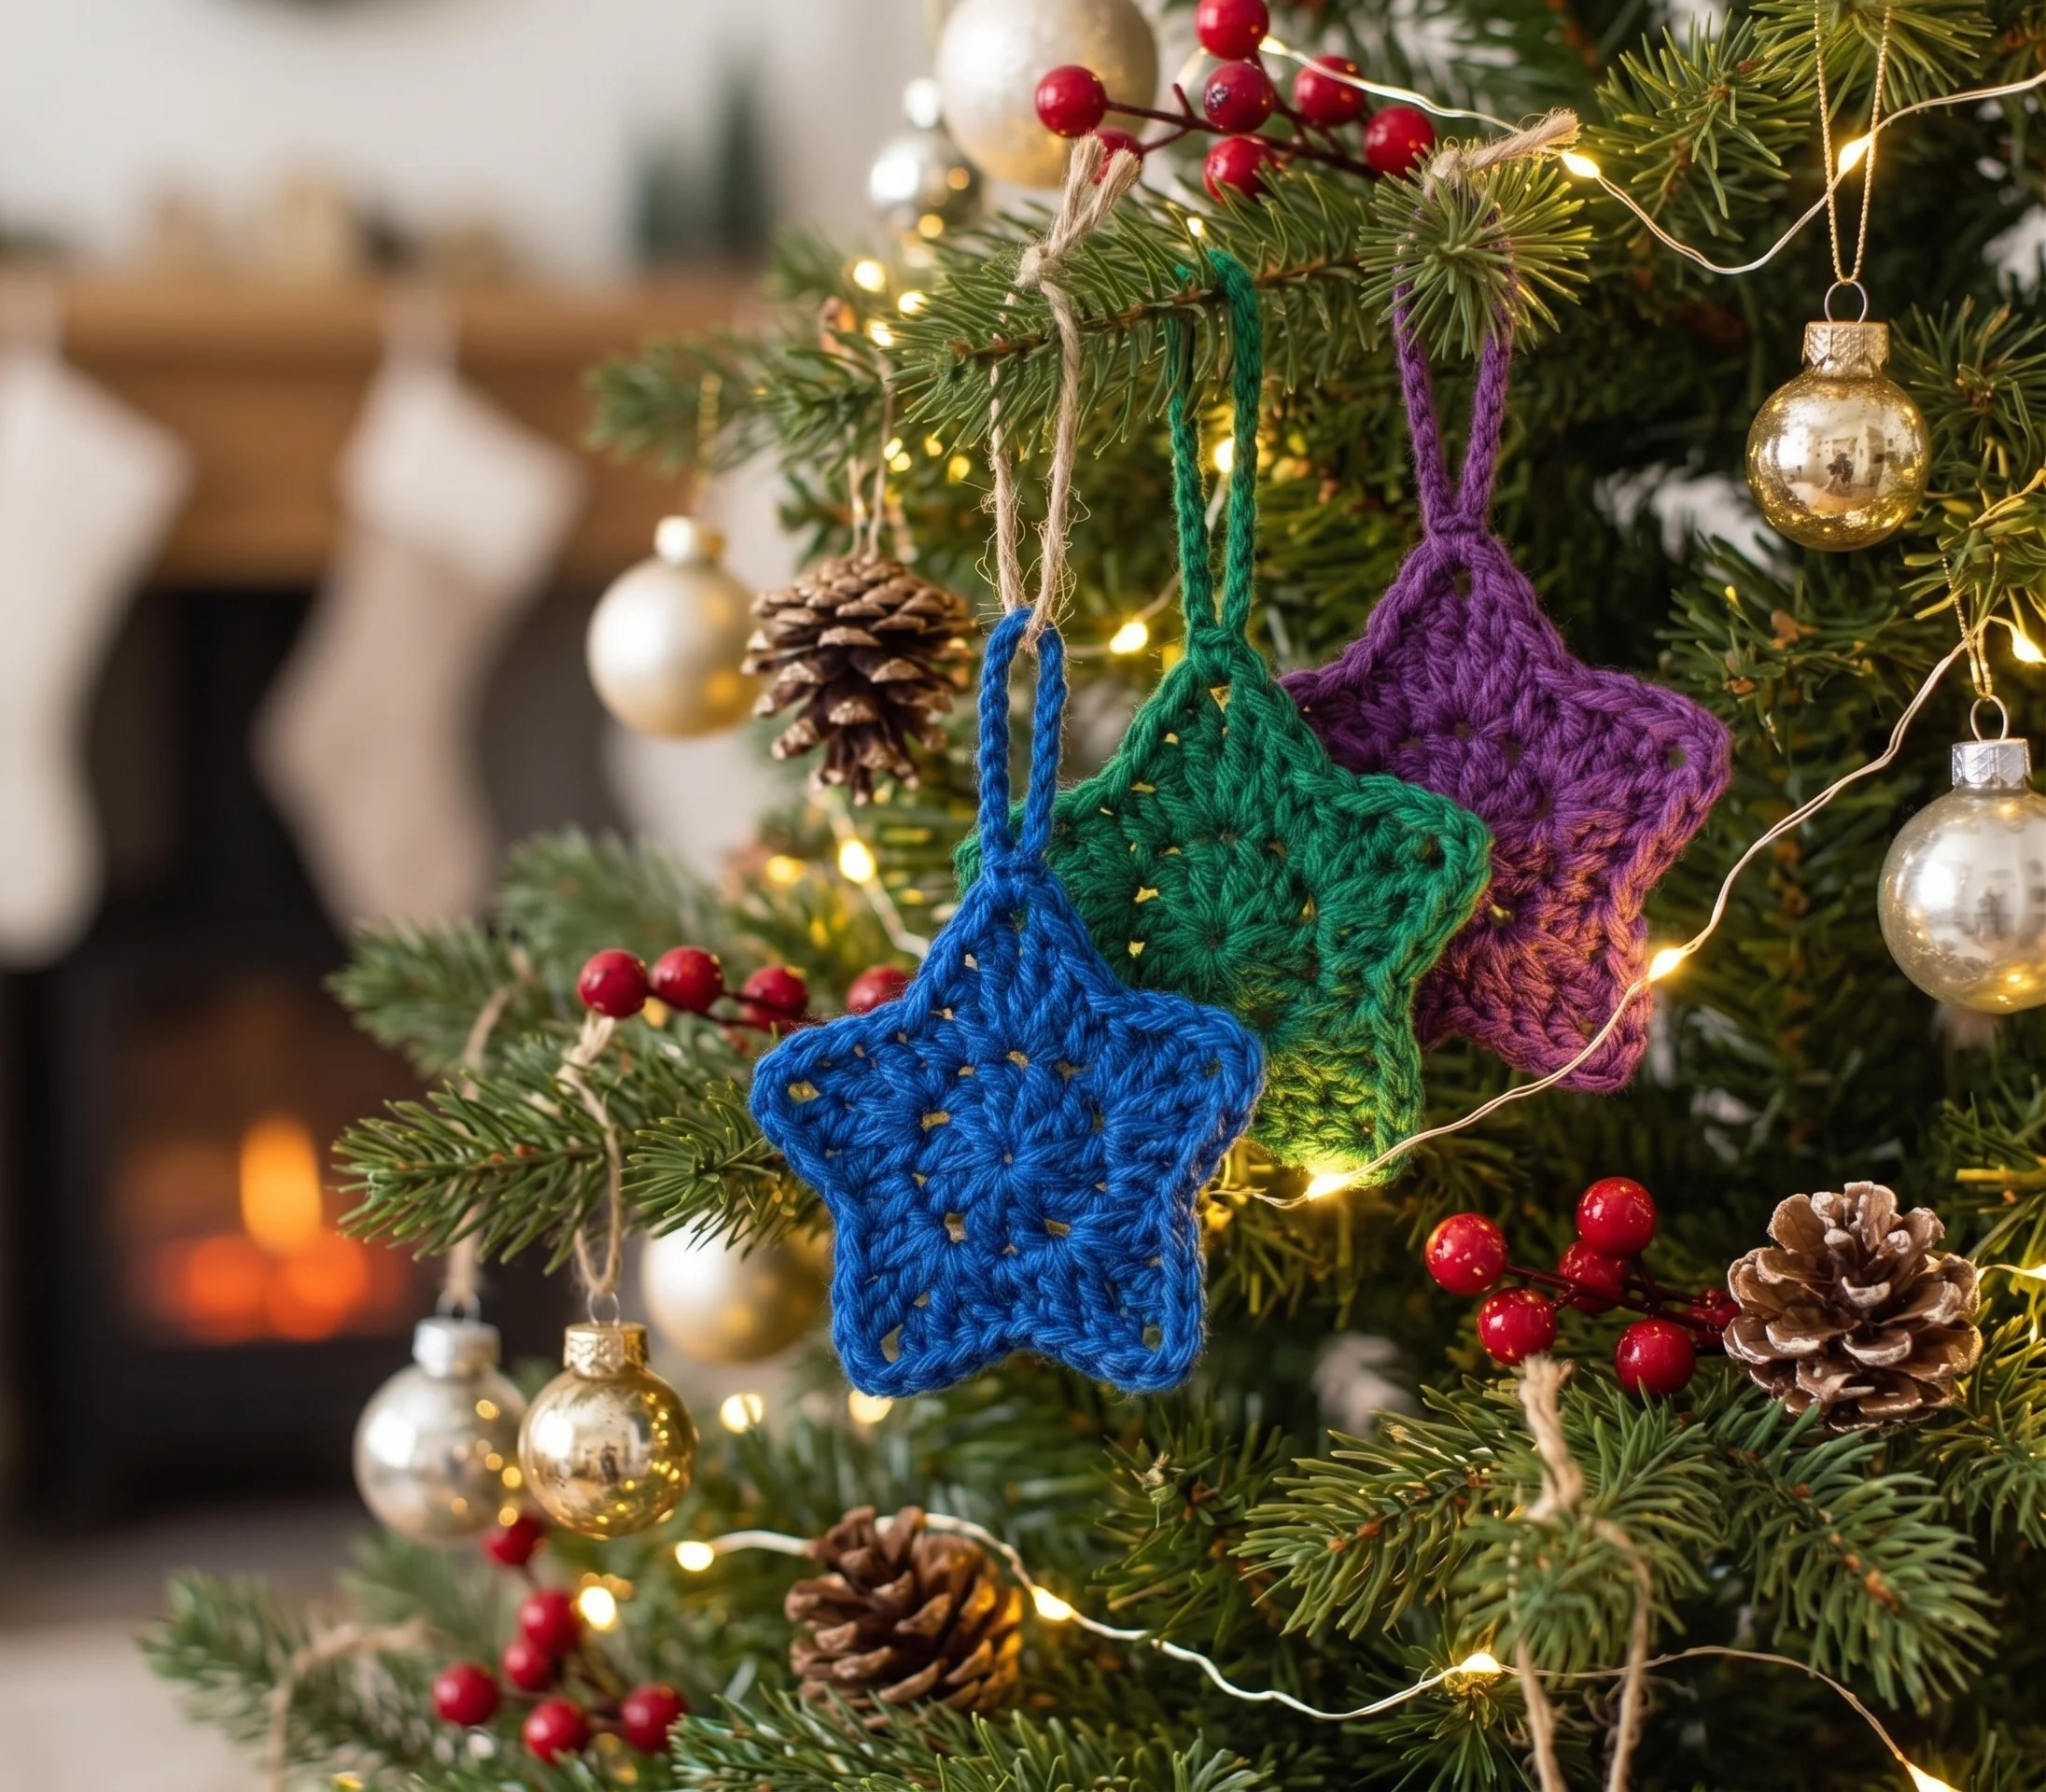
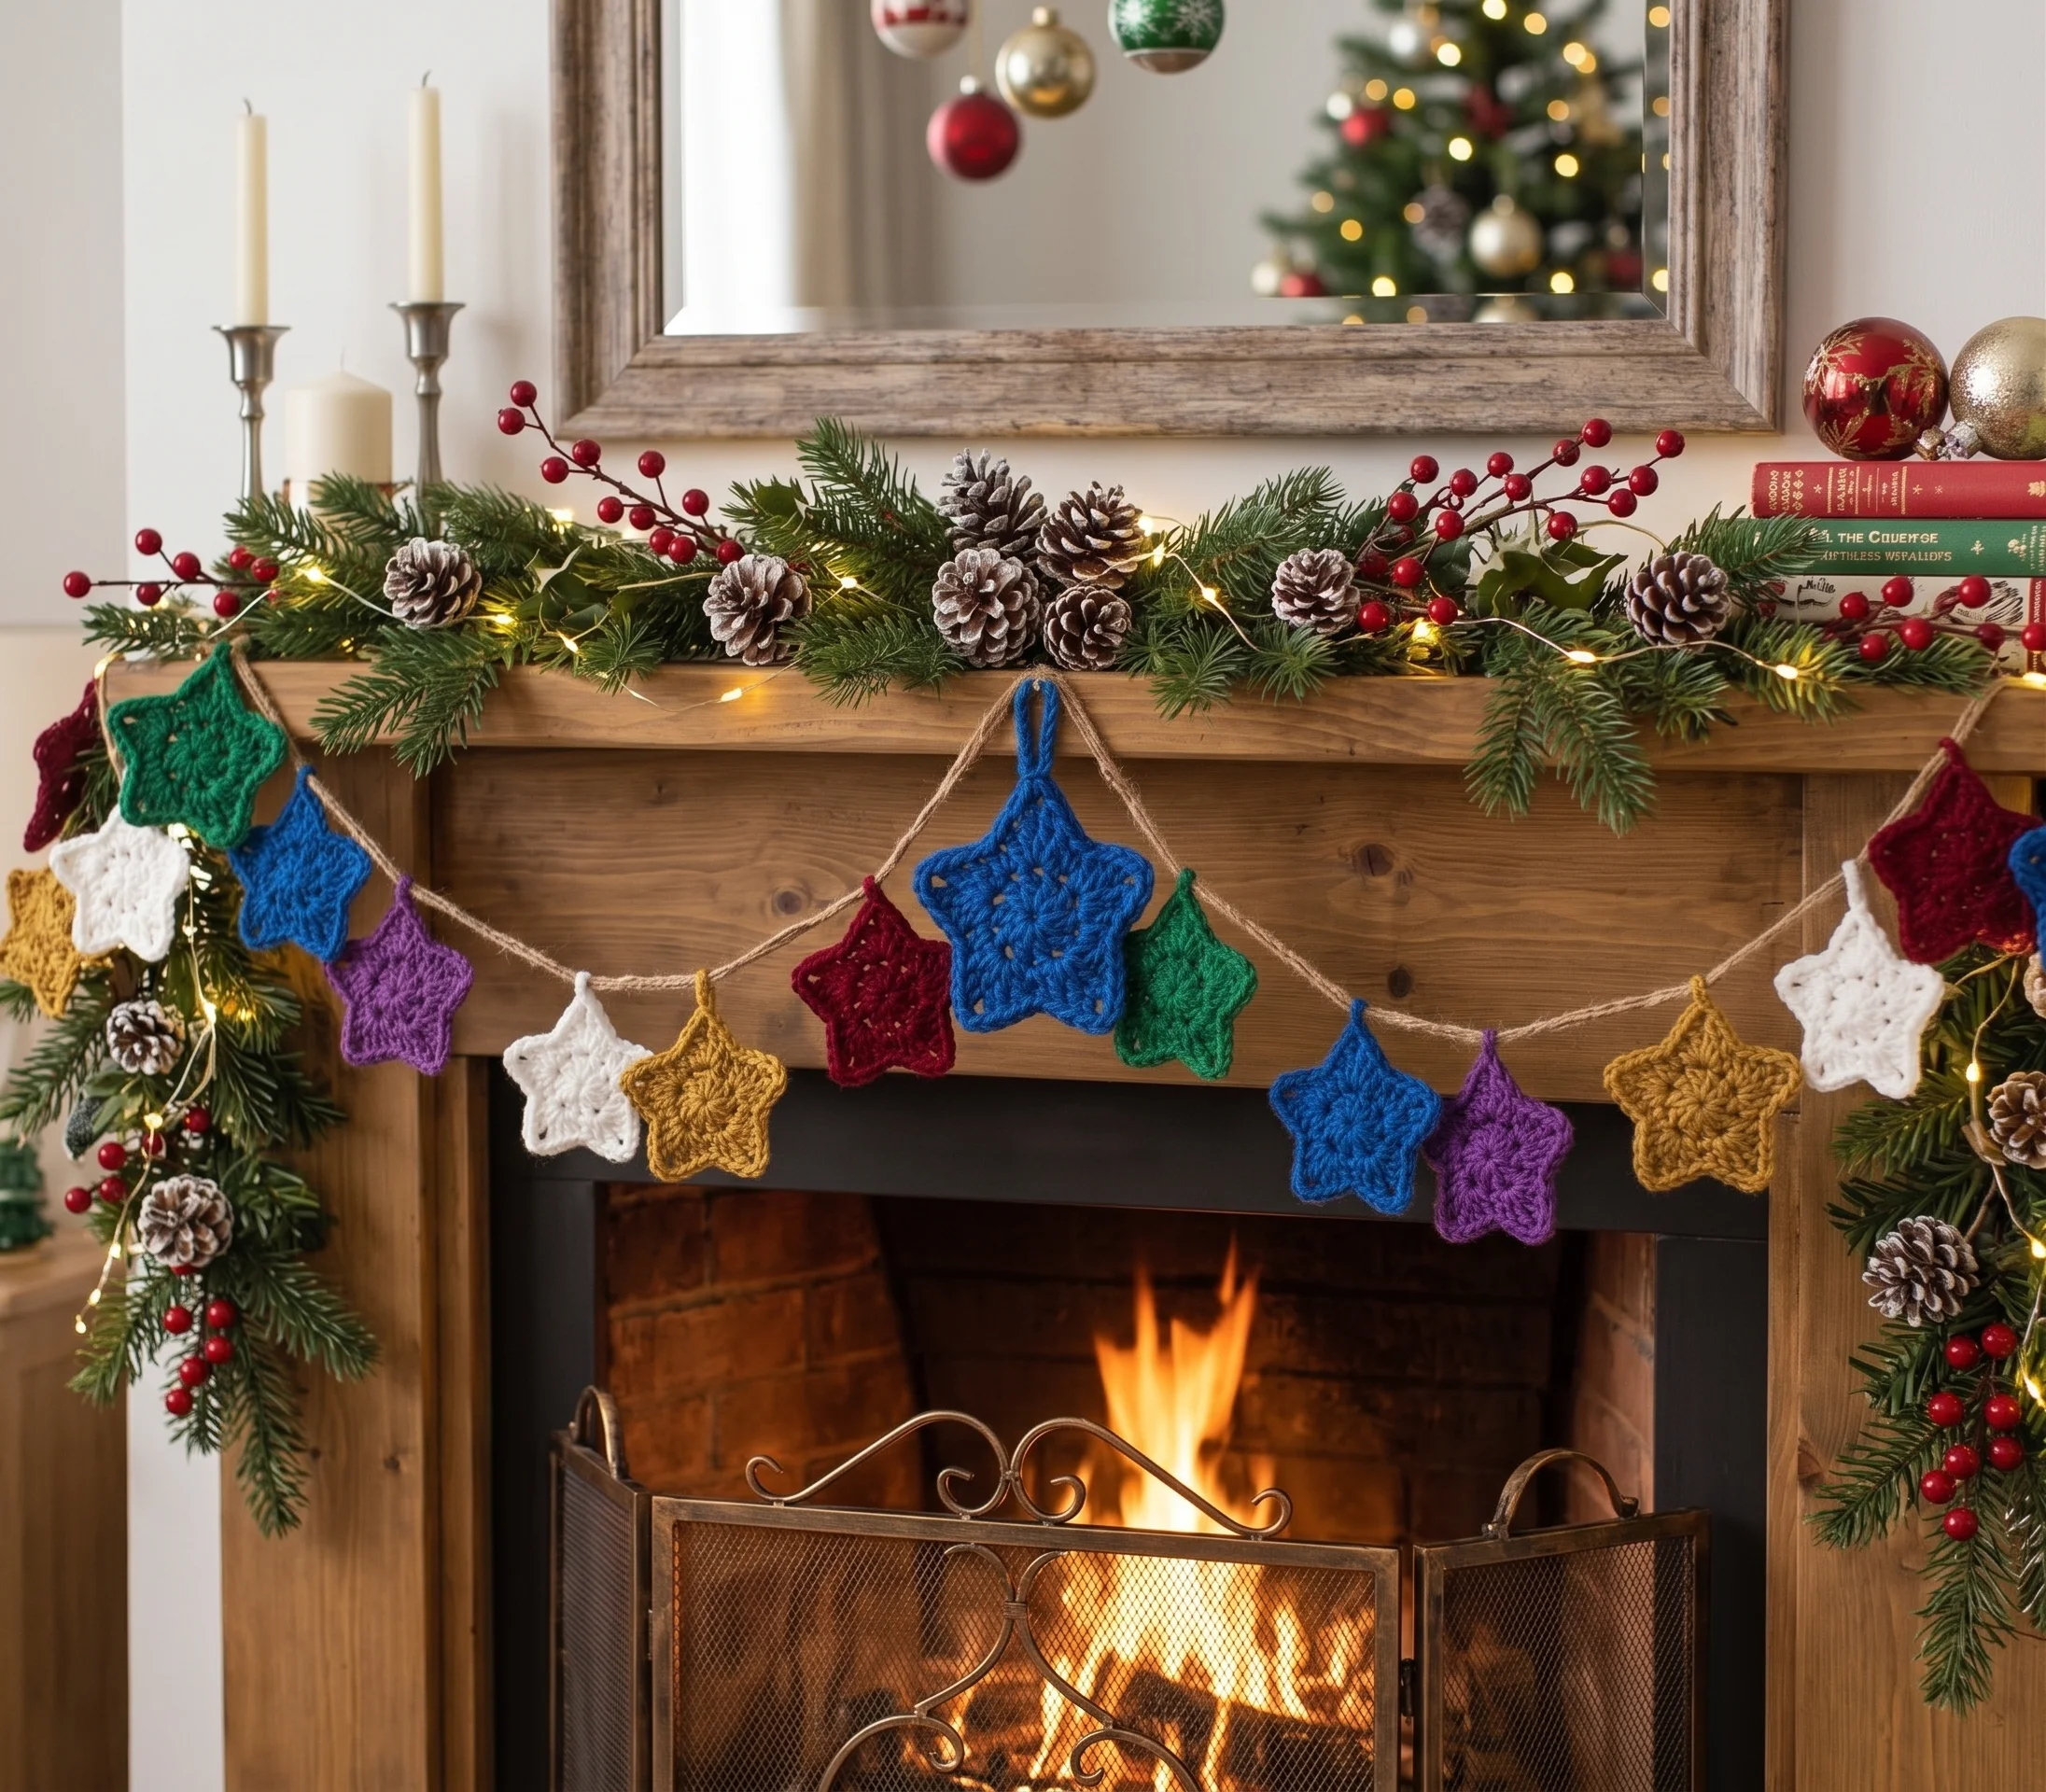
Hang them on branches, tuck them into a wreath or tie one onto a gift instead of a bow. Pair them with our Crochet Snowflake Pattern and Crochet Bell Ornament Pattern for a tree that feels bright, cozy and completely handmade.
Make Your Own Blocking Board
No blocking mat? No problem. Take a sturdy piece of cardboard, wrap it completely in plastic wrap, and tape the wrap at the back. That’s it. You now have a simple, wipe clean blocking surface that works perfectly for small projects like this.
Use rust proof pins, so you don’t leave marks on your damp star. And if you’re making a batch, pin several stars at once on one large board, so they all dry together and match perfectly.
Adding a Simple Hanging Loop
Fold a 6 to 8in (15 to 20cm) piece of jute, ribbon or yarn in half. Push the folded end through one of the star’s points, then pull the loose ends through the folded loop and tighten gently. This simple knot holds firmly without any sewing, and it’s easy to remove or change later. Jute adds a lovely rustic touch that pairs beautifully with natural decor.
Make It Your Own
Your star is wonderfully easy to customize. Try metallic yarn for a sparkly look under the tree lights, or a soft cotton in pastel shades for a nursery or spring display. A smaller hook and finer yarn make a tiny star perfect for gift tags, while a chunky yarn creates a bold star for a door or wreath.
You can even make a star topper for your tree. Simply make two larger stars, block them, and stitch them together around the edges, leaving a small opening at the bottom to slip over the top branch.
When Something Doesn’t Look Quite Right
If your star still looks like a flower, don’t worry. That simply means it hasn’t been blocked yet, or it needs a little more stretching while damp. If the points look uneven, re-wet the star with stiffener and pin it again, measuring each point from the center so they match.
If the star feels soft after drying, it may need a second coat of stiffener. And if it takes longer to dry than expected, move it to a warm, airy spot, away from direct heat.
Storing Your Stars Between Seasons
Stiffened stars hold their shape beautifully, but they appreciate gentle storage. When Christmas is over, lay them flat in a shallow box between sheets of tissue paper, away from heavier decorations that might bend the points.
If a star ever softens or loses a point, simply dampen it with a little stiffener, pin it out again and let it dry. It will look as crisp as the day you made it, ready to shine on your tree for many Christmases to come.
Keep Learning
Building your skills? These guides pair beautifully with this pattern: How to Block and Stiffen Crochet, Christmas Crochet Patterns to Make This Year and How to Block Crochet.
A Few Tips Before You Start
- Read the blocking section before you begin.
- Pull your magic ring tight for a neat center.
- Count your ten stitches before starting the points.
- Plan for drying time, since the star needs several hours pinned.
- Block a batch at once for a matching set.
Frequently Asked Questions
Pick up your hook and let’s bring your next crochet project to life!