Why Is My Crochet Getting Wider or Curling and How to Fix It Fast
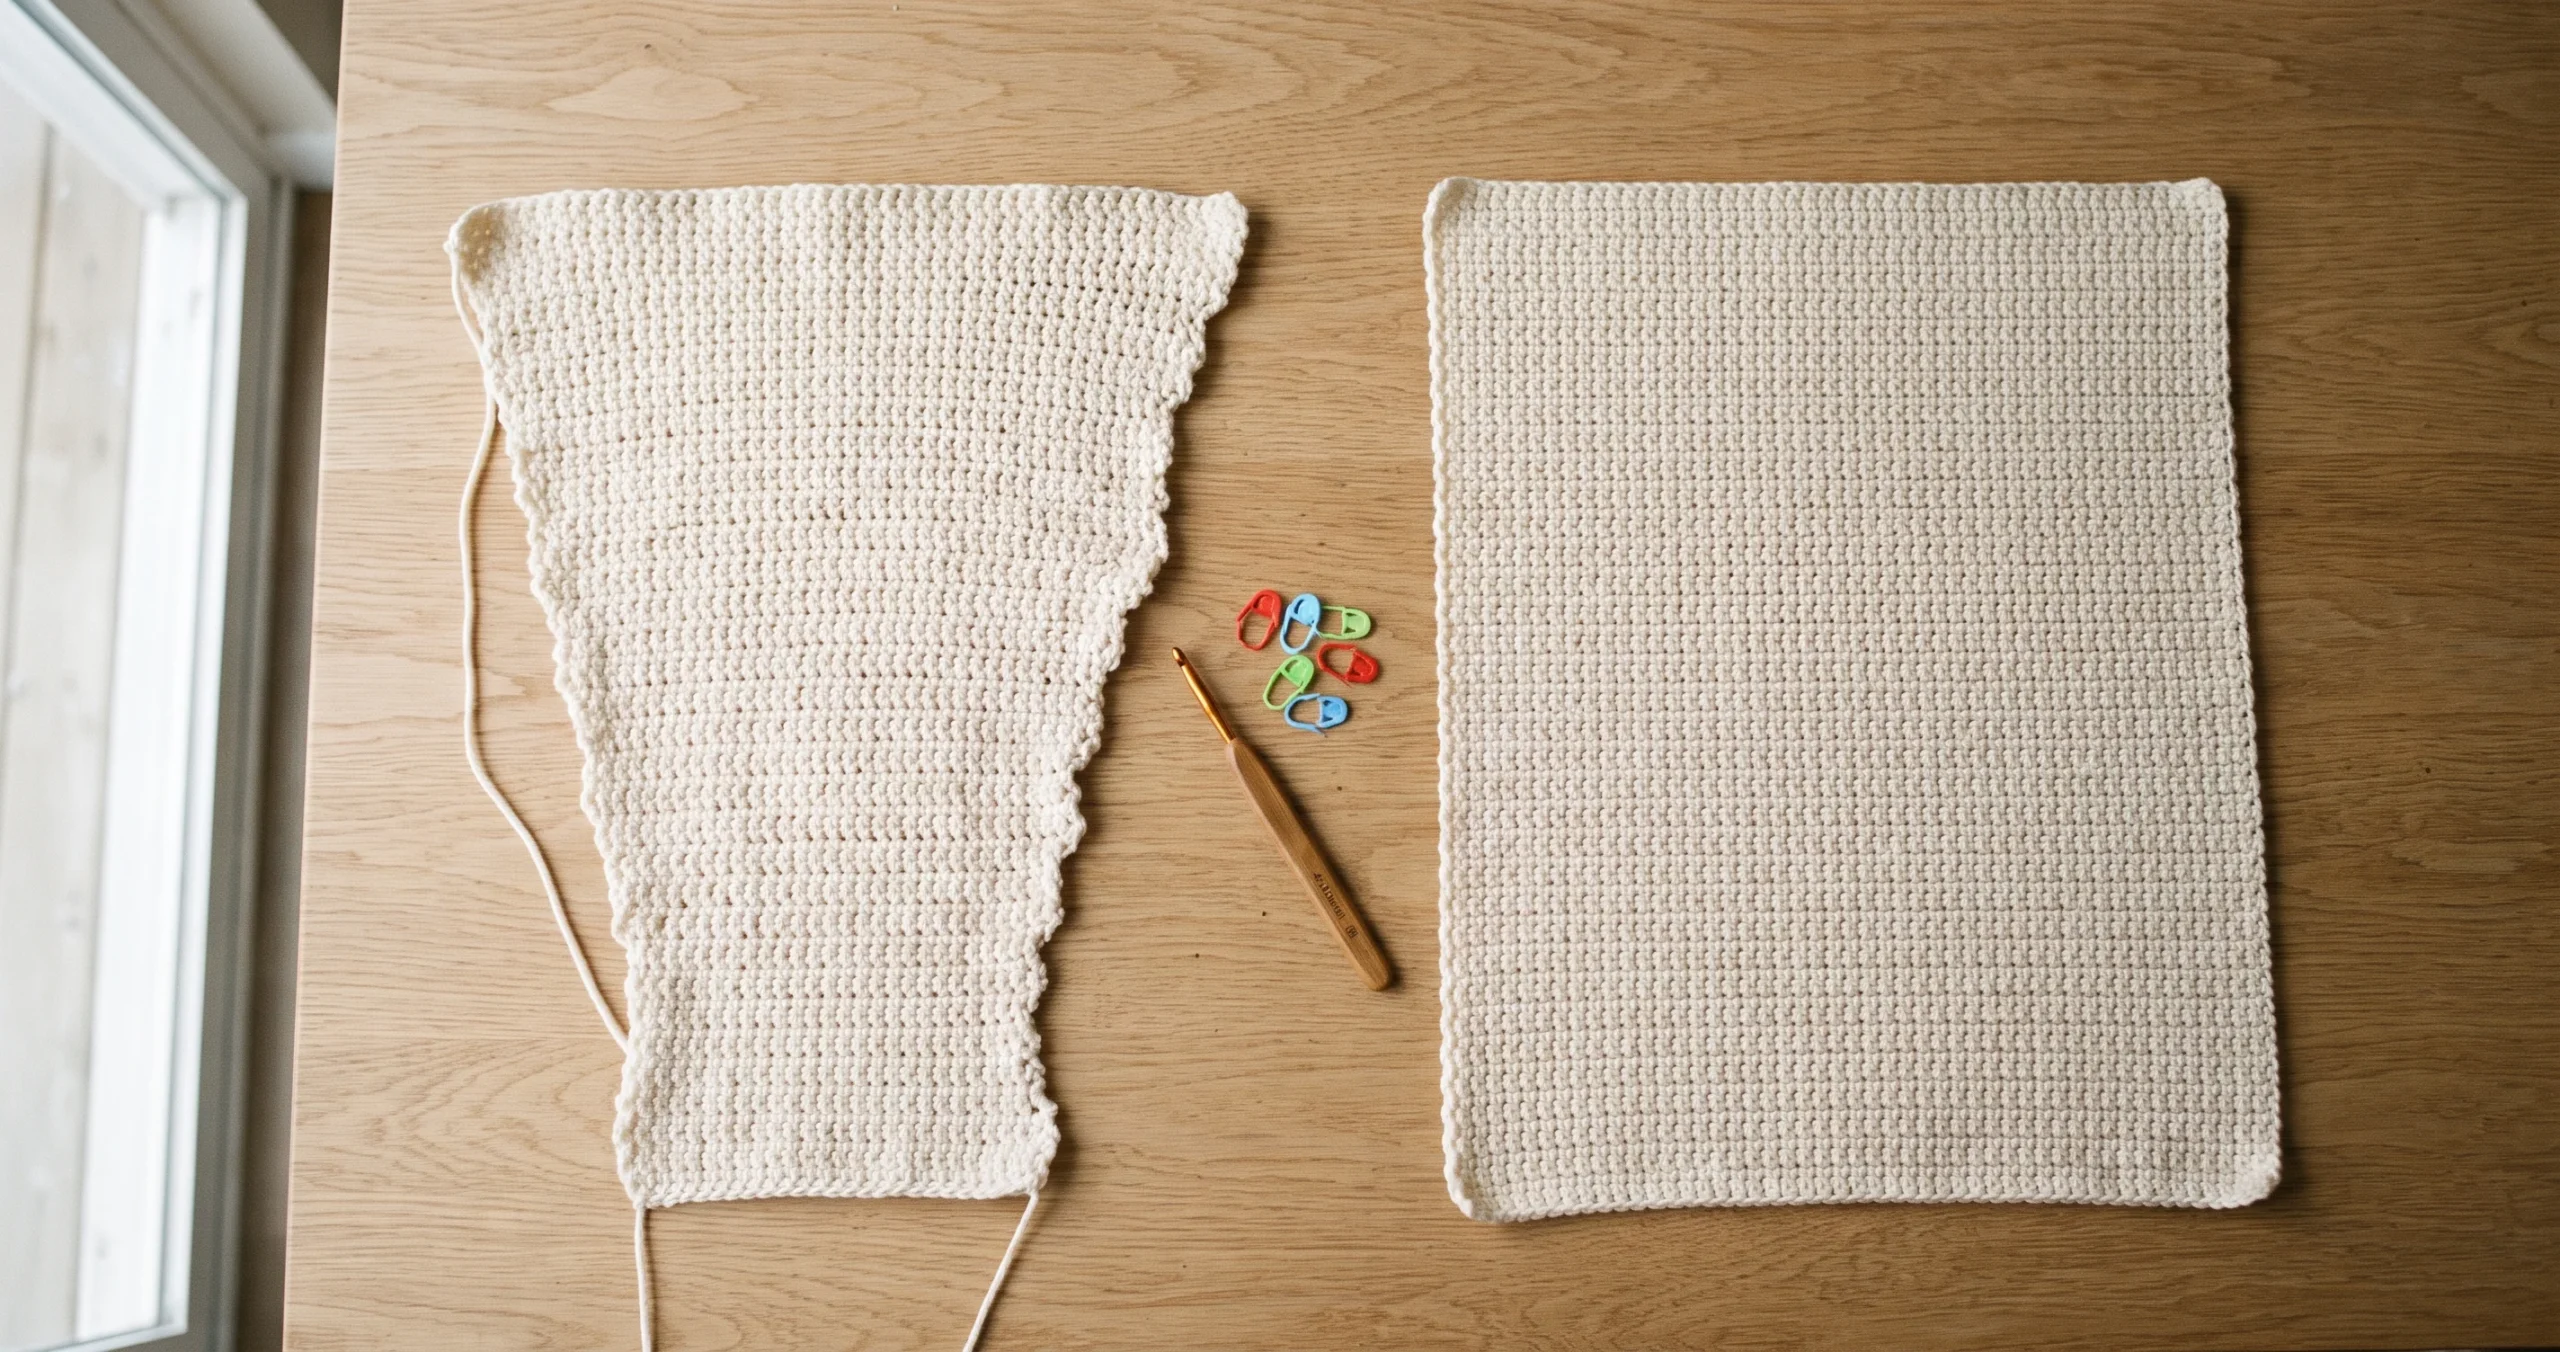
Few things are more frustrating than a blanket that slowly turns into a trapezoid. If your crochet is getting wider, narrower or curling, here’s what’s causing it and exactly how to fix it.
Why Is My Crochet Getting Wider, Narrower or Curling
If your crochet is getting wider, you’re almost always adding extra stitches, usually at the start or end of a row. If it’s getting narrower, you’re missing stitches. If it’s curling, your tension is too tight or your hook is too small for the stitch and yarn you’re using.
For crochet getting wider, check the first and last stitch of every row. Working into the turning chain by mistake, or working twice into the first stitch, adds a stitch each time. Put a stitch marker in the first and last stitch, and count at the end of every few rows.
For crochet getting narrower, the last stitch of the row is the usual culprit. It sits tucked beside the turning chain and is easy to miss.
For crochet curling, try a hook one size larger, relax your grip and loosen your foundation chain. A tight starting chain is one of the most common causes of curling edges.
For wavy granny squares, check your corners, the chains between clusters and your tension. Too many stitches make squares ruffle, while too few make them cup.
Most problems can be fixed with a little counting and gentle blocking at the end. If a finished blanket is already uneven, a carefully worked border and a good block can straighten it without unravelling everything.
Below you’ll find how to diagnose each problem, step by step fixes and the habits that keep your edges straight on every project.
You’ve been crocheting happily for an hour. Then you lay your work flat and notice something isn’t right. One side slants outward. The blanket that started as a neat rectangle now looks more like a trapezoid. Or the whole piece is curling up at the edges like a crisp.
If you’ve ever asked yourself why your crochet is getting wider, why it’s suddenly narrower, or why it refuses to lie flat, you’re far from alone. These are some of the most common questions beginners ask, and plenty of experienced crocheters still run into them on big projects.
The good news is that every one of these problems has a simple cause and a simple fix. Once you know what to look for, you’ll spot the problem early, fix it quickly and keep your edges straight from the very first row.
This guide walks you through each problem in plain, easy steps, from crochet getting wider to curling edges, wavy granny squares and rippling circles.
Why Crochet Changes Shape
Crochet changes shape for three main reasons.
Stitch count: Every row in a straight piece should have the same number of stitches. Add one and the piece grows wider. Miss one and it shrinks. Repeat that over many rows and a small slip becomes a very visible slant.
Tension: Tension is how tightly or loosely you hold your yarn and make your stitches. Tight tension pulls the fabric inward and can make it curl. Loose tension makes the fabric wider, softer and more open. Tension that changes during a project makes some sections wider than others.
Hook and yarn match: A hook that’s too small for your yarn creates stiff, tight fabric that’s more likely to curl. A hook that’s too big makes floppy, holey fabric that can stretch out of shape.
Most shape problems come from one of these three, and often from stitch count. That’s why counting is the single most useful habit in crochet.
How to Tell What Is Going Wrong
Before you fix anything, lay your work flat on a table and look carefully.
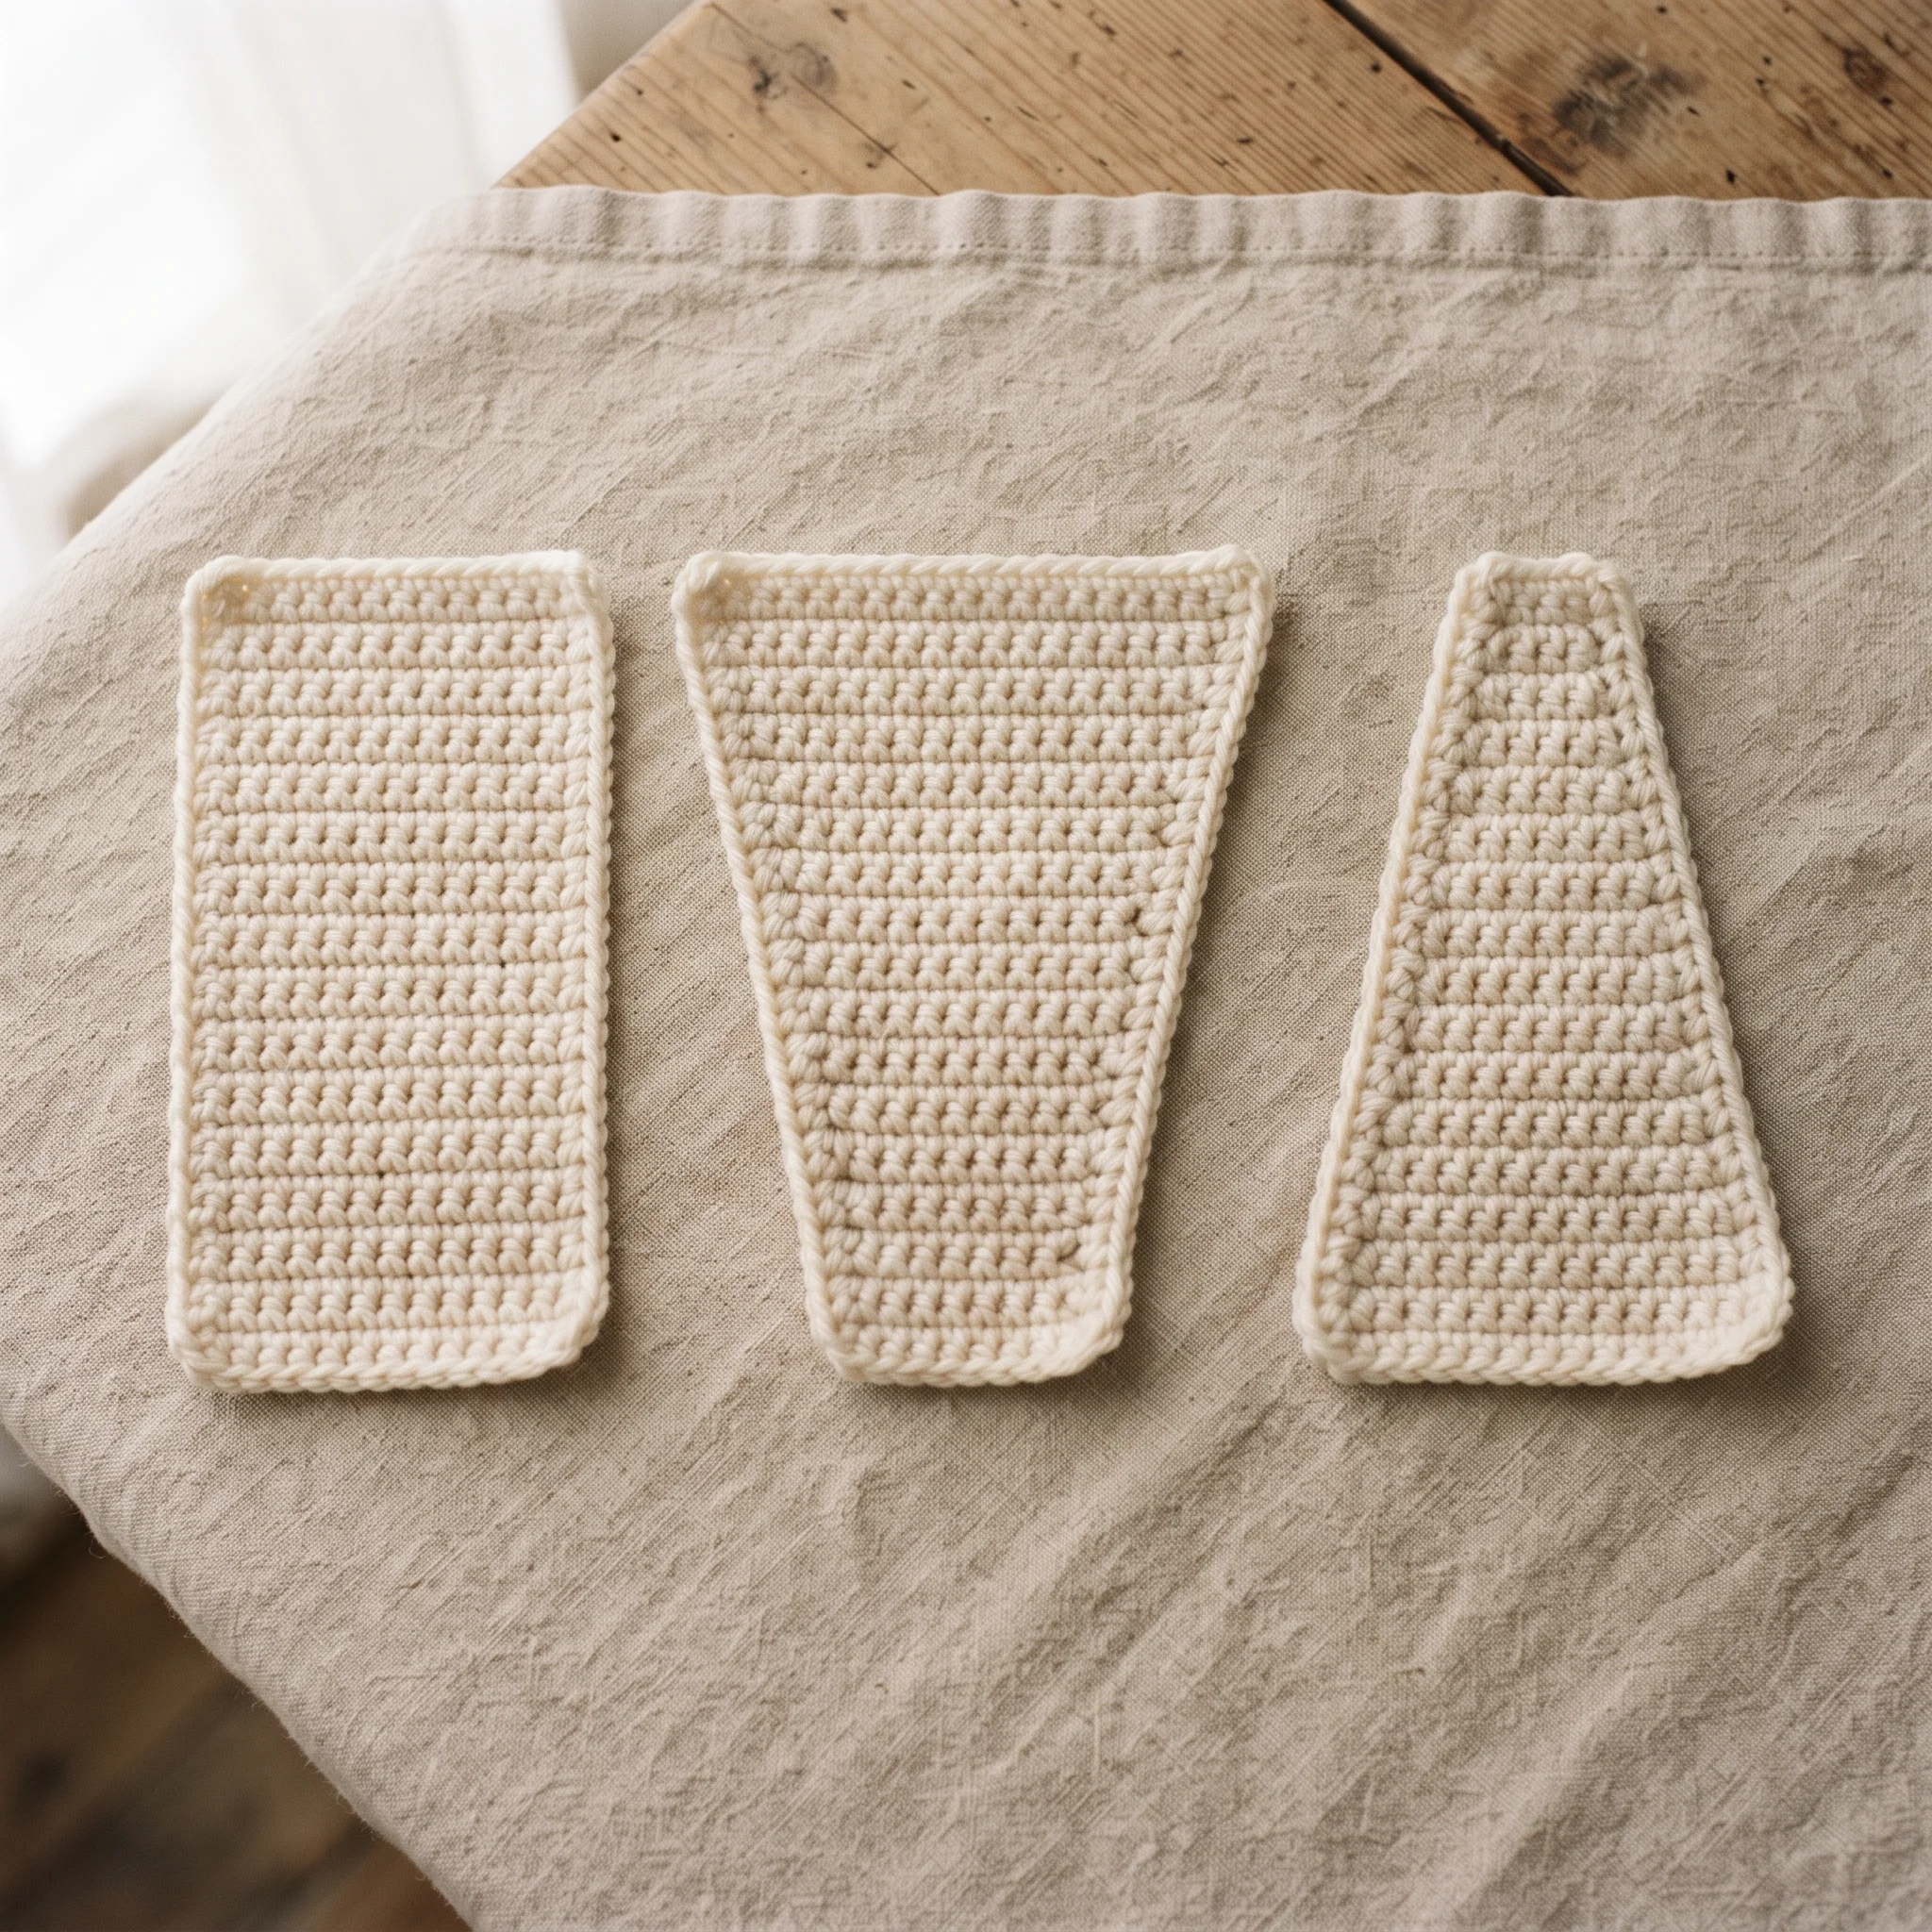
Both sides slant outward? You’re adding stitches. Your crochet is getting wider.
Both sides slant inward? You’re losing stitches. Your crochet is getting narrower.
Only one side slants? You’re probably adding or losing stitches at one end of the row only, usually where you turn.
The edges look wavy but the width is the same? Your turning chains may be too tall or too short for your stitches.
The whole piece curls up? Your tension or your foundation chain is too tight.
Count the stitches: Now count the stitches in your most recent row and compare them with your pattern or your first row. The number tells you exactly what’s happening, and roughly where it started.
Why Is My Crochet Getting Wider
If your crochet is getting wider, you’re adding stitches somewhere. These are the most common causes.
Working into the turning chain: In many patterns, the turning chain doesn’t count as a stitch. If you work a stitch into it at the end of the next row, you add an extra stitch every time.
Working twice into the first stitch: At the start of a row, it’s easy to work into the stitch directly below the turning chain and then into the same stitch again. That adds one stitch per row.
Working into the wrong space: Sometimes a stitch goes into the gap between two stitches rather than into the top of a stitch. That can add an extra stitch and make the edge wobble.
Loose tension: If your tension loosens as you relax into the project, the stitches get bigger and the fabric spreads wider, even if your count stays the same.
How to fix it
- Count the stitches in your current row.
- Look back through your rows to find where the count first changed.
- If it’s only one or two rows back, unravel to that point and redo them.
- If the extra stitches are many rows back and only slight, you can decrease the extras over the next row and block the piece later.
Prevention is easiest. Place a stitch marker in the first and last stitch of every row, so you always know exactly where to start and stop.
The Hidden Edge Stitch in Half Double Crochet
Half double crochet causes more crochet getting wider and narrower problems than any other stitch, and there’s a reason.
At the start of a half double crochet row, the stitch directly below your turning chain often looks like two stitches, because the top of the last stitch from the row before and the turning chain sit close together. At the end of the row, the last stitch can also look like it has an extra loop beside it, sometimes called a false stitch.
If you work into that false stitch, you add one extra stitch. If you miss the real last stitch, you lose one. Repeat that every row, and your fabric slowly slants.
The fix: count the tops of the stitches carefully, the little V shapes along the top of the row, rather than counting the loops at the edge. Put a stitch marker in the real first and last stitch of each row until you can recognize them by eye. After a few rows, you’ll spot them instantly.
Why Is My Crochet Getting Narrower
If your crochet is getting narrower, you’re missing stitches. Usually it’s one of these.
Missing the last stitch: The last stitch of a row sits right beside the turning chain from the row below and can be hard to see. Skip it once and you lose a stitch. Skip it every row and your piece shrinks steadily.
Skipping the first stitch: In patterns where the turning chain doesn’t count, you work your first stitch into the very first stitch of the row. Skipping it by accident loses a stitch.
Tight tension: Tighter stitches are smaller, so the fabric pulls inward even if your count stays the same.
How to fix it
Count, find where the count changed and unravel to that point if it’s recent. For a small loss further back, you can add a stitch or two over the next row to bring the count back, then block.
The best habit: before turning, look carefully for the last stitch. It’s often tucked slightly behind the turning chain. Tilt your work towards you and you’ll see it.
Why Crochet Gets Wider in Chunky Yarn
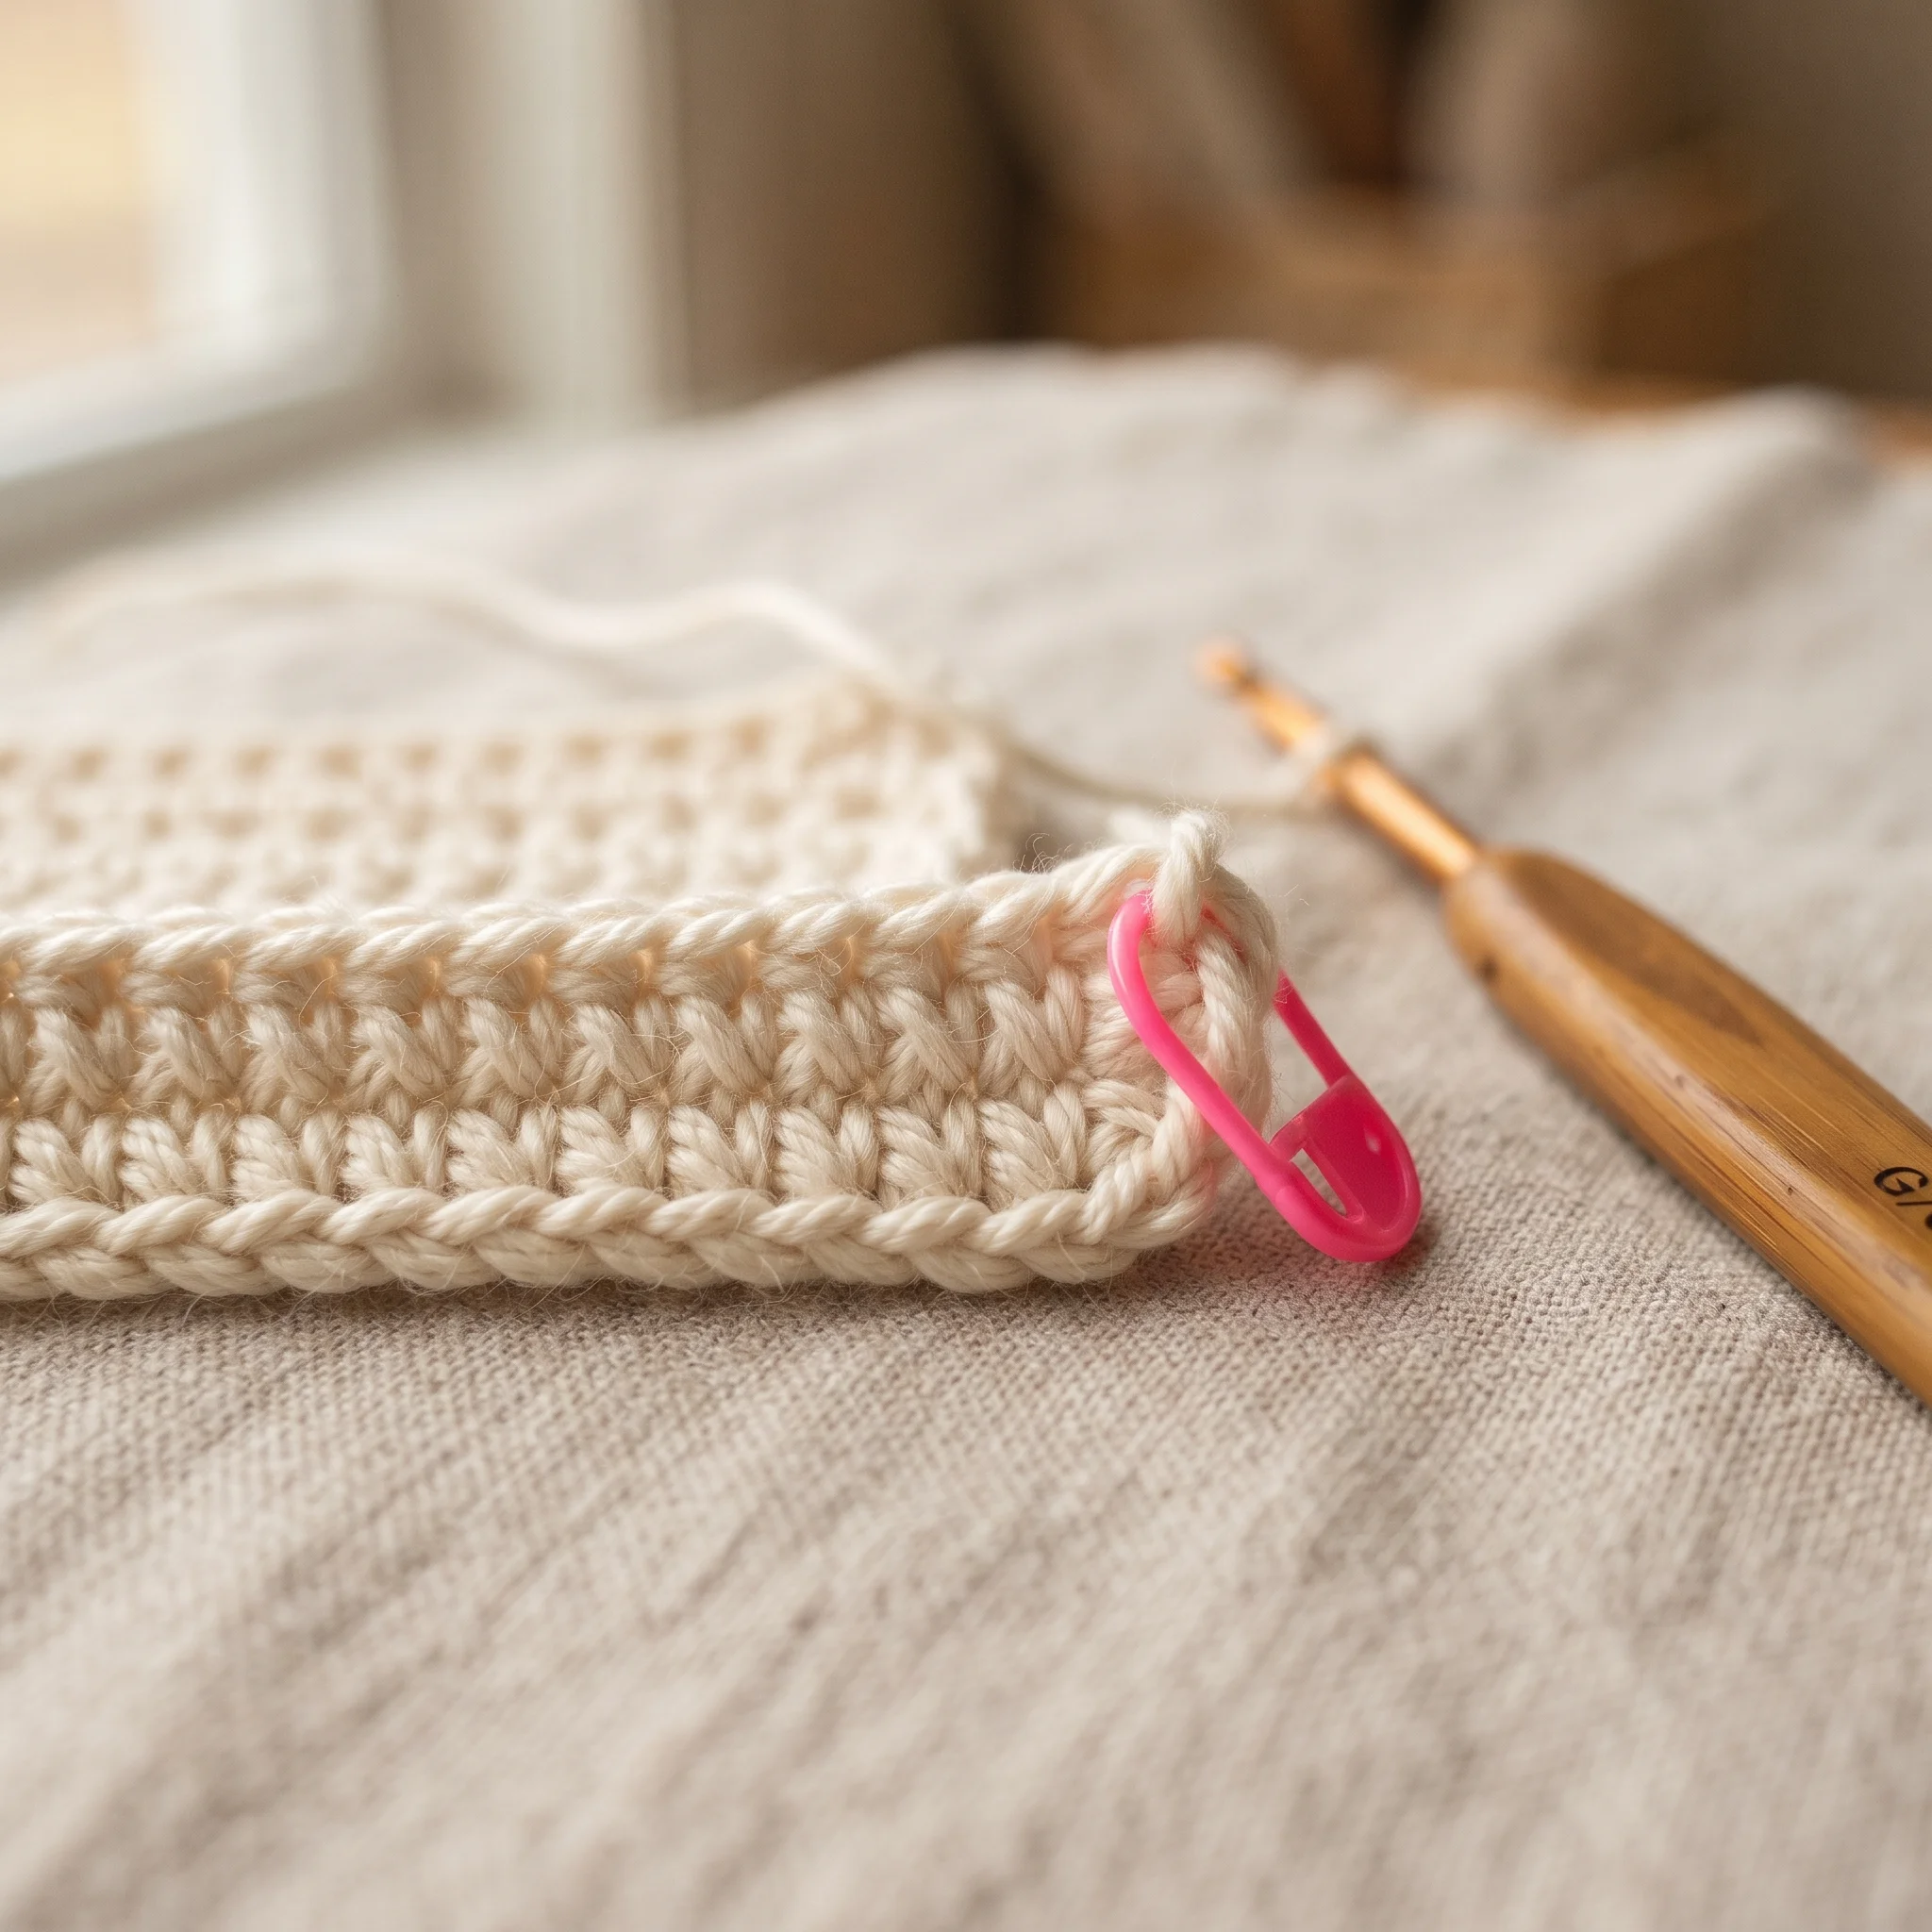
Chunky and super bulky yarns are wonderful for quick blankets, but they make it harder to see where one stitch ends and the next begins. That’s why so many crocheters find their crochet getting wider when they switch to thick yarn.
The stitches are harder to read: Thick, fluffy or textured yarn hides the V shapes at the top of each stitch, so it’s easy to work two stitches into one place or skip one altogether.
Edge stitches blend together: The first and last stitches of each row can merge into the turning chain.
How to keep chunky projects straight: use stitch markers on both edges, count the stitches at the end of every row for the first few rows, and work in good light. Smooth chunky yarns are much easier to read than fluffy or chenille styles, so choose them for your first chunky blanket.
Turning Chains Explained Simply
Turning chains cause more confusion than almost anything else in crochet, so it’s worth understanding them properly.
A turning chain is the chain you make at the start of a row to lift your hook up to the height of the stitches you’re about to make. Each stitch needs a different height:
- Single crochet: usually chain 1
- Half double crochet: usually chain 2
- Double crochet: usually chain 3
- Treble crochet: usually chain 4
Does the turning chain count as a stitch? It depends on the pattern. For single crochet, the chain 1 almost never counts. For taller stitches, some patterns count the turning chain as the first stitch and some don’t.
If it counts: skip the first stitch at the base of the chain, work into the next stitch, and at the end of the next row, work your last stitch into the top of the turning chain.
If it doesn’t count: work your first stitch into the very first stitch, and don’t work into the turning chain at the end of the next row.
Mixing these two methods is one of the most common reasons crochet gets wider or narrower. Check which method your pattern uses and stick to it on every row.
Why Hats and Amigurumi Get Wider in the Round
Crochet getting wider isn’t only a problem in rows. In hats, bags and amigurumi worked in the round, it shows up as a piece that flares when it should go straight.
Extra increases: If a round meant to be worked even accidentally gets an increase, the tube starts to flare. Count each round and compare it with the pattern.
Losing the start of the round: In continuous rounds, it’s easy to lose track of where each round begins and work a few extra stitches. Move a stitch marker up into the first stitch of every round.
Loose tension on straight rounds: Once the shaping is done, many crocheters relax, and the stitches grow larger. Keep your tension consistent through the straight sections.
For a hat that keeps its shape, our crochet ribbed beanie pattern is worked flat in rows, which many crocheters find easier to keep even than rounds.
Why Is My Crochet Curling
A curling piece of crochet is frustrating, but it’s usually easy to fix.
Tight tension: The most common cause. Tight stitches pull the fabric in, especially along the edges, which makes it curl. Try relaxing your grip on the yarn and the hook.
Hook too small: If your hook is small for your yarn, the fabric becomes dense and stiff and is more likely to curl. Try going up half a size or a full size.
Tight foundation chain: If your starting chain is tighter than the rows above it, the bottom edge pulls in and the fabric curls upward. This is so common that it has its own section below.
Stitch structure: Some stitches naturally curl, especially single crochet worked in one direction only, or fabric worked in the back loops on one side. Blocking or adding a border usually solves this.
Too few rows: A small swatch often curls more than the finished piece. As your project grows, the weight of the fabric often helps it lie flatter.
Fixing a Tight Foundation Chain
A tight foundation chain is one of the most common reasons crochet curls or puckers at the bottom edge.
Why it happens: Many crocheters naturally chain more tightly than they work stitches, especially when they’re concentrating on counting.
Use a bigger hook for the chain: Work your foundation chain with a hook one or two sizes larger than the one used for the rest of the project, then switch back for the first row.
Relax your hands: Let the yarn flow a little more freely while you chain.
Try a foundation stitch: Foundation single crochet or foundation double crochet create the chain and the first row at the same time. They’re naturally stretchier and match the width of the rows above.
Check the stretch: Gently pull the finished chain. If it feels much tighter than your stitches, start again with a larger hook. It’s quicker to redo the chain than to fight a curling edge later.
Why Are My Granny Squares Wavy or Curling
Granny squares have their own special problems, and they’re among the most common questions in crochet groups.
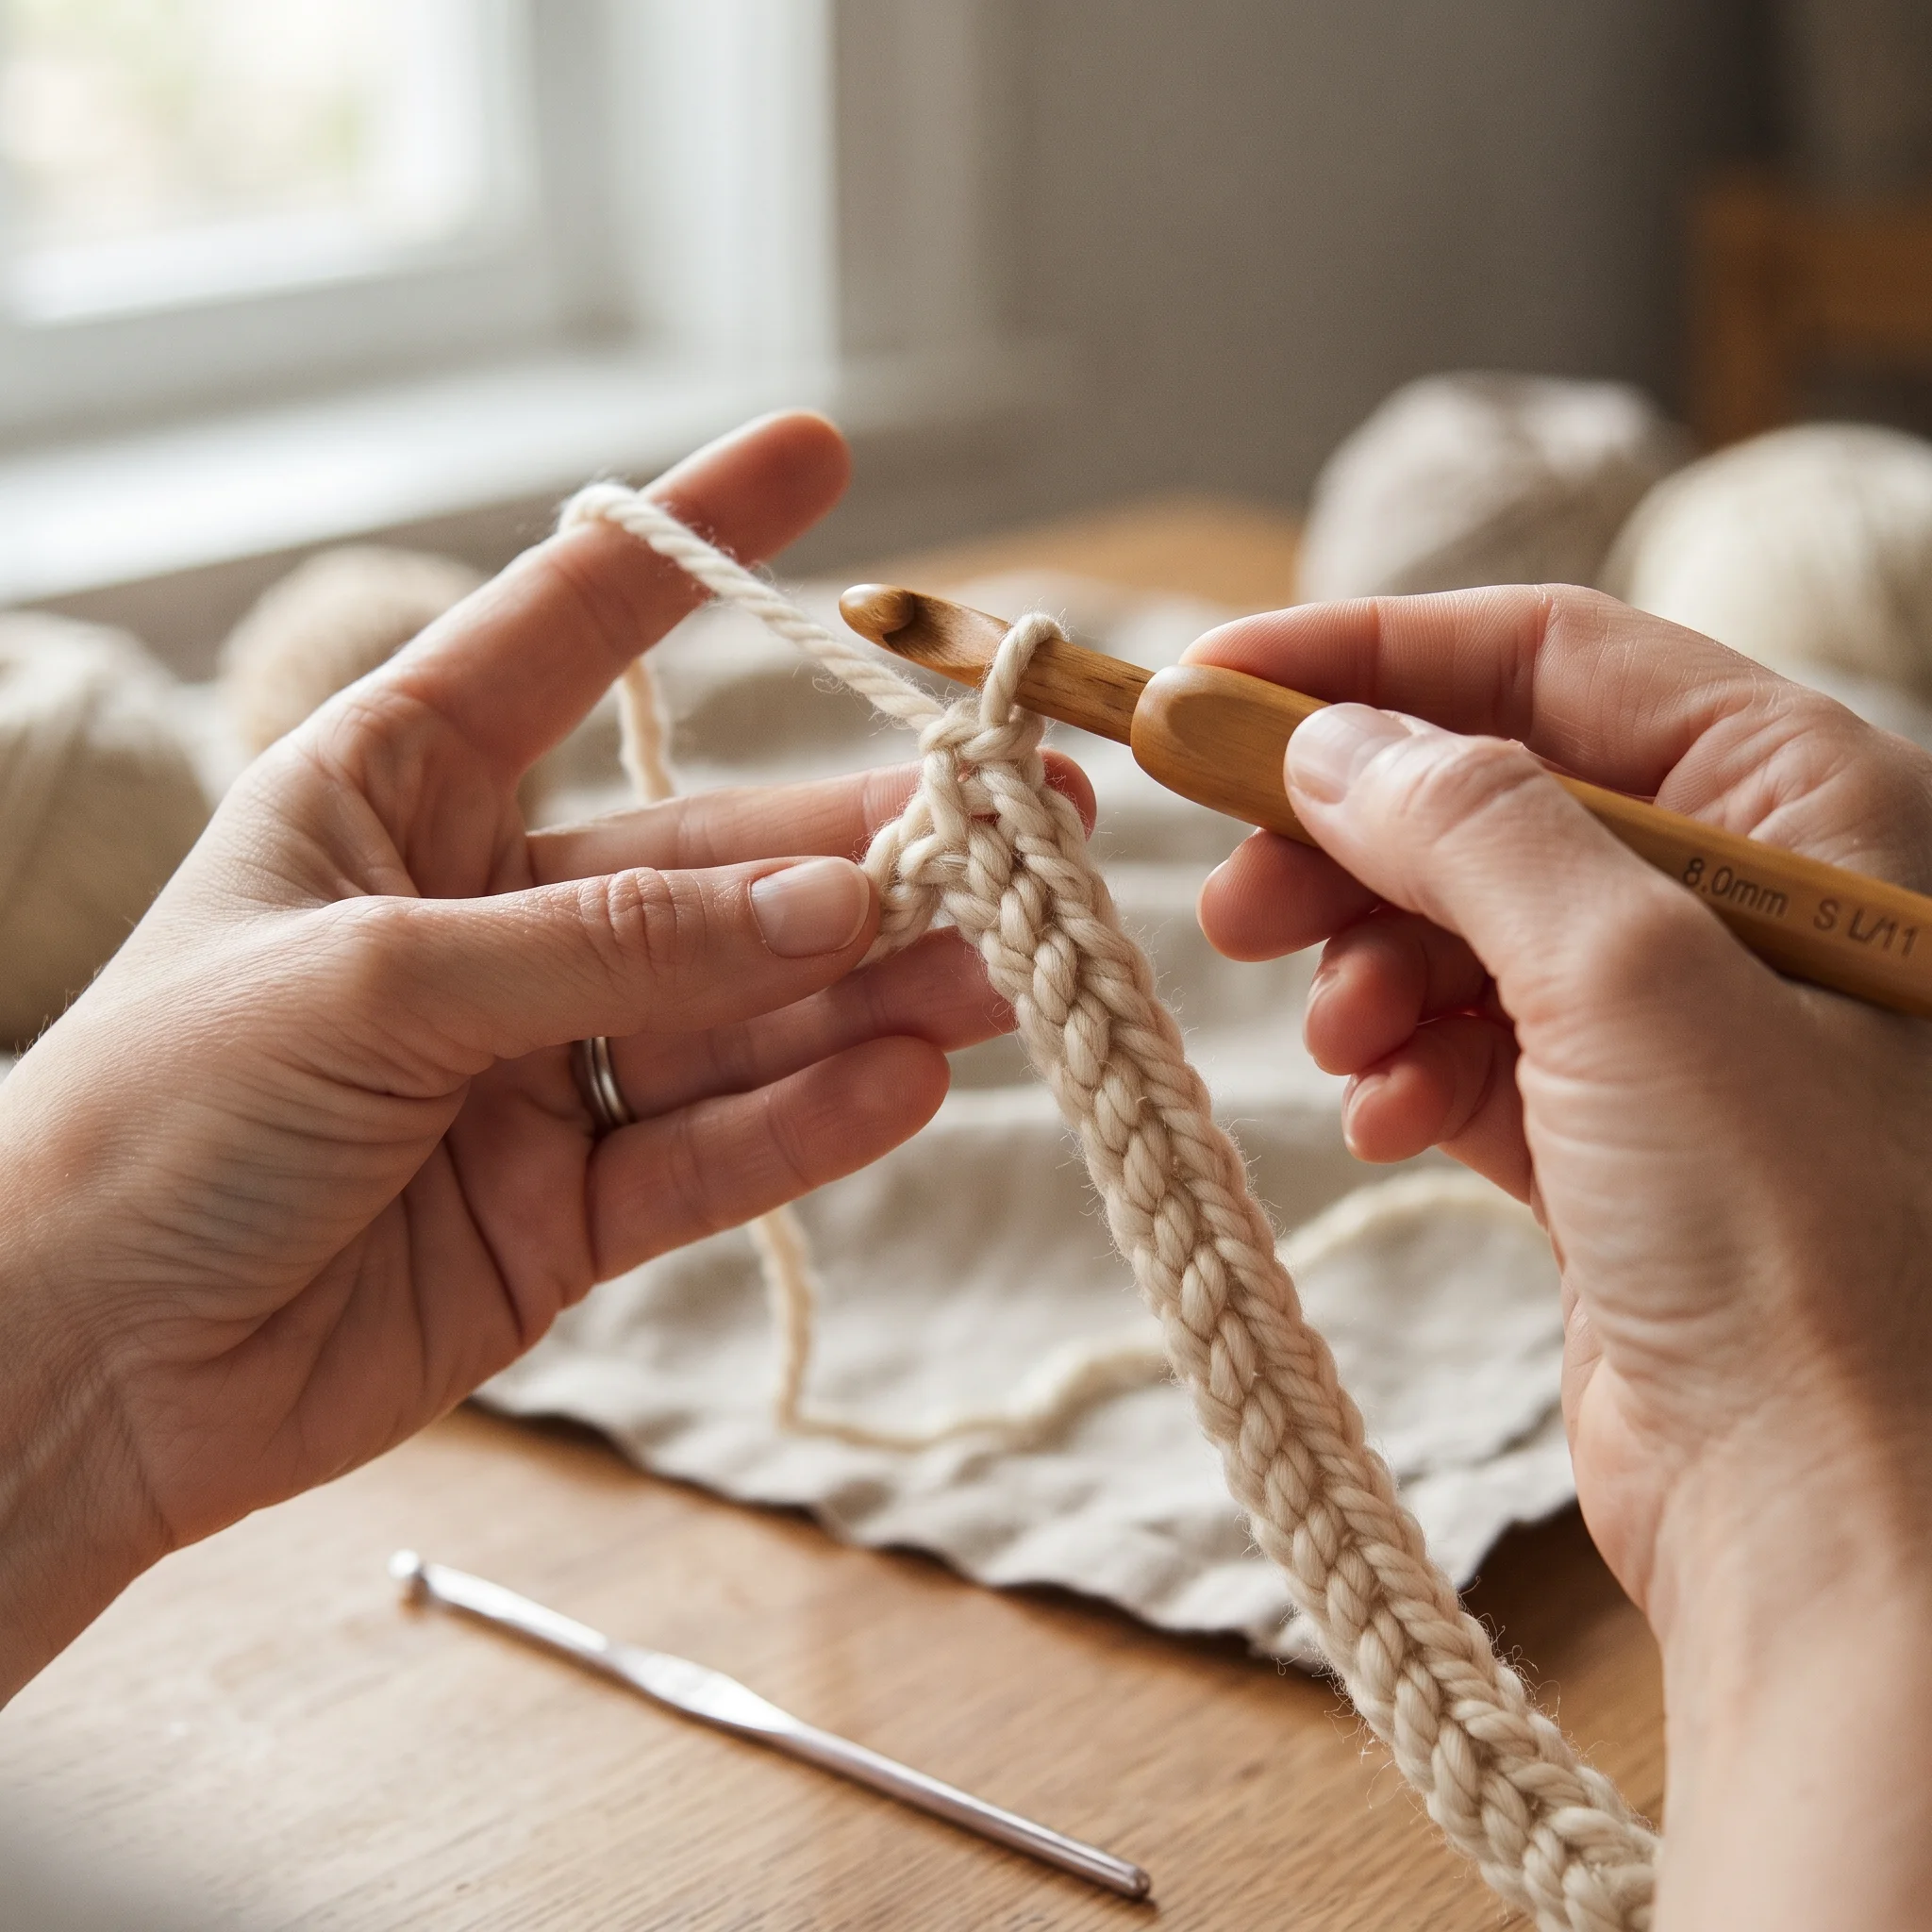
Wavy or ruffled squares usually have too many stitches or chains. Extra stitches in the corners, or chains between clusters that are too long, make the square grow faster than it can lie flat.
Cupped or curling squares usually have too few stitches, tight tension or a hook that’s too small. The square pulls inward and lifts at the corners.
Twisted squares are often caused by always joining rounds in the same spot without turning, which can make the square slowly spiral. Some crocheters turn their work at the end of each round to keep it straight.
How to fix granny square problems
- Check your corner stitches. A classic granny square uses three double crochets, two or three chains and three more double crochets in each corner. Compare yours with the pattern.
- Count the clusters along each side. Every side should have the same number.
- Relax your tension or try a larger hook if the square cups.
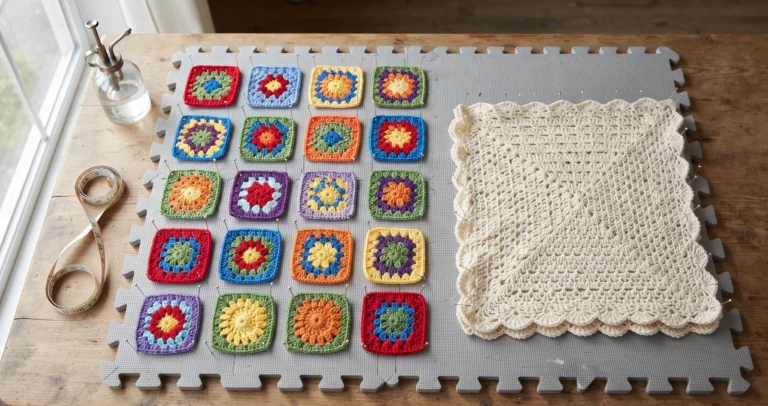
- Block your squares before joining. Blocking evens out small differences and makes joining much easier.
Our granny square blanket pattern and skull granny square pattern both include clear corner instructions to keep your squares flat.
Why Is My Crochet Circle Rippling or Cupping
Circles, mandalas and the bases of amigurumi follow a simple rule: each round increases by the same number of stitches.
Rippling or ruffled circles have too many increases. The edge grows faster than the center and starts to wave.
Cupping circles have too few increases. The edge can’t keep up with the center, so it curves upward into a bowl shape. That’s exactly what you want for amigurumi, but not for a flat coaster.
How to fix circle problems
Count the stitches in each round and compare them with the pattern. For a flat circle in single crochet, most patterns start with six stitches and add six stitches every round. Double crochet circles usually start with twelve and add twelve.
Stagger your increases: Increases placed directly above each other can make a circle look like a hexagon. Shifting them slightly each round keeps it round.
How Tension Changes Over a Big Project
On big projects like blankets, tension often changes without you noticing.
You relax as you go: At the start, you’re concentrating and often crochet more tightly. Once the rows become familiar, you relax and your stitches get bigger. That’s why a blanket can be narrower at the bottom than the top, even with a perfect stitch count.
Your mood shows in your stitches: Many crocheters notice they crochet more tightly when they’re stressed or tired, and more loosely when they’re relaxed.
Breaks change your tension: After a few days away from a project, your tension may be slightly different when you return.
How to keep tension consistent
- Measure the width of your project now and then, not just your stitch count.
- Warm up with a few stitches on a scrap before returning to a big project.
- Crochet in a comfortable position with relaxed hands.
- If you notice a difference, try a slightly smaller or larger hook to match your earlier rows.
Our easy crochet blanket pattern uses a simple four row repeat that’s ideal for practicing even tension, and the chevron crochet blanket pattern includes tips for keeping your edges straight over a large throw.
Choosing the Right Hook Size for Flat Fabric
The right hook makes flat, even fabric much easier to achieve.
Start with the yarn label: Most yarn labels suggest a hook size. It’s a good starting point for blankets, scarves and garments.
Adjust for your tension: If your fabric feels stiff or curls, go up half a size or a full size. If it feels loose, floppy or has large holes, go down a size.
Amigurumi is different: For stuffed toys, you deliberately use a hook smaller than the label suggests, because tight stitches keep the stuffing hidden. That’s why amigurumi fabric curls into shape so readily.
Make a quick swatch: Crochet a small square with your chosen hook and stitch. If it lies flat and feels right, you’ve found your match. A few minutes of swatching can save you from a blanket that curls or slants later.
Should You Unravel or Keep Going
Finding a mistake raises the big question: do you rip it back, or keep going?
Unravel if:
- The mistake is only a few rows back.
- The piece is a garment or anything that needs to fit.
- The width difference is clearly visible.
- The project is a gift or something you plan to sell.
Keep going if:
- The difference is tiny and won’t be noticed once blocked.
- The piece is decorative and doesn’t need to be precise.
- You can quietly fix the count over the next row with a discreet increase or decrease.
Use a lifeline: On big projects, you can thread a piece of contrasting yarn through a row every so often. If you need to unravel, you can rip back to the lifeline without losing more rows.
There’s no shame in unravelling. Every experienced crocheter has pulled back more rows than they’d like to admit, and the finished project is always worth it.
Fixing a Blanket That’s Already Uneven
Sometimes you only notice the problem once the blanket is finished. Before you unravel weeks of work, try these gentler fixes.
Measure both ends: Lay the blanket flat and measure the width at the bottom, middle and top. Knowing exactly where it’s wider or narrower helps you decide what to do.
Use the border to even things out: When you work a border, you can place slightly fewer stitches along the wider sections and slightly more along the narrower ones. Spread these adjustments evenly so they don’t show. A few rounds of single crochet can disguise a surprising amount of unevenness.
Block firmly to shape: Pin the blanket to the correct measurements and block it. Small differences often relax into place.
Accept a little character: Handmade blankets aren’t machine made, and small variations are part of their charm. If the difference is barely noticeable once the blanket is on a sofa, it may be perfectly fine as it is.
Unravel only if it really matters: If the difference is large, or the blanket is a gift you’d feel uneasy about, unravel back to where the problem started and redo those rows. You’ll be glad you did.
How Blocking Can Rescue Uneven Edges
Blocking is the process of wetting or steaming your finished crochet, then shaping and pinning it to dry. It can work wonders on uneven edges.
What blocking can fix: slightly wavy edges, small width differences, gentle curling and squares that are slightly different sizes.
What blocking can’t fix: big stitch count differences, a blanket that’s several inches wider at one end, or twisted rows.
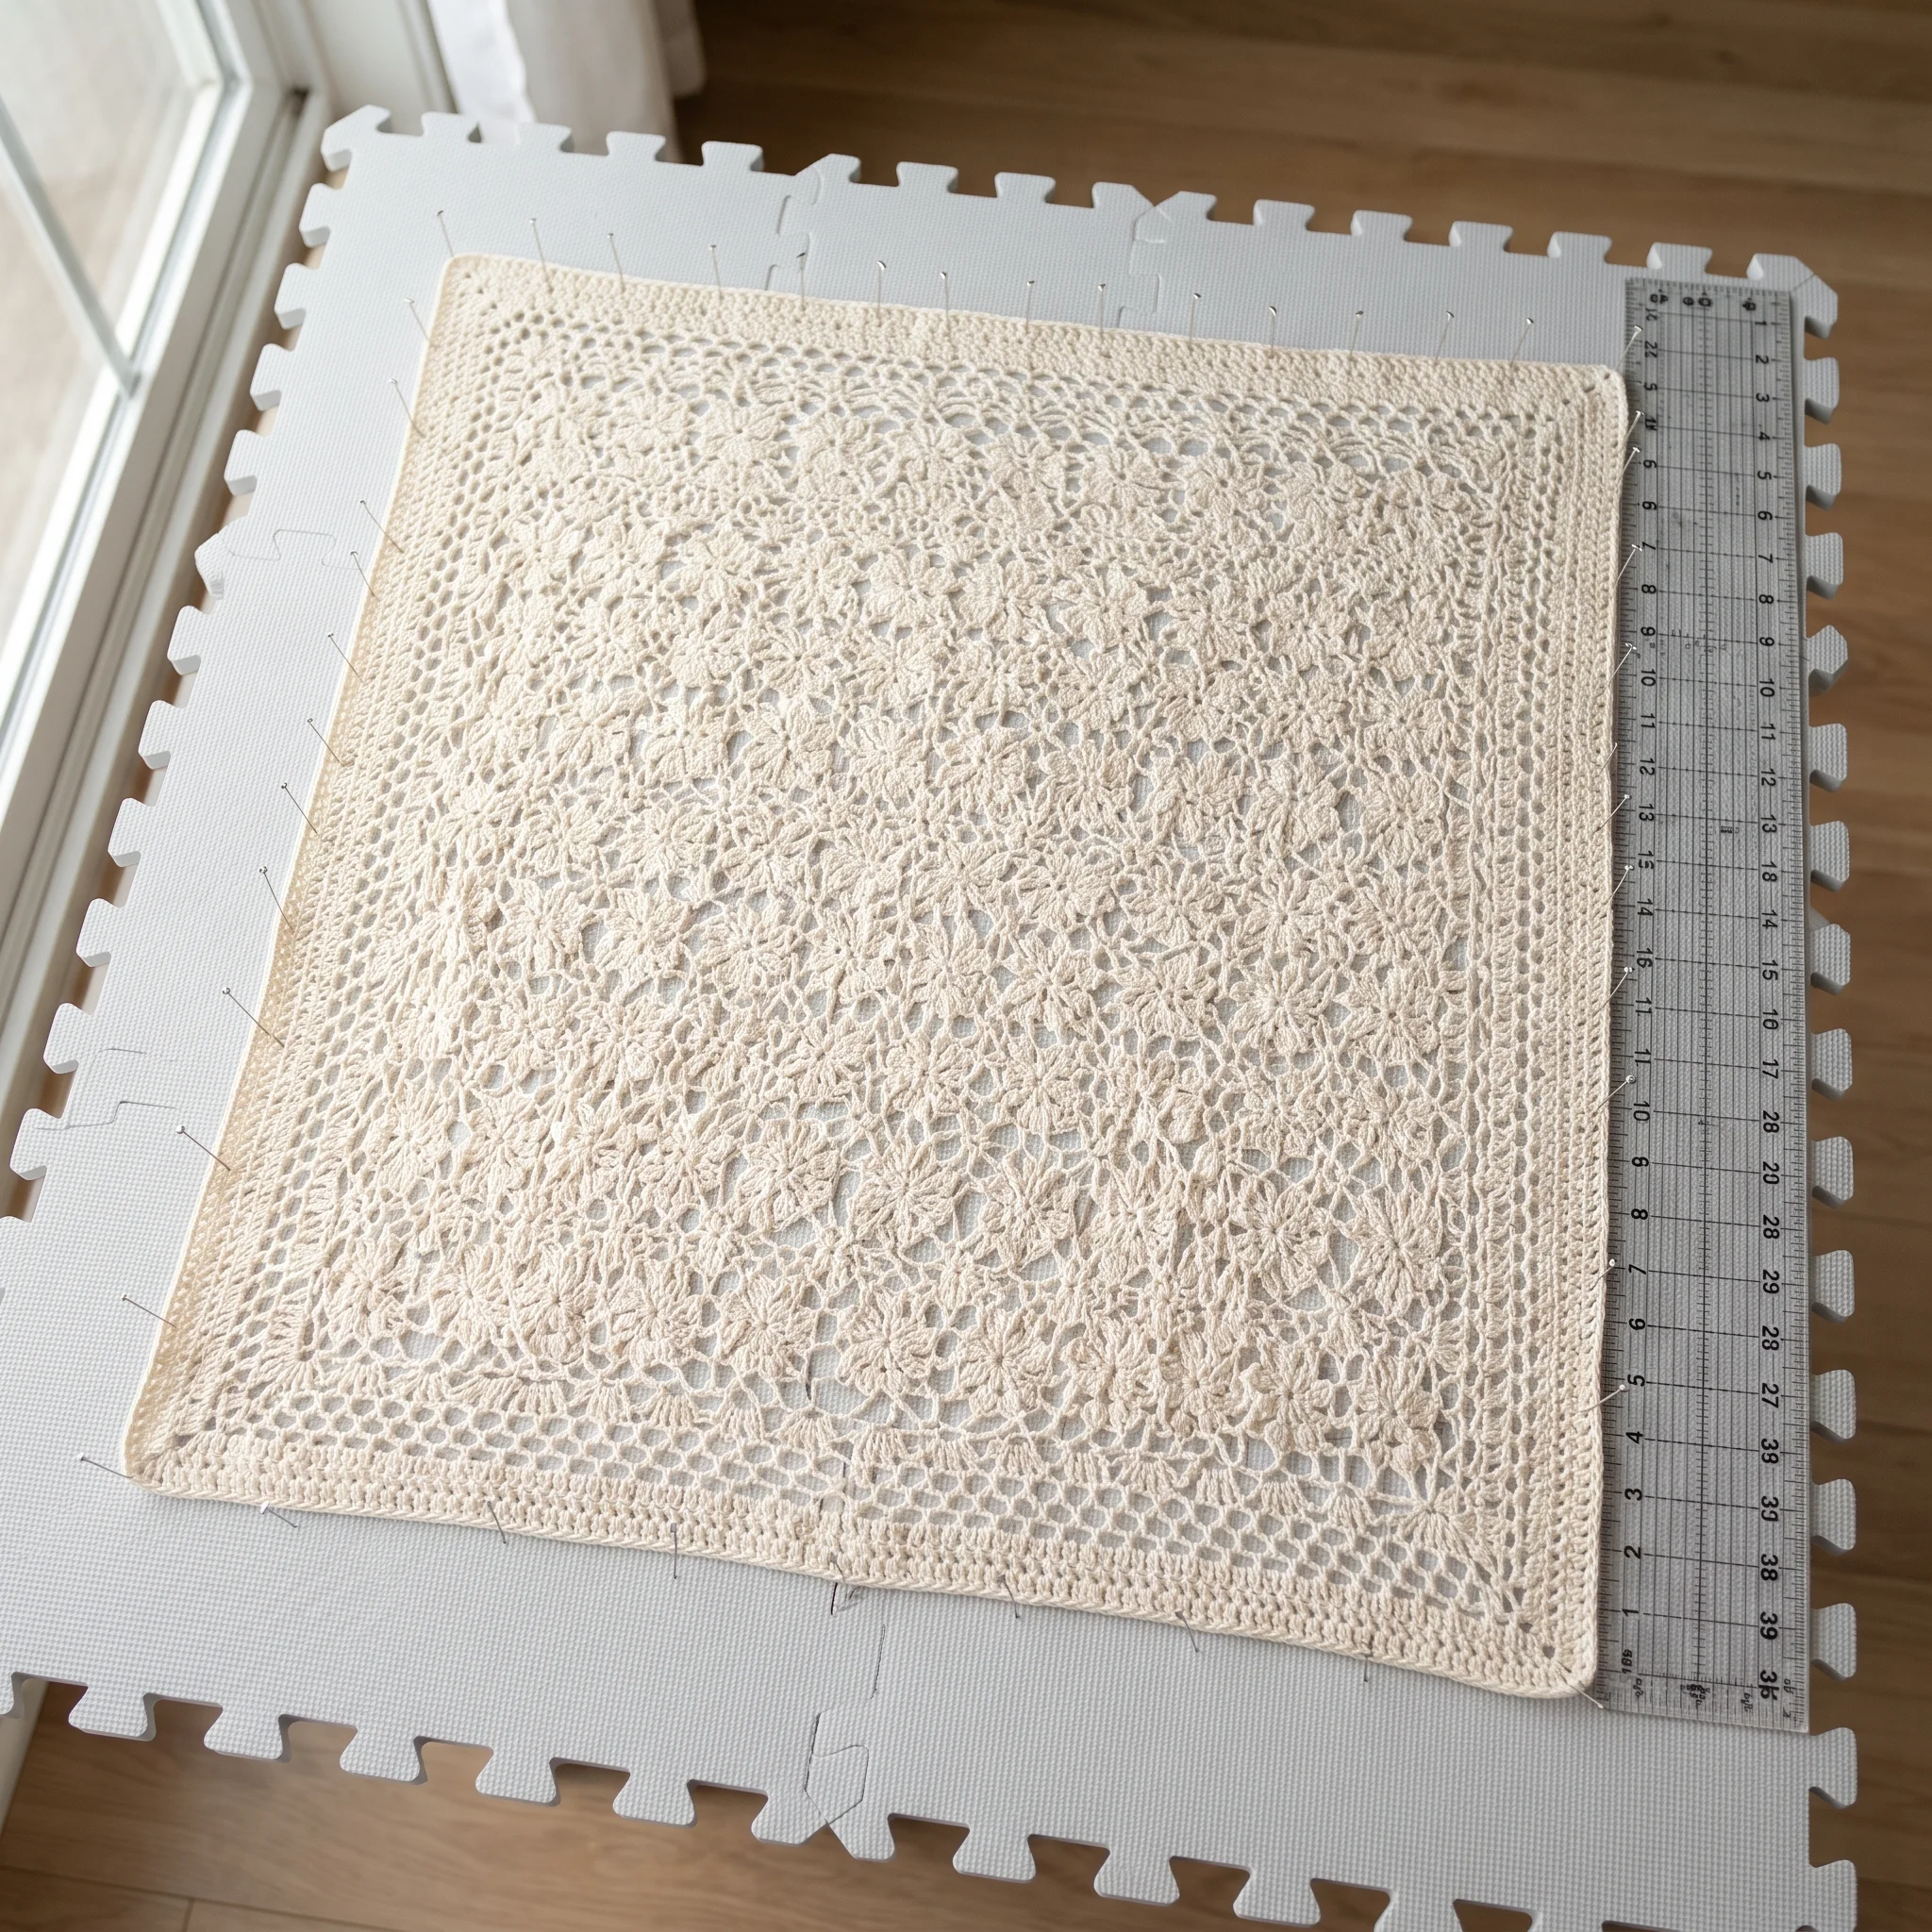
How to block for straighter edges: wet or steam your piece, lay it flat on a blocking mat or towels, then gently pin the edges into straight lines using a ruler or the grid on your mat. Let it dry completely before removing the pins.
Our guide on how to block crochet blankets, granny squares and sweaters explains each method step by step, including how to block acrylic yarn safely.
Habits That Keep Your Edges Straight
A few simple habits prevent almost every shape problem.
Use stitch markers on the first and last stitch: Move them up each row. You’ll never miss or add an edge stitch again.
Count often: Count every row at first, then every few rows once you’re confident. It takes seconds and saves hours.
Know your turning chain rule: Check whether your pattern counts the turning chain as a stitch, and stick to it every row.
Make a gauge swatch: A swatch shows you your tension before you start and helps you choose the right hook.
Measure as you go: On big projects, measure the width every few inches to catch tension changes early.
Keep your hands relaxed: Tense hands make tight stitches. Take breaks, stretch your fingers and crochet in good light.
Add a border. A simple single crochet border around a finished piece hides small wobbles and gives a clean, straight edge.
Straight Edges in Our Patterns
Many Variatee patterns include stitch counts at the end of every row or round, so you can check your work as you go and catch crochet getting wider before it becomes a problem.
Our textured crochet blanket pattern lists the stitch count at the end of each row, which makes it easy to spot a missed or extra stitch early. Our baby blanket crochet pattern includes tips for keeping the border corners flat, and the chevron crochet blanket pattern explains how to keep the peaks and edges even across a full size throw.
When a pattern gives you stitch counts, use them. Ticking off each row as you check it is one of the simplest ways to keep a big project on track.
Quick Answers to Related Crochet Problems
These are questions crocheters often ask next, with short answers and links to our guides.
Holes at the Edges of Rows
Small holes along the edge usually come from turning chains that are too tall or loose. Try chaining one fewer, or use a stacked single crochet instead of a turning chain for taller stitches.
Running Out of Yarn Before the Blanket Is Finished
A blanket that’s grown wider than planned uses more yarn than expected. Keep an eye on your width and stitch count, and estimate your yarn before you start. Our guide on how much yarn you need for a crochet blanket and our yarn calculator can help.
Messy Edges When Changing Colors
Color changes at the ends of rows can make edges look messy. Change color on the final step of the last stitch for a clean line. Our guide on how to change colors in crochet explains it fully.
Post Stitch Fabric Pulling In
Post stitches and cables naturally pull fabric inward, which can make a piece narrower than expected. Our guide on front post and back post crochet stitches explains how to plan for this.
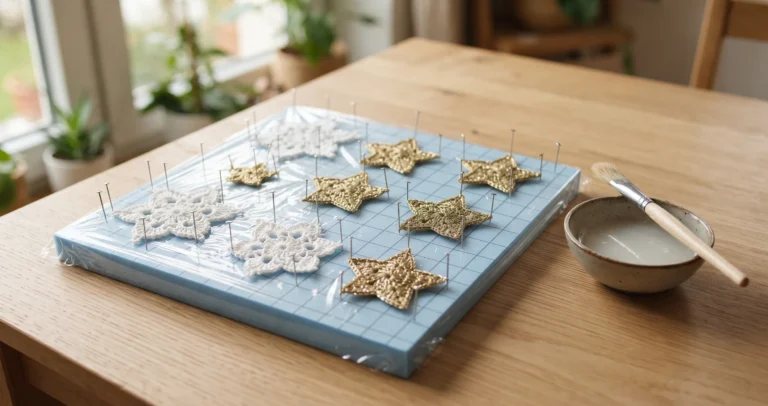
Stiffening Instead of Blocking
Stiffening isn’t the same as blocking. It’s used for ornaments, snowflakes and lace that need to hold a firm shape, not for blankets. Our guide on how to stiffen crochet explains the difference.
Frequently Asked Questions
Keep Your Crochet Straight and Flat
If your crochet is getting wider, narrower or curling, remember it’s almost always one of three things: stitch count, tension or the match between your hook and yarn. Lay your work flat, count your stitches, check your turning chains and relax your hands.
With stitch markers on your edges, a little regular counting and a gentle block at the end, your projects will stay straight, flat and beautiful from the first row to the last.
Ready to practice? Try our easy crochet blanket pattern, designed with a simple repeat that’s perfect for building even edges, or browse all our free crochet blanket patterns.
Practice Straight Edges With A Simple Project