How to Block Crochet Blankets, Granny Squares and Sweaters Beautifully
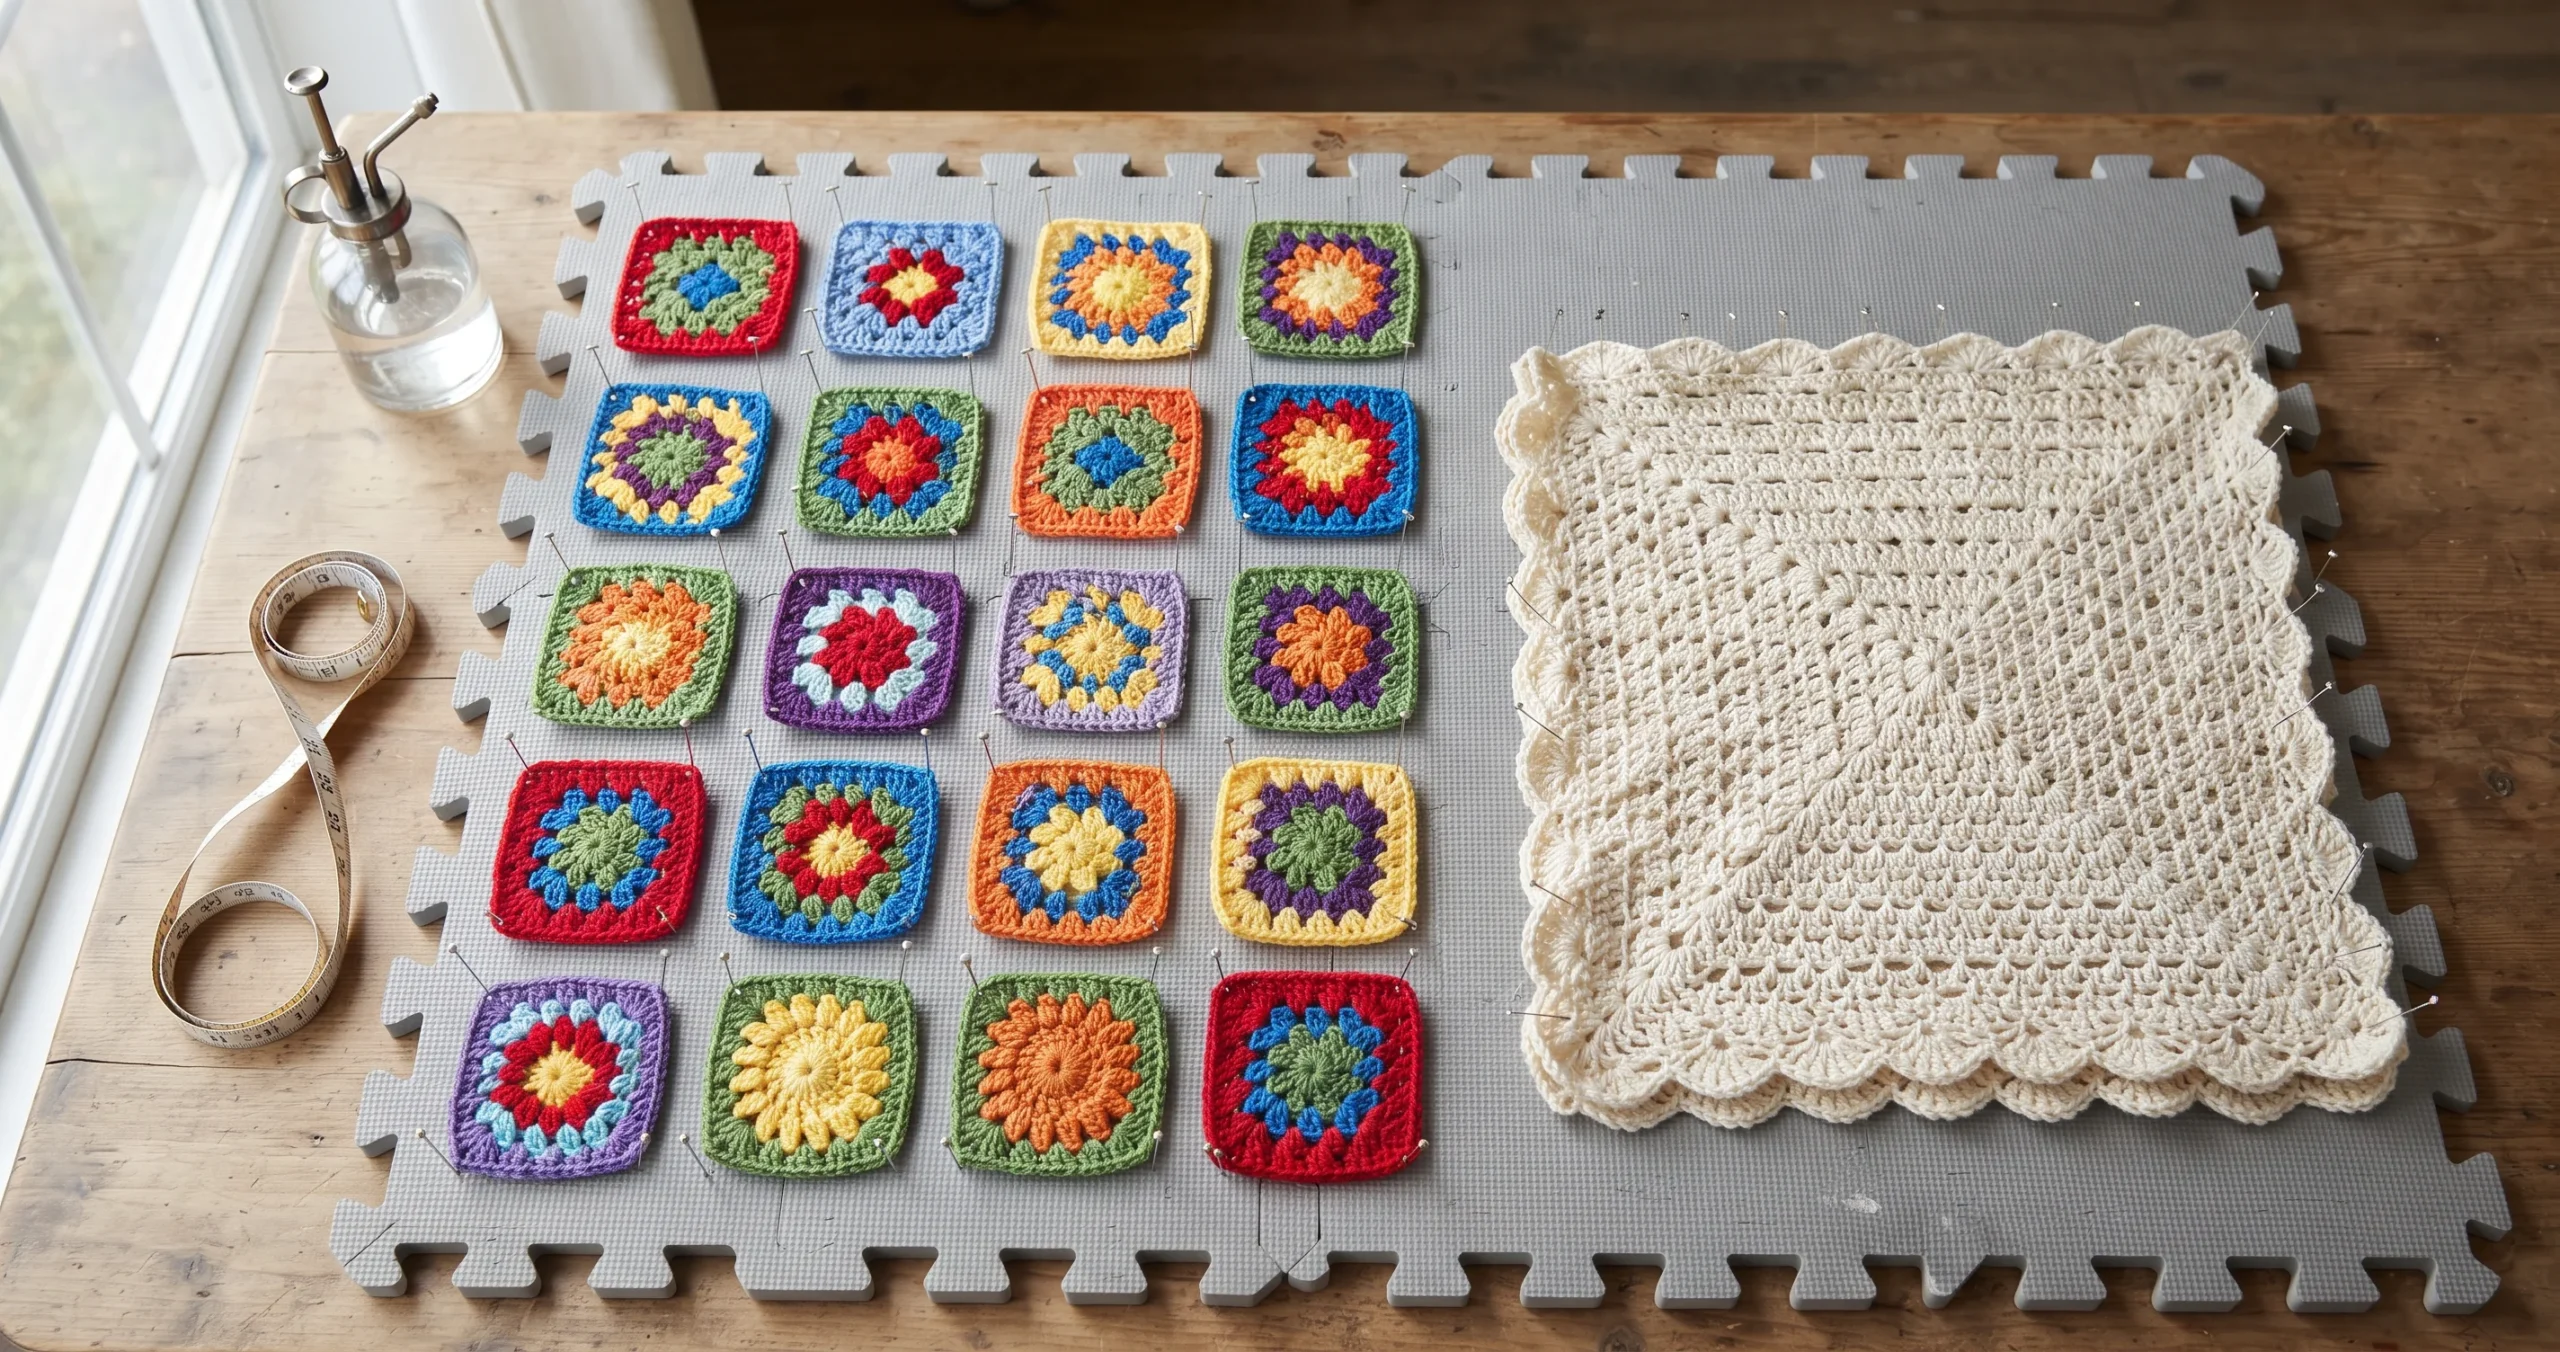
Blocking is the finishing step that turns a good project into a beautiful one. Here’s how to block crochet blankets, granny squares, sweaters and lace, including how to block acrylic safely.
How to Block Crochet in Three Simple Ways
To block crochet, you dampen your finished piece with water or steam, shape it to the right size on a flat surface, pin it in place and let it dry completely. Blocking evens out stitches, straightens edges, opens up lace and helps pieces like granny squares match in size.
There are three main methods:
Wet blocking means soaking the piece, gently squeezing out the water and pinning it to dry. It’s the most thorough method and works beautifully for wool, cotton and blends.
Spray blocking means pinning the dry piece first, then misting it with water until damp. It’s gentle and great for acrylic and delicate pieces.
Steam blocking means pinning the piece and holding a steam iron or steamer just above it, never touching. It’s fast and effective for acrylic, but too much heat can permanently flatten the fibers.
Can you block acrylic? Yes. Spray or gentle steam work best. Wet blocking acrylic usually has only a temporary effect.
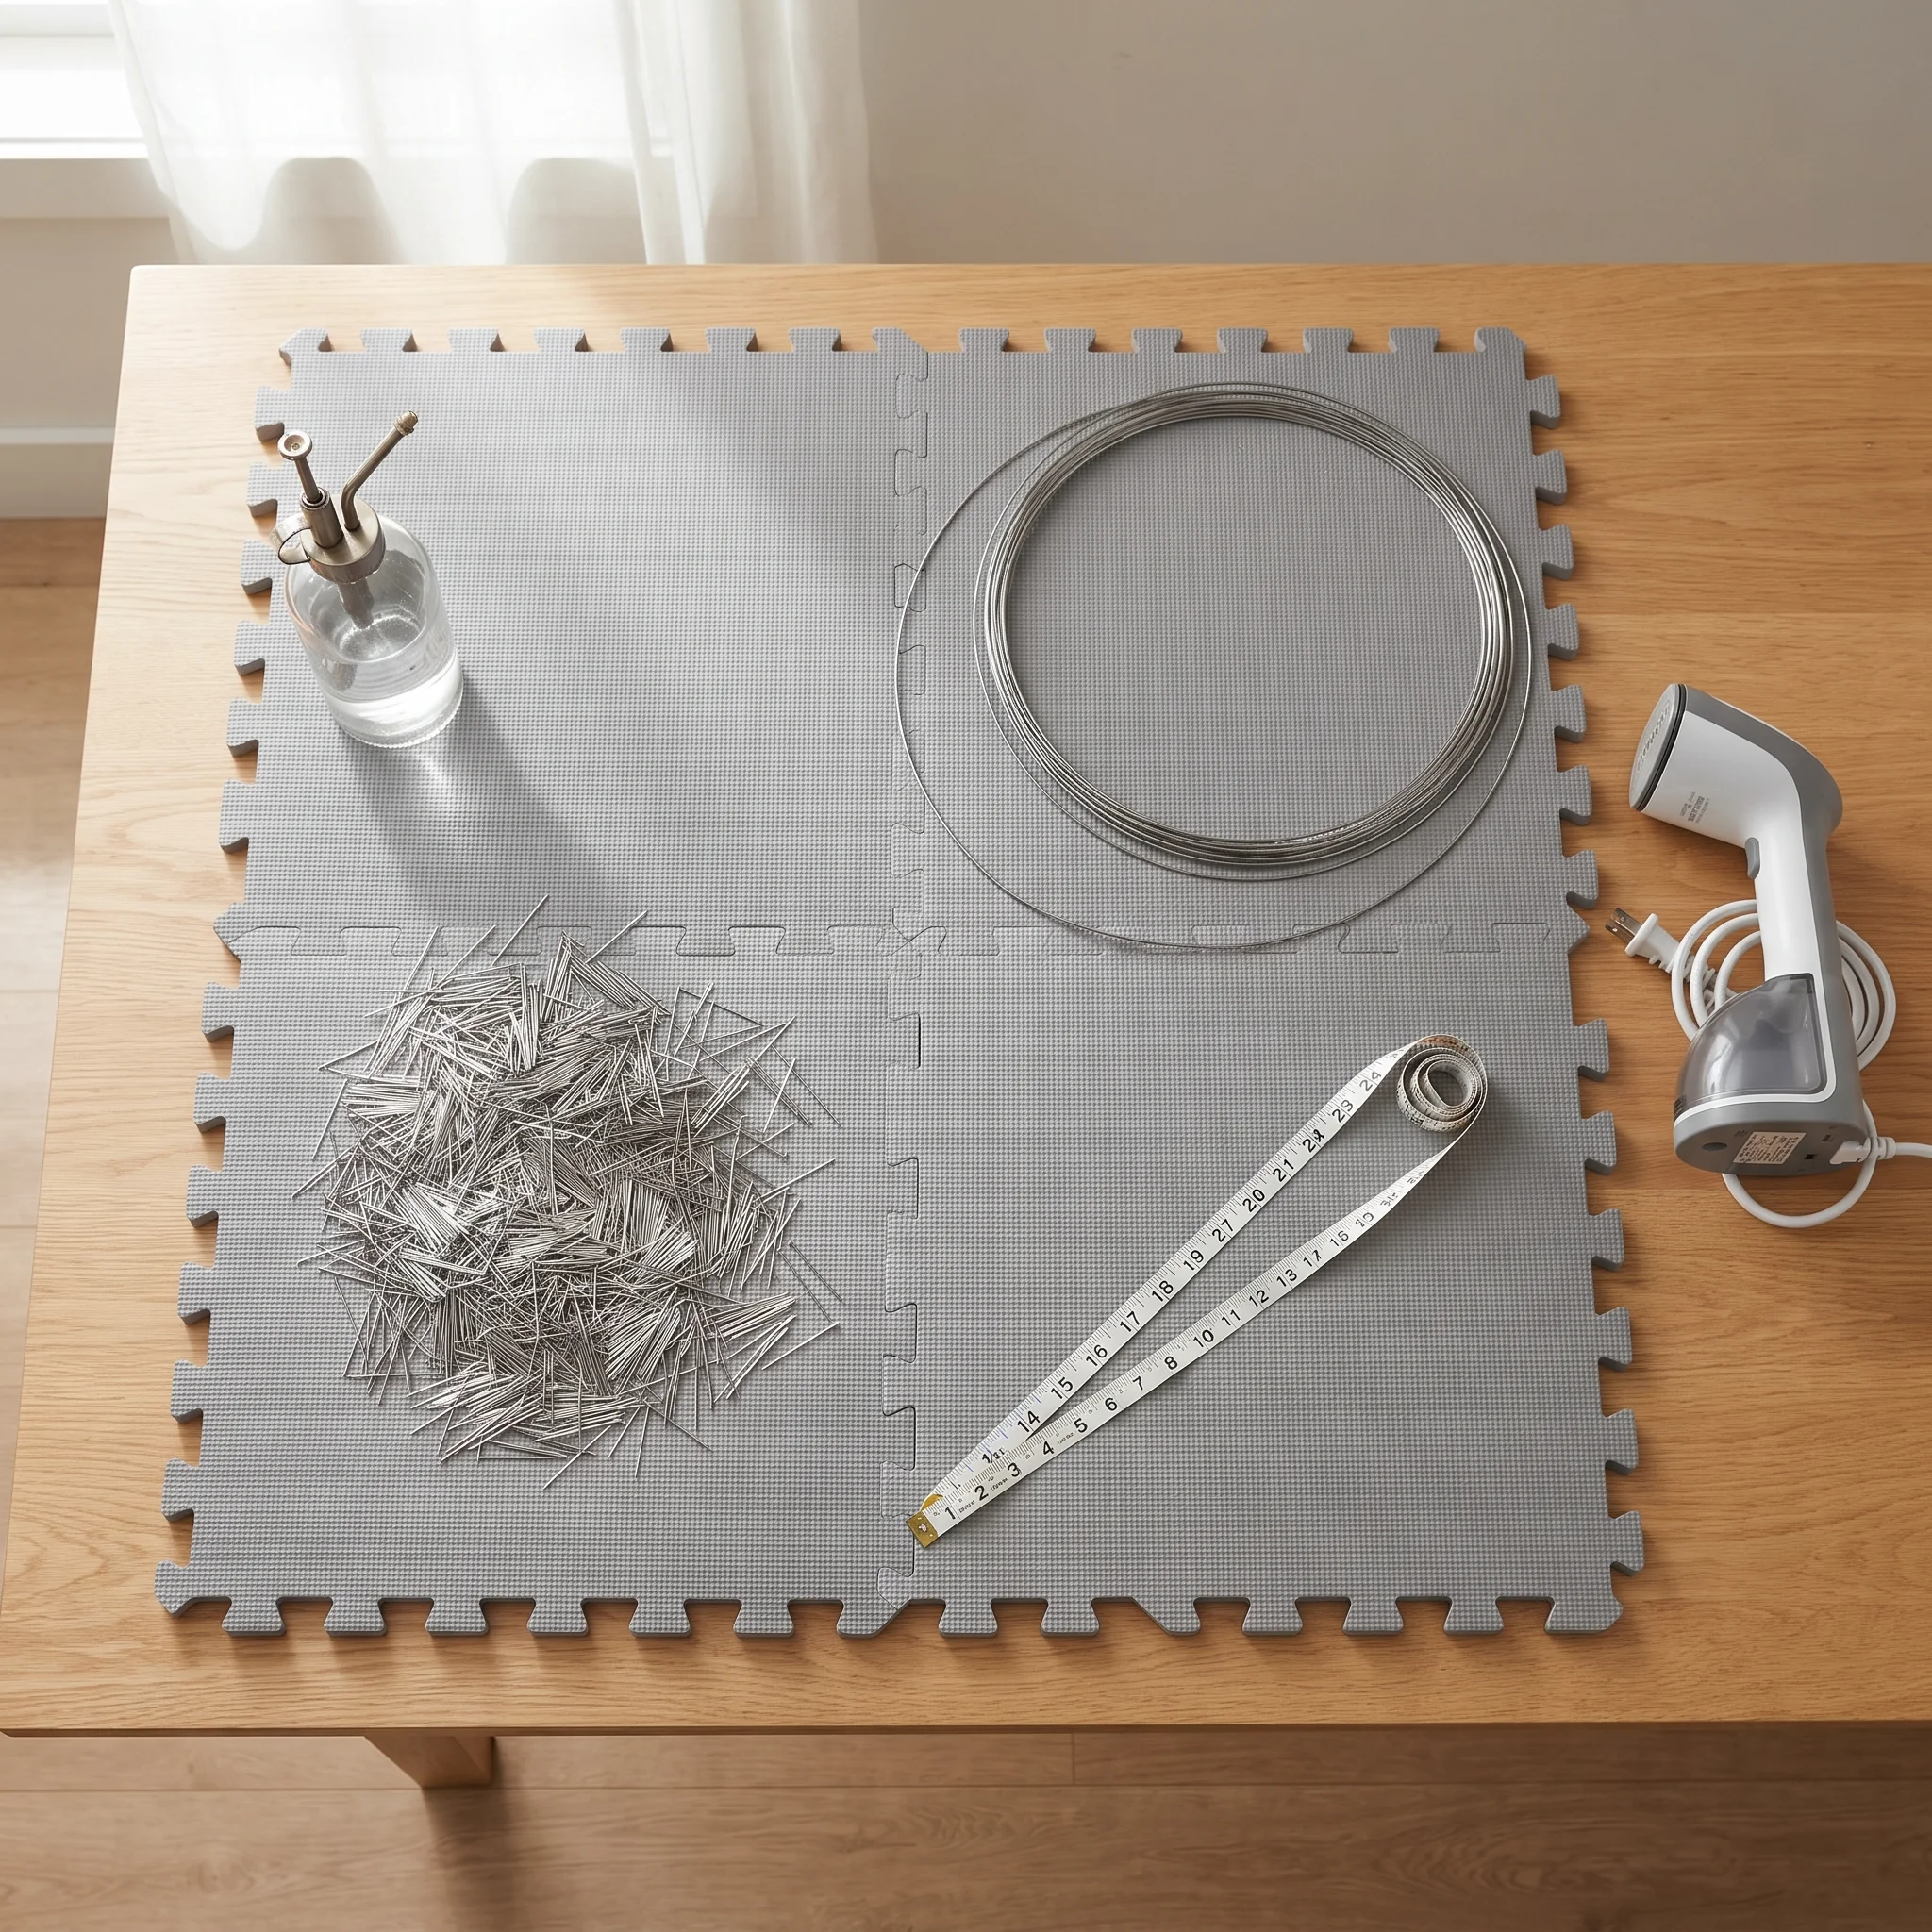
You’ll need a flat surface such as blocking mats or folded towels, rust proof pins and a spray bottle or steamer. A tape measure helps you pin to the exact size.
Let it dry completely before removing the pins, which usually takes several hours to overnight. Thick blankets and humid weather can mean a day or more, so plan ahead before gifting or photographing a finished piece.
Below you’ll find step by step instructions for each method, which fibers suit which method, and how to block blankets, granny squares, garments and lace.
You’ve woven in the last end. Your project is finally finished. But when you lay it out, something isn’t quite right. The edges wave a little. The granny squares are all slightly different sizes. The lace looks crumpled instead of open and airy.
This is exactly the moment blocking was made for.
Blocking is one of those crochet steps many people skip, often because it sounds technical or because they’re worried about ruining their work. But it’s simple, and it can transform a good project into a beautiful one. Crocheters regularly ask how to block crochet, whether they need to block acrylic, what to use without blocking mats and how long it all takes.
This guide answers all of it in plain, friendly steps. You’ll learn what blocking does, which method suits your yarn and how to block everything from granny squares to sweaters, without damaging your hard work.
What Blocking Does
Blocking gently relaxes the fibers in your yarn, lets you shape the fabric, then sets that shape as the piece dries.
It evens out stitches. Small differences in tension soften and blend, so the fabric looks smoother and more uniform.
It straightens edges. Slightly wavy or curling edges can be pinned straight and set that way.
It sets the size. You can gently ease a piece to its finished measurements, which is especially useful for garments and squares that need to match.
It opens up lace. Lacy stitches that look crumpled straight off the hook open up beautifully, showing off the pattern.
It improves drape. Many pieces become softer and hang more gracefully after blocking.
It makes joining easier. Blocked granny squares and garment pieces are the same size and shape, so they join neatly.
Think of blocking as the finishing touch that makes your crochet look professional. Once you learn how to block crochet, you’ll wonder how you ever finished a project without it.
Do You Really Need to Block Crochet
Not every project needs blocking, but many benefit from it.
Usually worth blocking
- Granny squares and motifs before joining
- Blankets with wavy or uneven edges
- Garment pieces before seaming
- Lace, shawls and doilies
- Anything that needs to match a specific size
Often fine without blocking
- Amigurumi, which hold their shape with stuffing
- Dense, firm items like baskets and bags
- Simple scarves and dishcloths that already lie flat
- Pieces made with highly textured stitches you don’t want to flatten
When in doubt, block a swatch. Block a small sample of your yarn and stitch. If it looks noticeably better afterwards, block the whole project.
Blocking Tools and What You Can Use Instead
You don’t need expensive equipment to block crochet. Here’s what helps, and what you can use instead.
Blocking mats. Interlocking foam mats with grid lines make it easy to pin pieces straight and to size. They’re the most popular choice.
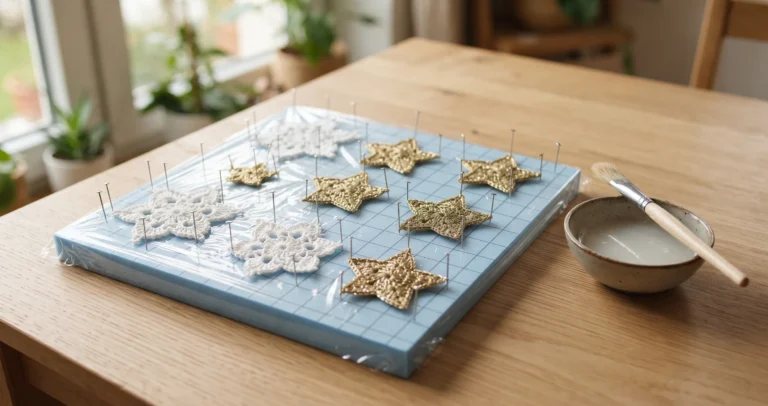
Alternatives to mats. A spare bed, a carpet covered with towels, a folded towel on a table or even a clean yoga mat all work. For small pieces, a piece of cardboard covered in plastic wrap makes a handy board.
Rust proof pins. Use stainless steel pins or T pins. Ordinary pins can rust when damp and leave marks on your crochet.
Blocking wires. Long, thin wires threaded along an edge help create perfectly straight lines on shawls, blankets and garments.
Granny square blocking board. A board with pegs set out in a square lets you block several squares at once to exactly the same size. You can buy one or make your own with a wooden board and dowels.
Spray bottle. For spray blocking, a fine mist bottle works best.
Steamer or iron. For steam blocking, a handheld steamer or a steam iron used above the fabric.
Measuring tape or ruler. Essential for blocking garments and squares to the right size.
Make Your Own Blocking Board
If you’d like to block crochet without buying special equipment, a homemade blocking board works brilliantly.
For small pieces. Take a sturdy piece of cardboard, wrap it in plastic wrap and tape it at the back. Draw a grid on the cardboard first if you want to measure squares easily.
For granny squares. Take a wooden board and mark a square the size of your finished granny square. Drill small holes at the corners and along the sides, then push in wooden dowels. Stack damp squares over the dowels, and they’ll all dry to exactly the same size.
For blankets. A spare bed covered with a clean sheet and towels makes a large, soft surface that holds pins well.
For garments. A folded towel on an ironing board or a clean carpet works well for sweater pieces.
Whatever you use, make sure the surface can get damp and holds pins firmly.
Which Blocking Method Suits Your Yarn
Different fibers respond differently to water and heat. Choosing the right method protects your work.y from you, work a back post stitch.
| Fiber | Best methods | Notes |
|---|---|---|
| Wool and wool blends | Wet or steam | Responds beautifully and holds its shape well. Use cool water and avoid agitation to prevent felting |
| Cotton | Wet or spray | Takes longer to dry and holds shape well once set |
| Acrylic | Spray or gentle steam | Wet blocking usually has only a temporary effect. Too much steam can permanently flatten it |
| Acrylic blends | Spray or gentle steam | Follow the acrylic approach to be safe |
| Bamboo and silk | Wet or spray | Can grow when wet, so pin gently and check measurements |
| Chenille and velvet | Light spray only | Heat and heavy wetting can crush or damage the pile |
Always check the yarn label. It often tells you whether the yarn can be washed, ironed or steamed.
Test on a swatch. If you’re unsure, block a small swatch first and see how it reacts.
How to Wet Block Crochet
Wet blocking is the most thorough method and gives lovely results on natural fibers.
Step 1. Soak the piece. Fill a sink or basin with cool or lukewarm water. Add a small amount of gentle wool wash if you like. Submerge your crochet and let it soak for about 15 to 20 minutes, until the fibers are fully wet.
Step 2. Remove the water gently. Lift the piece out with both hands, supporting its weight so it doesn’t stretch. Gently squeeze out the water. Never wring or twist.
Step 3. Roll in a towel. Lay the piece flat on a clean towel, roll the towel up and press gently to absorb more water. Unroll.
Step 4. Lay it out and shape. Place the damp piece on your blocking mats or towels. Gently ease it into shape, smoothing the stitches and straightening the edges.
Step 5. Measure and pin. Use a measuring tape to check the size. Pin around the edges, starting at the corners or center and working outward. Pin opposite sides in turn to keep the shape even.
Step 6. Let it dry completely. Leave it undisturbed until fully dry, usually overnight. Thick pieces may take longer.
Step 7. Unpin. Remove the pins once the piece is completely dry. It will hold its new shape.
How to Spray Block Crochet
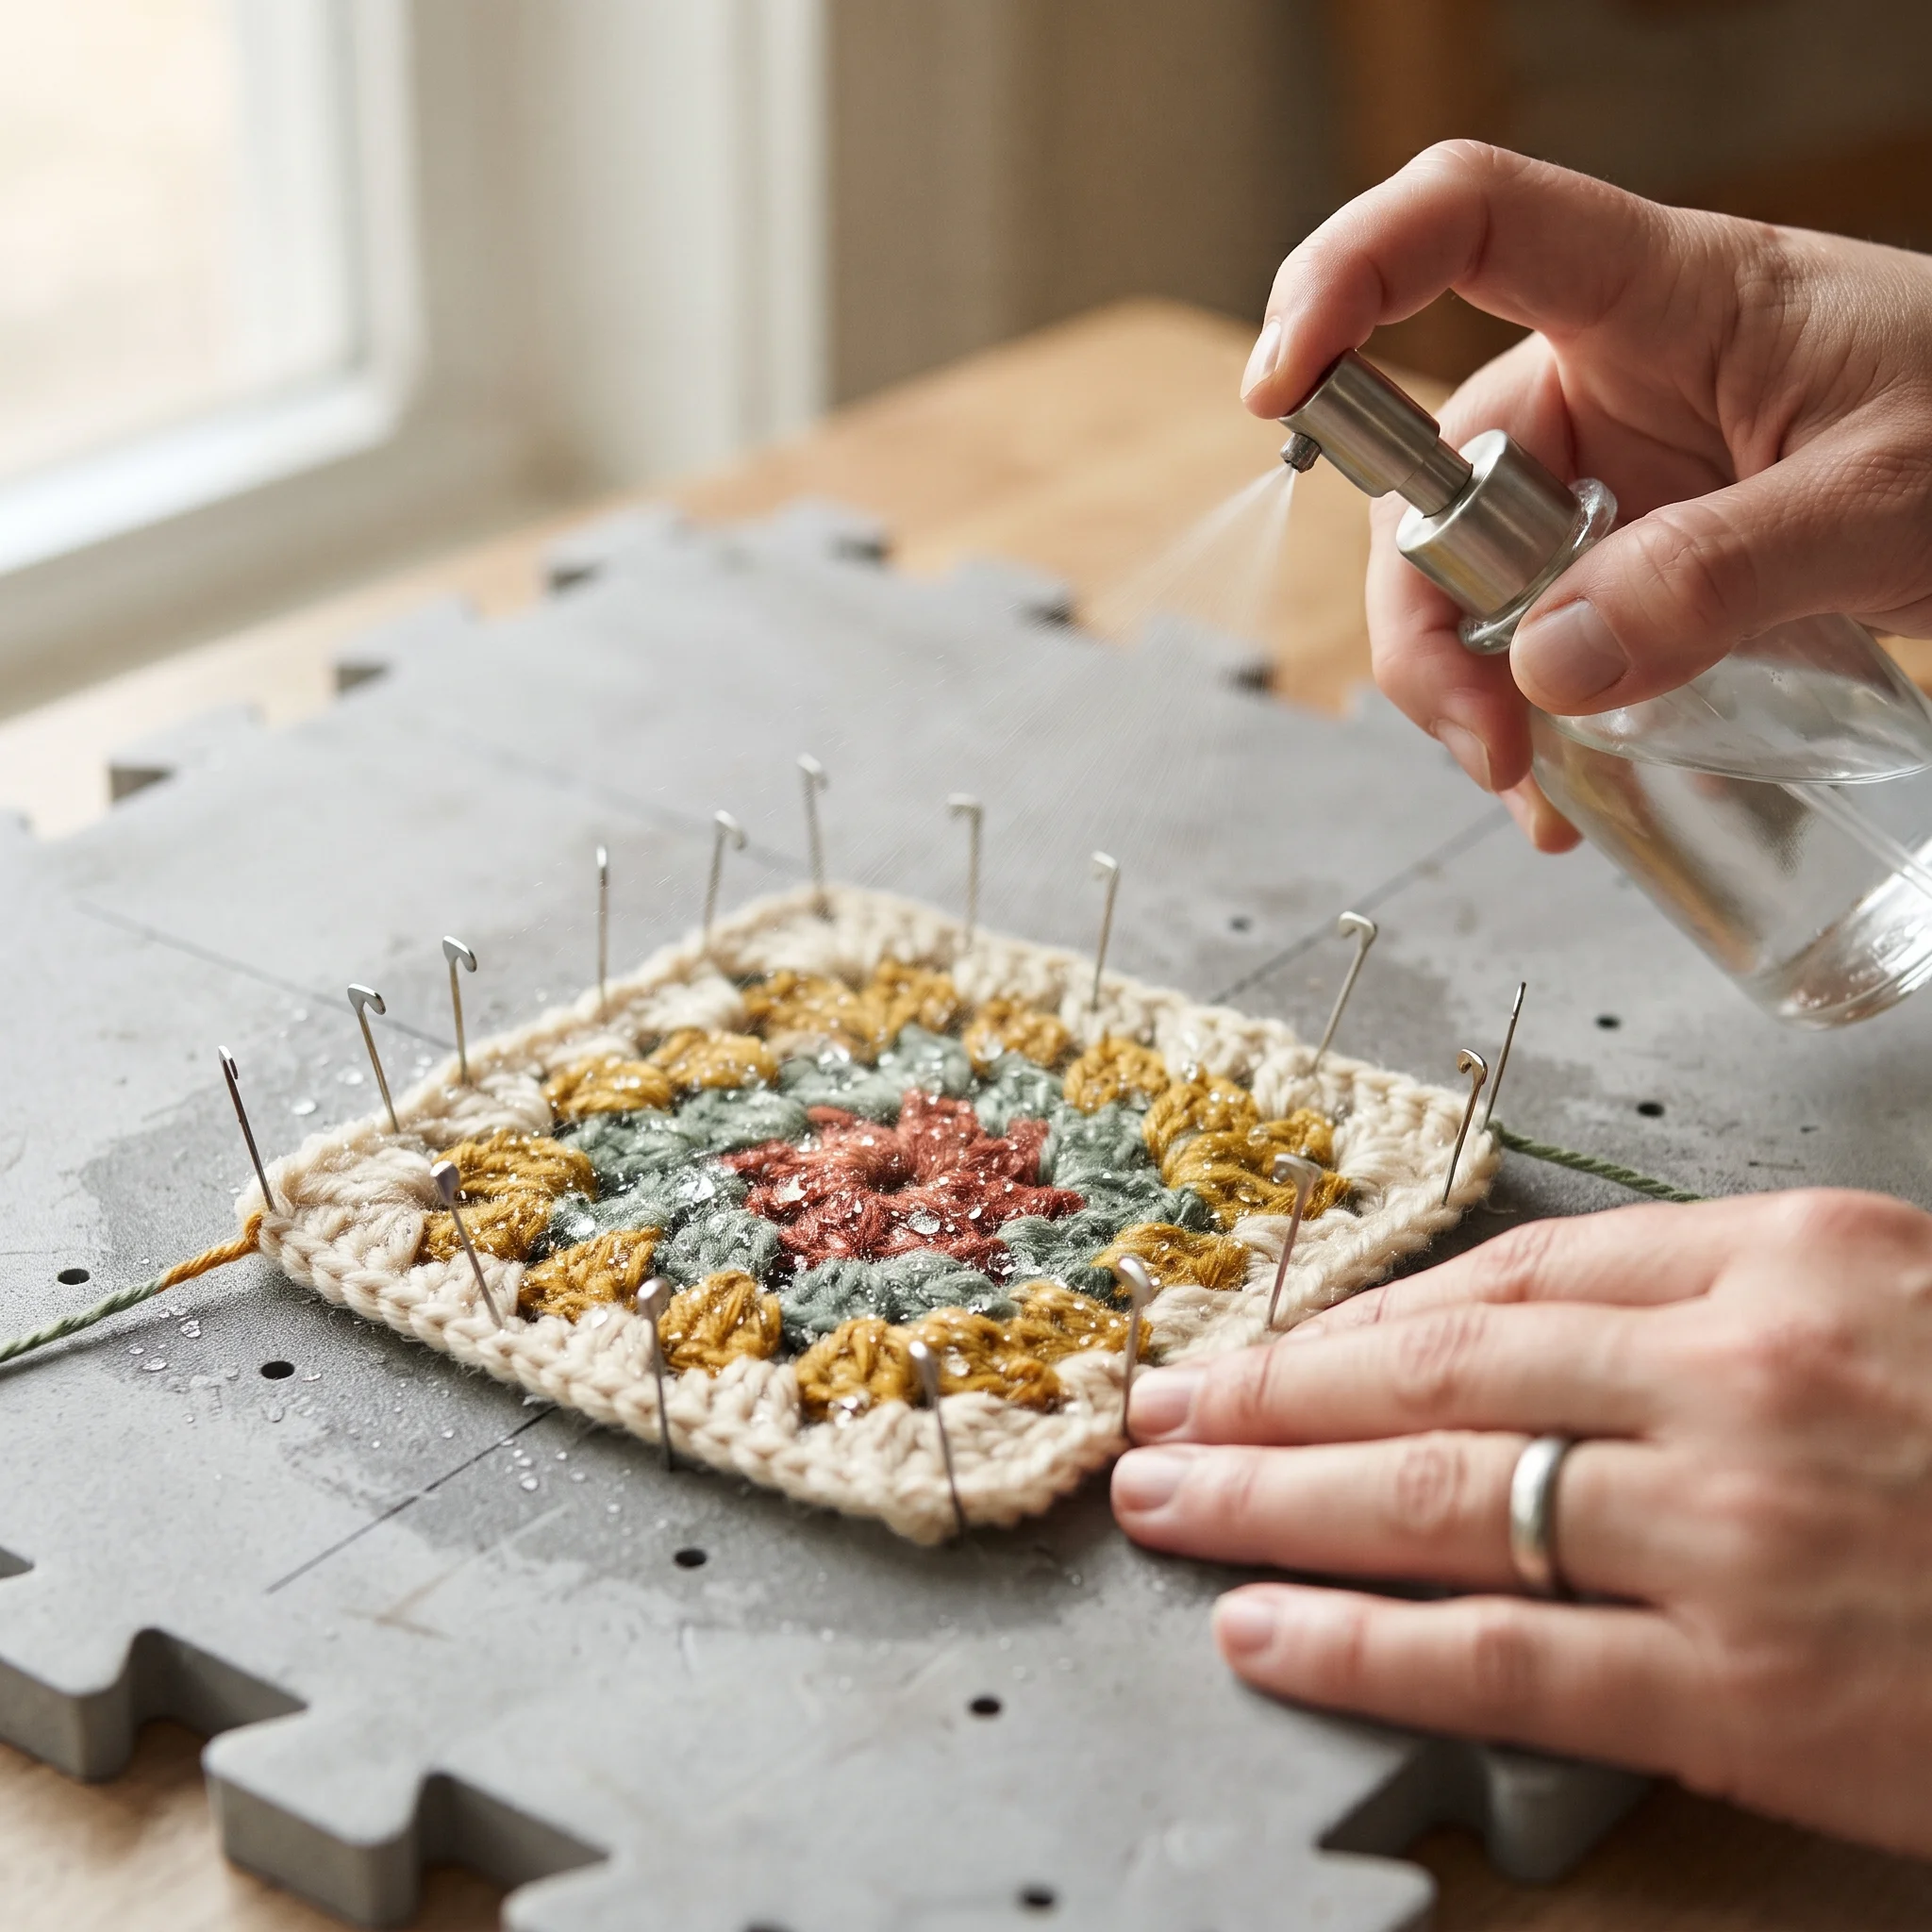
Spray blocking is gentle and quick, ideal for acrylic, delicate pieces and items that only need a light touch.
Step 1. Pin the dry piece. Lay your crochet on the blocking surface and pin it into shape and to size while it’s dry.
Step 2. Mist with water. Using a spray bottle, mist the piece evenly until it’s damp all over. You don’t need to soak it.
Step 3. Smooth gently. Lightly pat the stitches flat with your hand to help them settle.
Step 4. Let it dry. Leave it pinned until completely dry.
Spray blocking is perfect for granny squares, small motifs and acrylic blankets that need straighter edges.
How to Steam Block Crochet
Steam blocking is fast and very effective, especially for acrylic. But it needs care, because heat can change fibers permanently.
Step 1. Pin the piece. Lay your crochet out and pin it into shape and to size.
Step 2. Hover the steam. Hold a steamer or steam iron about an inch above the fabric. Let the steam pass through the stitches. Never press the iron onto the crochet.
Step 3. Watch the fabric relax. You’ll see the stitches soften and settle. Move the steam slowly across the whole piece.
Step 4. Let it cool and dry. Leave it pinned until it’s completely cool and dry.
Go gently. A little steam relaxes stitches beautifully. Too much heat, especially on acrylic, can permanently flatten the fabric and remove its texture.
Blocking Acrylic Without Ruining It
“Can you block acrylic?” is one of the most common blocking questions. The answer is yes, but acrylic behaves differently from natural fibers.
Why wet blocking doesn’t last. Acrylic is a type of plastic fiber. Water alone doesn’t change its shape much, so wet blocked acrylic often springs back once it’s washed or handled.
Why steam works. Heat softens acrylic fibers and lets them settle into a new shape. That’s why steam blocking gives acrylic a much more lasting result.
The risk of “killing” acrylic. Too much heat makes acrylic fibers relax permanently, a process crocheters call killing the acrylic. The fabric becomes very soft, flat and drapey, and it loses its springiness and texture. Sometimes that’s exactly what you want, for a drapey shawl. But for textured blankets, ribbing or amigurumi, it can ruin the look.
How to block acrylic safely
- Try spray blocking first for gentle shaping.
- If you steam, hold the steamer above the fabric and use short bursts.
- Test on a swatch to see how your yarn reacts.
- Avoid steaming raised textures like cables and bobbles too heavily.
How to Block Granny Squares
Blocking granny squares before joining is one of the best things you can do for a granny square project.
Why it matters. Even with careful tension, granny squares often come out slightly different sizes. Blocking makes them all match, so the seams line up and the finished blanket lies flat.
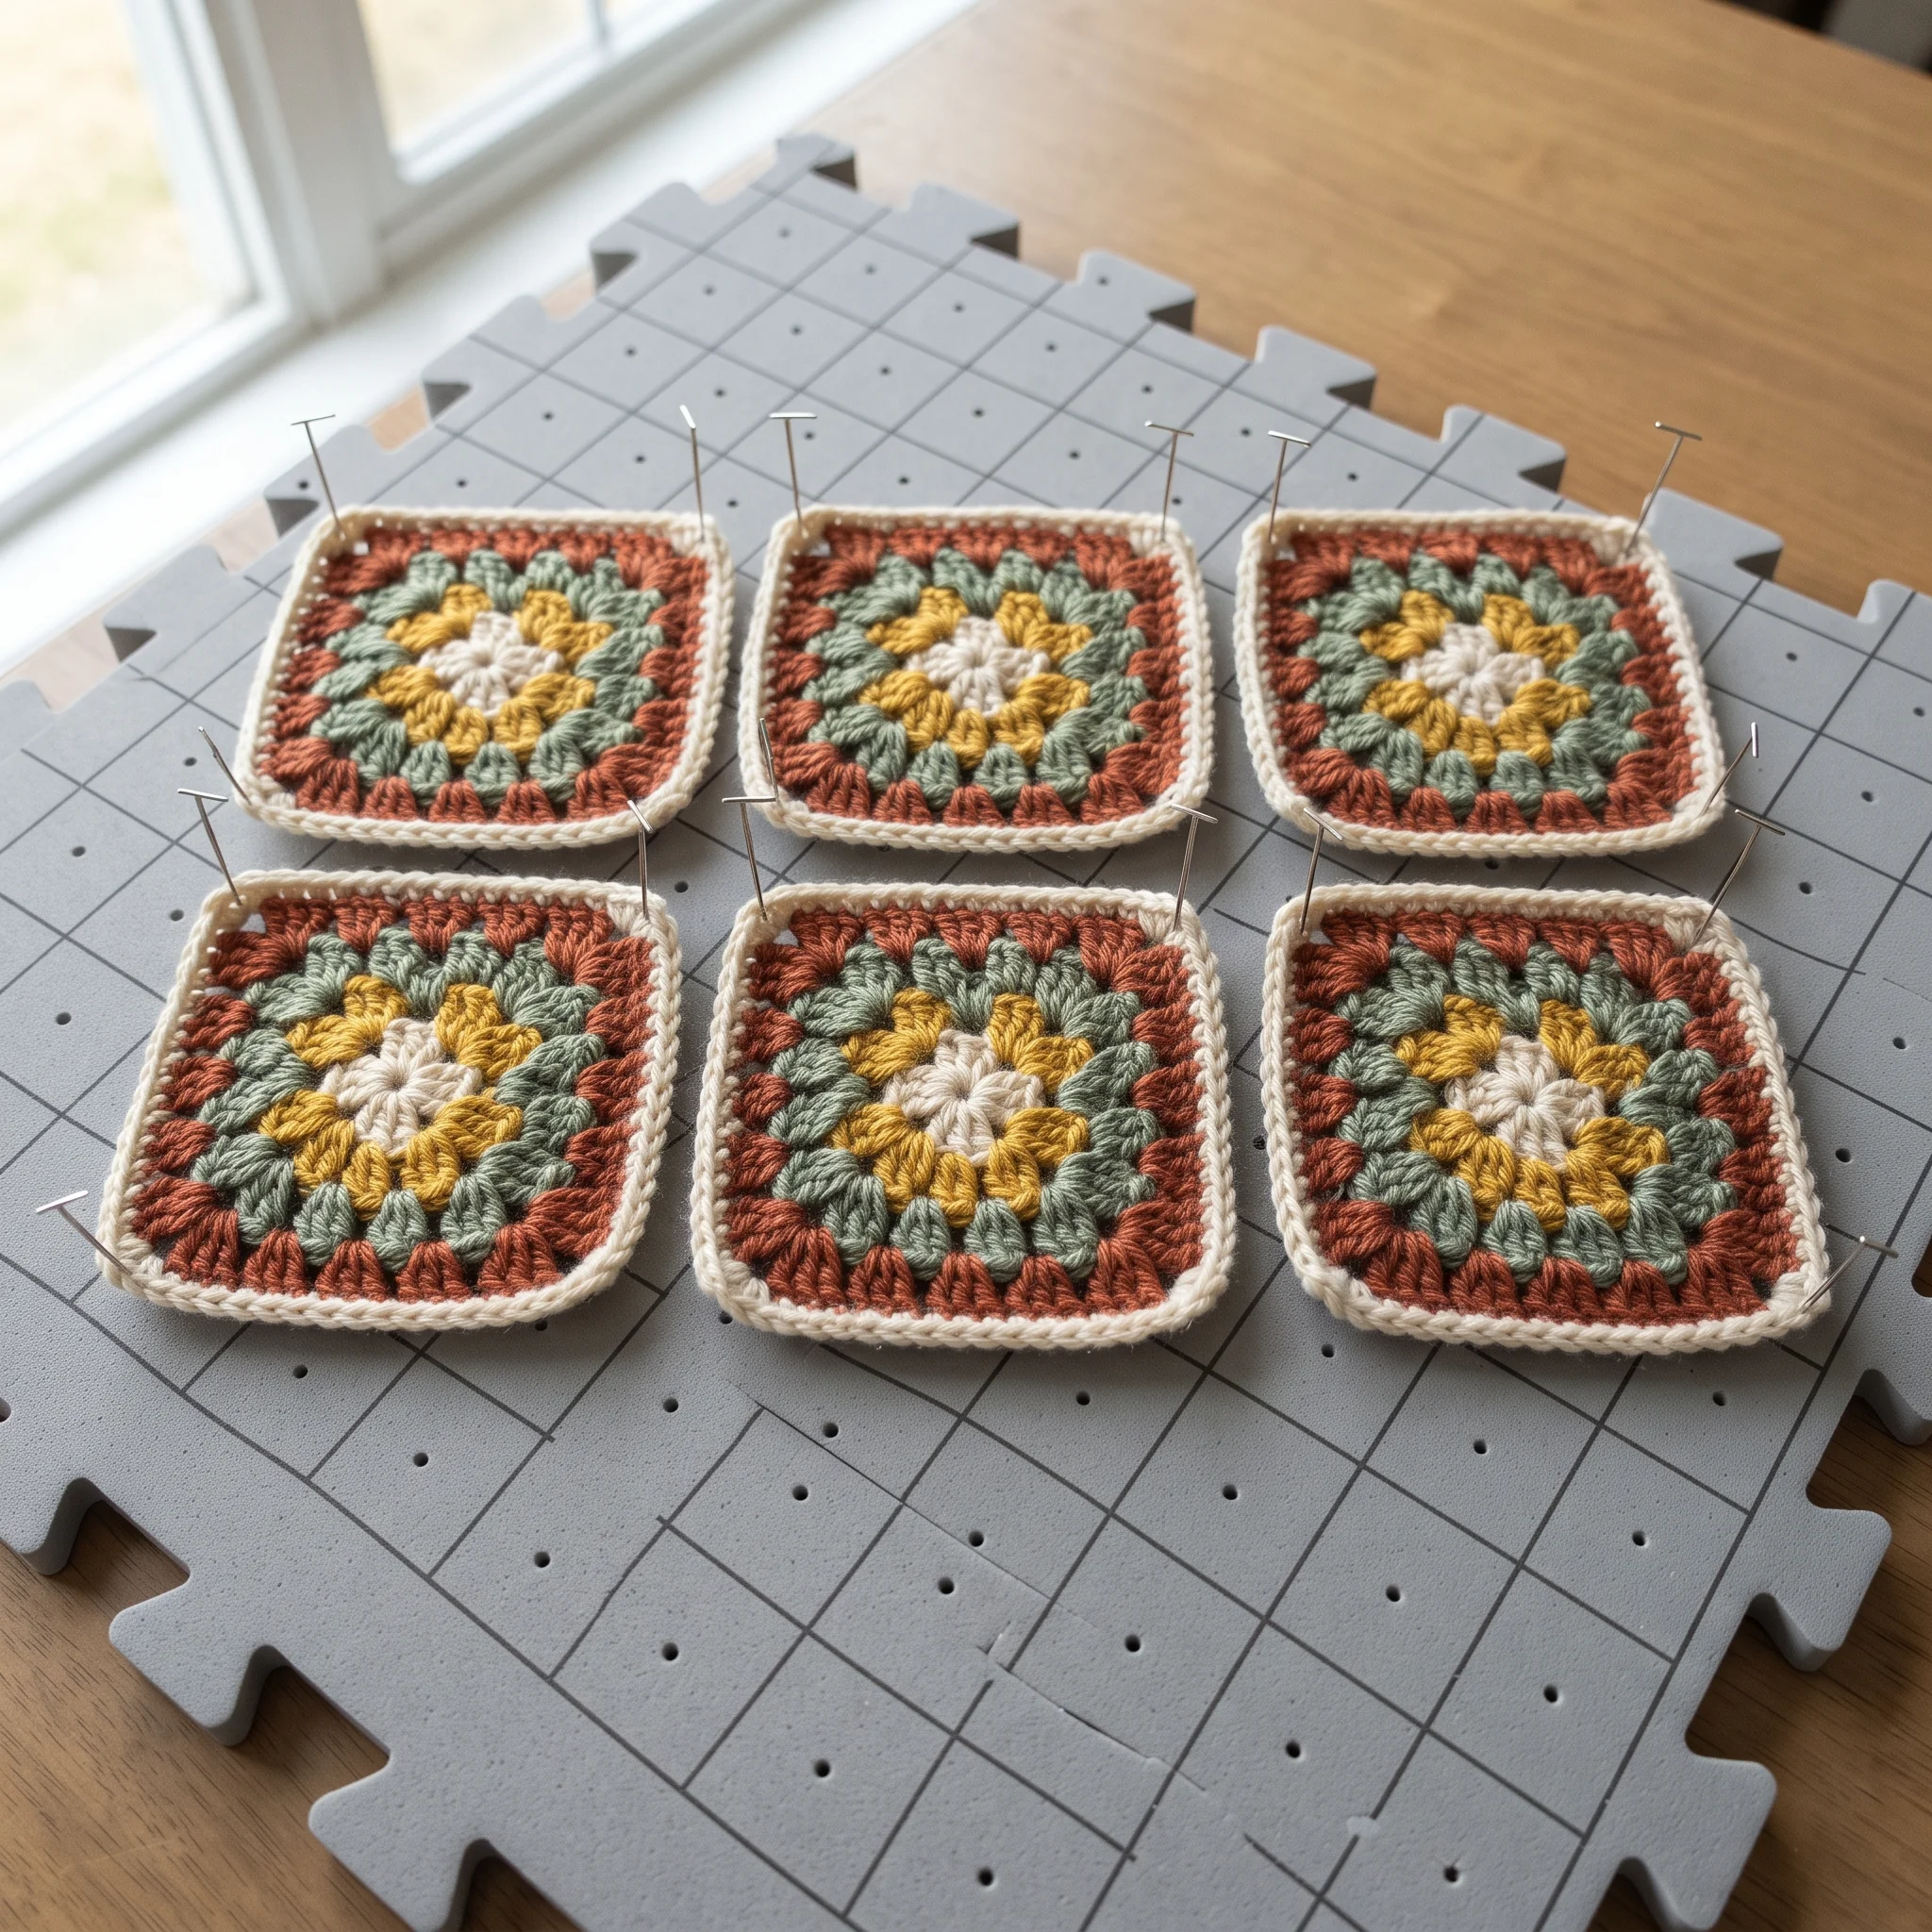
Block in batches. Pin several squares at once on blocking mats. Use the grid lines to make them all the same size.
Use a blocking board. A granny square blocking board with pegs lets you stack and block several squares at exactly the same size.
Pin the corners first. Pin each corner, then pin the middle of each side. Add more pins as needed to keep the edges straight.
Spray or wet block. Spray blocking works well for most squares. For wool squares, wet blocking gives the crispest result.
Fix wavy or cupped squares. Blocking can ease small waves and gentle cupping, but squares with very different stitch counts may need to be remade. Our guide on why crochet gets wider or curls explains how to fix granny squares at the source.
Our granny square blanket pattern and skull granny square pattern both recommend blocking squares before joining.
Blocking a Gauge Swatch
Blocking your gauge swatch is one of the most important habits in crochet, especially for garments.
Why it matters. Many yarns change size when they’re blocked. Some relax and grow, others tighten slightly. If you measure an unblocked swatch, your finished project may end up a different size from the pattern.
How to do it. Crochet a swatch at least 6 inches square in the stitch pattern you’ll use. Block it exactly the way you plan to block the finished project. Let it dry completely, then measure your stitches and rows in the center.
Compare with the pattern. If your blocked swatch has more stitches per inch than the pattern, try a larger hook. If it has fewer, go down a size.
Keep the swatch. It’s a handy record of how your yarn behaves and a useful test piece for washing.
How to Block a Crochet Blanket
Blankets are big, so blocking them takes a little more space and planning.
Find enough space. Use a large area of interlocking blocking mats, a spare bed or towels laid out on a carpet.
Choose your method. For acrylic blankets, spray blocking or gentle steam usually works best. For wool or cotton blankets, wet blocking gives excellent results, but the blanket will be heavy when wet, so support it carefully.
Measure as you pin. Use a measuring tape to check the width at the top, middle and bottom. Pin the edges into straight lines, using blocking wires if you have them.
Allow plenty of drying time. A full blanket can take a day or more to dry completely, especially in cool or humid weather. A fan nearby helps.
Block the border too. Borders often ruffle or pull in. Pinning them flat helps the whole blanket lie neatly.
Our chevron crochet blanket pattern suggests a gentle block to sharpen its peaks and valleys, and the baby blanket crochet pattern includes optional blocking for a smooth, square finish.
How to Block a Crochet Sweater
Blocking makes a big difference to garments, helping them fit and drape well.
Block pieces before seaming. If your sweater is made in pieces, block each one to the measurements in the pattern’s schematic before sewing them together. Matching pieces are much easier to seam.
Block finished top down sweaters whole. For seamless sweaters, block the finished garment, laying it flat and shaping it to the measurements.
Use the schematic. Most garment patterns include a diagram with measurements for each piece. Pin to those measurements.
Be gentle with ribbing. Ribbed cuffs and hems should stay stretchy. Avoid pinning ribbing out flat, or it may lose its snugness.
Block your gauge swatch too. Always block your swatch before measuring gauge. Many yarns change size after blocking, and your finished sweater will too.
Our crochet cardigan pattern and oversized crochet sweater pattern both recommend a gentle block to relax the stitches and improve drape.
How to Block Hats and Beanies
Hats need a gentle touch, because their ribbing and shaping are what make them fit.
Block over a form. Slip the damp hat over a balloon, a bowl or a foam head the right size. This shapes the crown evenly without stretching the brim.
Protect the ribbing. Don’t stretch a ribbed brim. Let it dry relaxed, so it stays snug and springy.
Use spray or light steam for acrylic. A light mist or a little steam helps an acrylic hat settle without flattening its texture.
Check the fit. If a hat is slightly tight, gentle blocking can ease it a little larger. If it’s too big, blocking won’t make it smaller.
Our crochet ribbed beanie pattern and crochet cable hat pattern both look best with a light block that keeps their texture raised.
How to Block Crochet Lace and Shawls
Lace is where blocking truly shines. Lacy stitches often look crumpled until they’re blocked, then suddenly open into a beautiful pattern.
Wet block for best results. Soak the lace piece, gently remove the water and lay it flat.
Stretch gently. Ease the lace open to reveal the stitch pattern. Lace can be stretched more firmly than solid fabric, but don’t overdo it.
Pin every point. Shawls with scalloped or pointed edges look best when each point is pinned individually.
Use blocking wires for straight edges. Thread wires along straight edges for crisp lines.
Stiffen if needed. For doilies and ornaments that need to hold a firm shape, blocking alone isn’t enough. Our guide on how to stiffen crochet explains how to give lace a lasting, crisp finish.
Blocking Appliqués, Bags and Baskets
Flat appliqués. Small flat pieces like appliqués often curl at the edges. A light spray block, pinned flat on cardboard, helps them lie neatly before you sew them onto a project or join them into a garland. Our crochet ghost pattern and crochet bat pattern both suggest blocking or stiffening for a crisp finish.
Bags. Most crochet bags don’t need blocking, since their structure comes from dense stitches. If a bag looks lopsided, lightly mist it and stuff it with towels to shape it while it dries.
Baskets. Baskets hold their shape through firm stitches and thick yarn. If one sags, shaping it over a bowl while damp helps, but for a truly rigid basket, stiffening works better than blocking.
What Blocking Can and Can’t Fix
Blocking is powerful, but it isn’t magic.
Blocking can fix
- Slightly wavy or curling edges
- Small differences in tension
- Granny squares that are a little different in size
- Crumpled lace
- Garment pieces that need gentle easing to size
Blocking can’t fix
- Large stitch count differences
- A blanket that’s several inches wider at one end
- Twisted rows or major mistakes
- Fabric that’s far too tight or loose for the pattern
If a problem is too big for blocking, it usually needs to be fixed at the source by counting stitches or adjusting tension.
How Long Blocking Lasts
Natural fibers like wool and cotton hold their blocked shape well, but washing relaxes them again. You may need to reblock after washing, especially lace and garments.
Acrylic blocked with steam usually holds its shape well. Wet or spray blocked acrylic may need a refresh after washing.
Reblocking is easy. Simply dampen or wash the piece, shape it again and let it dry. Many crocheters reblock favorite shawls and sweaters after every wash.
Blocking in Humid or Cold Weather
The weather affects how quickly your crochet dries.
Humid days. Damp air slows drying, and pieces can take twice as long. Block in a well ventilated room, and use a fan to move the air.
Cold rooms. Cold air also slows drying. A warm room helps, but keep blocked pieces away from direct heat like radiators, which can cause uneven drying or damage acrylic.
Thick pieces. Chunky blankets and cotton items hold a lot of water. Roll them firmly in towels before pinning to remove as much moisture as possible.
Don’t rush. If a piece still feels cool or damp in the center, leave the pins in a little longer. Unpinning too early is one of the most common reasons blocking doesn’t last.
Caring for Blocked Crochet
Once you’ve blocked a piece, a little care keeps it looking its best.
Wash gently. Hand wash or use a gentle machine cycle if the yarn label allows. Avoid hot water and wringing.
Dry flat. Lay blocked pieces flat to dry after washing, easing them back into shape. Hanging wet crochet stretches it.
Reblock as needed. Garments and lace often benefit from a quick reblock after washing. It only takes a few minutes and keeps them looking freshly finished.
Store folded. Fold blankets and sweaters rather than hanging them, so their weight doesn’t pull them out of shape.
Blocking for Better Photos
If you share your crochet online or sell it, blocking makes a huge difference to your photos.
Straight edges look professional. A blocked blanket or square photographs crisply, with clean lines and even stitches.
Lace and texture show clearly. Blocked lace opens up so the pattern is visible, and evenly settled stitches catch the light more beautifully.
Matching pieces look polished. Sets of squares, coasters or ornaments look much more appealing when they’re all exactly the same size.
Block before you photograph. It’s worth blocking even simple pieces before photographing them for your shop, a pattern page or social media. Buyers often judge quality from the photo alone.
Blocking Cotton Dishcloths and Home Decor
Cotton home items like dishcloths, coasters and placemats are easy to block and look much tidier afterwards.
Wet them thoroughly, squeeze out the water, then pin them square on a towel or blocking mat. Cotton holds its blocked shape well and dries crisp. For coasters and placemats in a set, block them together on a grid, so they all match perfectly.
Common Blocking Mistakes
Using ordinary pins. They can rust and leave marks. Use rust proof pins.
Pressing an iron onto acrylic. Direct heat can melt or flatten acrylic. Always hover the steam.
Wringing wet crochet. Wringing stretches and distorts stitches. Squeeze gently and roll in a towel.
Unpinning too early. If the piece isn’t completely dry, it can relax out of shape.
Overstretching. Stretching too hard can distort stitches and make the piece too big.
Flattening texture. Heavy steam or firm pinning can flatten cables, bobbles and ribbing.
Skipping the swatch. Testing on a swatch shows how your yarn reacts before you risk the whole project.
Quick Answers to Related Questions
These are questions crocheters often ask next, with short answers and links to our guides.
Blocking Cables and Textured Stitches
Raised stitches like cables and post stitch ribs look best when blocked gently. Pin lightly and avoid heavy steam. Our guide on front post and back post crochet stitches explains how these textures are made.
Blocking Striped Projects
Blocking evens out small tension differences between colors, helping stripes lie flat. Our guide on how to change colors in crochet covers neat stripes.
Blocking Before Selling
Blocked items look more polished and professional, which helps them sell. Our guide on how to sell crochet at craft fairs covers presenting your work.
Blocking and Yarn Amounts
Some yarns grow or shrink slightly after blocking, which can change how much yarn a garment or blanket needs. Our guide on how much yarn you need for a crochet blanket explains why swatching matters.
Blocking Ornaments
Snowflakes and stars need stiffening, not just blocking, to keep their crisp points on the tree. Our crochet snowflake pattern includes stiffening and blocking steps.
Blocking Christmas Ornaments and Gifts
Handmade gifts look their best when they’re blocked or stiffened. Flat ornaments and appliqués benefit from a light block, while snowflakes and stars need stiffening to hold their points. Our guide to Christmas crochet patterns and ideas includes nine festive patterns that look lovely finished this way.
Blocking Your First Blanket
If you’ve just finished your first blanket, start with a simple spray block. Pin the edges straight, mist the whole blanket lightly and let it dry. Our easy crochet blanket pattern is a great first project to practice on, since its simple texture blocks beautifully.
Frequently Asked Questions
Give Every Project a Professional Finish
Blocking is the simple step that turns a finished project into a beautifully finished one. Choose wet blocking for natural fibers, spray or gentle steam for acrylic, pin carefully to size and give your work time to dry.
With a few pins and a little patience, your edges will be straighter, your squares will match and your lace will bloom. It’s a small step that makes a lasting difference.
Ready to put it into practice? Try blocking the squares from our granny square blanket pattern, or explore all our free crochet blanket patterns.
Finish Your Next Project Beautifully