Mini Crochet Christmas Tree Pattern Free Amigurumi Tree With a Smile
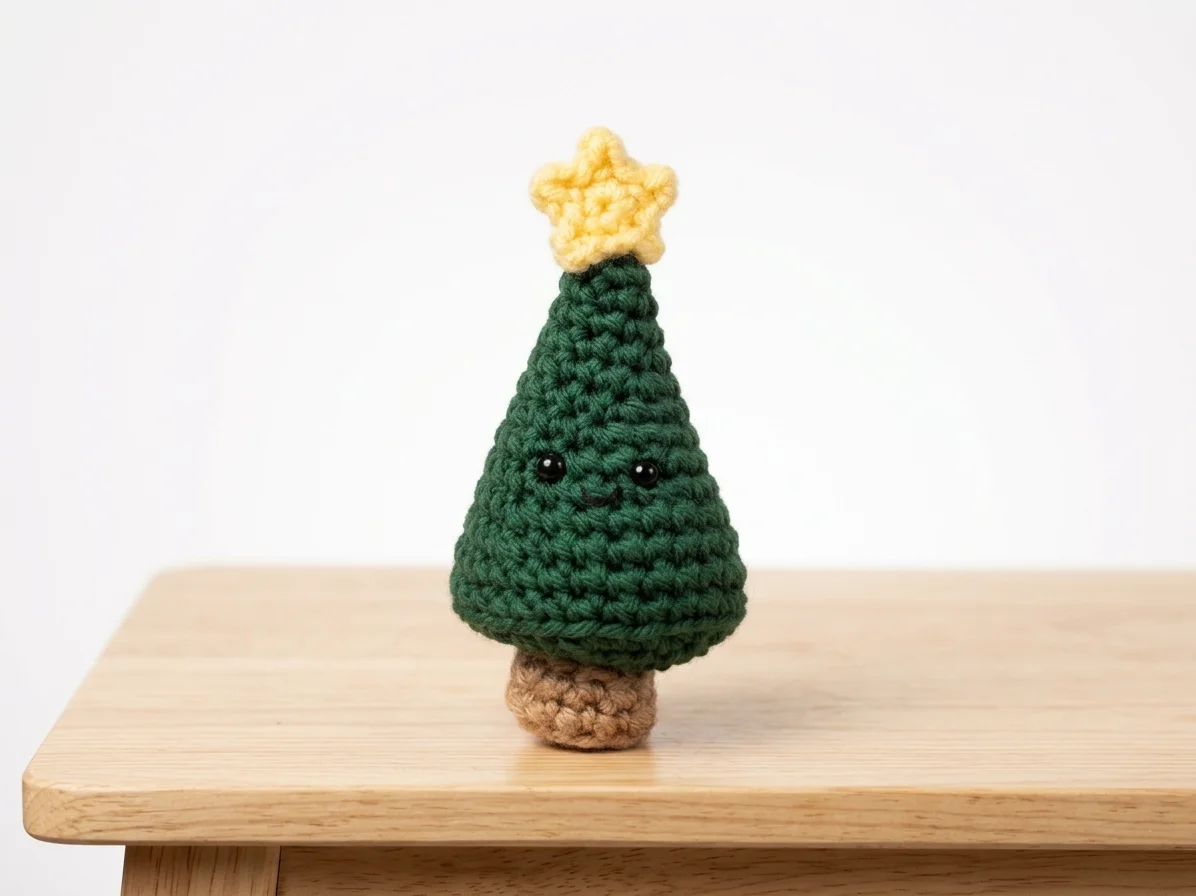
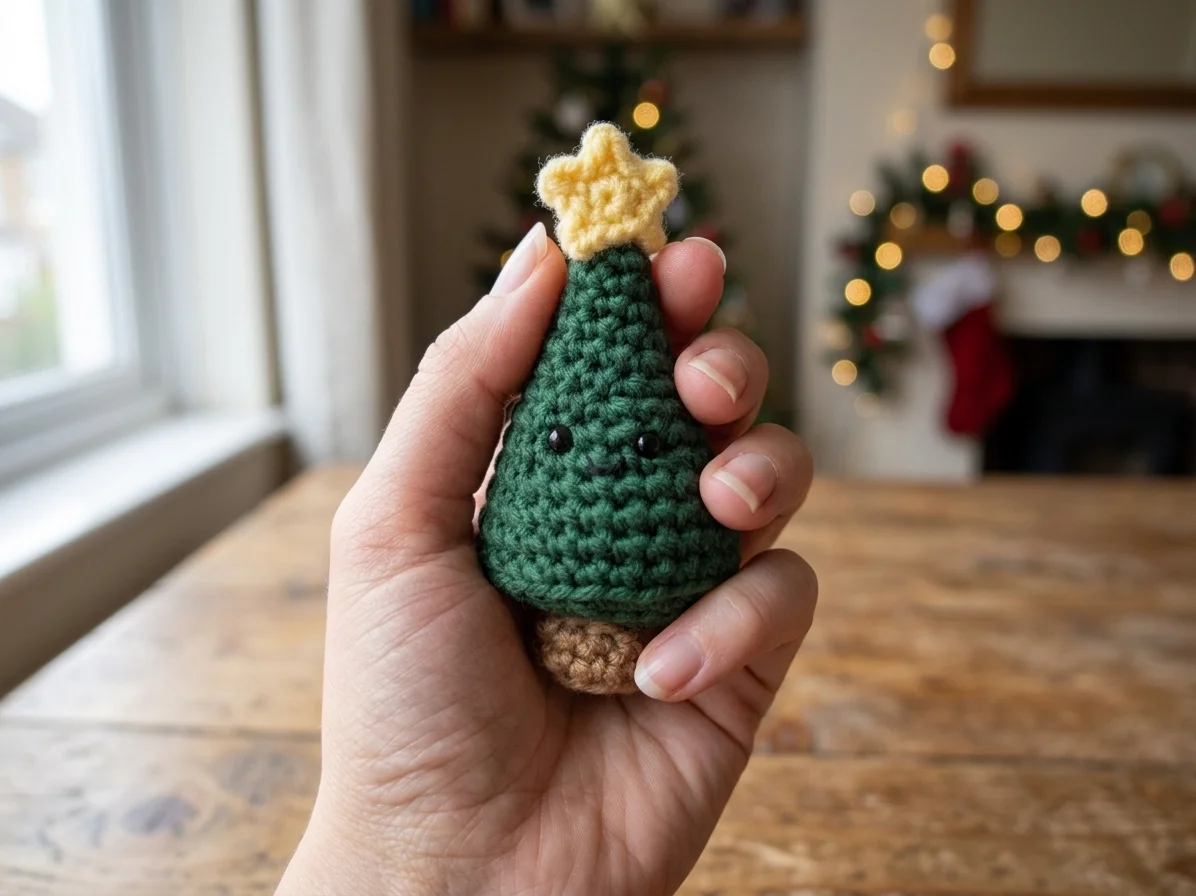
Every home needs a Christmas tree that smiles back. Our free crochet Christmas tree pattern makes a 5 inch amigurumi tree with a happy little face, a stubby brown trunk and a golden star on top. It’s quick, cheerful and the kind of make that brightens a shelf, a desk or a windowsill the moment it’s finished.
Why You’ll Love This Crochet Christmas Tree
Most mini trees are pretty. This one has personality. Two small safety eyes and a tiny embroidered smile turn a simple green cone into a little character that seems genuinely pleased to be part of your Christmas.
It stands on its own too, thanks to a flat base and a sturdy trunk, so it doesn’t need a branch or a hook. Pop one on your desk at work, line a few along the mantel, or give one to someone who could use a smile in December.
It’s also a lovely quick win in a busy season. Three small pieces, simple stitches and a bit of stuffing, and you have a finished decoration in an evening.
If you’re newer to amigurumi, this is a gentle place to begin. The increases follow one simple pattern all the way down the cone, so once you’ve worked two or three rounds you’ll know exactly what comes next, and you’ll practice shaping, stuffing and a little embroidery all in one small project.
What’s Inside the Free Crochet Christmas Tree Pattern
Your PDF download includes everything you need to make your tree with ease:
- Round by round tables with stitch counts for the whole tree body
- Clear guidance on exactly where to place the safety eyes
- Simple instructions for the trunk and the five point star
- Stuffing and closing steps for a firm, neat finish
- A short guide to embroidering the smile
- Helpful tips at each key step, in US crochet terms
Materials for Your Mini Tree
| Material | Details |
|---|---|
| Yarn | Green (tree), brown (trunk), yellow (star) |
| Crochet hook | 4.25mm (US G) |
| Safety eyes | 2 × 6mm |
| Stuffing | Polyester fiberfill |
| Embroidery | Black embroidery floss and needle |
| Notions | Yarn needle, stitch marker, scissors |
| Finished size | Approx. 5in tall × 2.5in wide (12.5 × 6.5cm) |
| Skill level | Easy |
| Crochet terms | US |
A smooth worsted weight yarn pairs nicely with the 4.25mm hook and gives your tree clean, even stitches. Bright green feels classic, while a deeper forest green looks a little more grown up.
How Your Tree Takes Shape
Your tree begins at the very tip with a small magic ring of just four stitches. From there, each round adds two stitches, one on each side, so the cone widens gently and evenly as it grows. That steady, slow increase is what gives the tree its tall, slim silhouette rather than a squat, rounded one.
By the fourteenth round you’ve reached the widest point. Then comes a clever little detail. The next round is worked in the back loops only, which creates a crisp edge and folds the fabric inward to form a flat base. A few quick decrease rounds close the bottom, and your tree stands up all by itself.
Giving Your Tree Its Happy Face
The face is where your tree comes to life. The safety eyes go in while the cone is still open, placed between Rounds 9 and 10 and roughly three stitches apart. Placing them before you close the base lets you fasten the backs securely from the inside.
Once the tree is stuffed and closed, a few small stitches of black embroidery floss between the eyes create the smile. Keep it small and simple. A tiny curve looks sweet and friendly, while a wider one gives your tree a big, cheeky grin. Have fun with it. Each tree you make can have its own expression.
The Trunk and Golden Star
The trunk is a tiny piece that adds a lot. It’s worked from a magic ring, with a back loop round that gives it a neat flat end, then lightly stuffed and sewn to the bottom of the tree. Center it carefully and your tree will stand straight and steady.
The star is the finishing touch everyone notices. It’s made from a ring of five stitches, and each point is a small chain worked back with a slip stitch. It takes only a few minutes, and once it’s sewn to the tip, your tree looks truly ready for Christmas.
Create a Little Christmas Forest
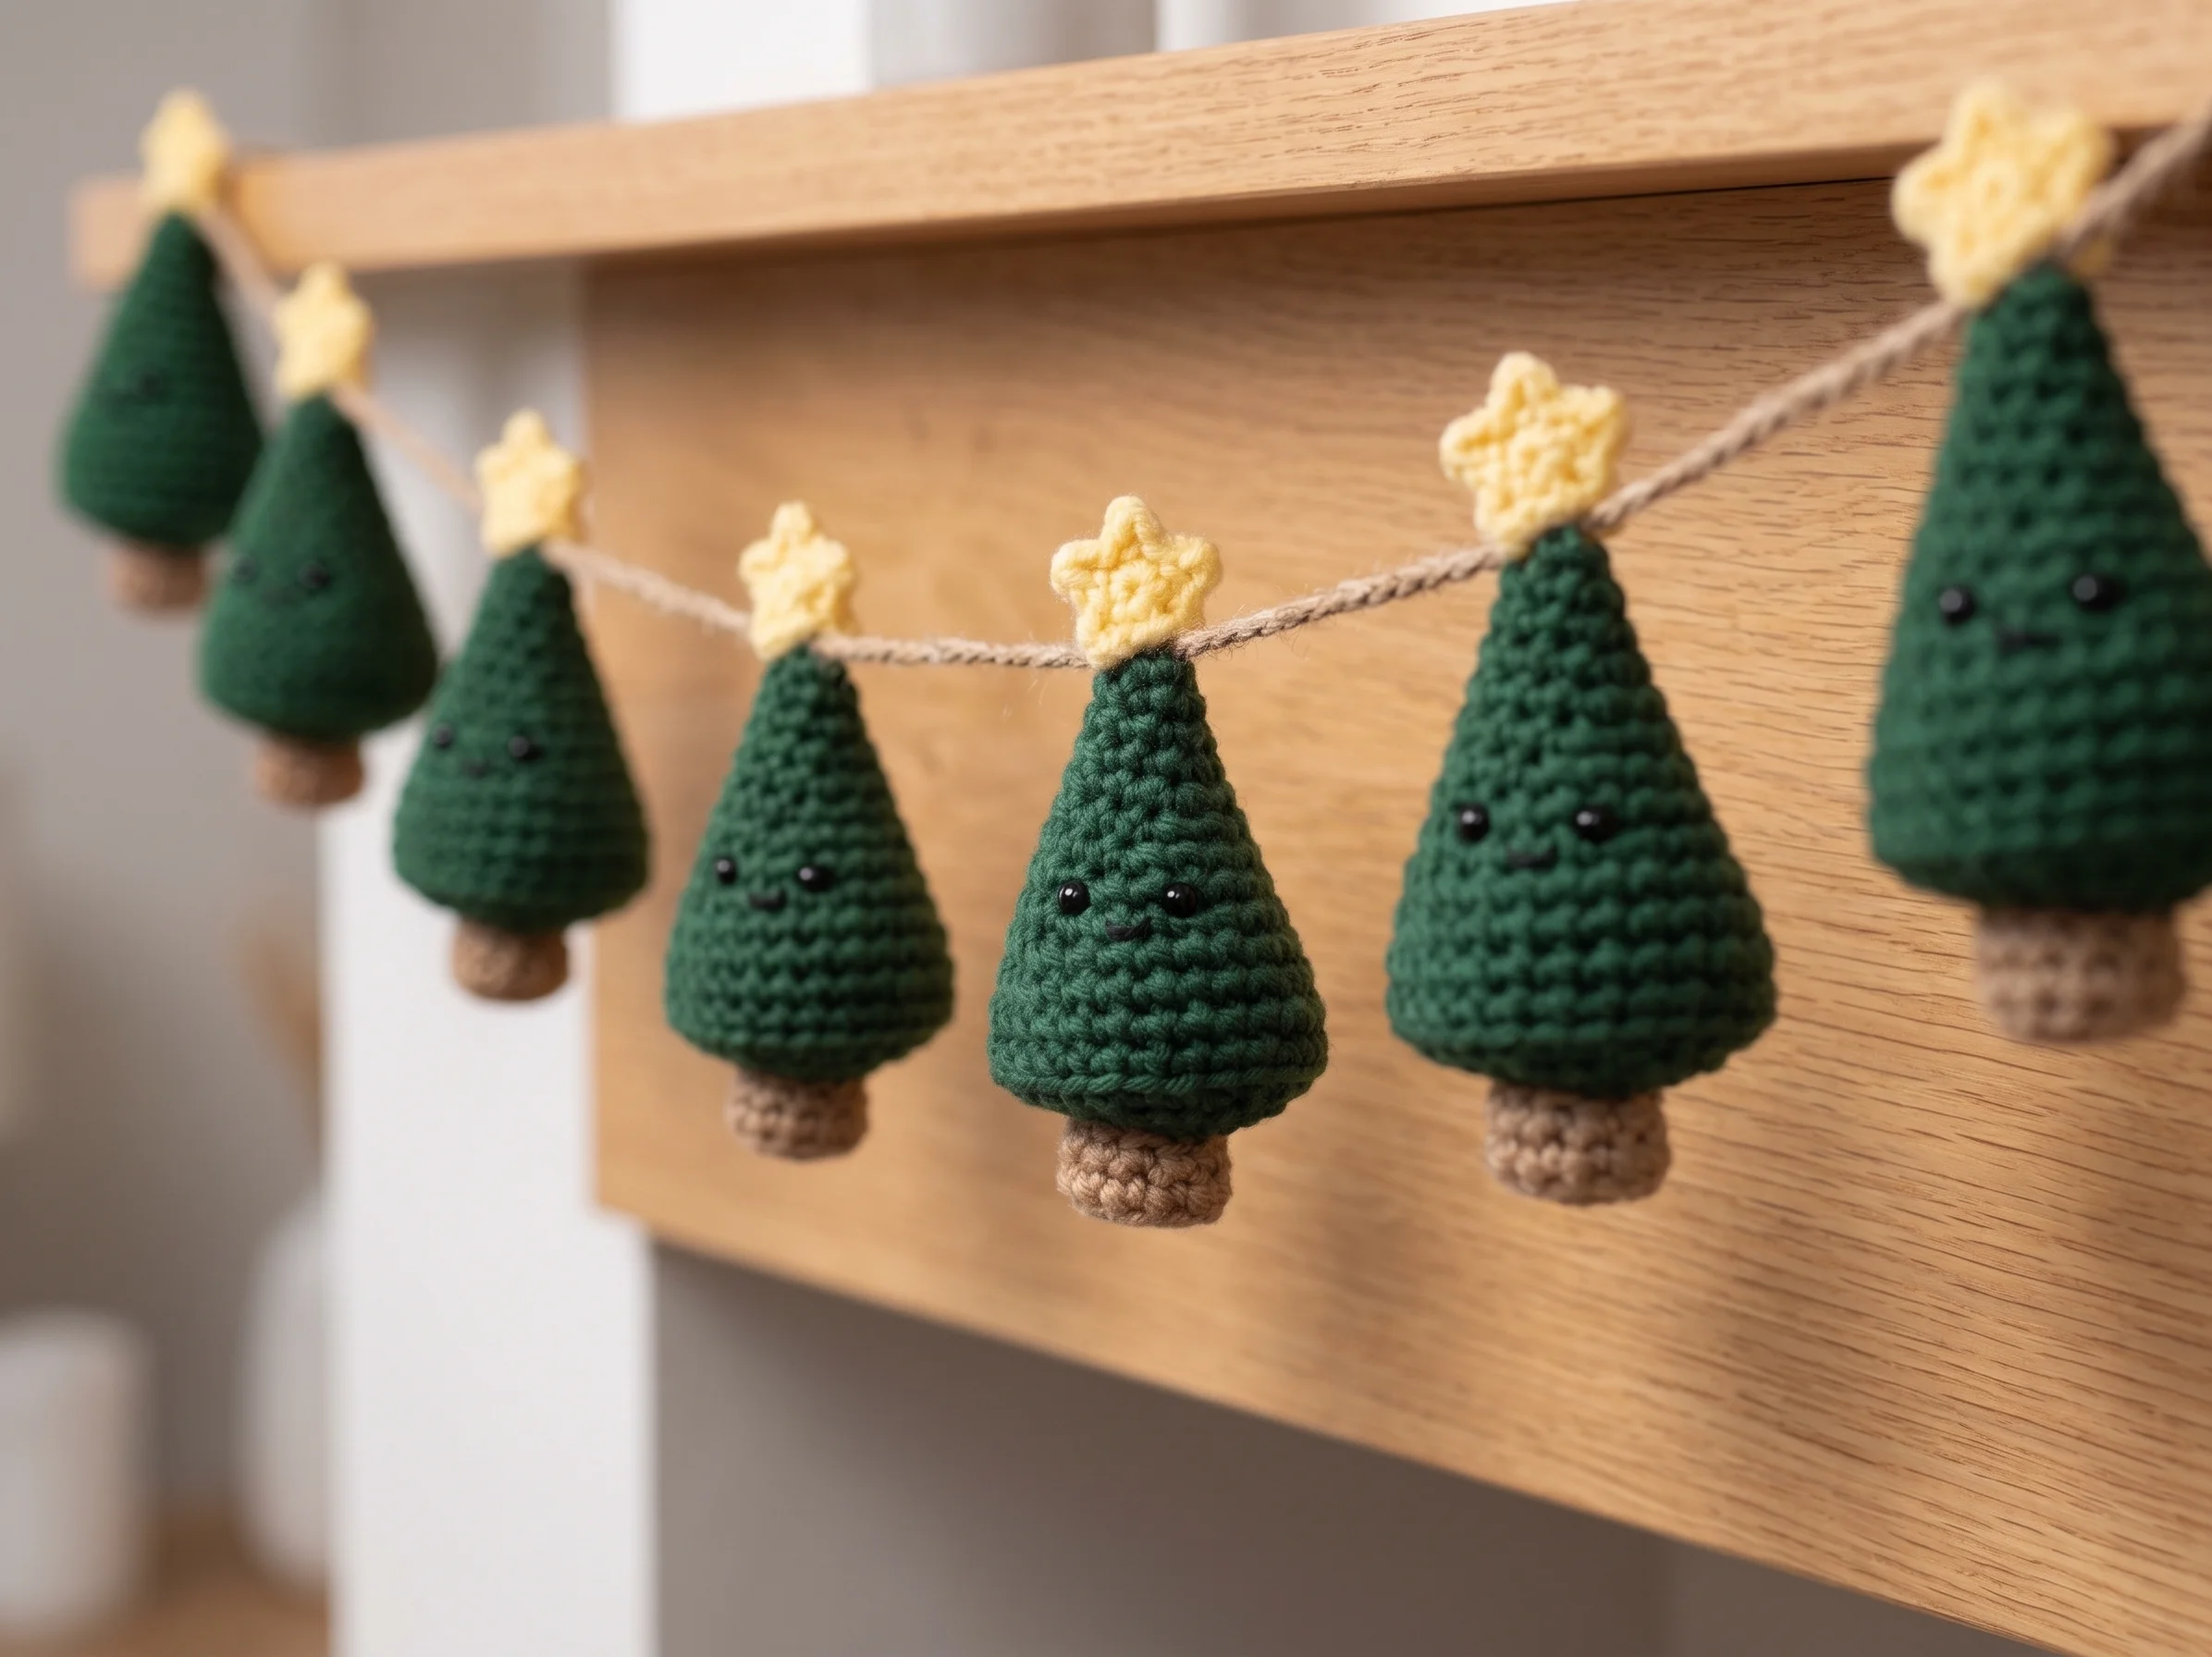
One tree is adorable. A small forest is pure joy. Make three or five in different shades of green, vary the smiles, and group them along a mantel or down the center of your holiday table. Mixing heights works beautifully too, so try one in a chunkier yarn for a taller tree beside the originals.
They pair wonderfully with our Crochet Bell Ornament Pattern and Crochet Candy Cane Pattern for a cozy handmade Christmas display.
Stuffing Your Tree for a Firm Shape
A well stuffed tree stands tall and keeps its point. Start adding fiberfill once you begin the decrease rounds, while there’s still room to work, and push it gently up into the tip with a chopstick or the end of a pencil.
Fill until the cone feels firm but not stretched. Too little and the tree may slump, too much and the stitches open up and show the stuffing. A firm, even fill also gives the base a flat surface to stand on.
Make It Your Own
This little tree is a wonderful canvas for your own ideas. Swap the yellow star for silver or white, or skip the face entirely for a classic minimalist tree. Small beads, buttons or tiny French knots in red and gold make lovely ornaments sewn onto the green.
You can play with size as well. A lighter DK yarn with a smaller hook gives you a mini version perfect for a desk, while a chunky yarn with a larger hook creates a bigger tree for a porch or entryway. The stitch counts stay the same, so the shape stays just as sweet.
Want to hang it on the tree instead? Simply attach a loop of yarn or twine beneath the star and your standing tree becomes an ornament.
A Note on Safety Eyes
Safety eyes look wonderful, but they’re small parts. If your tree is going to a home with babies or toddlers, embroider the eyes with black yarn instead. Two small stitched ovals look just as charming and keep the tree safe for little hands.
When Something Doesn’t Look Quite Right
If your tree leans to one side, the stuffing has usually settled unevenly. Gently ease a little filling from the fuller side across to the other, or reposition the trunk so it sits right in the center of the base.
If the cone looks lumpy rather than smooth, check your tension. Snug, even stitches give the cleanest cone, and a slightly smaller hook can help if gaps appear. And if the base won’t sit flat, double check that Round 15 was worked in the back loops only, since that round is what creates the flat bottom edge.
Keep Learning
Building your skills? These guides pair beautifully with this pattern: How to Use Safety Eyes in Amigurumi, Christmas Crochet Patterns to Make This Year and How to Change Colors in Crochet.
A Few Tips Before You Start
- Use a stitch marker to track the first stitch of every round.
- Count stitches at the end of each round as the cone grows.
- Place the eyes before you start closing the base.
- Stuff firmly into the tip for a crisp point.
- Sew the trunk on before the star so you can check the tree stands straight.
Frequently Asked Questions
Pick up your hook and let’s bring your next crochet project to life!