Mini Crochet Stocking Pattern Free Christmas Tree Ornament
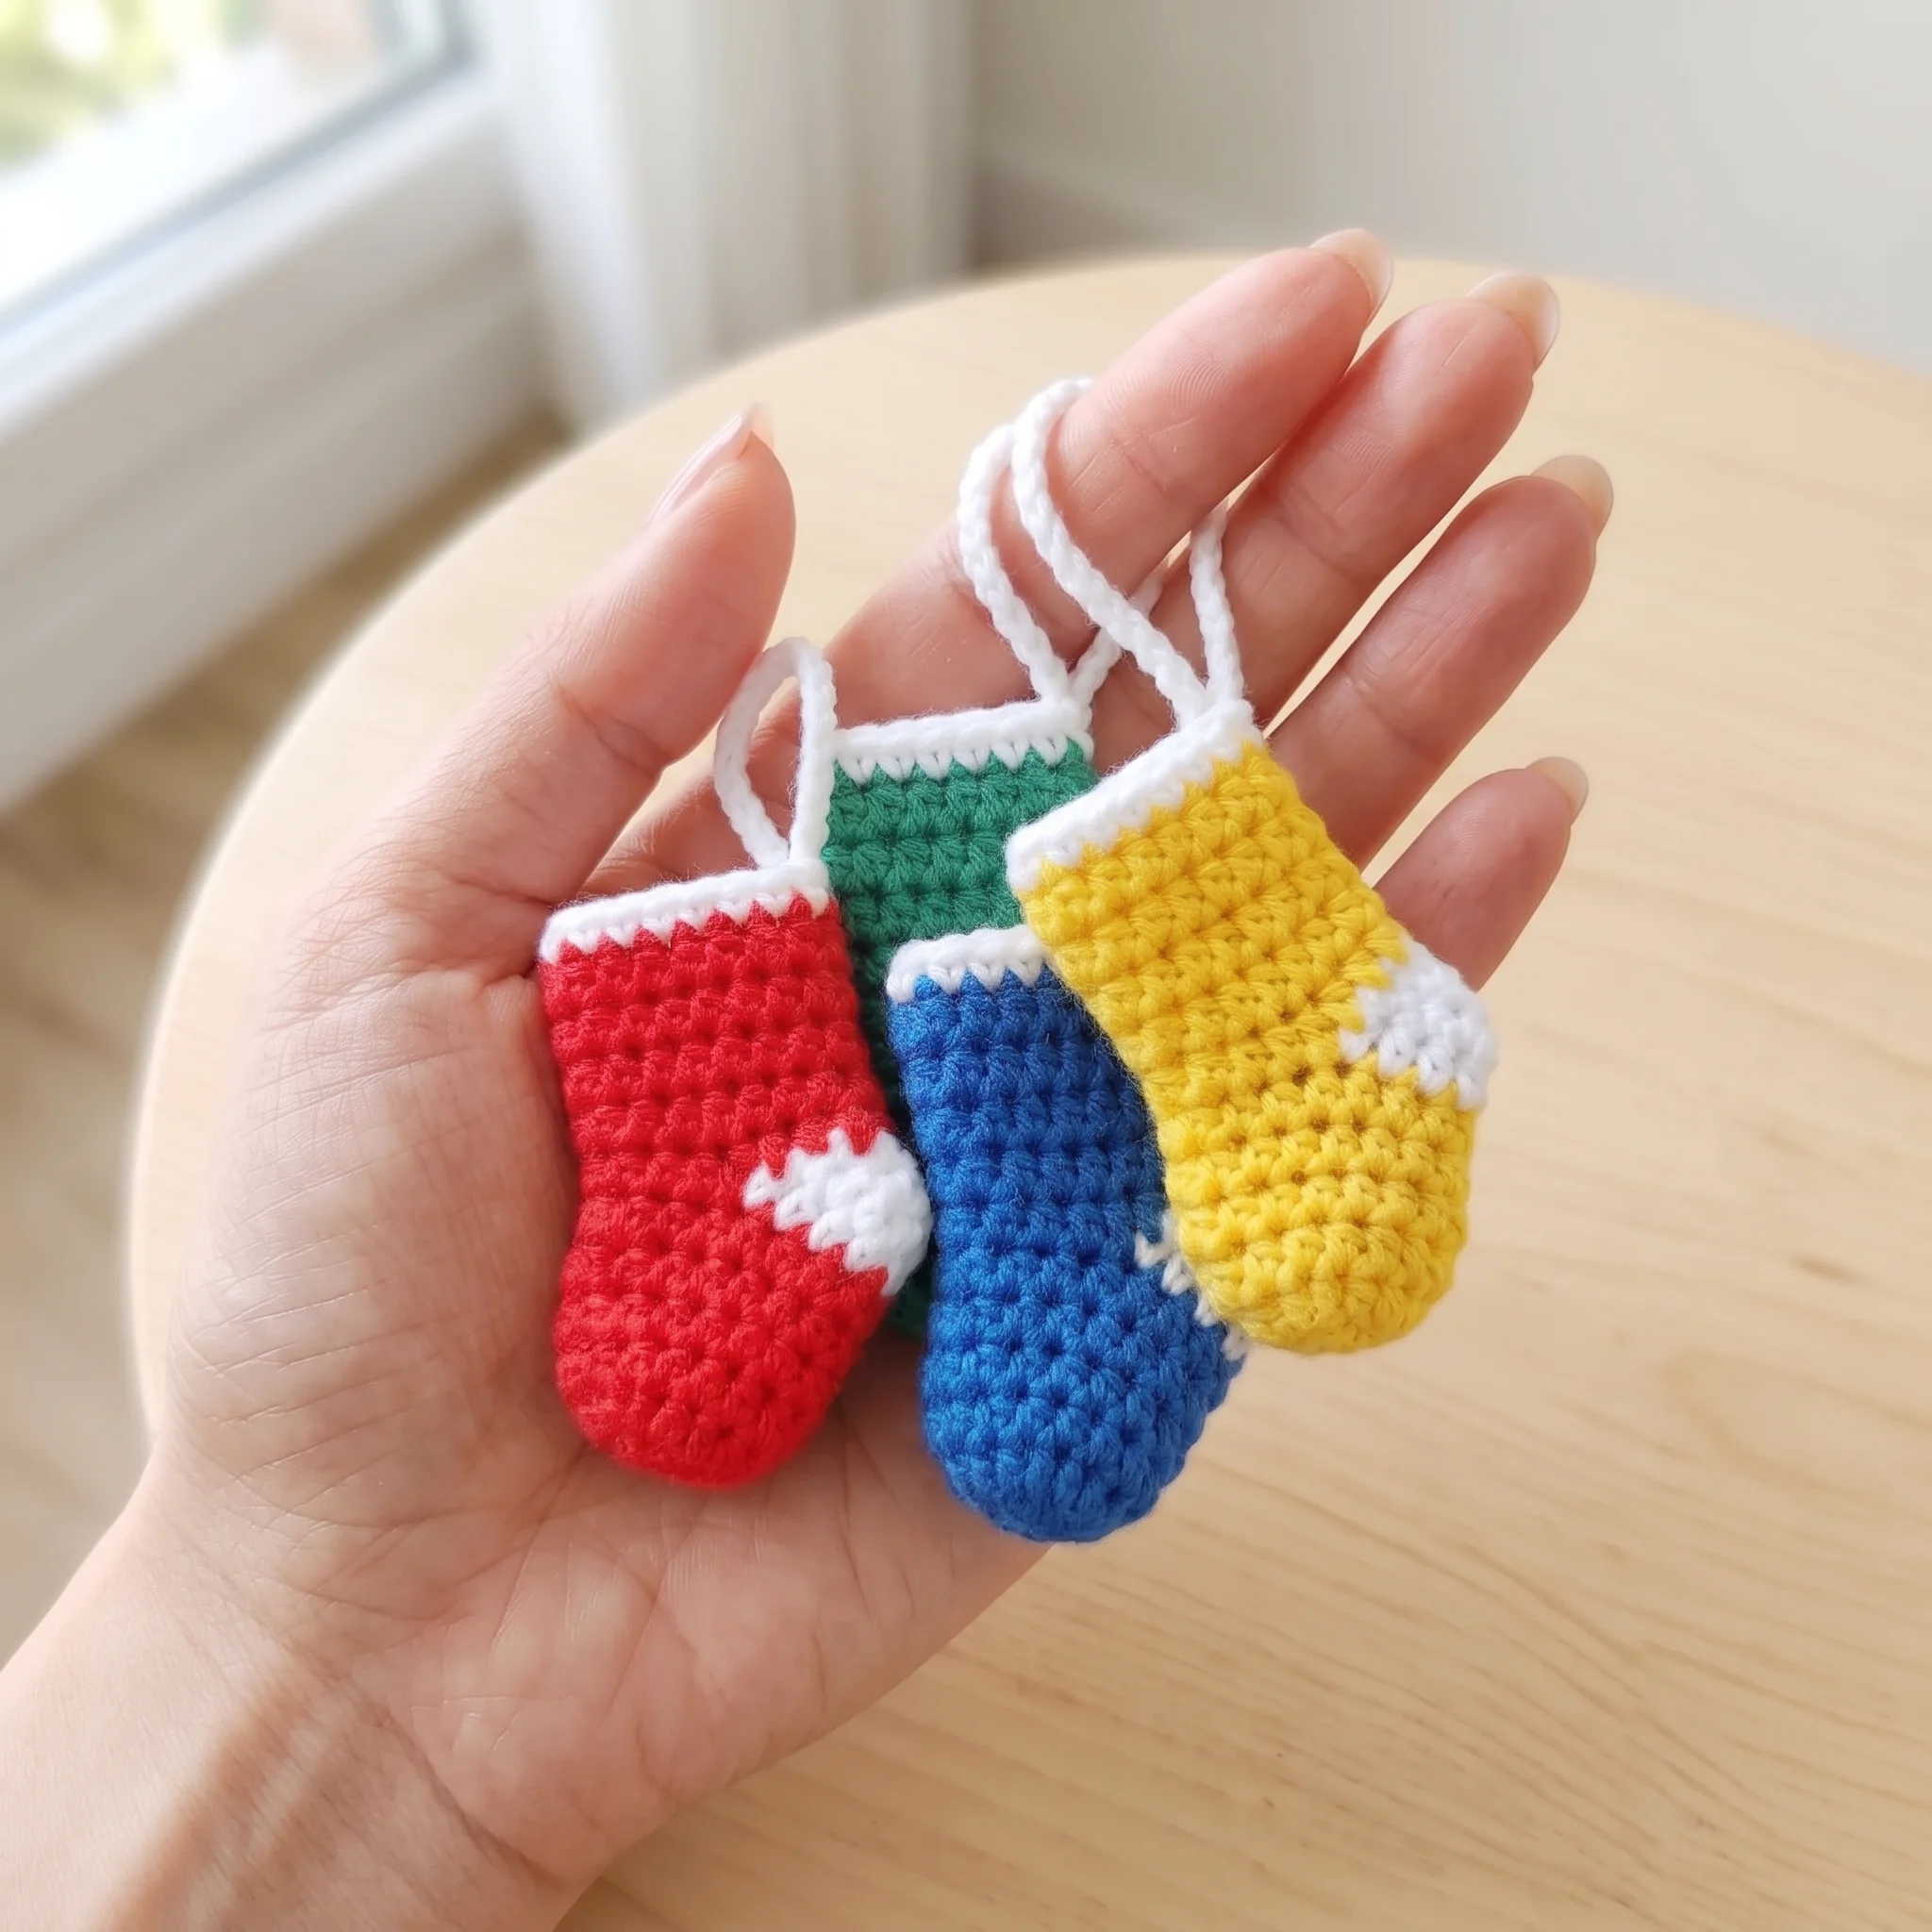
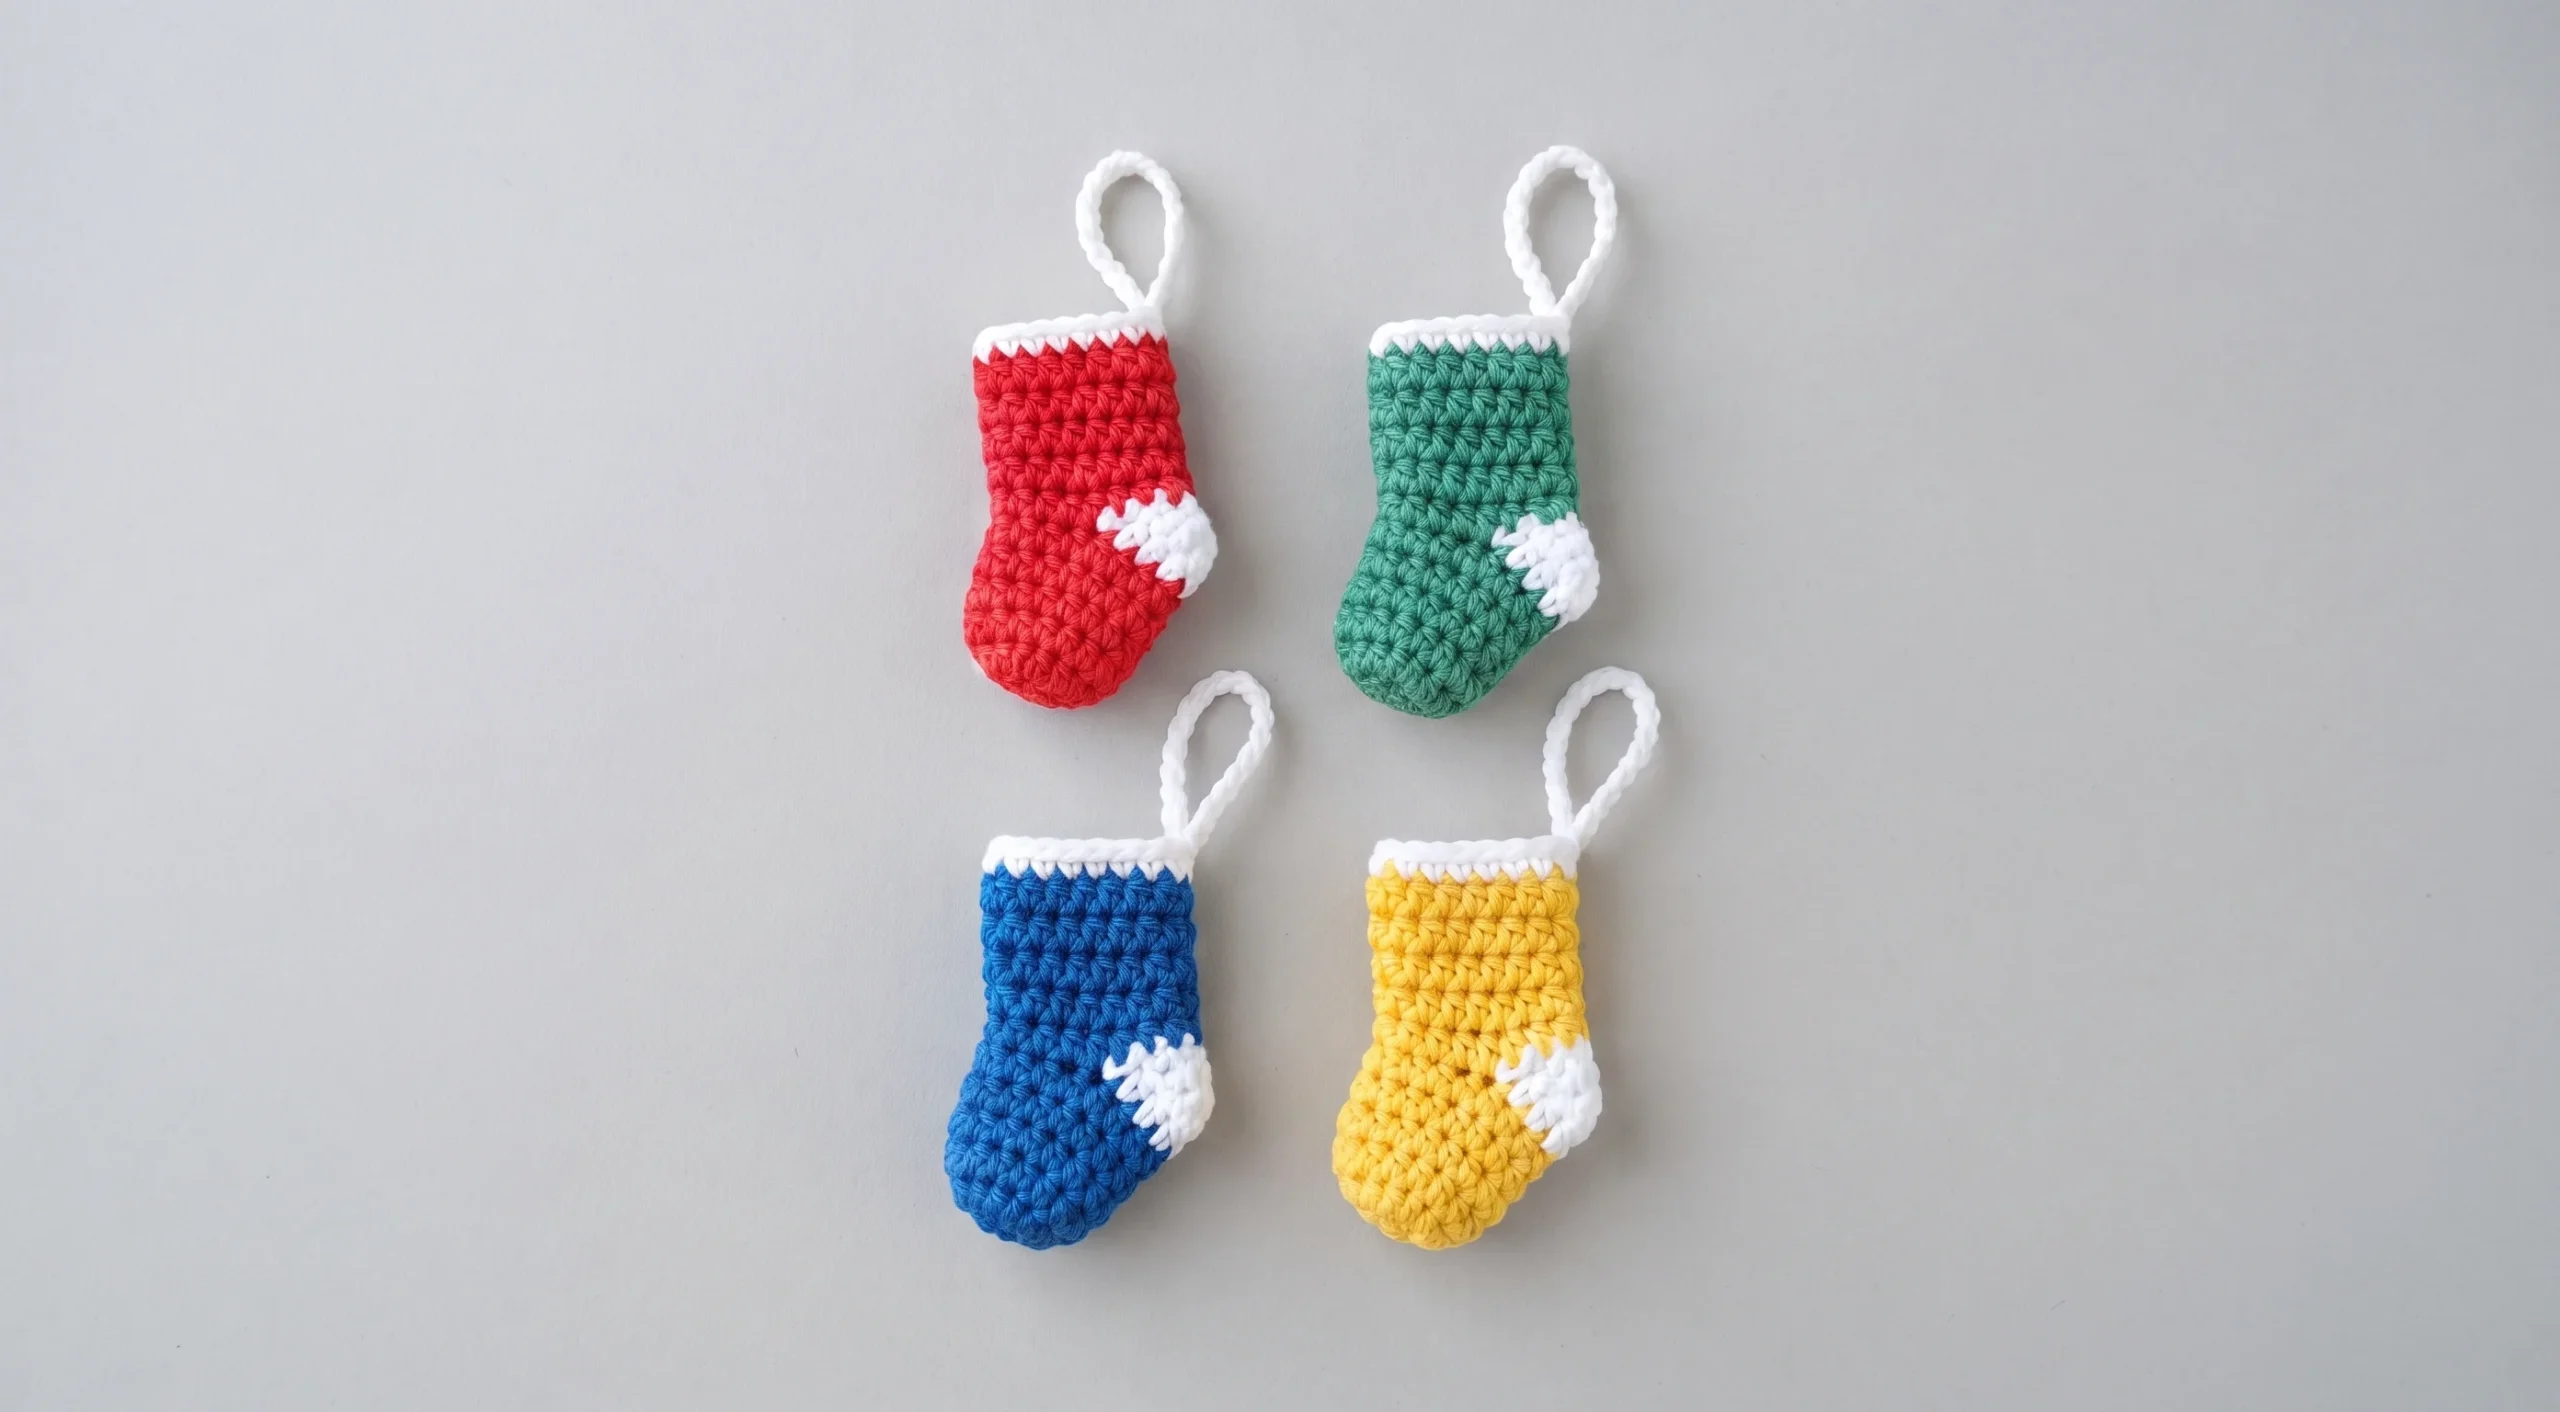
Big stockings hang by the fireplace. Little ones belong on the tree. Our free mini crochet stocking pattern makes a 3.5 inch ornament with a real rounded toe, a properly shaped heel and a crisp white cuff, finished with an optional tiny gold bell. It’s a stocking pattern that looks just like the real thing, only small enough to fit in your palm.
Why You’ll Love This Crochet Stocking
Most tiny stockings are flat cut out shapes. This one is built like a real sock. It has a rounded toe, a contrasting heel that actually turns the corner, and a body that rises up to a neat white cuff. When it hangs on the tree, it looks like a perfect miniature of the stockings by the fire.
That real shape is what makes it feel special, and it’s surprisingly simple to achieve. You’ll learn a clever heel technique along the way, which is a lovely skill to carry into future projects.
It also works up fast. With just two colors of DK yarn and a few short sections, you can finish one in a single sitting and still have time to start the next.
These little stockings are also wonderfully useful. Tuck a gift card, a sweet or a tiny note inside and you have a festive surprise that feels thoughtful and personal.
What’s Inside the Free Crochet Stocking Pattern
Your PDF download walks you through every stage of the stocking:
- Round by round instructions for the toe, with stitch counts
- A clear guide to working and closing the heel
- Step by step directions for picking up the body around the heel
- Instructions for the white trim and hanging loop
- Optional bell placement for an extra festive touch
- Helpful tips throughout, in US crochet terms
Materials for Your Mini Stocking
| Material | Details |
|---|---|
| Yarn | DK weight: main color plus white |
| Crochet hook | 2.5mm (US C/2) |
| Bell | 1cm gold bell, optional |
| Notions | Stitch marker, yarn needle, scissors |
| Finished size | Approx. 3.5in (9cm) long, including hanging loop |
| Skill level | Easy |
| Crochet terms | US |
Red is the classic choice, but green, burgundy or even a soft gray look beautiful against the white heel and cuff. Any smooth DK yarn works, so this is a perfect use for leftovers.
How Your Stocking Comes Together
The stocking is made in a natural order, just like a real sock knitted from the toe up. First comes the rounded toe, worked in half double crochet in joined rounds. Half double crochet gives the stocking a slightly taller, softer stitch that builds height quickly and keeps the fabric neat.
Then you switch to white for the heel. Finally, you return to your main color and work the body upward in continuous rounds before finishing with the white trim. It’s a short, satisfying journey from toe to cuff.
The Clever Shaped Heel
The heel is the part that makes this stocking special, and it’s easier than it looks. You work across just half of the toe’s stitches in white, then turn and work back across them once more. That small flat piece is folded in half and stitched closed along its edge, creating a neat little cup that becomes the heel.
Here’s a lovely time saver: you don’t cut your main color before starting the heel. Leave it attached and waiting, and you’ll pick it straight back up to work the body. That means one less end to weave in and a cleaner finish.
Building the Body and White Cuff
Once the heel is closed, you return to your main color and work around the opening, picking up stitches along the toe and heel to bring everything together. From here the stocking grows upward in easy continuous rounds of half double crochet.
A short finishing sequence tapers the last stitches smoothly, then white yarn is joined at the back, in line with the heel, for a round of single crochet that forms the cuff. Joining at the back keeps any small seam hidden when the stocking hangs. The crisp white edge frames the stocking beautifully and gives it that instantly recognisable Christmas look.
Is This Stocking Right for You?
The pattern is rated Easy, and every stitch in it is one you likely already know. The only part that asks for a little extra attention is the moment you move from toe to heel to body, because you’re working pieces in a slightly different order than a simple round shape.
That’s why we suggest reading the whole pattern once before you begin. When you can picture how the toe, heel and body fit together, each step makes sense as you reach it. Many crocheters find that after the first stocking, the second one flows easily, and by the third you’ll hardly need to look at the PDF at all.
Little Stockings With Big Ideas
These mini stockings are made for more than decorating. Make one for each family member in a different color, with an initial stitched on each cuff, and hang them together on the tree. Number them 1 to 24 and you have the start of a charming advent calendar, with a little treat tucked into each one.
They also make thoughtful gift card holders and lovely place settings at the Christmas table. Pair them with our Crochet Santa Ornament Pattern and Crochet Christmas Bauble Pattern for a tree full of handmade charm.
The Hanging Loop and Gold Bell
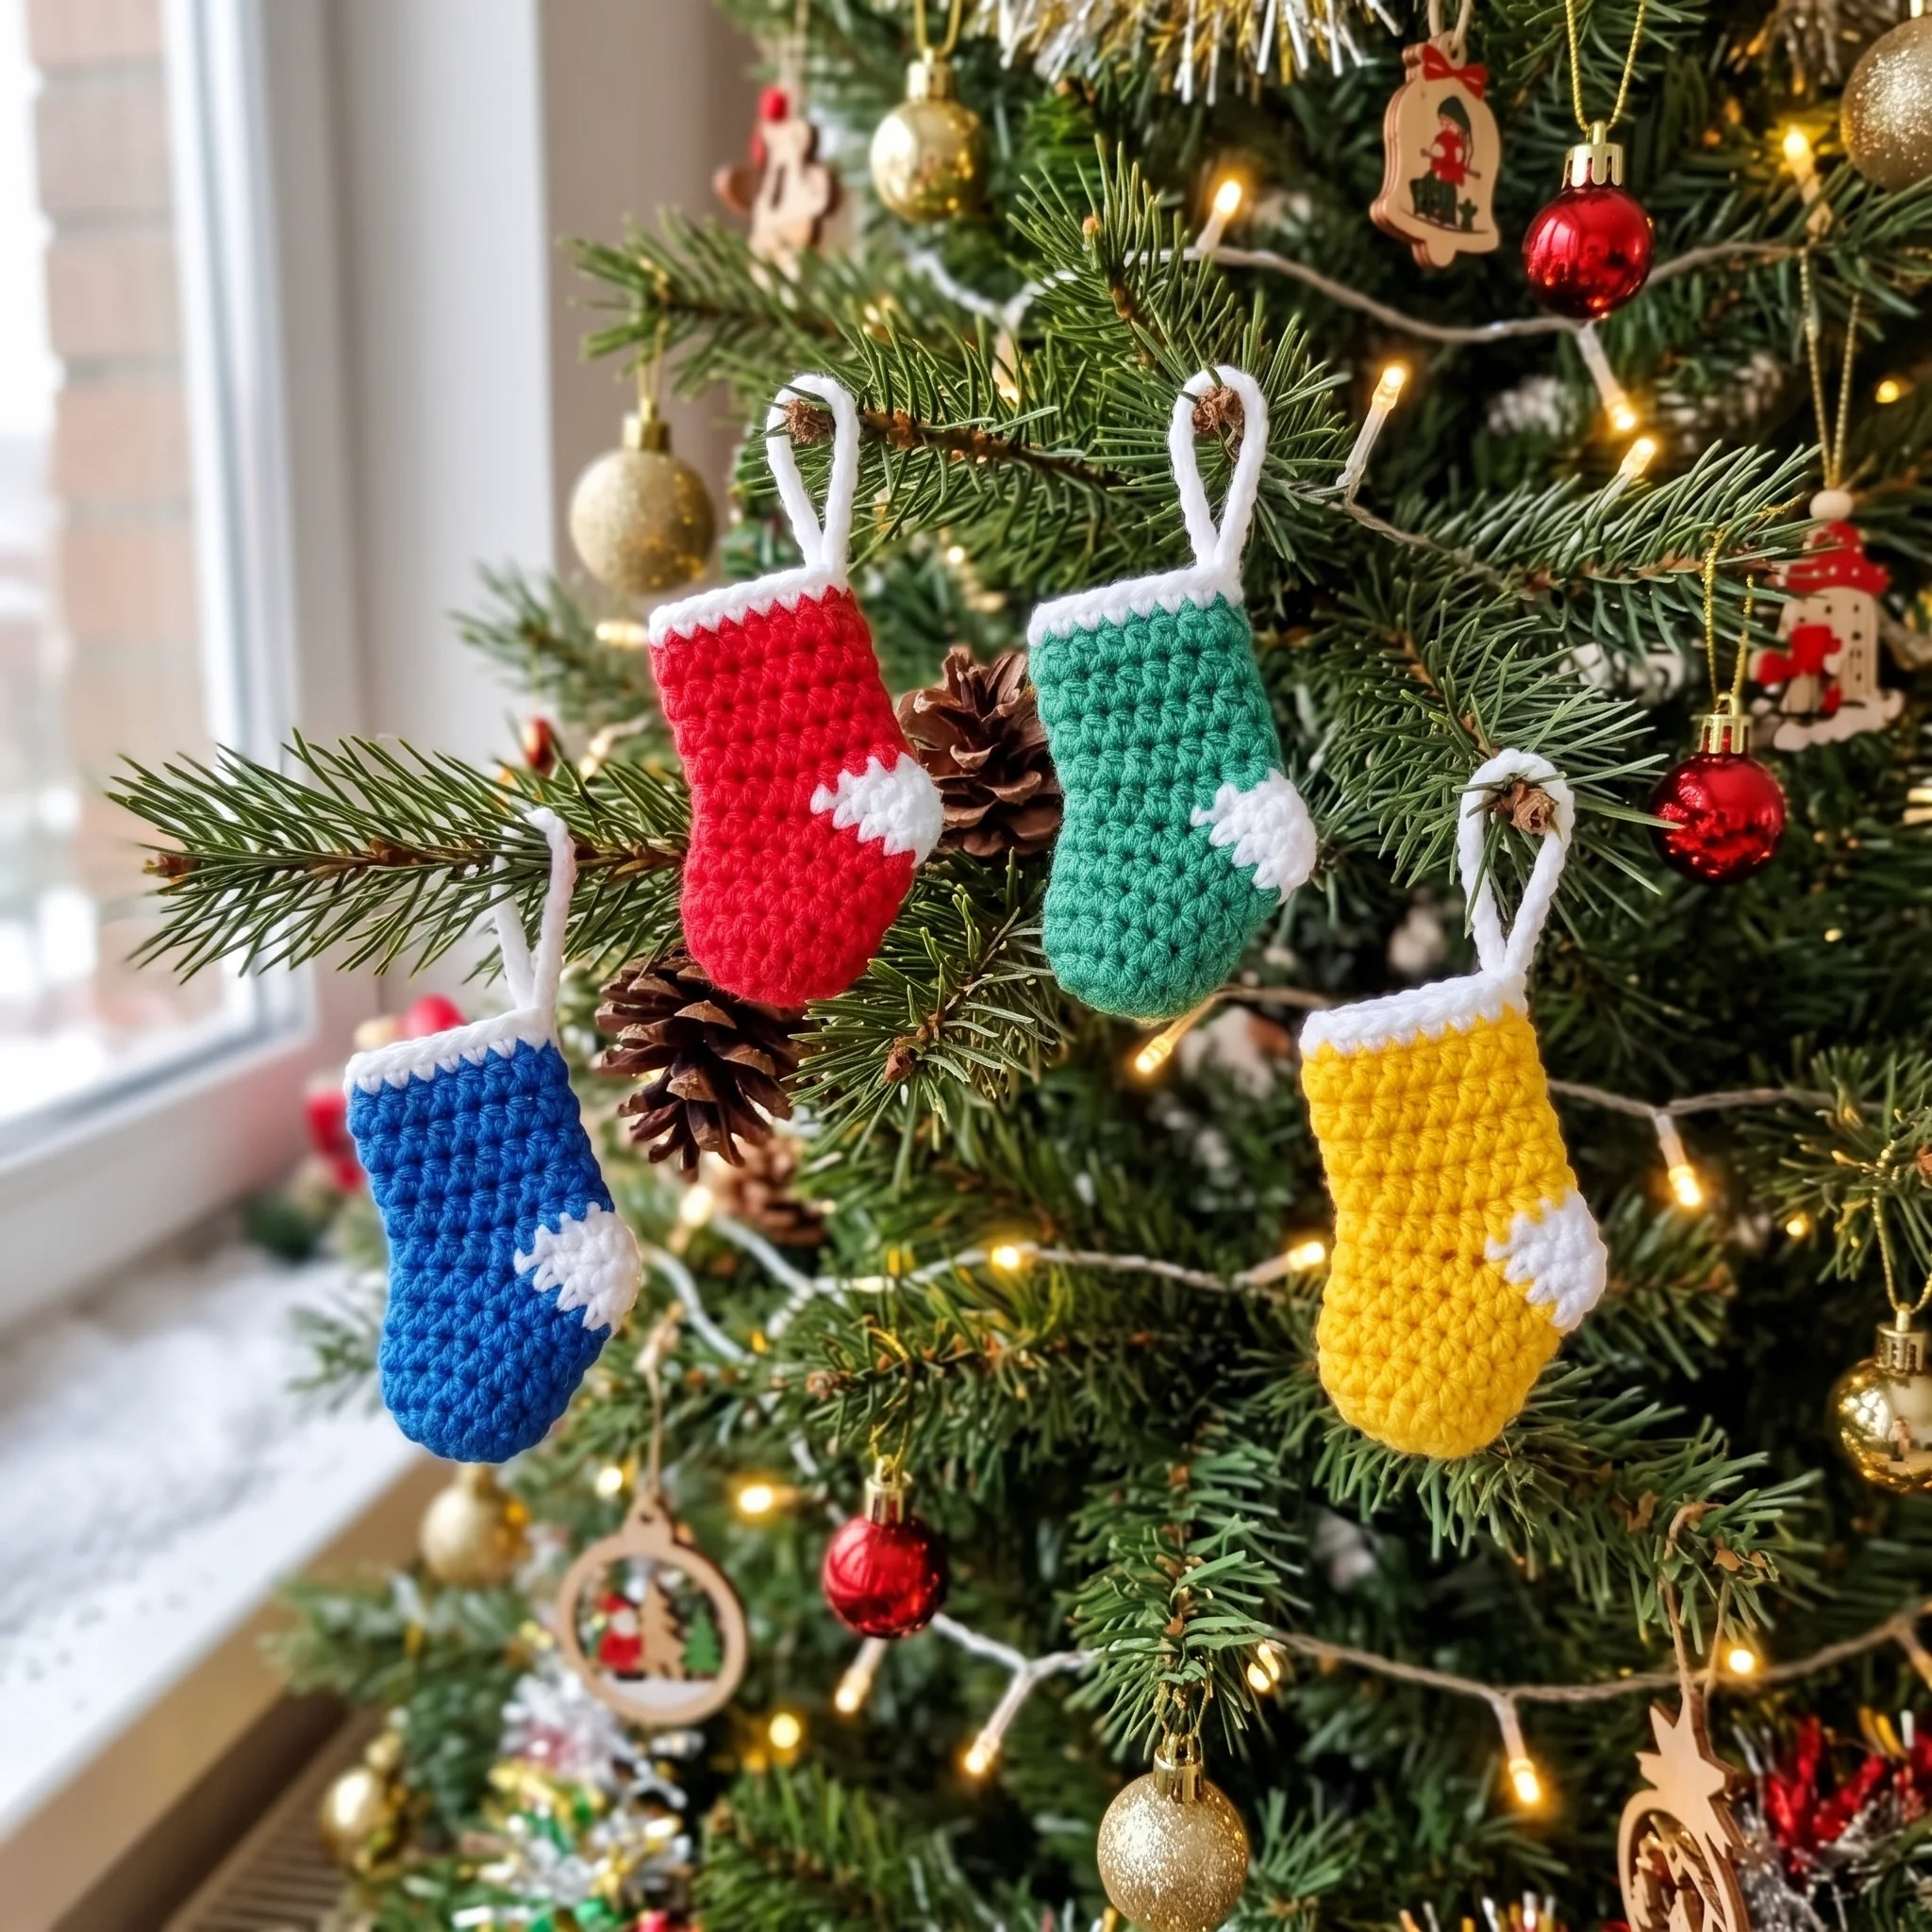
The hanging loop is worked straight from the cuff. Simply chain 20 and slip stitch into the trim to form the loop, so it’s strong and part of the stocking rather than sewn on afterwards.
For an extra sparkle, sew a small gold bell to the side of the stocking at the base of the loop. It catches the light beautifully and gives a soft jingle whenever the branch moves. As with any bell, keep it out of reach of babies, young children and pets, since it’s a small part.
Make It Your Own
Your stocking can be as classic or creative as you like. Try a striped body by alternating two colors every round, or switch the white cuff for a contrasting color. A tiny embroidered initial on the cuff turns each stocking into a personalized keepsake.
You can make bigger versions too. A worsted weight yarn with a larger hook gives you a stocking big enough to hold small gifts, perfect for gift wrapping or a mantel display. And if you’d like a longer leg, simply add a few extra body rounds before the trim.
When Something Doesn’t Look Quite Right
If the heel looks twisted, check that you folded it with the right sides together before stitching it closed, then turned it right side out. If the body seems to lean, recount the stitches in the pick up round, since an extra or missing stitch there can pull the stocking slightly off line.
If the stocking feels floppy, your tension may be a little relaxed. Half double crochet loosens more easily than single crochet, so a snug, even tension gives the neatest result.
Keep Learning
Building your skills? These guides pair beautifully with this pattern: How to Change Colors in Crochet, Christmas Crochet Patterns to Make This Year and How to Use Safety Eyes in Amigurumi.
A Few Tips Before You Start
- Read through the whole pattern once before you begin so the heel makes sense.
- Keep your main color attached when you switch to white for the heel.
- Use a stitch marker once you start the continuous body rounds.
- Join the white trim at the back, in line with the heel.
- Make a few at once for a matching set or advent garland.
Frequently Asked Questions
Pick up your hook and let’s bring your next crochet project to life!