Mini Crochet Dinosaur Pattern Free Kawaii Dino Amigurumi and Keychain
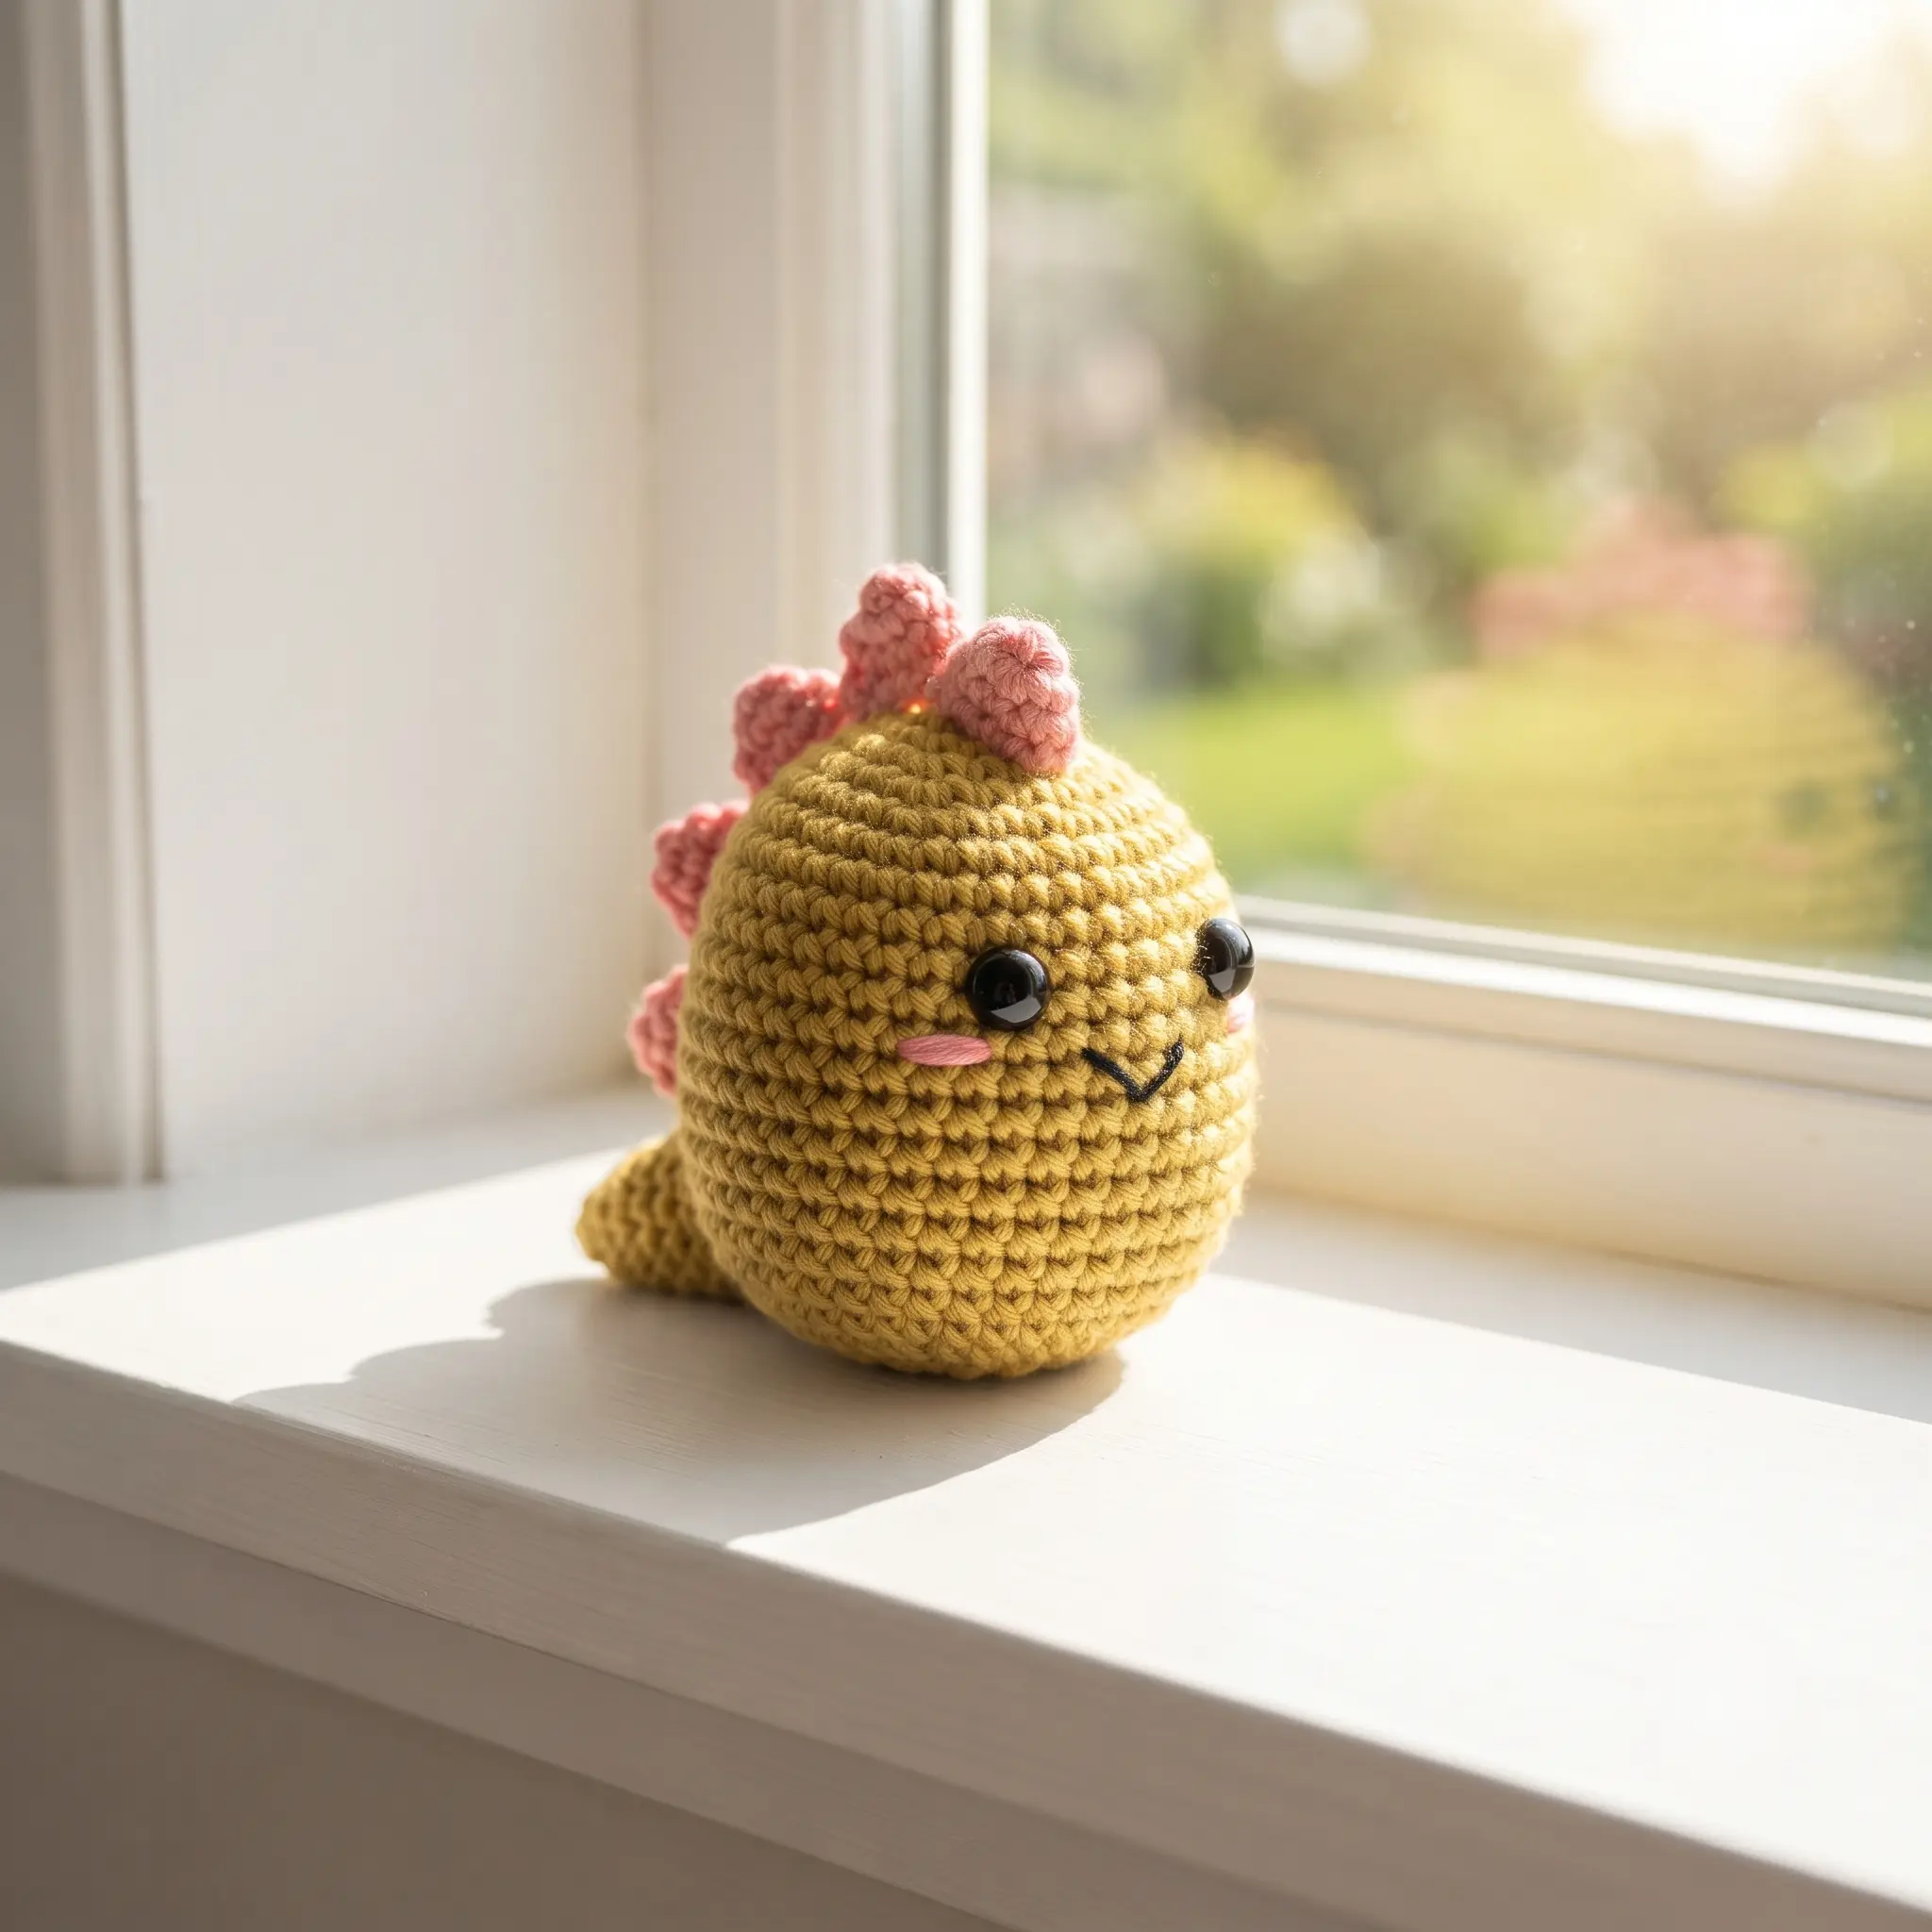
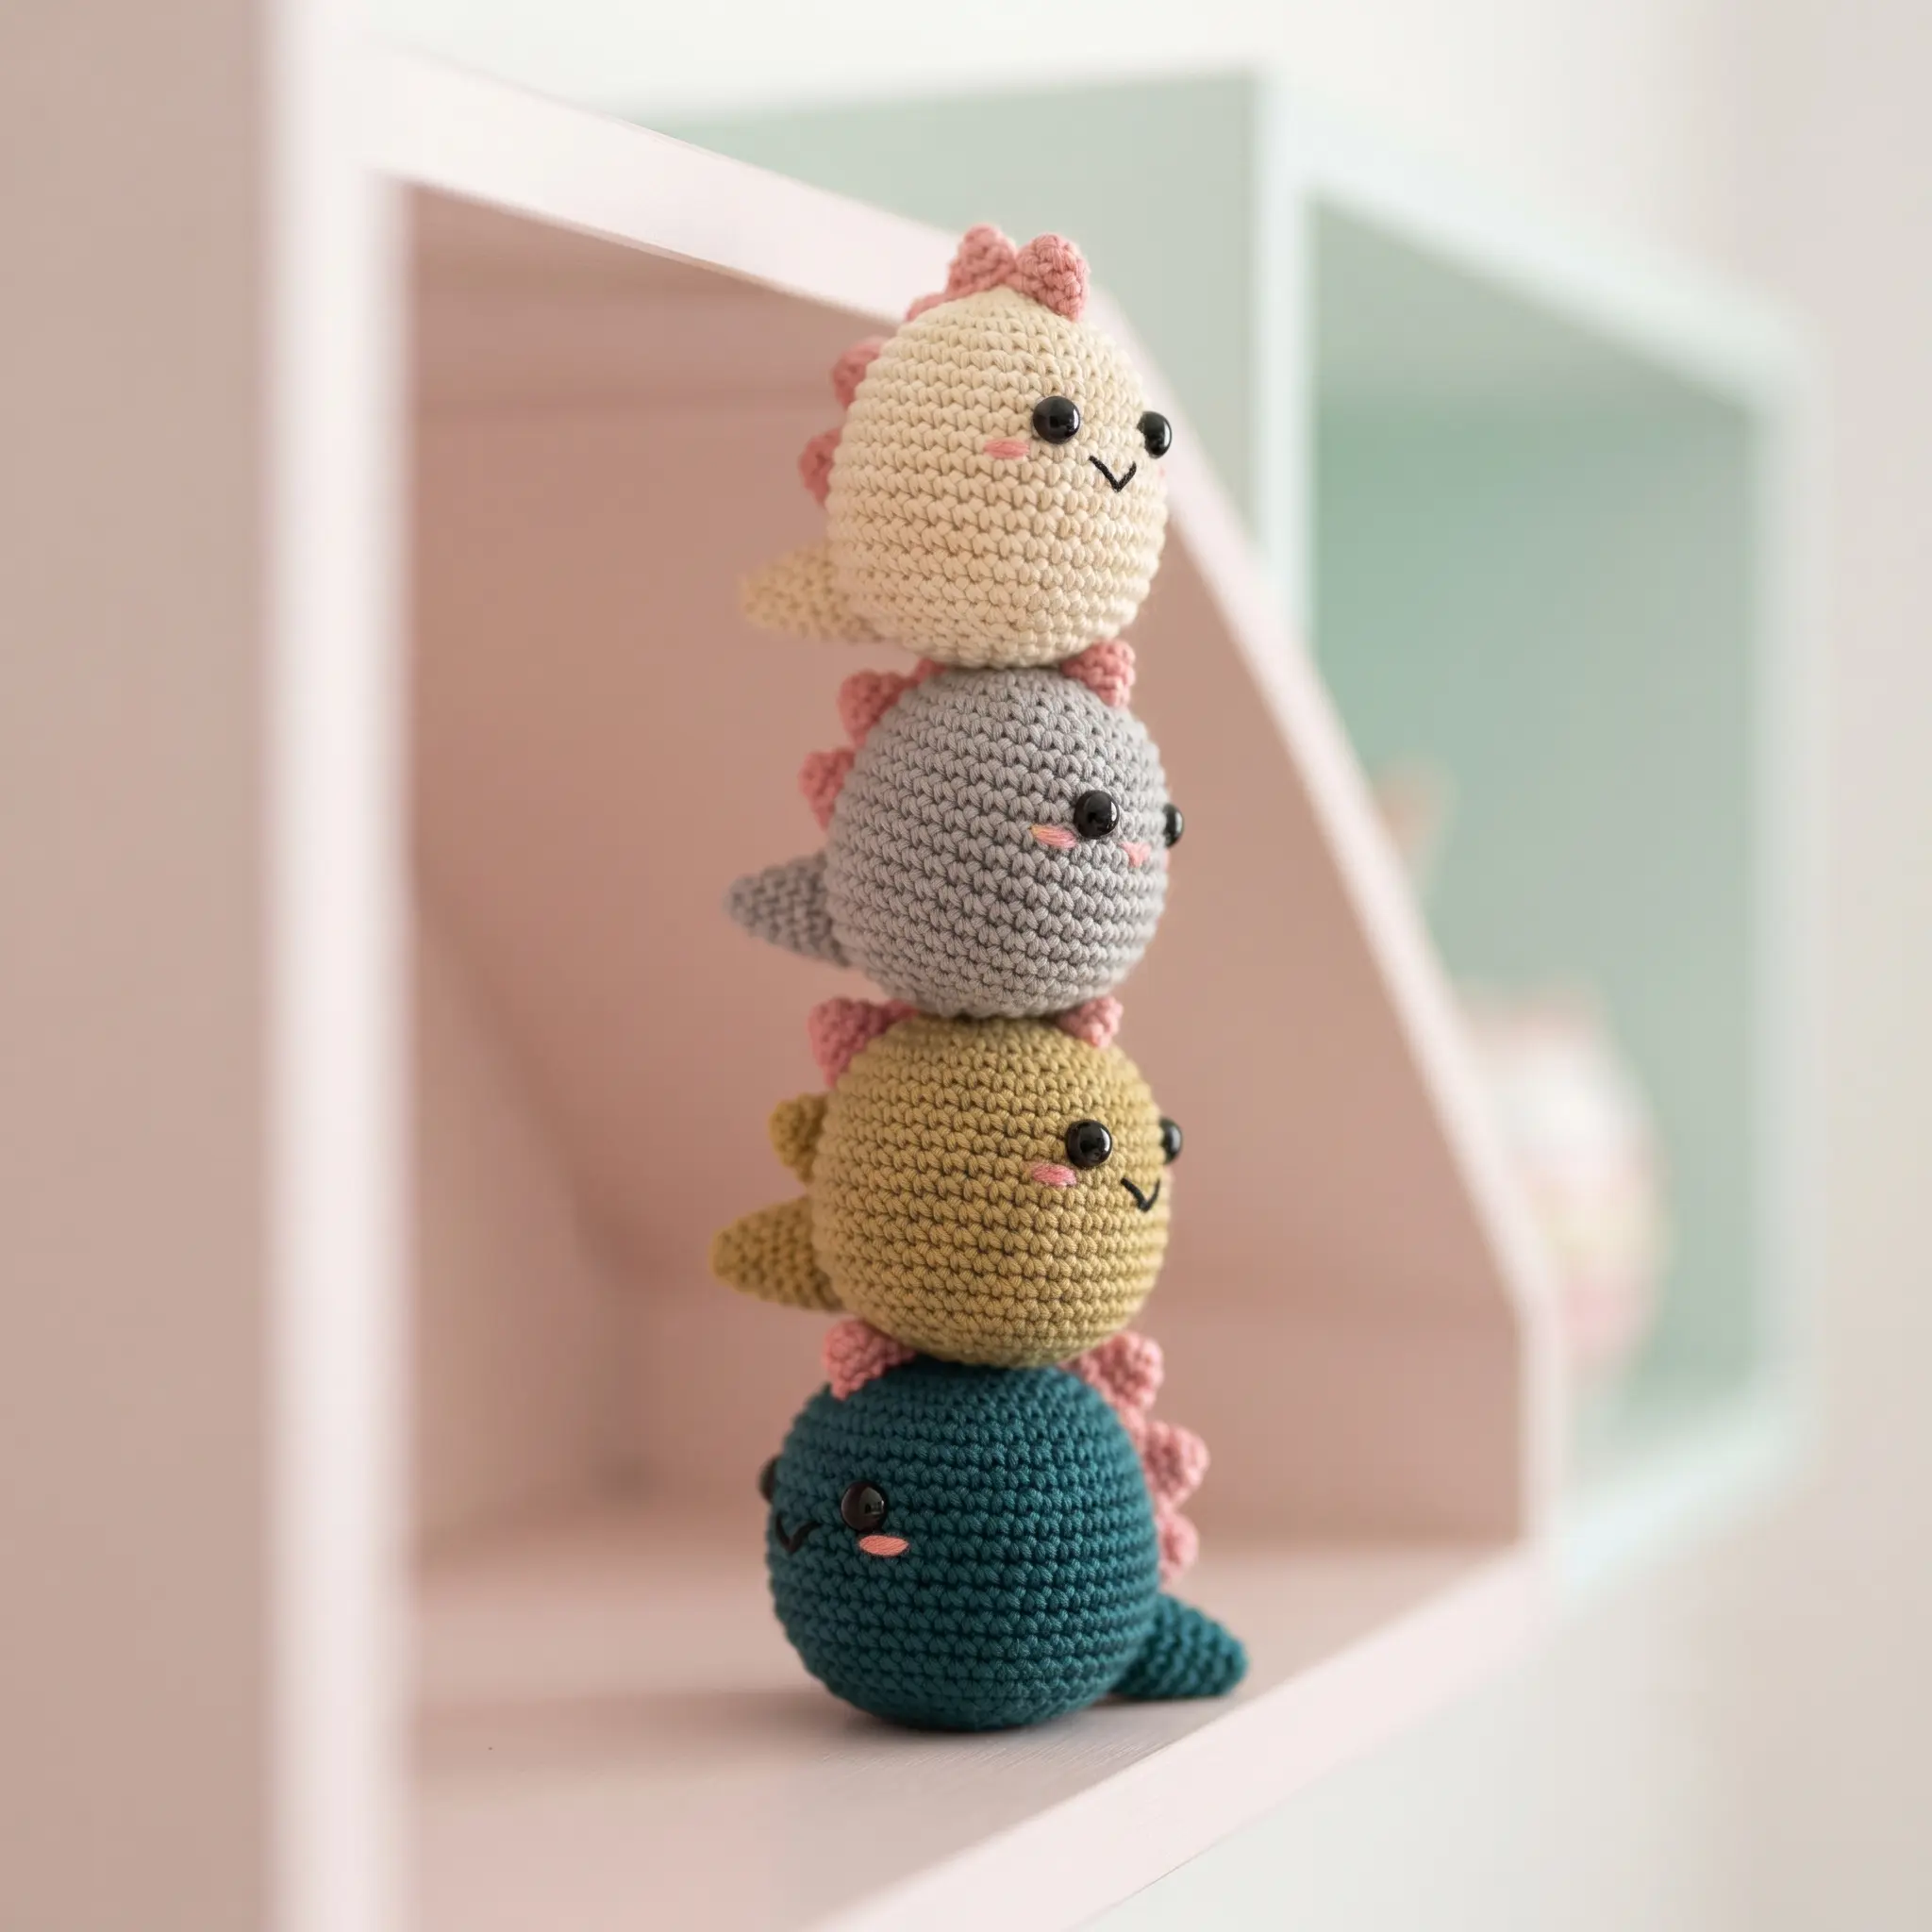
Roar softly. This little dino is far too cute to be scary. Our free crochet dinosaur pattern makes a 3 inch kawaii dino with a round, friendly face, rosy cheeks, a row of bright blue spikes and a tail that grows straight out of its body as you crochet. It’s quick, cheerful and guaranteed to make every dinosaur lover in your life grin from ear to ear.
Why You’ll Love This Crochet Dinosaur
Dinosaurs never go out of fashion. Kids adore them, grown ups secretly adore them, and a tiny handmade one is the kind of gift that gets carried everywhere. This mini dino is designed to capture all that charm in a little palm sized friend.
The kawaii style is what makes it so irresistible. A big round head, wide set eyes, a tiny smile and soft pink cheeks give it a sweet, gentle expression. Then a playful row of blue spikes and a perky tail turn it unmistakably into a dinosaur.
Best of all, it’s built cleverly. The head and body are one piece, and the tail is crocheted right out of the body, so there’s less sewing and a sturdier finish. Only the spikes are added separately, and they’re the fun part. That means you spend your time on the details that bring your dino to life, not on fiddly assembly.
What’s Inside the Free Crochet Dinosaur Pattern
Your PDF download walks you through your dino from top to tail:
- Round by round instructions for the head and body, worked as one piece
- The special round that sets up the tail, explained step by step
- Instructions for working the tail directly from the body
- Patterns for every spike size: small, medium and an optional extra small
- Exact safety eye placement for that sweet kawaii look
- Embroidery guidance for the mouth and rosy cheeks
- Stuffing and assembly tips for a neat, balanced dino
Materials for Your Mini Dino
| Material | Details |
|---|---|
| Yarn | DK (8 ply) cotton in green (body) and blue (spikes) |
| Crochet hook | 3mm |
| Safety eyes | 2 × 8mm |
| Stuffing | Polyester fiberfill |
| Embroidery | Black and pink embroidery thread |
| Notions | Yarn needle, stitch marker, scissors |
| Finished size | Approx. 3in (7.5cm) tall |
| Skill level | Easy |
Cotton gives this dino crisp, tidy stitches and a firm shape that holds well. Any bright green looks classic, but a soft mint, a sunny yellow or even a pastel lilac all make wonderful dinosaurs. Pick a contrasting colour for the spikes so they really pop.
One Piece From Head to Body
Your dino begins at the very top of its head with a magic circle. You increase to form the big, round kawaii head, then shape gently down into the body, all in one continuous piece. There’s no head to attach later and no wobbly neck seam to worry about.
The safety eyes go in between Rounds 9 and 10, while the piece is still open and easy to work with. Placing them early lets you see your dino’s face forming as you go, which is one of the most charming moments in any amigurumi project.
The Tail That Grows From the Body
This is the clever detail that makes this pattern special. On Round 16, you make a short chain and skip eight stitches. It feels a little strange at first, but those skipped stitches are being saved for later.
Once the body is finished, you return to that opening and crochet the tail directly from those stitches and the chain. The tail is part of the body from the start, so it sits perfectly in place and won’t loosen over time. It’s an elegant little technique, and once you’ve tried it, you’ll want to use it in your own designs.
Colourful Spikes Down the Back
The spikes give your dino its personality. You’ll make one small spike, three medium spikes and, if you like, one extra small spike, all in blue. Each one is a quick little shape that takes just a few minutes.
Before sewing, lay them along the head and back from smallest at the top to largest in the middle, and look at your dino from the side. Adjust the spacing until it looks balanced, then sew them on securely. It’s a small step that makes a big difference to the finished look.
The Gift Every Dino Fan Wants
A handmade dinosaur is pure joy to give. Tuck one into a birthday party bag, sit one on a child’s bookshelf, or give one to a friend who’s still a dinosaur kid at heart. Add a small loop and it becomes a bag charm or keychain that goes everywhere.
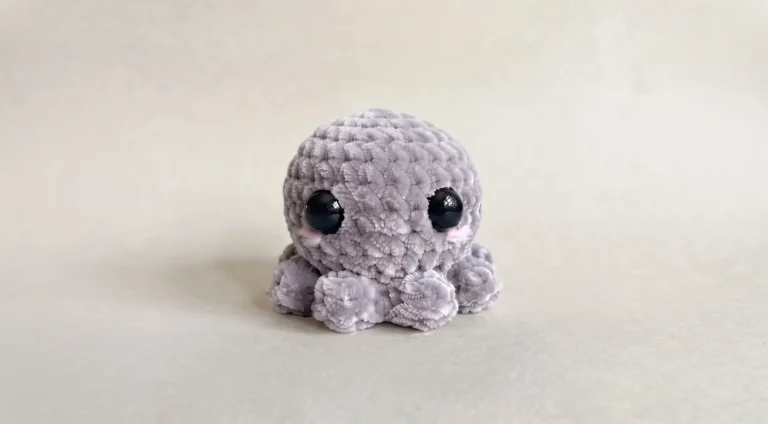
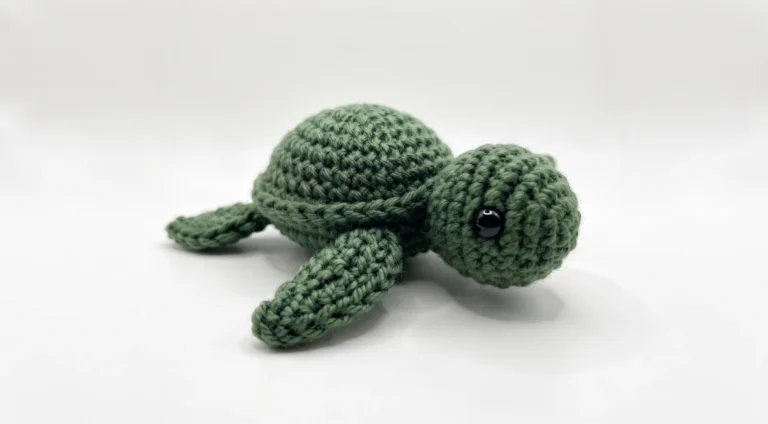
Make a whole herd in different colours for a dino themed party or nursery. Pair it with our Crochet Octopus Pattern or Crochet Turtle Pattern for a mix of tiny creatures, or explore more in our Crochet Animal Patterns collection.
Giving Your Dino Its Kawaii Face
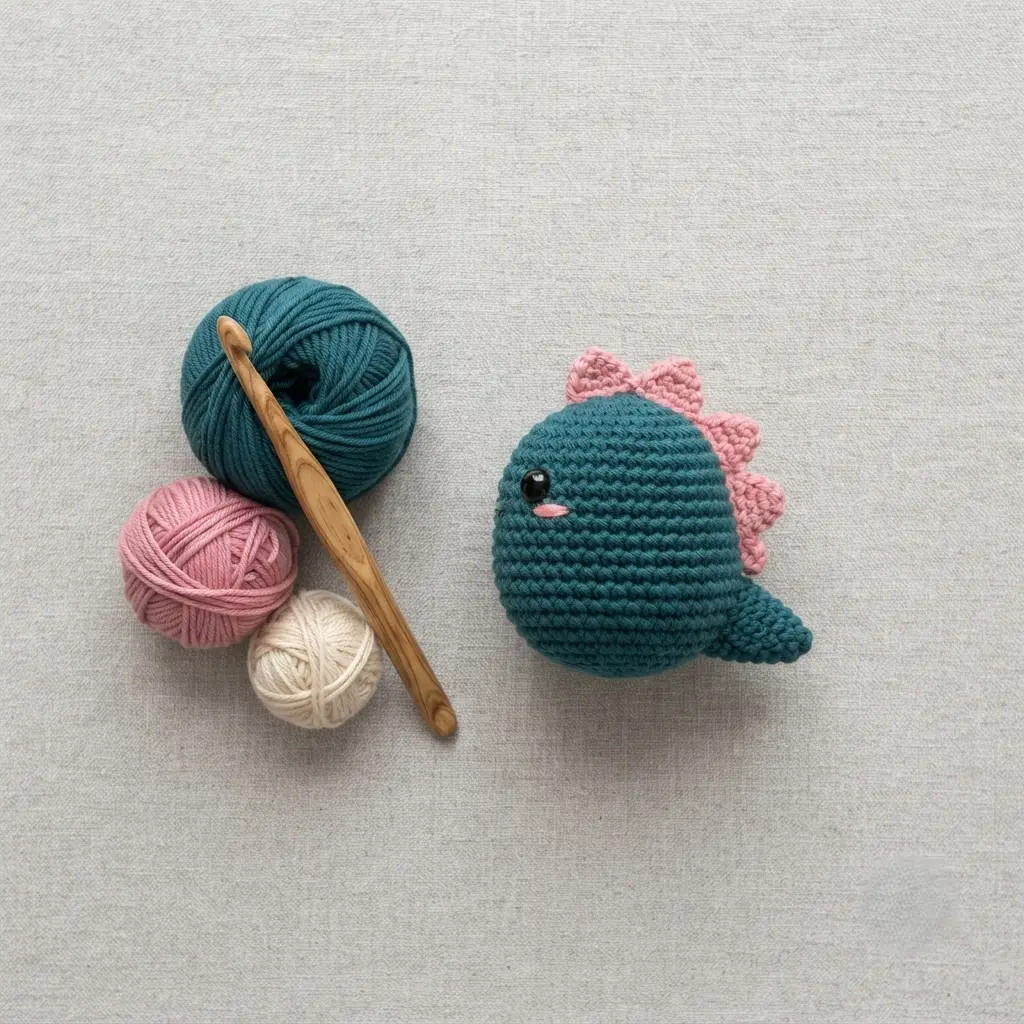
Kawaii style faces are all about simplicity and placement. Your 8mm safety eyes should sit fairly wide apart, which gives the dino a gentle, innocent look. Then, with black embroidery thread, stitch a tiny curved smile between and slightly below the eyes.
For the finishing touch, add rosy cheeks with pink thread, a few small horizontal stitches just below and outside each eye. Keep everything small and soft. It’s amazing how a couple of tiny stitches can turn a simple shape into a character with real personality.
Stuffing Your Dino Just Right
Stuff gradually as the body takes shape, adding small pieces of fiberfill and easing them into the curves of the head. A firm, smooth head is key to the kawaii look, so don’t be shy, but stop before the stitches start to stretch.
Add a little stuffing to the tail as you work it, too, so it stays perky rather than floppy. A chopstick or the end of a pencil is perfect for pushing small amounts into the tip.
Is This Dino Right for You?
The pattern is rated Easy and uses basic amigurumi techniques: a magic circle, increases, invisible decreases, chains and continuous rounds. If you’ve made a small amigurumi before, you’ll find it very approachable.
The one step to take slowly is Round 16, where the tail is set up. Count carefully and use a stitch marker, and everything after that falls neatly into place. If you’re brand new to amigurumi, our no sew Crochet Octopus Pattern is a gentle first project before this one.
Turn Your Dino Into a Crochet Keychain
At just 3 inches tall, this little dino makes a fantastic crochet keychain. Push a small screw eye pin firmly into the top of the head, just in front of the first spike, and link it to a key ring with a jump ring. If you prefer, sew a strong yarn loop through several stitches instead.
Stuff the body firmly so it keeps its shape when squeezed, and make sure the safety eyes are pressed on securely, or embroider them for extra durability. For an even tinier dinosaur keychain, use a fine cotton yarn with a 2mm to 2.5mm hook. Clip it onto a backpack, pencil case or set of keys, and it’s sure to get noticed.
Make It Your Own
Change your dino’s colours to create a whole new character. A pink dino with purple spikes, a yellow dino with orange spikes or a classic green with rainbow spikes all look wonderful. Mixing a different colour for each spike is especially fun.
You can also change the size. A worsted weight yarn with a slightly larger hook makes a bigger, more cuddly dino, while a fine cotton with a small hook makes a tiny charm. Just adjust the safety eye size to match.
A Note on Safety
Safety eyes are small parts. If your dino is for a baby or toddler, embroider the eyes with black thread instead. A pair of small stitched ovals looks just as cute and keeps your dino safe for little hands.
When Something Doesn’t Look Quite Right
If the tail looks crooked, check that you skipped exactly eight stitches on Round 16 and that the opening sits centred at the back. If the head looks lumpy, roll it gently between your palms or move the stuffing with a chopstick.
If the spikes lean or look uneven, unpick and reposition them. Sewing them through both loops of the body stitches helps them stand up straight.
Keep Learning
New to amigurumi or want to polish your skills? These guides pair perfectly with this pattern: How to Use Safety Eyes in Amigurumi, How to Change Colours in Crochet and How to Sell Crochet at Craft Fairs.
More Little Crochet Critters to Love
Visit the Variatee shop on Etsy for more cute designs.
A Few Tips Before You Start
- Use a stitch marker throughout the continuous rounds.
- Count carefully on Round 16, where the tail begins.
- Place the safety eyes before you close the body.
- Stuff gradually for a smooth, round head.
- Lay out the spikes before sewing to check the spacing.
Frequently Asked Questions
Pick up your hook and let’s bring your next crochet project to life!