Crochet Tiger Pattern Free Mini Amigurumi Tiger and Keychain
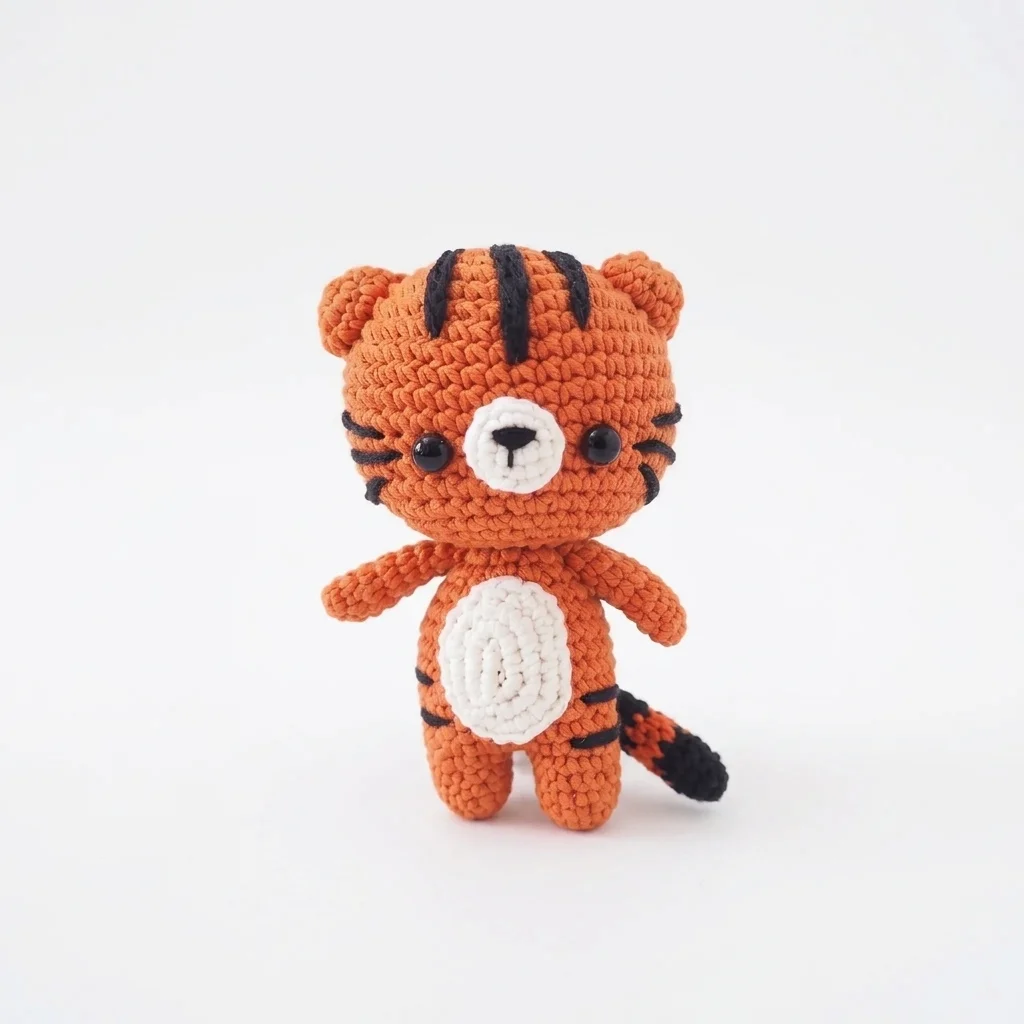
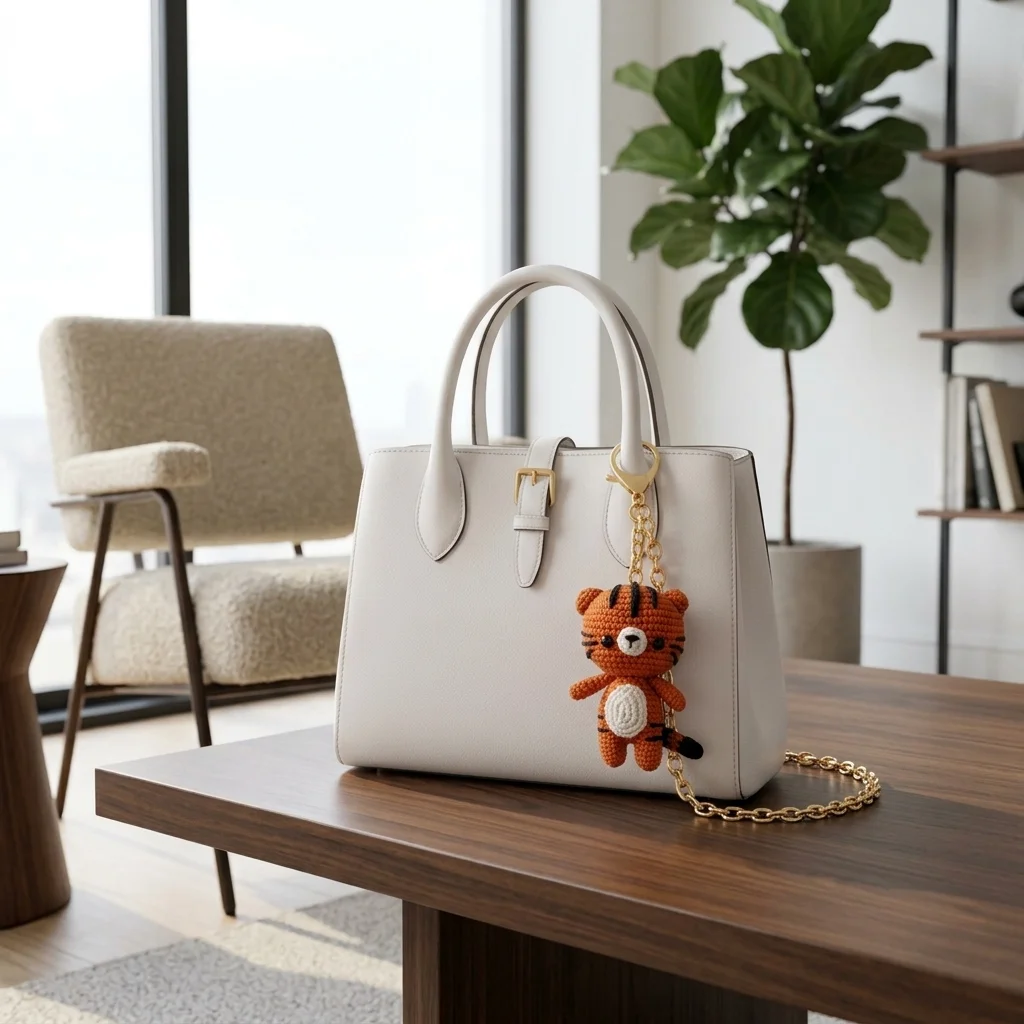
Fierce? Not this one. Our free crochet tiger pattern makes a sweet mini amigurumi tiger with a round, gentle face, a soft white belly, a striped tail and bold black stripes stitched across the forehead and cheeks. It’s a playful little big cat that’s full of personality, and a perfect handmade friend for animal lovers of every age.
Why You’ll Love This Crochet Tiger
Tigers are one of the most loved animals in the world, and there’s something wonderfully charming about turning such a powerful creature into a tiny, huggable friend. This mini tiger keeps all the details that make a tiger recognisable, then softens them into something sweet.
The stripes are what make it special. Rather than complicated color changes in every round, the forehead and cheek stripes are embroidered on at the end. That means you crochet in simple solid colors, then add the tiger’s famous markings with a needle, placing each stripe exactly where you want it. It’s relaxing, forgiving and surprisingly fun.
The finishing touches bring it all together: a white muzzle with a little triangle nose, a soft white belly patch, round ears and a tail striped in black and orange. Every piece adds character, and the finished tiger has a cheeky, friendly look that’s hard to resist.
What’s Inside the Free Crochet Tiger Pattern
Your PDF download guides you through every part of your tiger:
- Round by round instructions for the head, body, arms, legs, ears and tail, with stitch counts
- A clever method that grows the body straight up from the legs
- Exact safety eye placement for a balanced face
- Instructions for the white muzzle and belly patch
- A color sequence for the striped tail
- A step by step stripe embroidery guide for the face and body
- Assembly instructions to bring your tiger together
Materials for Your Mini Tiger
| Material | Details |
|---|---|
| Yarn | Orange (body), white (muzzle and belly), black (stripes and tail) |
| Crochet hook | 2mm |
| Safety eyes | 2 × 8mm |
| Stuffing | Polyester fiberfill |
| Embroidery | Black embroidery thread and needle |
| Notions | Tapestry needle, stitch marker, scissors |
| Crochet terms | US |
The small 2mm hook creates a dense, tidy fabric that keeps the stuffing hidden, which is ideal for a small amigurumi. A smooth cotton or fine cotton blend gives crisp stitches and makes the embroidered stripes stand out beautifully. Choose a warm, rich orange for a classic tiger, or try a white base with black stripes for a snow tiger.
How Your Tiger Comes Together
Your tiger is made in small, simple pieces: a head, a body with legs, two arms, two ears, a muzzle, a belly patch and a tail. Each one starts with a magic ring and is worked in continuous rounds, so the whole project has a calm, steady rhythm.
The head is a classic amigurumi ball. It grows to 42 stitches, works even for several rounds, then decreases while you stuff it firmly. The safety eyes go in between Rounds 13 and 14, about seven stitches apart, while the head is still open. That placement gives your tiger a wide, friendly look.
Once all the pieces are ready, assembly is where your tiger truly comes to life, one detail at a time.
Legs That Grow Into the Body
Sewing legs on evenly can be one of the trickiest parts of amigurumi. This pattern avoids it completely. You crochet both legs first and stuff them. Then, instead of fastening off the second leg, you chain across to the first leg and crochet around both together.
That round becomes the base of the body, and you simply keep working upward. The legs are perfectly placed and firmly attached before the tummy is even finished. It’s a neat trick that gives your tiger a sturdy, professional look and saves time at the end.
Stitching the Signature Stripes
Here’s where your tiger earns its stripes. Using black yarn and a tapestry needle, you stitch three long stripes from the top of the head down the center of the forehead, then two shorter stripes on each side. Next, you add stripes along the cheeks, a few stitches away from the eyes, angled slightly for a natural look.
Finally, two short stripes go across the body near the bottom. Because you’re embroidering rather than crocheting the stripes, you can adjust their length and angle until they look just right. Take your time, step back to check, and your tiger will look wonderfully wild in the sweetest way.
A Friend for Every Animal Lover
A handmade tiger makes a memorable gift for a birthday, a new baby or anyone who adores big cats. Sit one on a nursery shelf, tuck one into a gift basket, or add a small loop and turn it into a keychain or bag charm.
It also makes a wonderful pair with our Crochet Bear Pattern, or you can build a whole little zoo with designs from our Crochet Animal Patterns collection. Children especially love collecting a set, and each one makes the next even more special.
The Striped Tail and White Belly
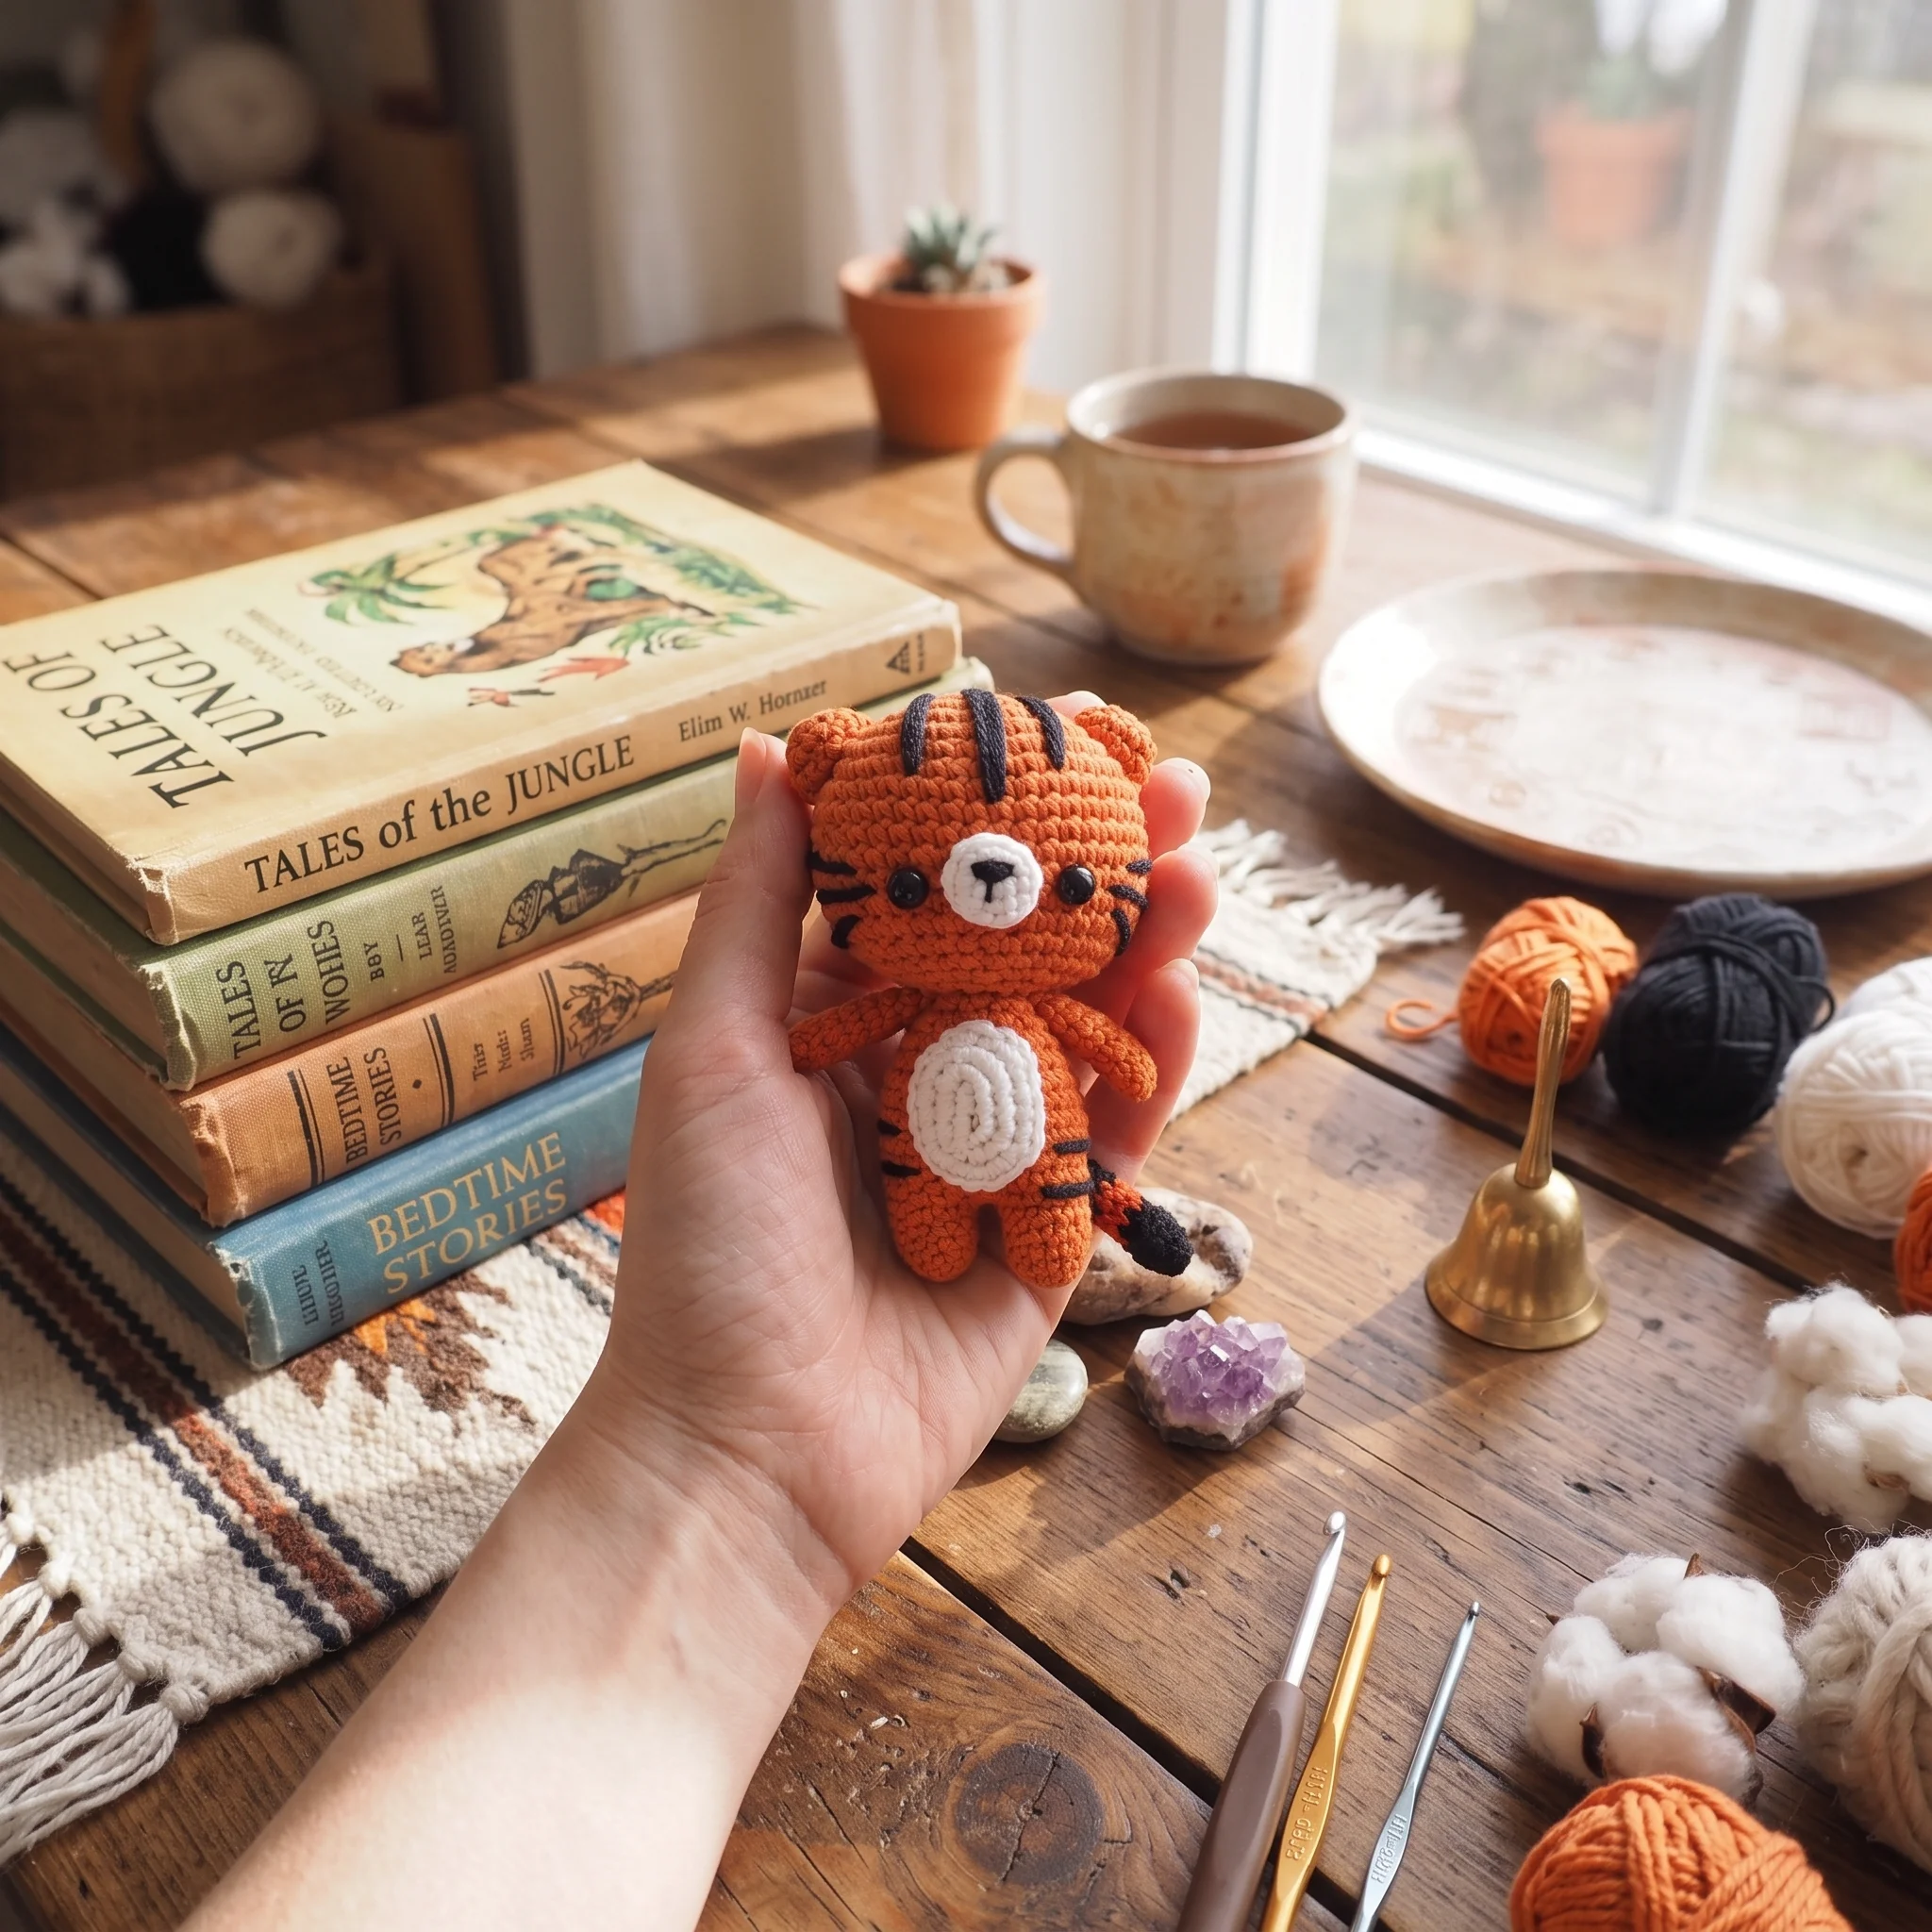
The tail is a playful little piece that adds instant character. It starts in black and then alternates between orange and black every couple of rounds, creating natural looking stripes that finish with a black tip. Once it’s closed, you sew it to the back of the body at a slight angle, so it looks like it’s swishing.
The white belly patch is worked as a small oval, which you sew to the center of the tummy. Together with the white muzzle, it brightens the tiger’s face and front and gives it that classic, cuddly look.
Giving Your Tiger Its Sweet Face
The face is where personality shines through. A small white circle forms the muzzle, sewn between the eyes. Then, with black embroidery thread, you stitch a little triangle for the nose. Add a short line beneath it for a gentle smile if you like.
The round ears are sewn onto the sides of the head near the top. Before you sew, pin them in place and look at your tiger from the front. A slight tilt can make it look curious, while straight ears give it a calm, alert look.
Is This Tiger Right for You?
If you’ve made a simple amigurumi ball or a small stuffed animal before, you’ll feel comfortable with this pattern. The stitches are all basic: single crochet, increases and decreases, worked in rounds.
What makes it a little more involved is the number of pieces, the small hook and the embroidery at the end. If you’re brand new to amigurumi, start with our no sew Crochet Octopus Pattern, then come back to this tiger as your next step. The careful assembly is well worth it.
Turn Your Tiger Into a Crochet Keychain
This mini tiger is the perfect size for a crochet keychain. Push a small screw eye pin firmly into the top of the head, between the ears, and connect it to a key ring with a jump ring. Or sew a strong loop of yarn through several stitches at the top of the head and attach the ring to that.
Because keychains are handled a lot, stuff the tiger firmly and check that the safety eye washers are locked on tightly. Embroidered eyes are an even more durable option. A striped tiger keychain looks wonderful on a school bag or a set of keys, and it makes a fun gift for animal lovers of any age.
Make It Your Own
Change the colors for a whole new big cat. A white tiger with gray stripes makes a beautiful snow tiger, while a soft pink or pastel orange creates a sweet nursery version. You could also add a tiny bow or a little crocheted scarf for extra charm.
Size is easy to play with too. A slightly thicker yarn with a larger hook makes a bigger, more cuddly tiger, while staying with fine cotton keeps it small and neat. Just adjust the safety eye size to suit.
A Note on Safety
Safety eyes are small parts. If your tiger is for a baby or toddler, embroider the eyes with black thread instead. Two small stitched ovals look just as sweet and make your tiger safe for little hands.
When Something Doesn’t Look Quite Right
If your stripes look uneven, pull them out and try again. Embroidery is forgiving, and a little patience makes a big difference. Marking the start and end points with pins first helps keep stripes symmetrical.
If the head wobbles on the body, add a little extra stuffing to the neck and sew around the join twice. And if the tail droops, stuff it lightly before closing so it holds its shape.
More Little Crochet Critters to Love
Visit the Variatee shop on Etsy for more cute designs.
Keep Learning
Want to perfect your amigurumi details? These guides pair beautifully with this pattern: How to Use Safety Eyes in Amigurumi, How to Change Colors in Crochet and How to Sell Crochet at Craft Fairs.
A Few Tips Before You Start
- Use a stitch marker for every continuous round.
- Place the safety eyes before you close the head.
- Stuff the head firmly so it keeps its round shape.
- Pin the stripes and ears before stitching.
- Check your tiger from every side before final sewing.
Frequently Asked Questions
Pick up your hook and let’s bring your next crochet project to life!